 EN

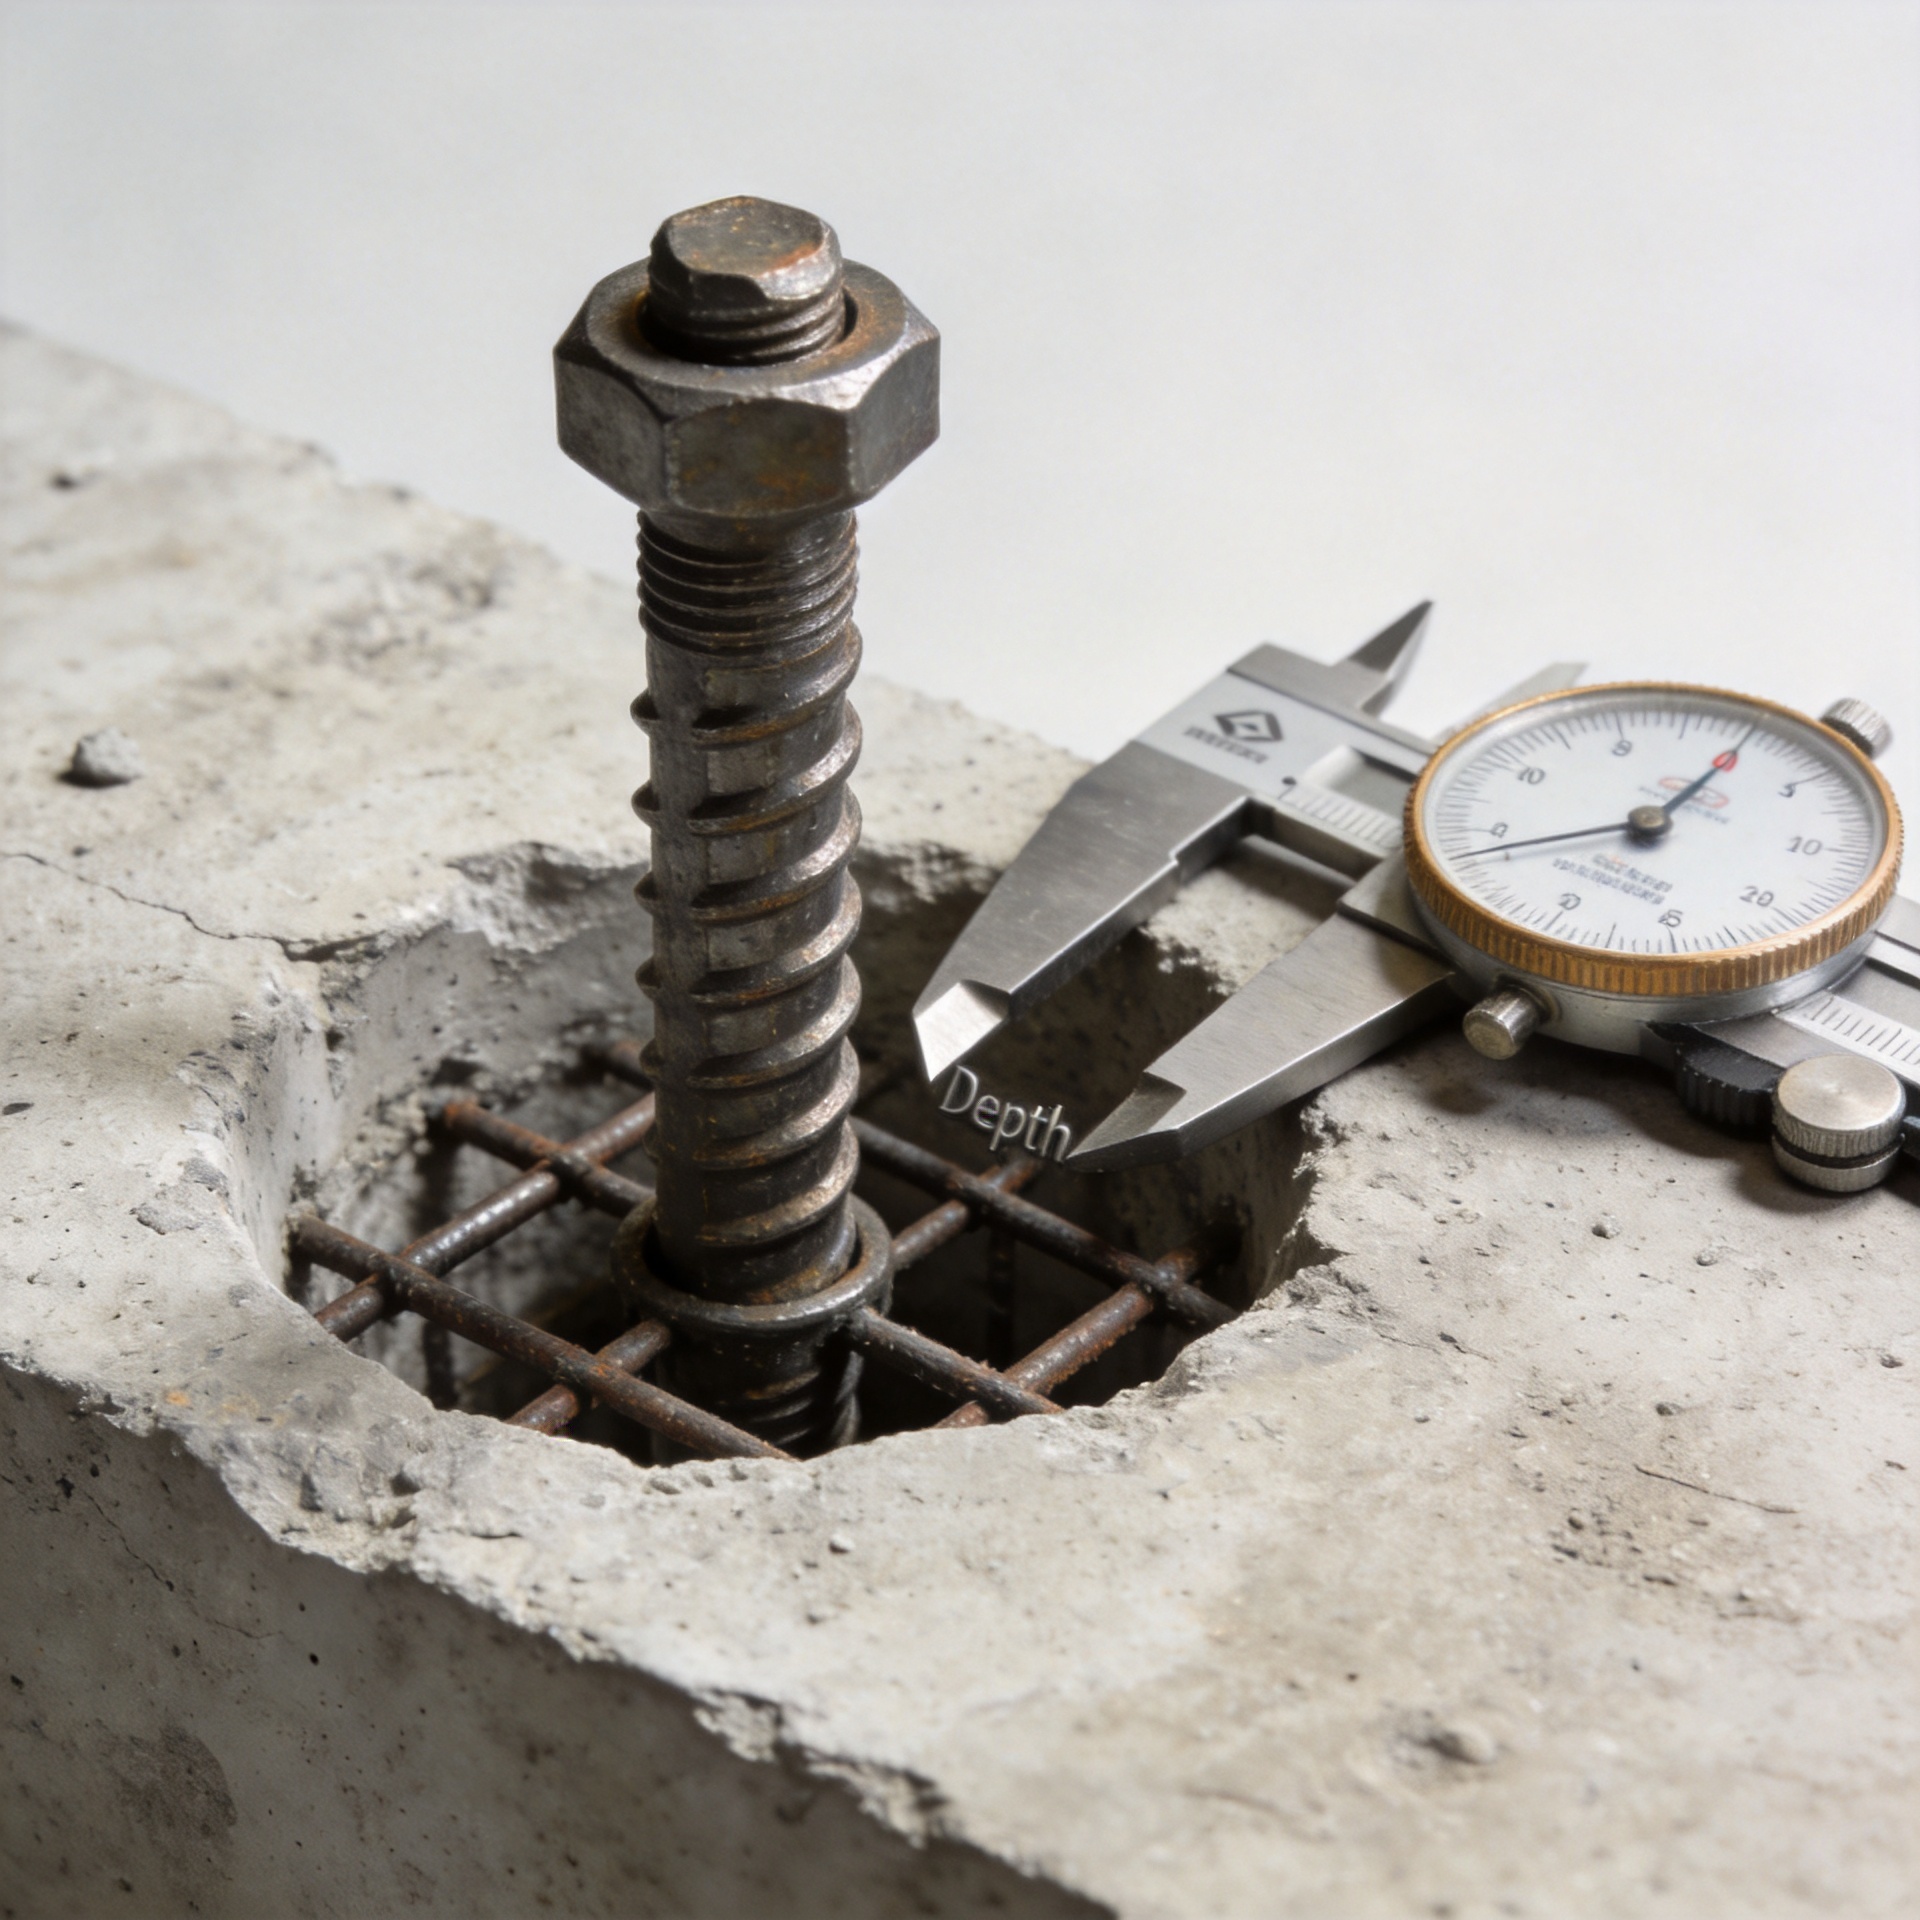
How to Correctly Set Anchor Depth in Reinforced Concrete Slabs
Setting anchor depth in a reinforced concrete slab is not a matter of drilling as deep as the bit will go. An anchor transfers tension, shear, or both into a limited volume of concrete. The required depth is tied to the approved product data, the design load, slab thickness, edge distance, spacing, reinforcement layout, and installation method. A depth that looks reasonable in the field can still be unsuitable when it conflicts with one of those conditions.
From a fastener-selection engineer’s viewpoint, the first question is not “How deep can this anchor go?” It is “What embedment does this specific anchor require in this specific slab?” That distinction keeps a crew from treating catalog guidance as a universal drilling rule.
Start with the right depth definition
Anchor documents commonly distinguish between nominal embedment, effective embedment, and drilled-hole depth. Nominal embedment is the installed depth identified for the product. Effective embedment is the portion used by the design method to evaluate concrete breakout or other resistance. Hole depth is the drilling depth needed to seat the fastener and leave room for drilling dust. These dimensions may be close, but they are not interchangeable.
For example, a wedge anchor expands against the wall of the drilled hole as it is tightened. Its evaluated effective embedment is set by the product’s geometry and installation instructions, not by a crew member’s preferred depth. A sleeve anchor and a concrete anchor of another type can use different mechanisms and different limits even when the nominal diameter looks similar.
Use the current approval report, technical data sheet, and project design for the selected anchor. Those sources establish the allowable range, the minimum hole depth, and any conditions for cracked concrete, seismic use, or sustained loading. A generic “four to six diameters” rule can be a rough planning cue, but it is not a substitute for the documented value.
Check the slab before selecting an anchor depth
Slab thickness is the first physical limit. The installed anchor, required hole depth, and the remaining concrete beneath the hole must all fit within the member conditions stated for that product. Drilling through a thin slab or too near its underside can reduce the intended concrete zone and may affect finishes, membranes, utilities, or occupied space below.
Next, identify reinforcement and embedded items. Reinforced slabs are not empty concrete. Review drawings, scan where the project procedure calls for it, and coordinate with the engineer before changing a location because a bar, tendon, conduit, or steel deck feature is encountered. Do not simply deepen or relocate an anchor by guesswork. The new location may have a different edge distance, spacing relationship, or load path.
Edge distance and spacing matter because an anchor develops force through surrounding concrete. Near a free edge, deeper embedment does not automatically solve a breakout concern. The evaluated installation limits and the design calculation work together. If the layout cannot meet them, an engineer may need to revise the connection, anchor type, or load distribution.
Match the depth to the anchor type
Wedge anchor installations
A wedge anchor is typically used in solid concrete where the specified expansion zone and installation torque can be achieved. Mark the required nominal embedment on the bit or use a depth stop, then drill at least to the product’s stated minimum hole depth. The extra depth is functional: it accommodates dust and allows the anchor to seat at the prescribed line without bottoming out. Clean the hole as instructed, set the wedge anchor to the correct position, and tighten only to the published torque.
Sleeve anchor installations
A sleeve anchor expands a sleeve as the fastener is tightened. It can suit certain fixtures and base materials, but the product documentation still controls the approved base material, hole diameter, embedment, and tightening procedure. Setting a sleeve anchor deeper than its documented configuration can interfere with correct expansion or with fixture geometry; setting it too shallow can leave insufficient engagement. Treat it as a separate system rather than a substitute for a wedge anchor.
Drop in anchor installations
A drop in anchor is installed below the surface and set with the manufacturer’s setting tool. This makes the setting depth especially important: the anchor must be driven and expanded to the correct internal position before the threaded rod or bolt is fitted. Verify the hole depth, hole cleaning method, setting-tool procedure, and the available slab thickness. A drop in anchor is not interchangeable with a mechanically expanded through-bolt anchor simply because both accept threaded hardware.
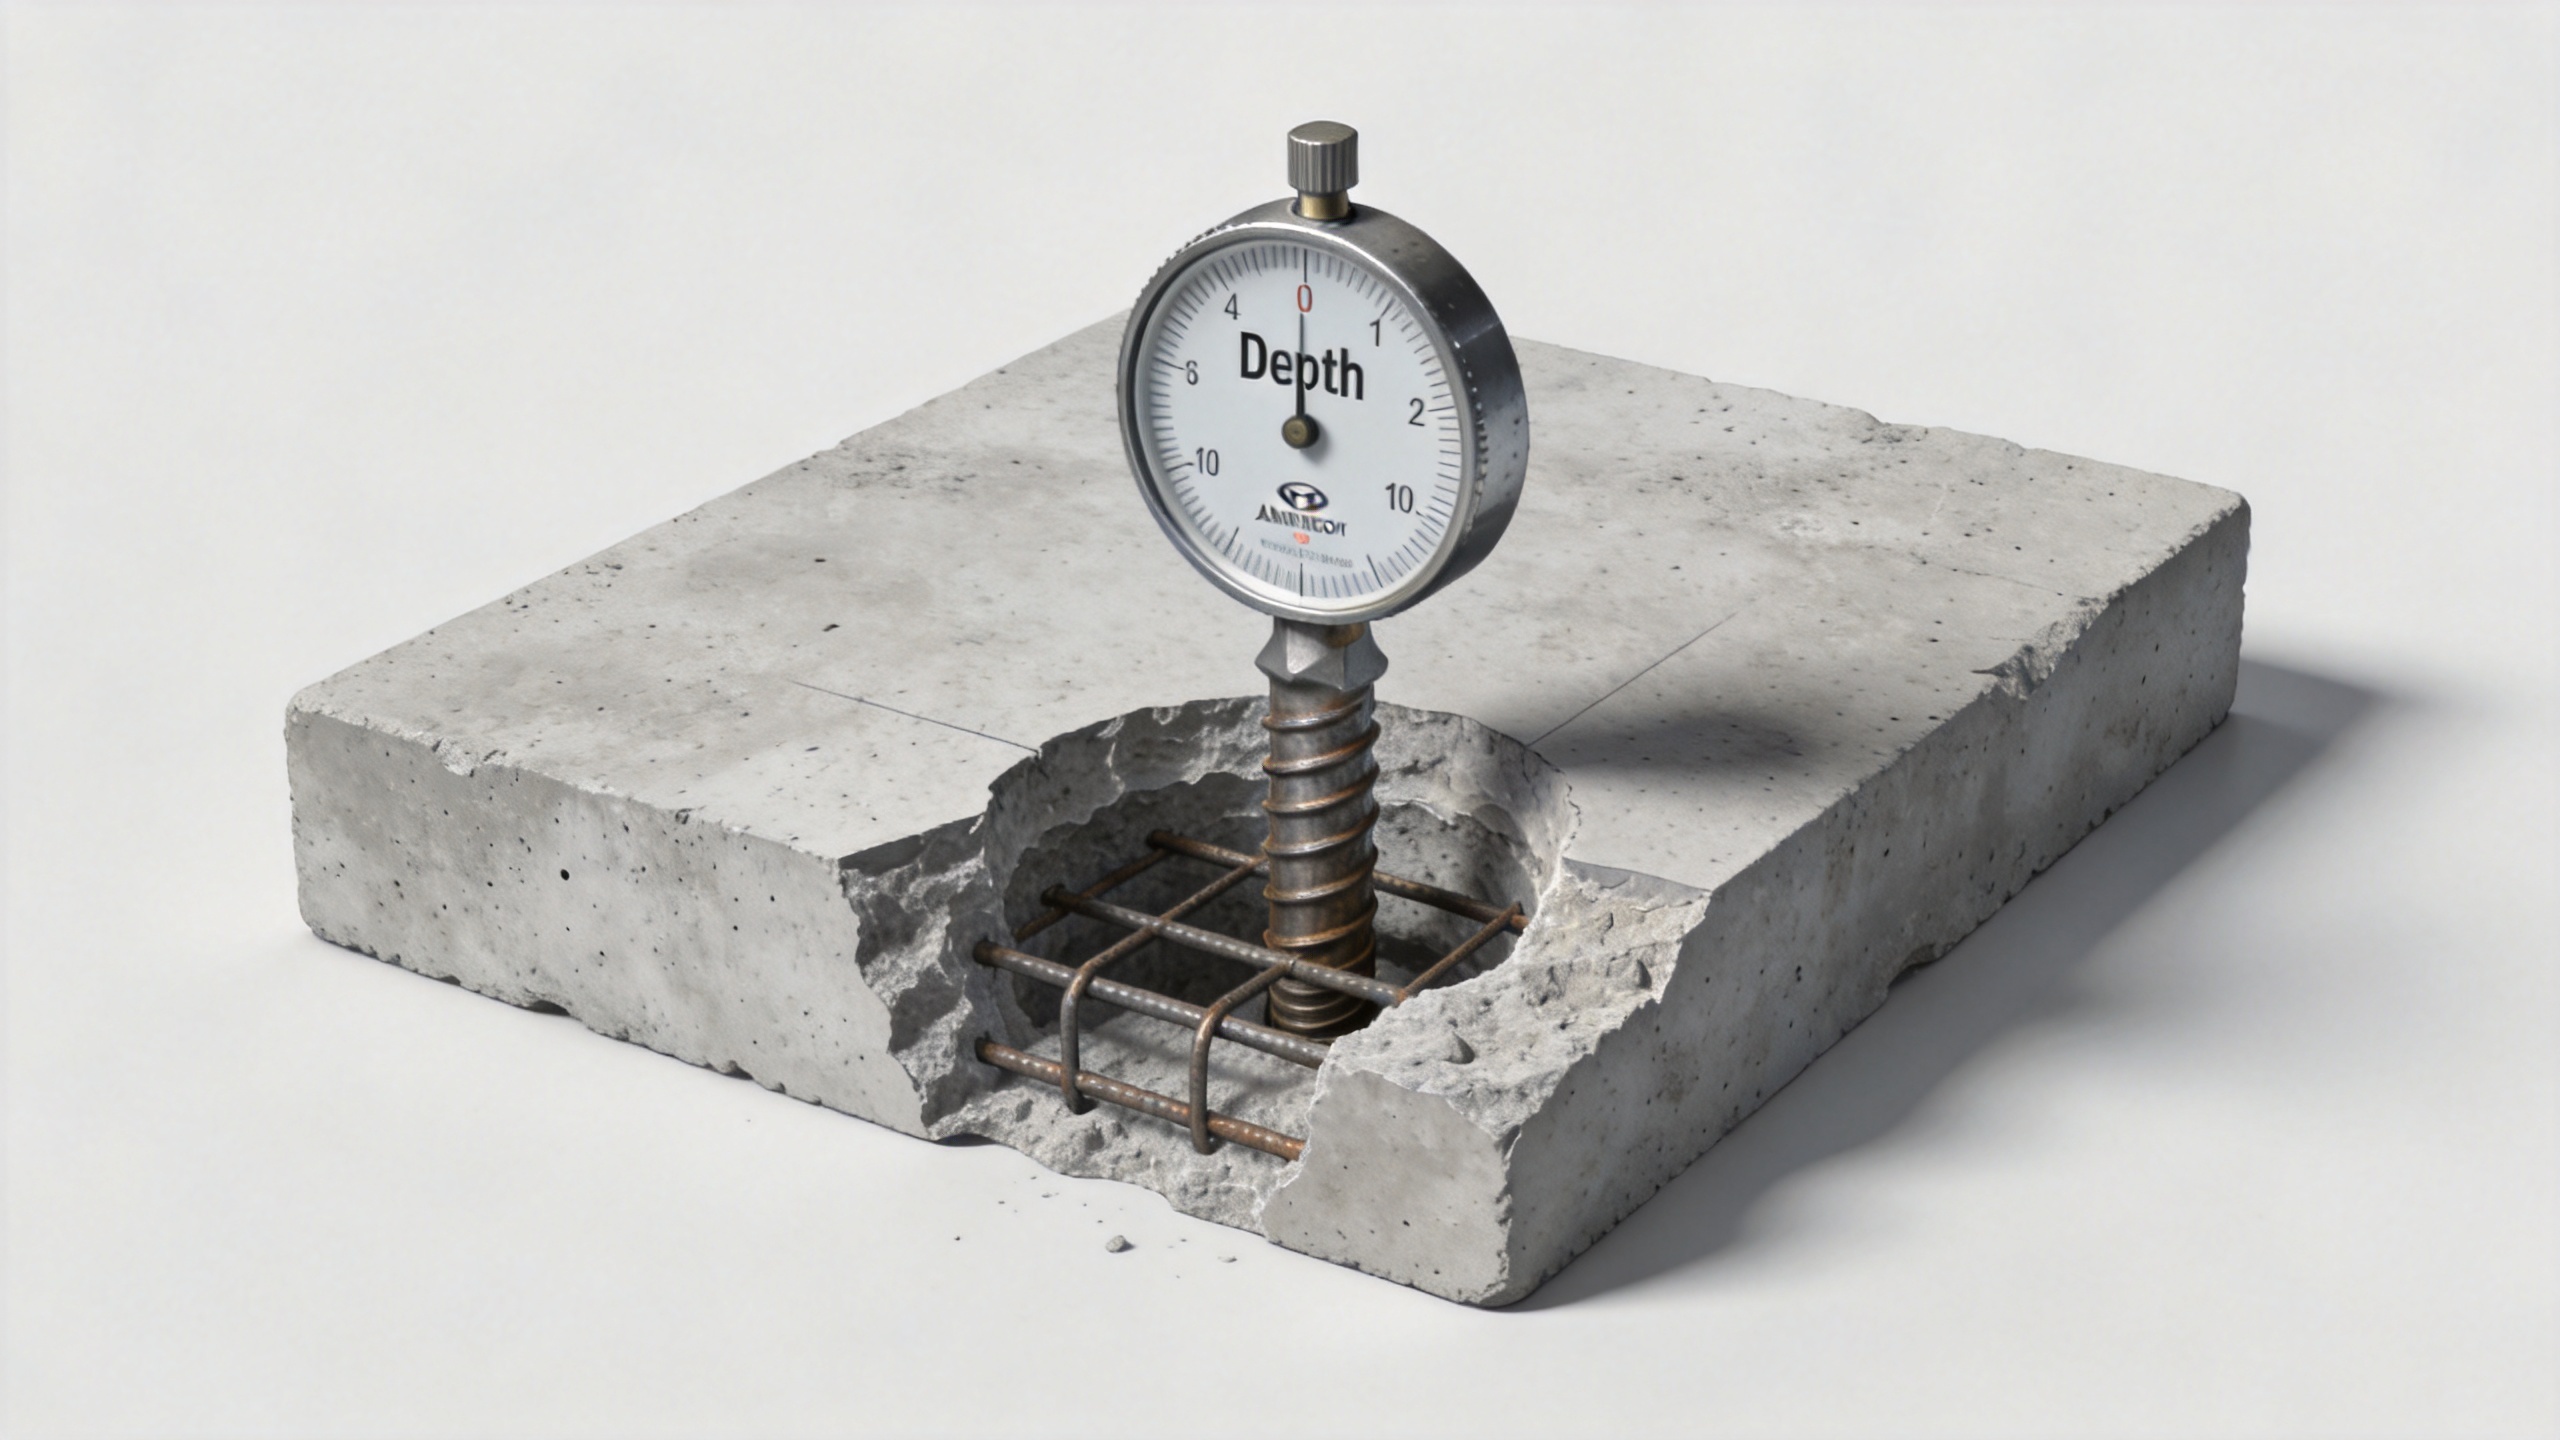
A field workflow for setting anchor depth
- Confirm the connection design. Identify the anchor diameter, type, load direction, base-material condition, and the approved embedment values.
- Verify the slab conditions. Check thickness, concrete condition, edge distance, spacing, and the approved method for identifying reinforcement or embedded services.
- Set the drilling control. Mark the bit for the required hole depth, including the documented allowance beyond nominal embedment where applicable. A physical depth stop is often more repeatable than a tape mark on a production installation.
- Drill the correct hole. Use the specified bit diameter and drill straight to the marked depth. Avoid enlarging a loose hole to make an anchor fit.
- Clean and inspect. Follow the product’s blow-brush-blow or vacuum procedure. Remove loose dust, confirm the depth, and inspect the hole before placing the anchor.
- Install and verify. Seat the anchor at the required position, apply the stated setting or torque procedure, and record the installation checks required by the project.
Common depth mistakes in reinforced slabs
One common mistake is measuring from the wrong reference point. The relevant anchor depth may be measured from the concrete surface, the top of a fixture, or an installation mark, depending on the product. A thick grout pad, shim stack, or stand-off fixture can change the relationship between visible thread and actual embedment.
Another mistake is treating extra depth as extra capacity. The capacity of an anchor is controlled by the evaluated configuration and the governing failure mode. Increasing depth may create a conflict with minimum member thickness, reinforcement, or unreviewed conditions. When a deeper installation is proposed, send it back through the design and product-data review instead of improvising in the field.
Finally, avoid mixing parts across systems. A concrete anchor, setting tool, washer, nut, drill bit, and torque value should all belong to the documented installation system. Small substitutions can change how the anchor engages the concrete.
When to stop and ask for engineering review
Pause the work when the required anchor depth will not fit the slab, reinforcement is encountered, edge distance is short, the concrete is damaged, the hole is oversized, or the specified product data does not cover the site condition. The practical response may be a different anchor, a revised layout, a supplemental support detail, or a change in loading. The appropriate choice depends on the connection, not on a generic drilling shortcut.
Correct anchor depth is therefore a controlled installation decision: use the selected product’s evaluated dimensions, confirm the slab’s real constraints, drill and clean precisely, and document the setting process. That approach gives the installation team a clear basis for handling wedge anchor, sleeve anchor, concrete anchor, and drop in anchor applications without overstating what a single rule can accomplish.

