 EN

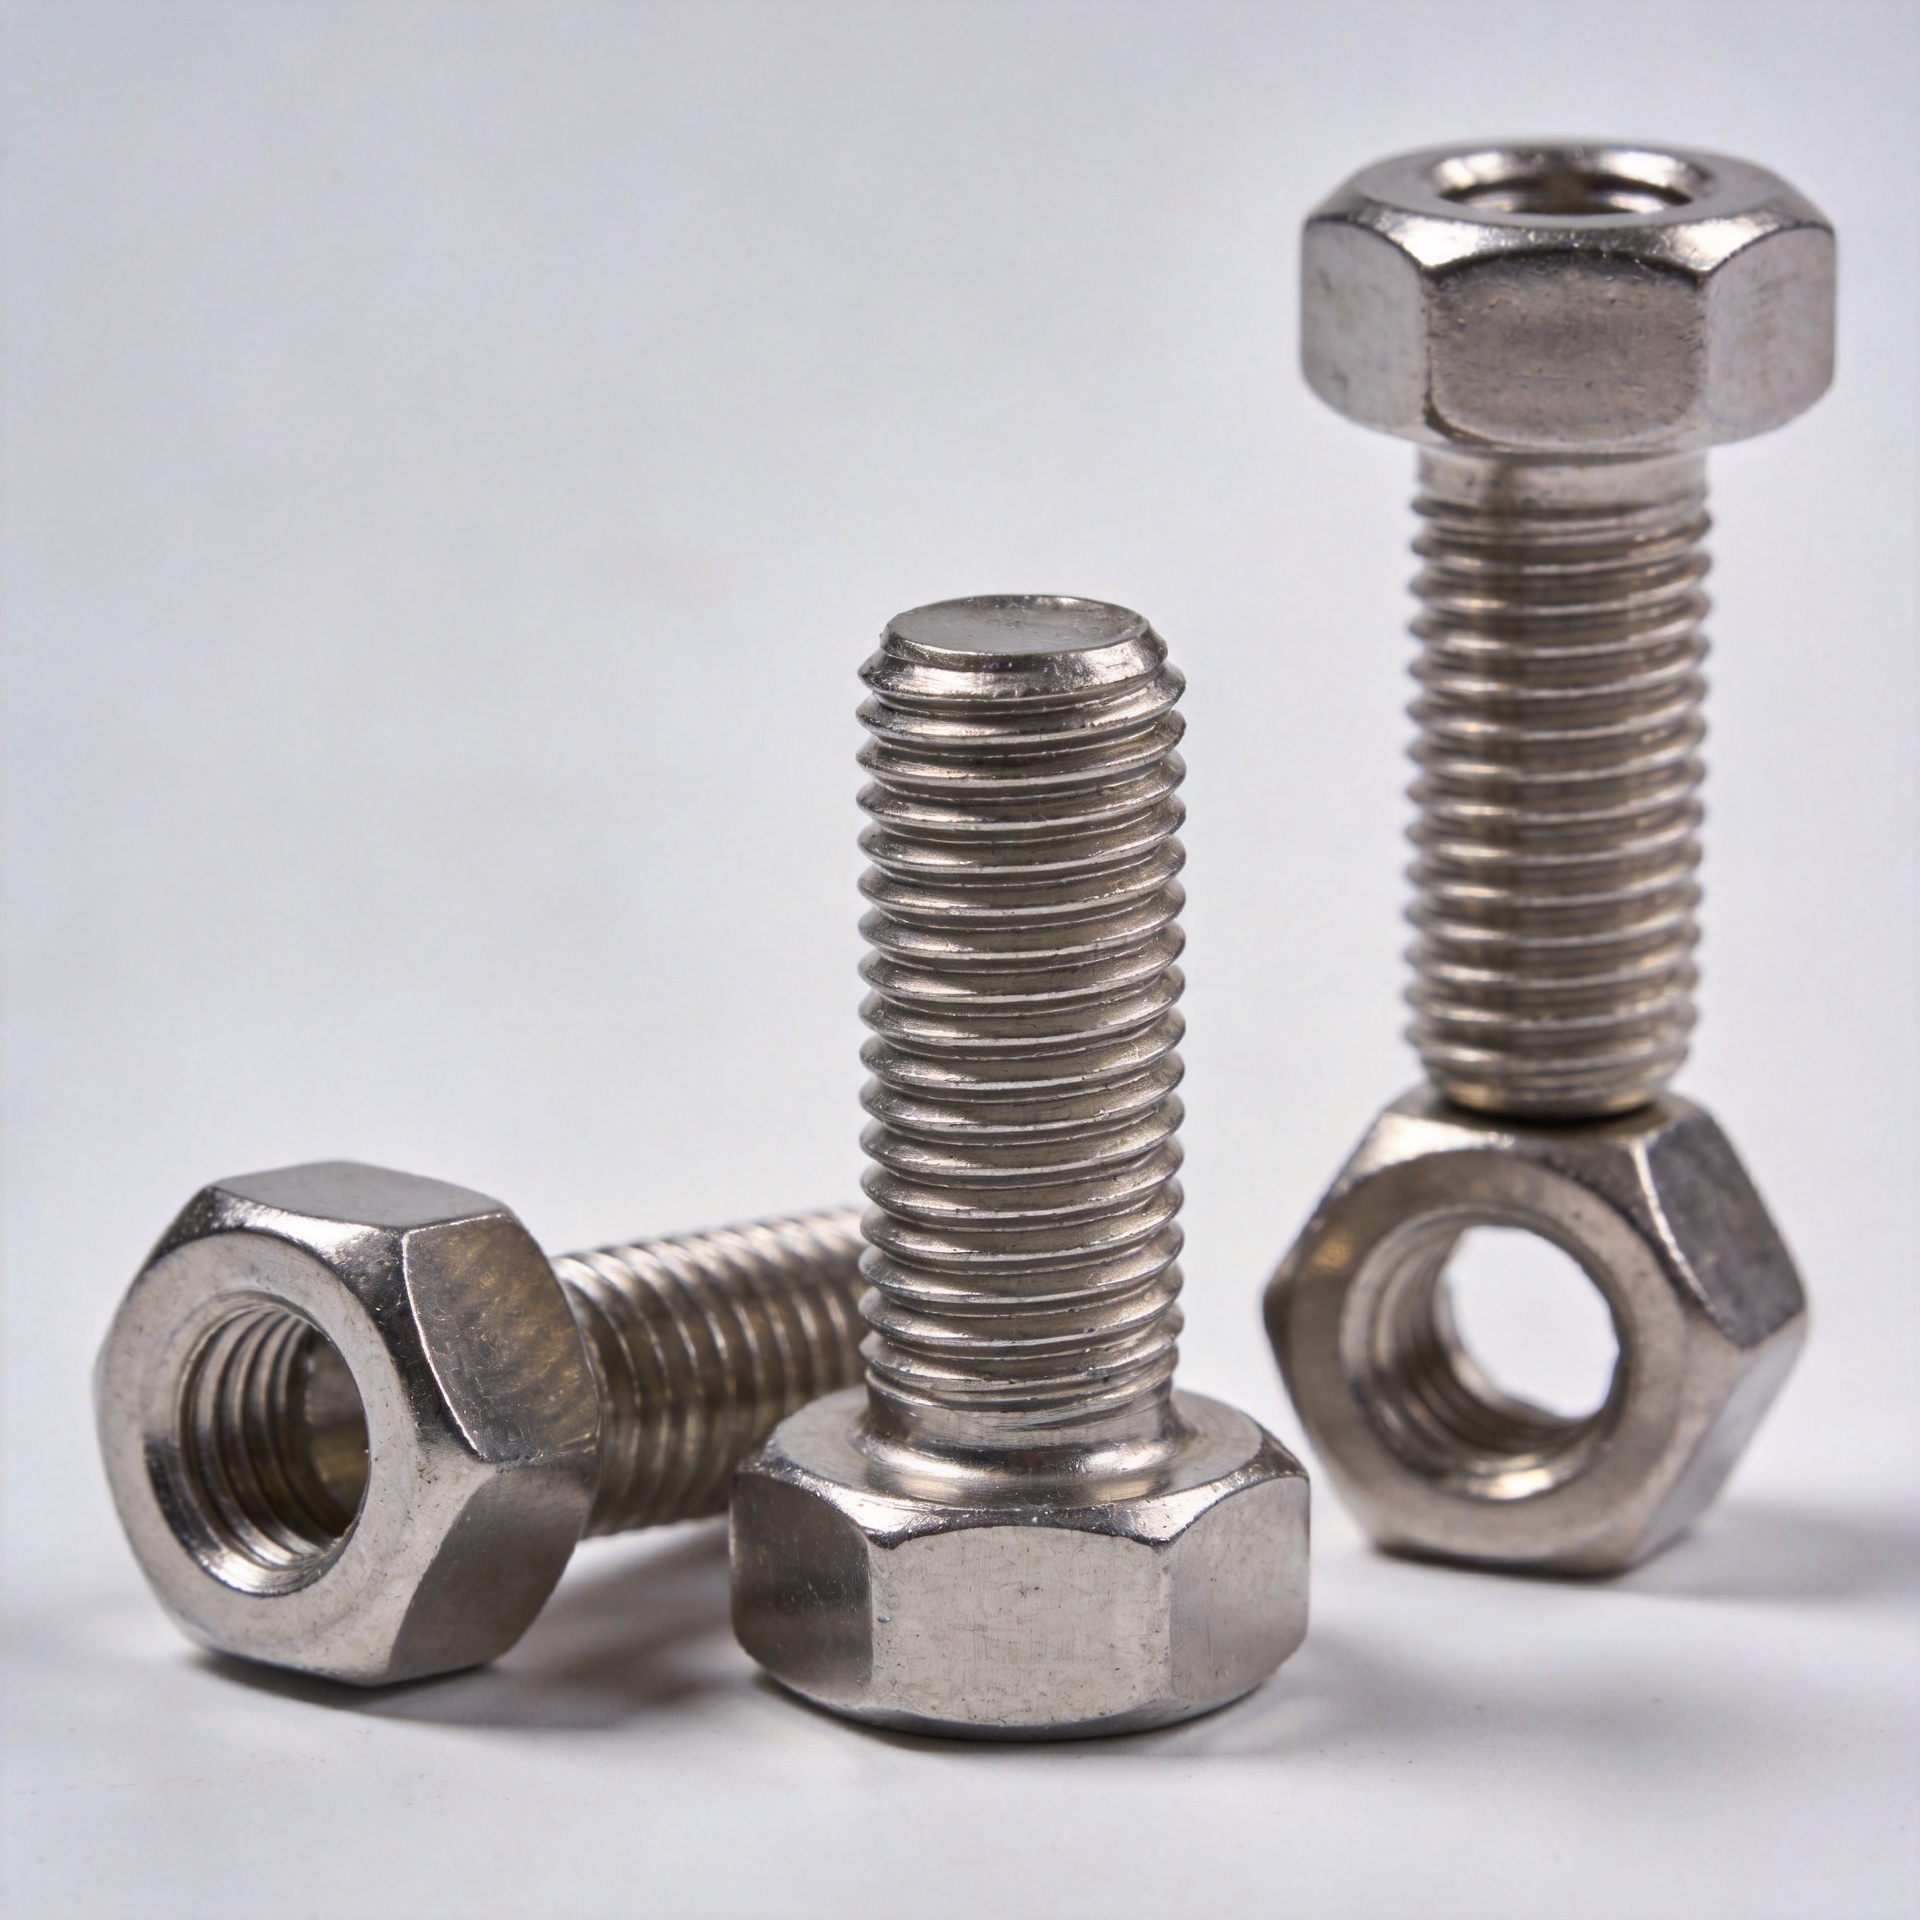
Managing Fastener Seizing in Stainless-on-Stainless Joints
Stainless-on-stainless assemblies are valued for corrosion resistance, but a fastener can seize unexpectedly during tightening even when both parts look clean and correctly specified. This event is commonly called galling: small areas of the mating thread surfaces adhere, tear, and lock as rotation continues. A seized joint can turn a routine installation into rework, damaged hardware, or a delayed maintenance task.
From a fastener selection engineer’s perspective, the useful question is not whether stainless is suitable. It is whether the complete joint—bolt, nut, thread condition, lubricant, installation method, and torque target—has been planned as a system. The following process gives teams a practical way to lower galling risk without making unsupported assumptions about a particular grade or application.
Why a stainless fastener can gall
A stainless fastener develops a thin passive oxide film that supports corrosion resistance. Under high contact pressure, friction, and heat, that surface film can be disrupted at thread contact points. Fresh metal can then adhere from one thread to the other. Continued rotation transfers material, roughens the threads, raises drag, and may stop the nut before the intended clamp load is reached.
Stainless-on-stainless joints create closely matched surfaces, so a threaded fastener should not be treated as a dry, high-speed installation by default. Risk rises when thread engagement is long, parts are dirty or nicked, a power tool runs too quickly, or torque is increased after drag has already started. A mechanical fastener with a suitable material grade may still gall if those assembly conditions are ignored.
Start with the joint specification, not the wrench
Confirm the drawing callout before parts arrive at the work station. Record the stainless grade or property class, diameter, pitch, mating component, required clamp load, permitted lubricant, and any locking feature. ASTM F593 is one specification context that procurement teams may encounter for stainless-steel bolts, hex cap screws, and studs; the applicable drawing and project specification still control the order.
For a stainless fastener, the torque value is not transferable from a dry carbon-steel chart. Lubrication changes the torque-to-tension relationship. Engineering should define the condition used for the torque procedure—dry, waxed, coated, or lubricated—then validate it for the actual joint. If the application is safety-critical, pressure-bearing, or exposed to high temperature, the responsible engineer should set the procedure rather than relying on a generic number.
Use compatible thread lubrication deliberately
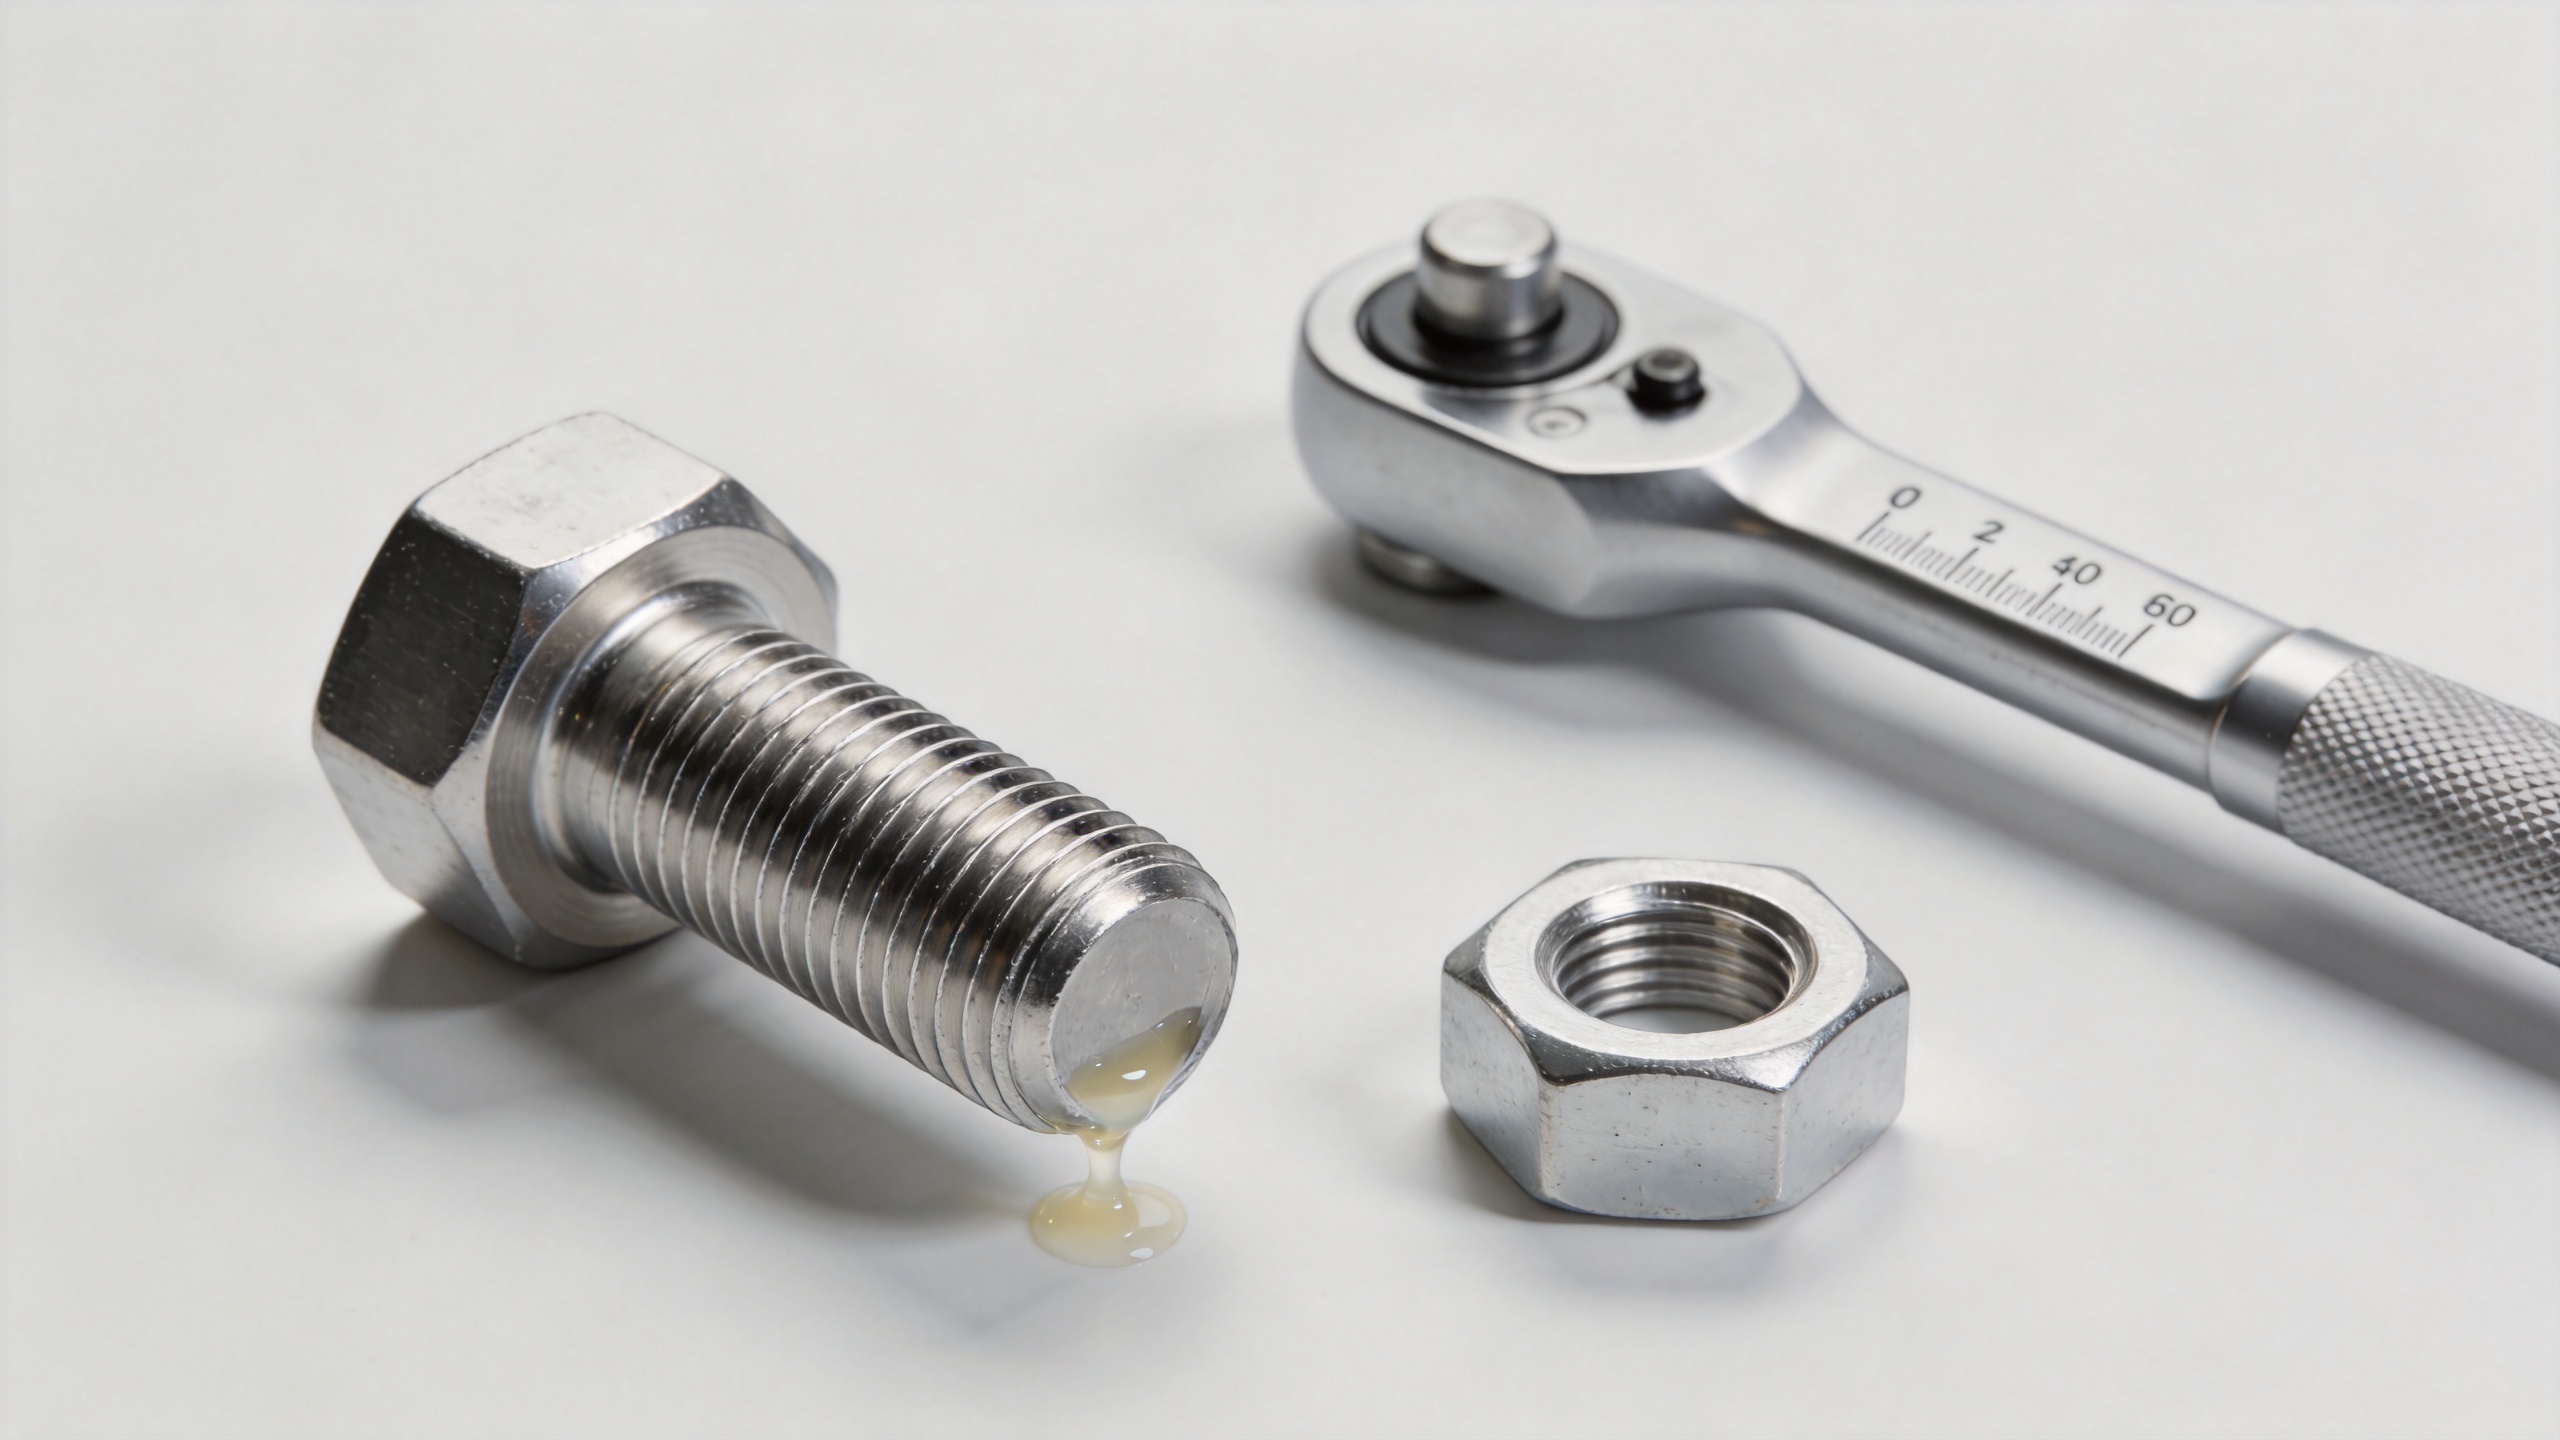
A suitable anti-seize compound or approved thread lubricant can lower friction and limit adhesive contact during assembly. The choice must fit the environment: temperature, chemical exposure, cleanliness requirements, electrical concerns, and the materials in contact all matter. Apply it consistently to the threads and, where the procedure requires it, to the bearing surface. Excess material can attract contamination or change the achieved clamp load, so “more” is not a sound rule.
Specify the lubricant in the work instruction and keep it linked to the torque value. This is especially important when one shift installs a custom fastener with lubricant while another uses dry stock. Mixing those conditions makes torque records difficult to interpret and can produce inconsistent preload.
Inspect every threaded fastener before assembly
Clean, undamaged threads are a practical control. Inspect the bolt and nut for dents, flattened crests, burrs, corrosion products, foreign particles, coating buildup, or signs that the part has already been run together. Start the nut by hand for the initial turns. If it does not turn smoothly before loading, stop and identify the cause; forcing it with a tool turns a small fit issue into a damaged joint.
- Verify that the pitch, diameter, and thread form match the drawing.
- Segregate mixed lots and visibly damaged parts.
- Keep chips, grit, and blasting residue out of the assembly area.
- Use the specified washer and bearing-surface condition when torque was developed for that stack.
These checks also support incoming inspection. A stainless fastener that looks similar to another lot can have a different pitch, finish, or fit condition, all of which affect assembly behavior.
Slow the installation process
Fast rotational speed creates heat at the thread contact zone. Use controlled tool speed, particularly near final seating, and use a calibrated torque tool for the final tightening sequence. Impact-driven run-down is a common source of uncontrolled heat and torque variation in stainless joints. If powered run-down is needed for productivity, establish a lower speed and a clear handoff point for final torque.
Pay attention to the torque trace or the operator’s feel. A sudden increase in resistance early in the run can indicate cross-threading, debris, damaged threads, or the onset of galling. Do not simply add torque to overcome it. Back the joint out while it can still move, discard or evaluate the damaged parts, clean the mating component, and restart with verified hardware.
Choose locking methods with galling in mind
Some locking nuts intentionally add prevailing torque. That added thread drag can increase frictional heat before the joint reaches its seating torque. Where a locking feature is required, evaluate the chosen design in the actual stainless joint instead of assuming every locking method behaves the same way. A washer-based, chemical, or alternative mechanical locking approach may be more appropriate depending on service conditions and the approved joint design.
The goal is a stable joint, not a particular catalog feature. Review vibration, access for maintenance, reuse policy, corrosion exposure, and the required preload together. This system view is more useful than selecting a threaded fastener solely by nominal size.
A practical stainless assembly checklist
- Match the specified bolt, nut, pitch, washer, and stainless material condition.
- Check threads by hand and remove any contaminated or damaged hardware.
- Apply only the approved lubricant in the documented amount.
- Use the torque procedure developed for that lubrication state.
- Run down at a controlled speed and monitor for abnormal drag.
- Stop, inspect, and replace parts if resistance rises abruptly.
- Document the lot, assembly condition, and torque result for critical work.
Build galling control into sourcing and assembly instructions
For repeat production or maintenance work, ask the supplier to support clear material, thread, and traceability information. Qingdao Jeekuu Hardware Products Co., Ltd. can discuss stainless options, thread specifications, and documentation needs for industrial buyers; final application suitability should be confirmed against the purchaser’s drawing and engineering requirements.
When the fastener, lubricant, torque procedure, and installation method are controlled together, stainless-on-stainless joints become much more predictable. The strongest result comes from testing the chosen assembly under representative conditions, then making that method repeatable on the shop floor.

