 EN

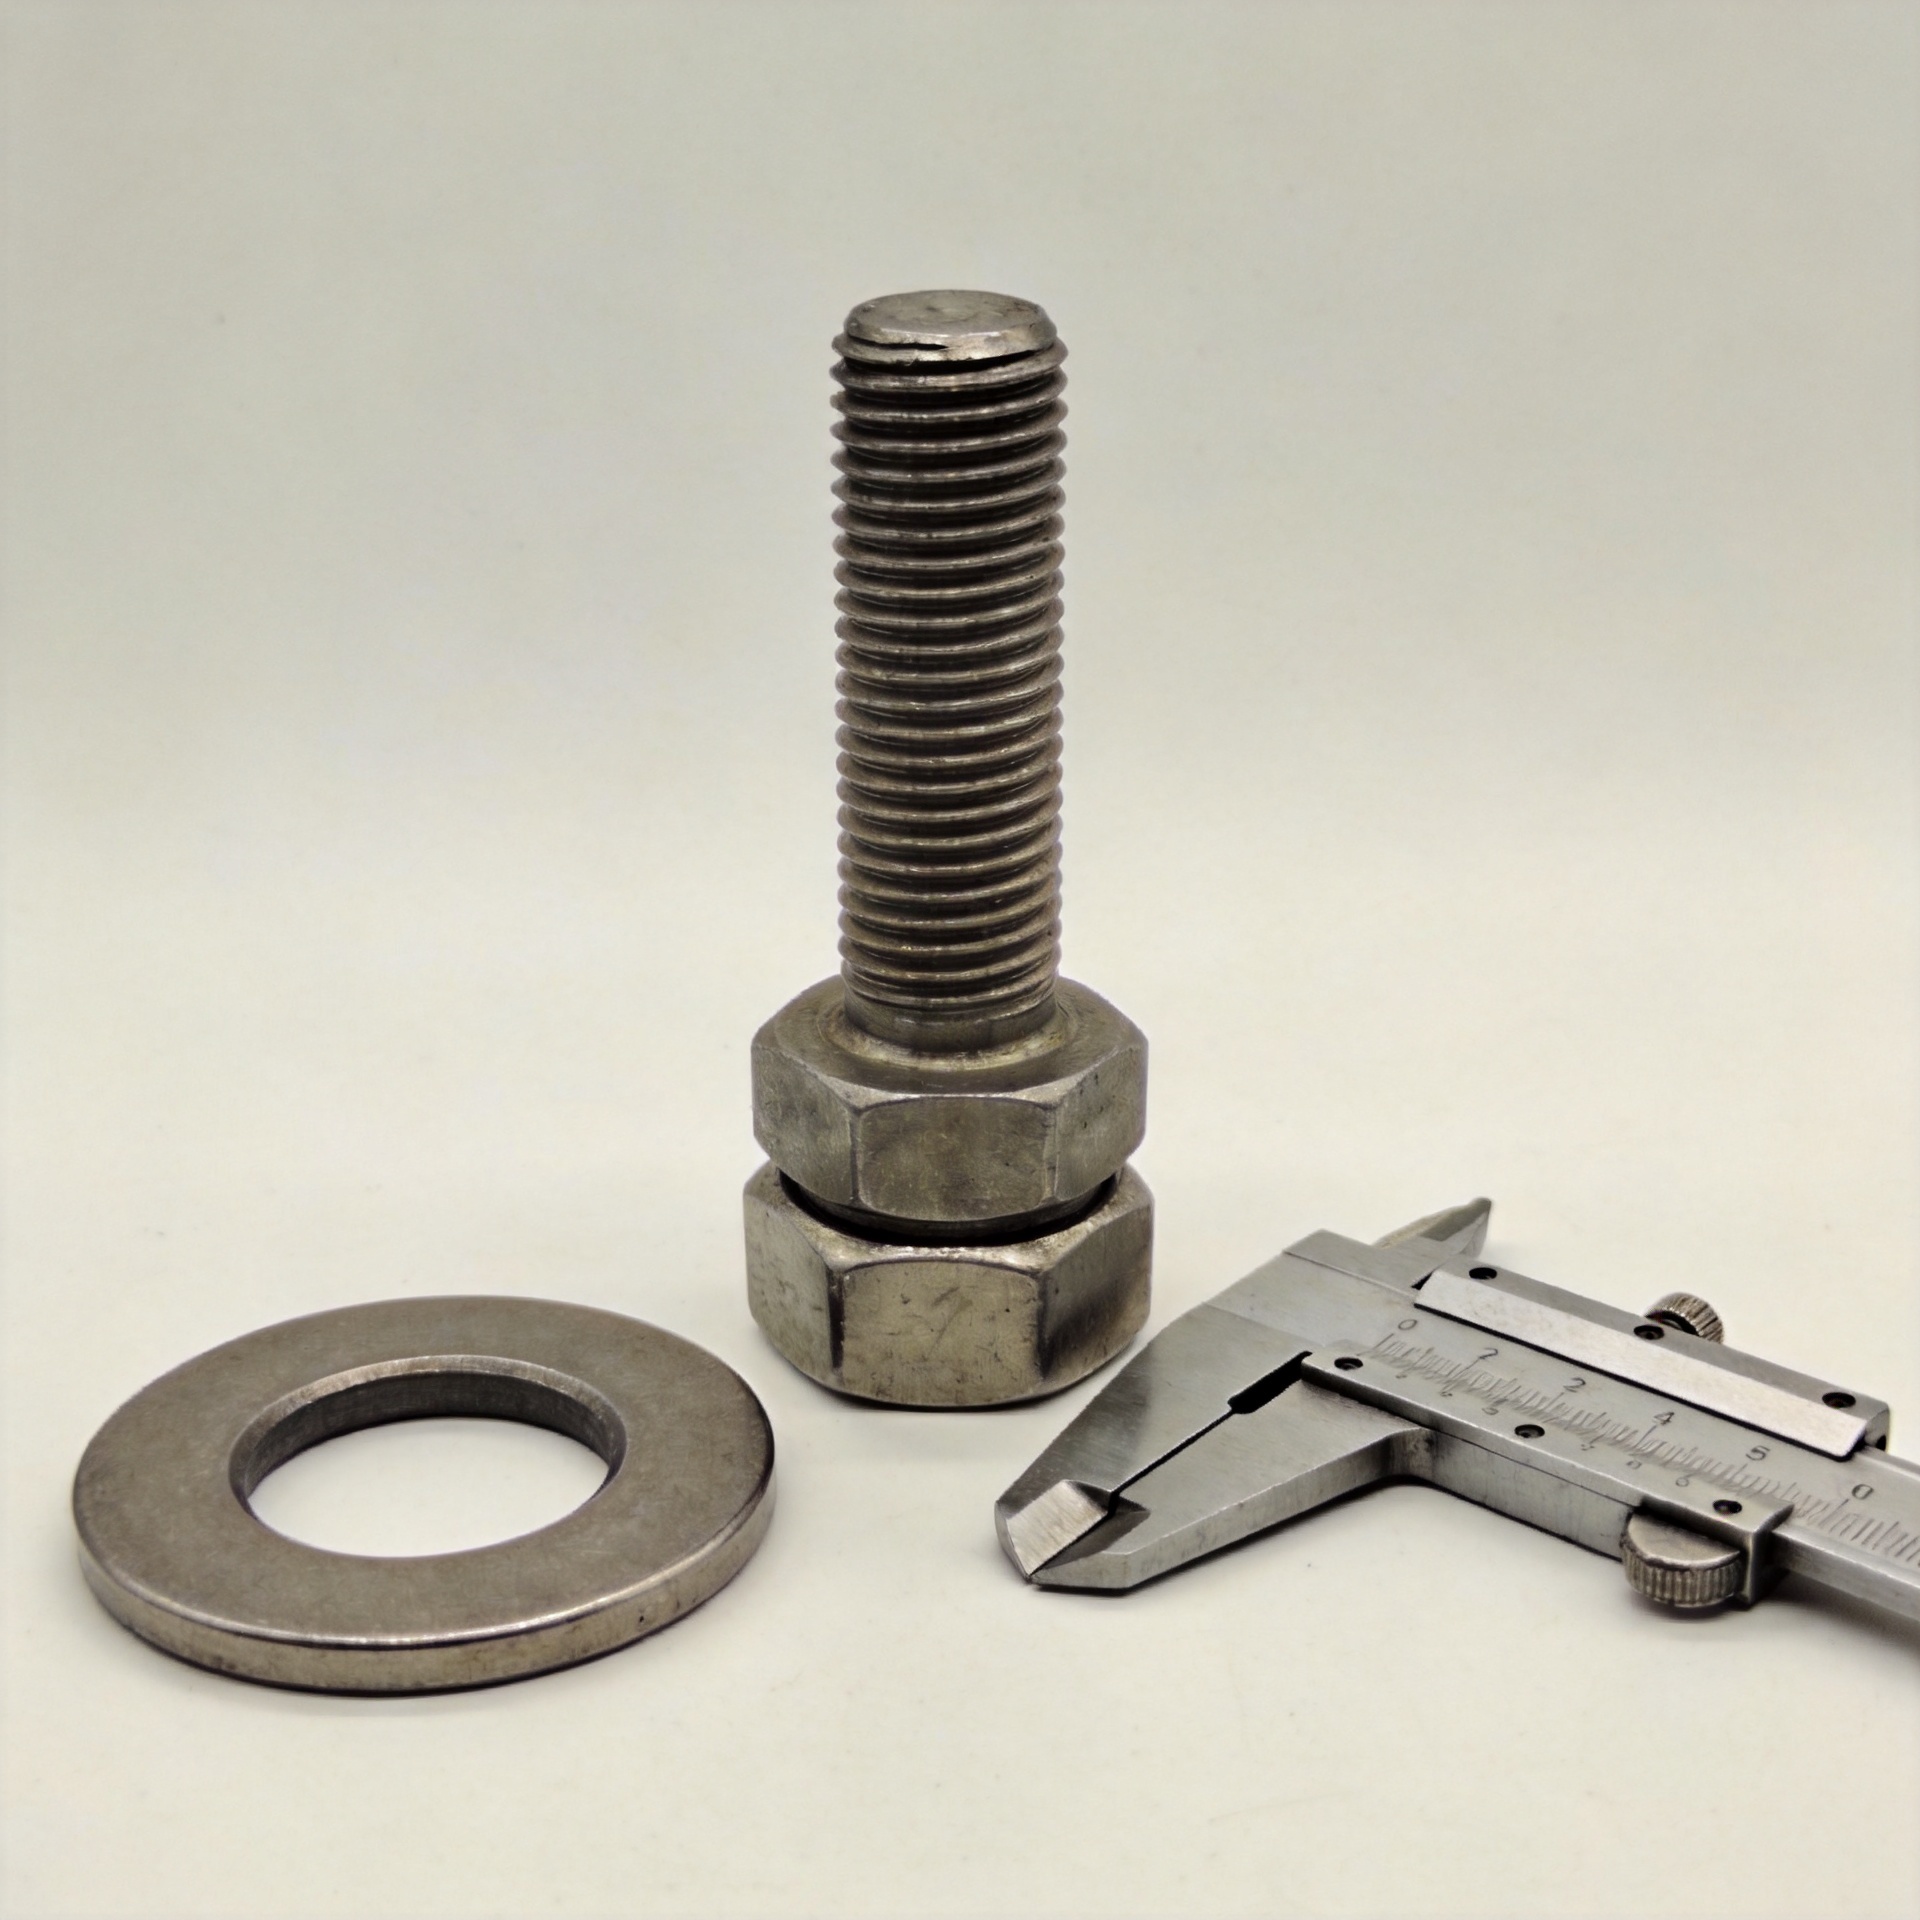
How to Recover a Joint When Washer Indentation Becomes Excessive
A washer indentation is easy to dismiss when an assembly is under schedule pressure. Yet a deep ring, a tilted bearing face, or a washer that has visibly cupped can change how clamp load travels through a joint. The practical question is not whether every mark requires a rebuild. It is whether the washer, the contacted material, and the fastener can still develop and retain the required preload.
This guide uses a repair-first sequence: make the joint safe, inspect the bearing surfaces, decide whether the damage is local or structural, then rebuild with a washer arrangement that matches the material and service conditions. It is written from the viewpoint of a fastener-selection engineer: a washer is part of the joint system, not an interchangeable spacer.
What excessive washer indentation can mean
During tightening, a washer spreads load beneath the bolt head or nut and helps keep that load from damaging the joint surface. Some settling at rough contact points can be normal. Excessive indentation is different: the washer may sink into a soft plate, coating, gasket, composite laminate, or damaged surface. This local deformation is often called embedment. It can shorten the clamped stack and reduce preload even though the bolt has not rotated loose.
Do not judge the condition from the visible ring alone. A shallow, uniform witness mark on a sound steel bearing surface may be acceptable after inspection. A deep groove, cracked coating, crushed laminate, displaced seal, or tilted washer points to a bearing problem that a simple retorque may not correct.
Make the assembly safe before diagnosis
First, isolate energy and support the load if the joint carries equipment, guards, pressure boundaries, or moving parts. Record the joint location, fastener size, specified tightening method, and any torque-angle or preload record. Mark the fastener position only if that practice is permitted by the assembly procedure; the mark can help identify later movement, but it does not measure clamp force.
Then release the joint according to the applicable maintenance procedure. Avoid tightening an already indented washer “a little more” to make the mark disappear. That approach can further crush the bearing surface, stretch a fastener beyond its intended condition, or hide a crack under the washer.
Inspect the washer and every contact surface
Remove the washer and clean loose debris without grinding the joint surface. Check four areas: the washer faces, the underside of the bolt head or nut, the clamped material, and any coating, gasket, or sealing layer. Compare the damaged area with an undamaged neighboring joint when a valid comparison exists.
- Washer condition: Look for cupping, bending, burrs, cracks, plating damage, and a contact area that is no longer flat. Replace a deformed washer rather than flattening it for reuse.
- Joint material: Check whether the indentation is isolated to a surface finish or extends into the base material. Soft sheet, aluminum, painted surfaces, composites, and polymer layers deserve closer attention.
- Fastener condition: Inspect threads, the head or nut bearing face, corrosion, and signs of yielding. Replace the fastener when the procedure, condition, or evidence of overload calls for it.
- Joint geometry: Verify that holes are not elongated and that the washer was centered. An off-center washer can concentrate load at one edge and create a misleading indentation pattern.
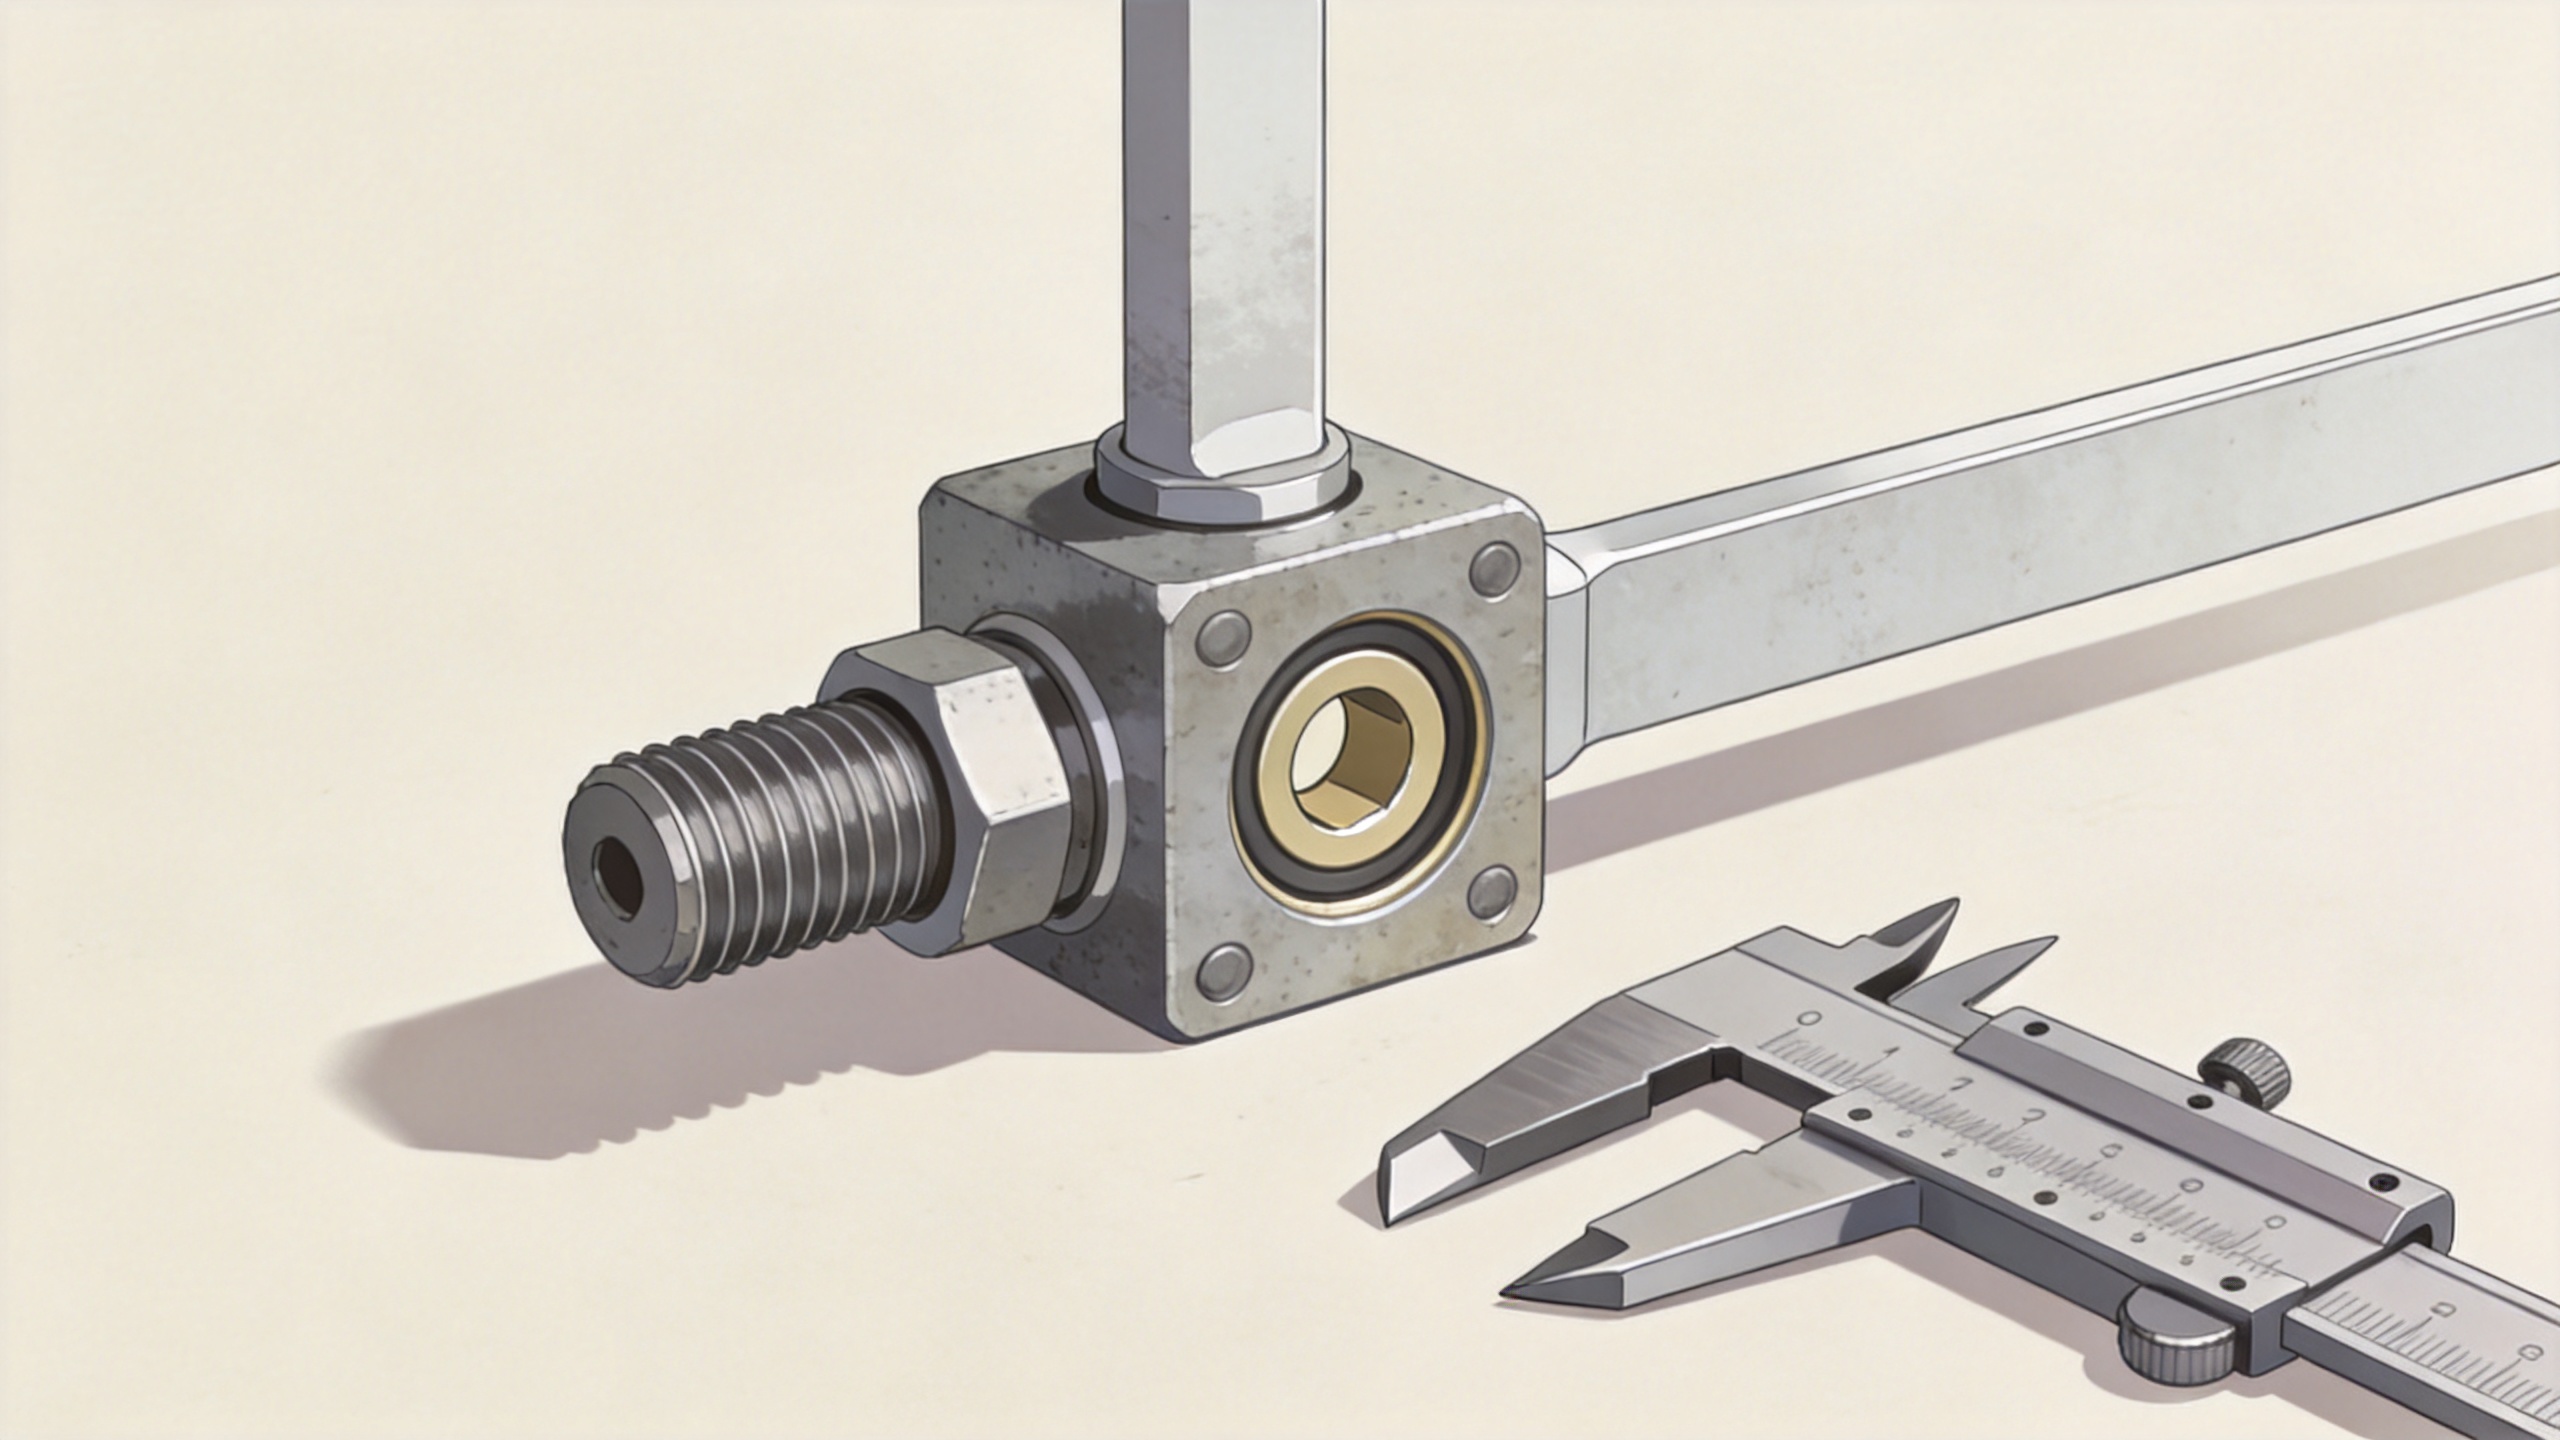
Choose the recovery path
A useful decision point is whether the original bearing surface remains flat enough and strong enough to support the intended clamp load. If it does, the repair may involve replacing the washer and fastener as required, cleaning the bearing area, and tightening with the documented method. If the surface is gouged, distorted, cracked, or unable to support the load, the joint needs engineering review before return to service.
| Observed condition | Typical recovery direction |
|---|---|
| Uniform light witness mark; washer remains flat | Inspect, replace the washer if the procedure requires it, and reassemble to the approved specification. |
| Cupped or bent washer; base material sound | Replace the damaged washer, inspect the mating face, and evaluate whether a larger bearing area or different hardness is appropriate. |
| Deep indentation in soft or coated material | Assess the remaining material and coating function; use an approved repair or redesign the bearing arrangement before retightening. |
| Cracks, elongated holes, recurring relaxation, or leakage | Remove the assembly from routine repair and obtain engineering direction for a joint redesign or component replacement. |
Match the washer type to the problem
A flat washer is usually the starting point when the recovery goal is to spread bearing load over a larger, stable surface. Its outside diameter, thickness, hardness, and flatness all matter; a larger diameter is not automatically suitable if it conflicts with clearance, geometry, or approved joint design.
A lock washer should not be treated as a repair for crushed material. It may serve a specified locking function in a suitable joint, but it does not restore a damaged bearing surface or replace preload verification. If loosening recurs, inspect clamp length, surface settlement, vibration, tightening method, and the joint design rather than adding a locking feature by habit.
A spring washer can have a defined role where the joint design calls for compliant elements, including some cases involving relaxation. Its behavior depends on the full stack, load range, and installation details. Do not substitute one simply because an ordinary washer left an indentation.
A sealing washer deserves separate attention when fluid or dust exclusion is part of the joint function. Once its elastomeric or bonded sealing area has been compressed unevenly, nicked, or displaced, replacement is normally the safer choice. Confirm that the replacement provides both the required seal and a compatible bearing arrangement.
Rebuild with controlled tightening
Use approved replacement parts and the specified lubricant, coating condition, tightening sequence, and torque or angle method. Clean, dry bearing faces may not be the right answer; the governing procedure should define the intended bearing-surface condition. What matters is repeatability. A changed washer material, surface finish, or lubrication condition can alter the relationship between applied torque and achieved preload.
For multi-bolt patterns, bring the joint down in stages and use the prescribed sequence. After tightening, inspect for washer tilt, extrusion of a sealing washer, coating cracking, or renewed indentation. Where the application is critical, use the verification method defined by the engineering or quality plan rather than relying on feel at the wrench.
Stop repeat damage at the source
Recurring washer indentation is a signal to review the system. Check whether the tool output is appropriate, whether the washer hardness and footprint suit the clamped material, whether the bolt head or nut has an adequate bearing face, and whether the load path includes too many settling contact boundaries. A small joint with a short grip length can be particularly sensitive to lost extension from embedment.
Document the finding, parts replaced, tightening method, and any escalation. That record makes it easier to distinguish a one-off assembly error from a design issue. The durable repair is not the one that hides the mark; it is the one that returns the washer, fastener, and joint surface to a controlled load path.
Recovery checklist
- Make the equipment safe and capture the original assembly data.
- Disassemble and inspect the washer, fastener, bearing faces, and any seal or coating.
- Replace visibly deformed parts; do not reuse a cupped or cracked washer.
- Escalate cracks, material loss, elongated holes, leakage, or repeated relaxation.
- Reassemble only with approved components and the documented tightening method.
- Inspect the rebuilt joint and record the repair for future troubleshooting.

