 EN

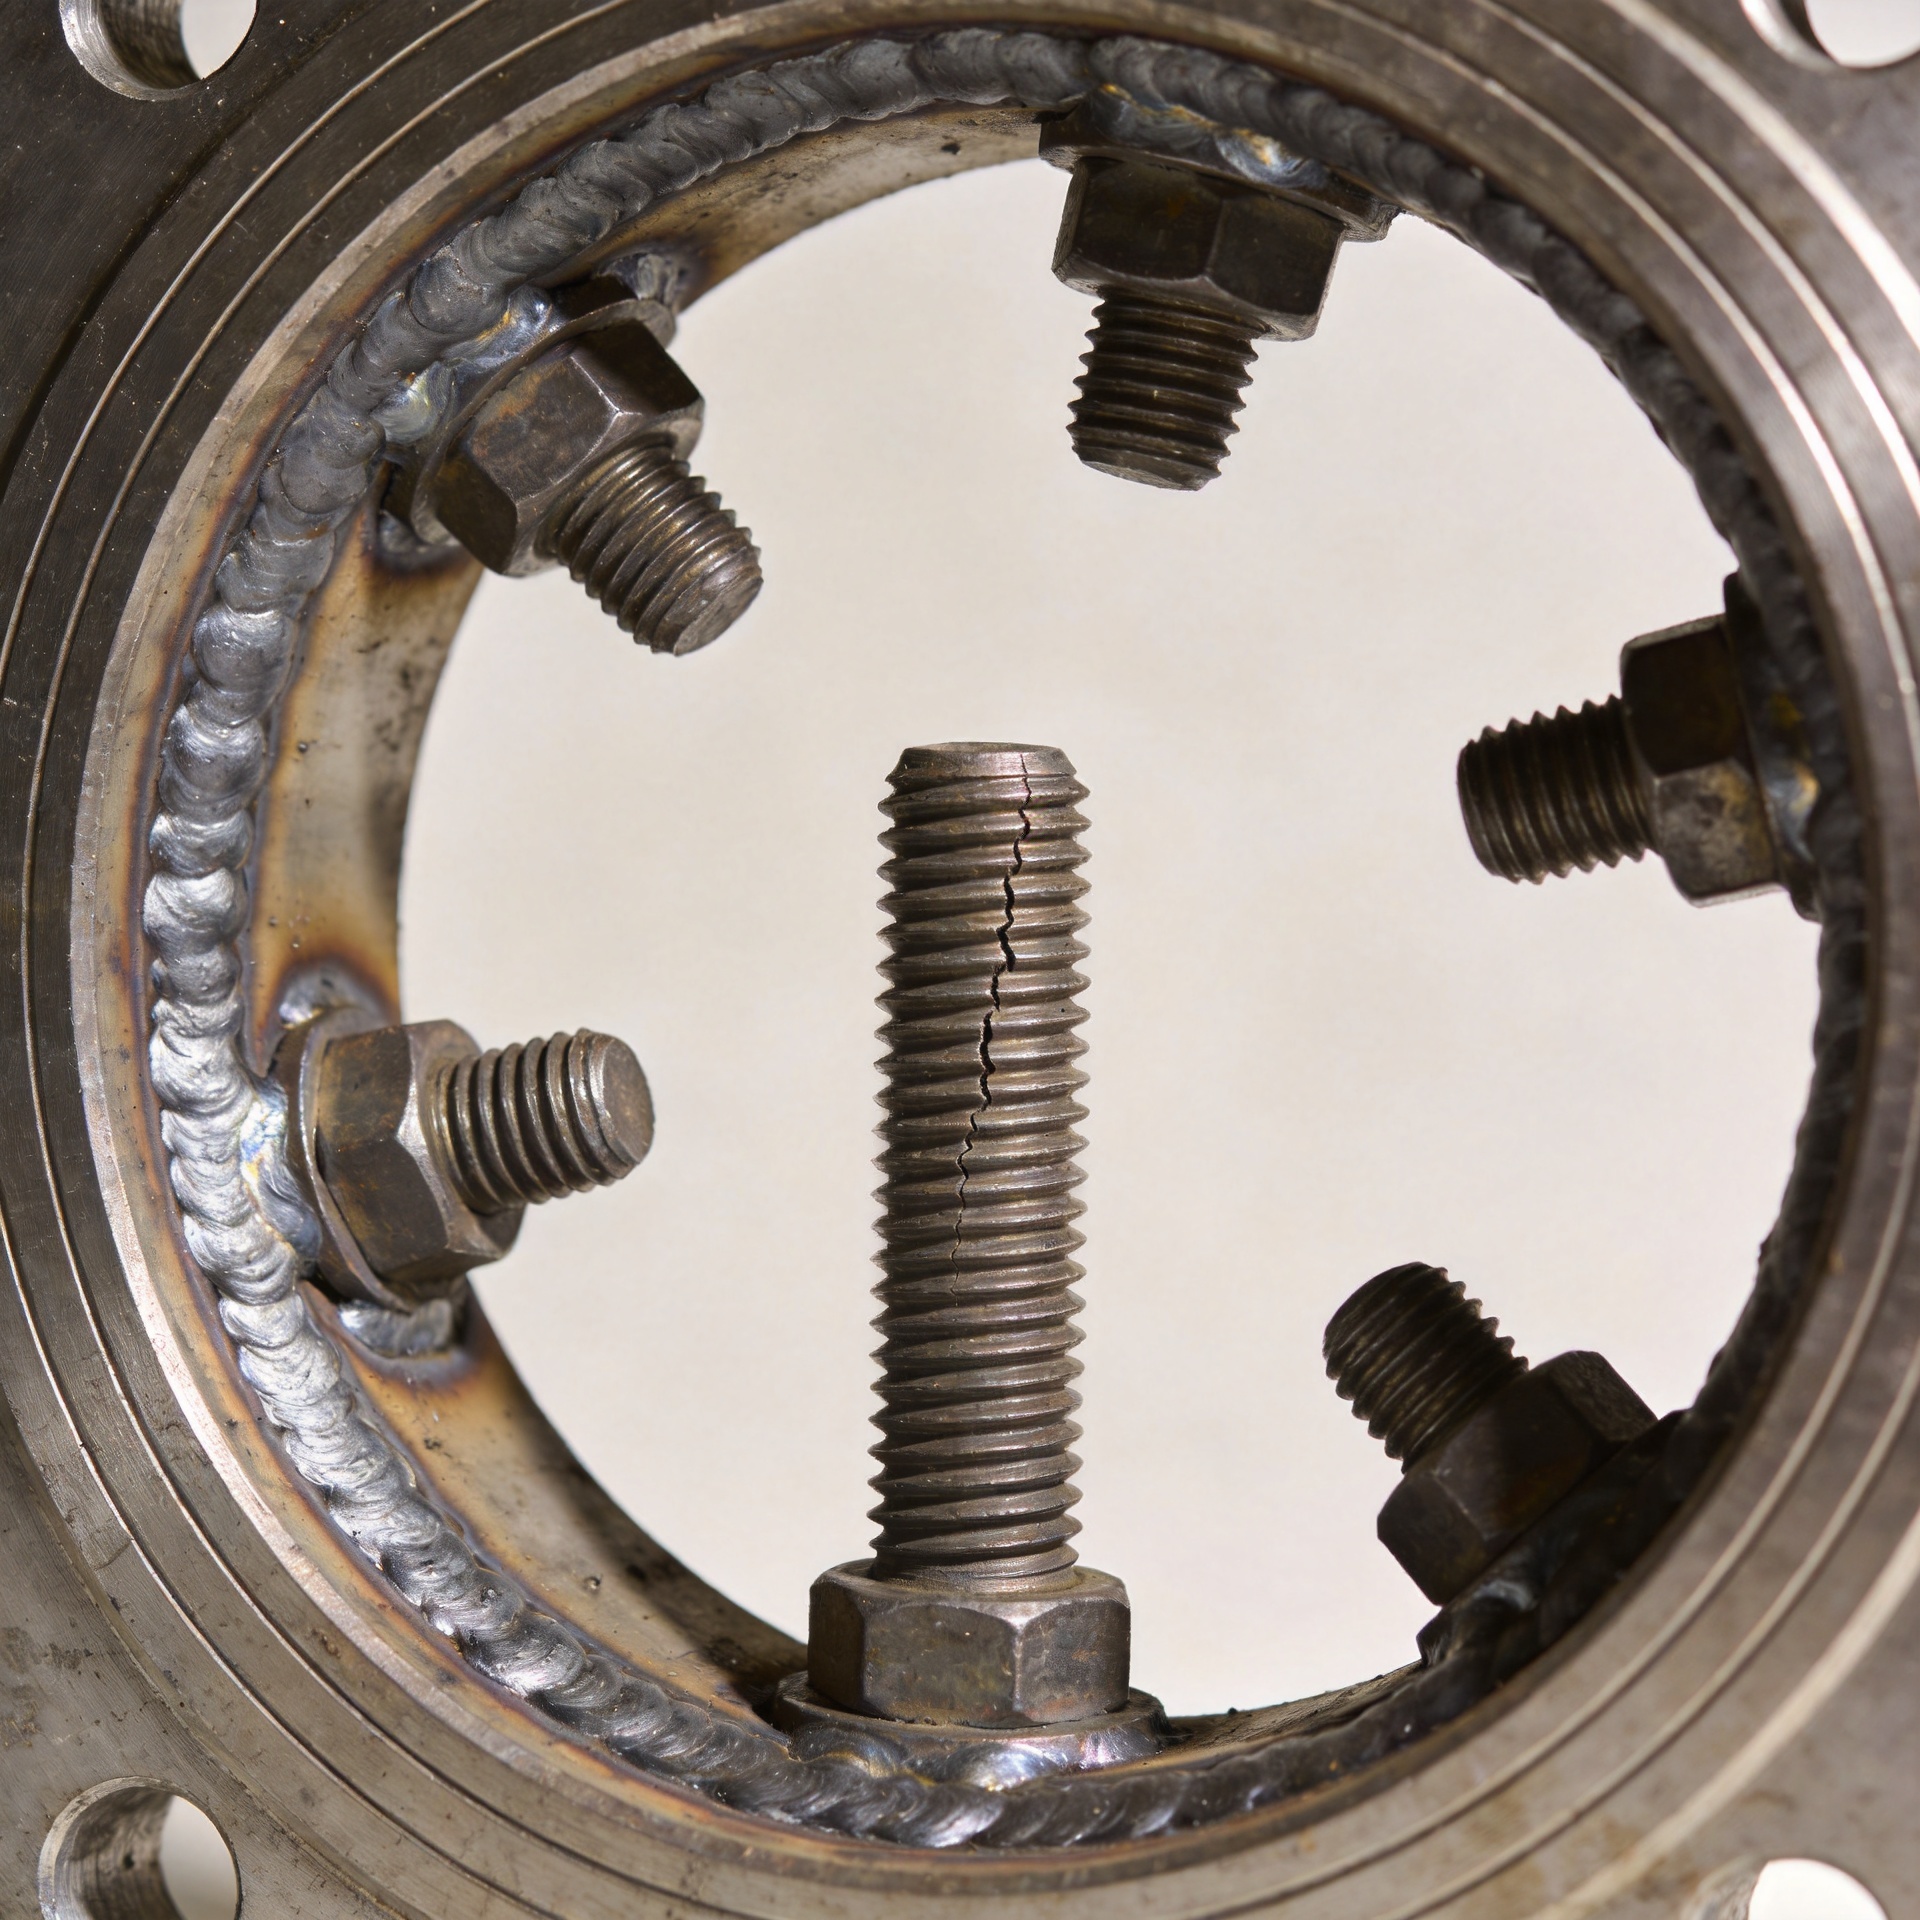
Why Studs Crack in High Temperature Service and How to Mitigate
When a hot flange leaks or a cover joint loses clamp load, the visible damage is often blamed on a broken fastener. In practice, studs in elevated-temperature service fail because the joint, material, assembly method, and thermal cycle are working against one another. A crack may be the final symptom, not the first event. For maintenance and procurement teams, the useful question is not simply “which stud bolt is stronger?” It is “what mechanism changed the stress state of this joint?”
This guide focuses on industrial studs used in hot piping, pressure equipment, furnaces, and process machinery. It explains how to distinguish cracking from preload loss, where a threaded stud is vulnerable, and how to build a mitigation plan that can be verified during shutdown work.
Start With the Failure Pattern, Not the Replacement Grade
Before selecting replacement studs, document where the fracture began. A break at the first engaged thread, at the nut runout, or beside a washer tells a different story from a fracture through the smooth shank. Photograph the parts before cleaning them, preserve a representative sample when the consequence is high, and record the location, joint temperature, operating history, assembly torque or tension method, nut grade, lubricant, and gasket type.
A double ended stud used in a tapped hole can be especially sensitive to thread engagement, bottoming, and the mismatch between the stud and the parent material. A welding stud belongs to a different joint category: weld procedure, heat input, and heat-affected-zone condition require their own review. Do not assume that an issue in one construction has the same cause in another.
Why High Temperature Changes the Load on Studs
At elevated temperature, a bolted joint is not static. The stud, nut, flange, gasket, and connected equipment expand at different rates. If the clamped parts expand more than the fastener, the stud load may rise. If the fastener expands more, or if the gasket and joint members relax, clamp load may fall. Repeated starts and stops can cycle this changing load even when the external pressure is steady.
Time adds another mechanism: creep and stress relaxation. Under sustained tensile stress at high temperature, a metal fastener can slowly extend. That extension reduces the elastic stretch that created preload. Gasket creep can reduce contact stress at the same time. The result can be movement, fretting, leakage, and a changing bending load on the stud bolt. These events may occur well before a visible crack forms.
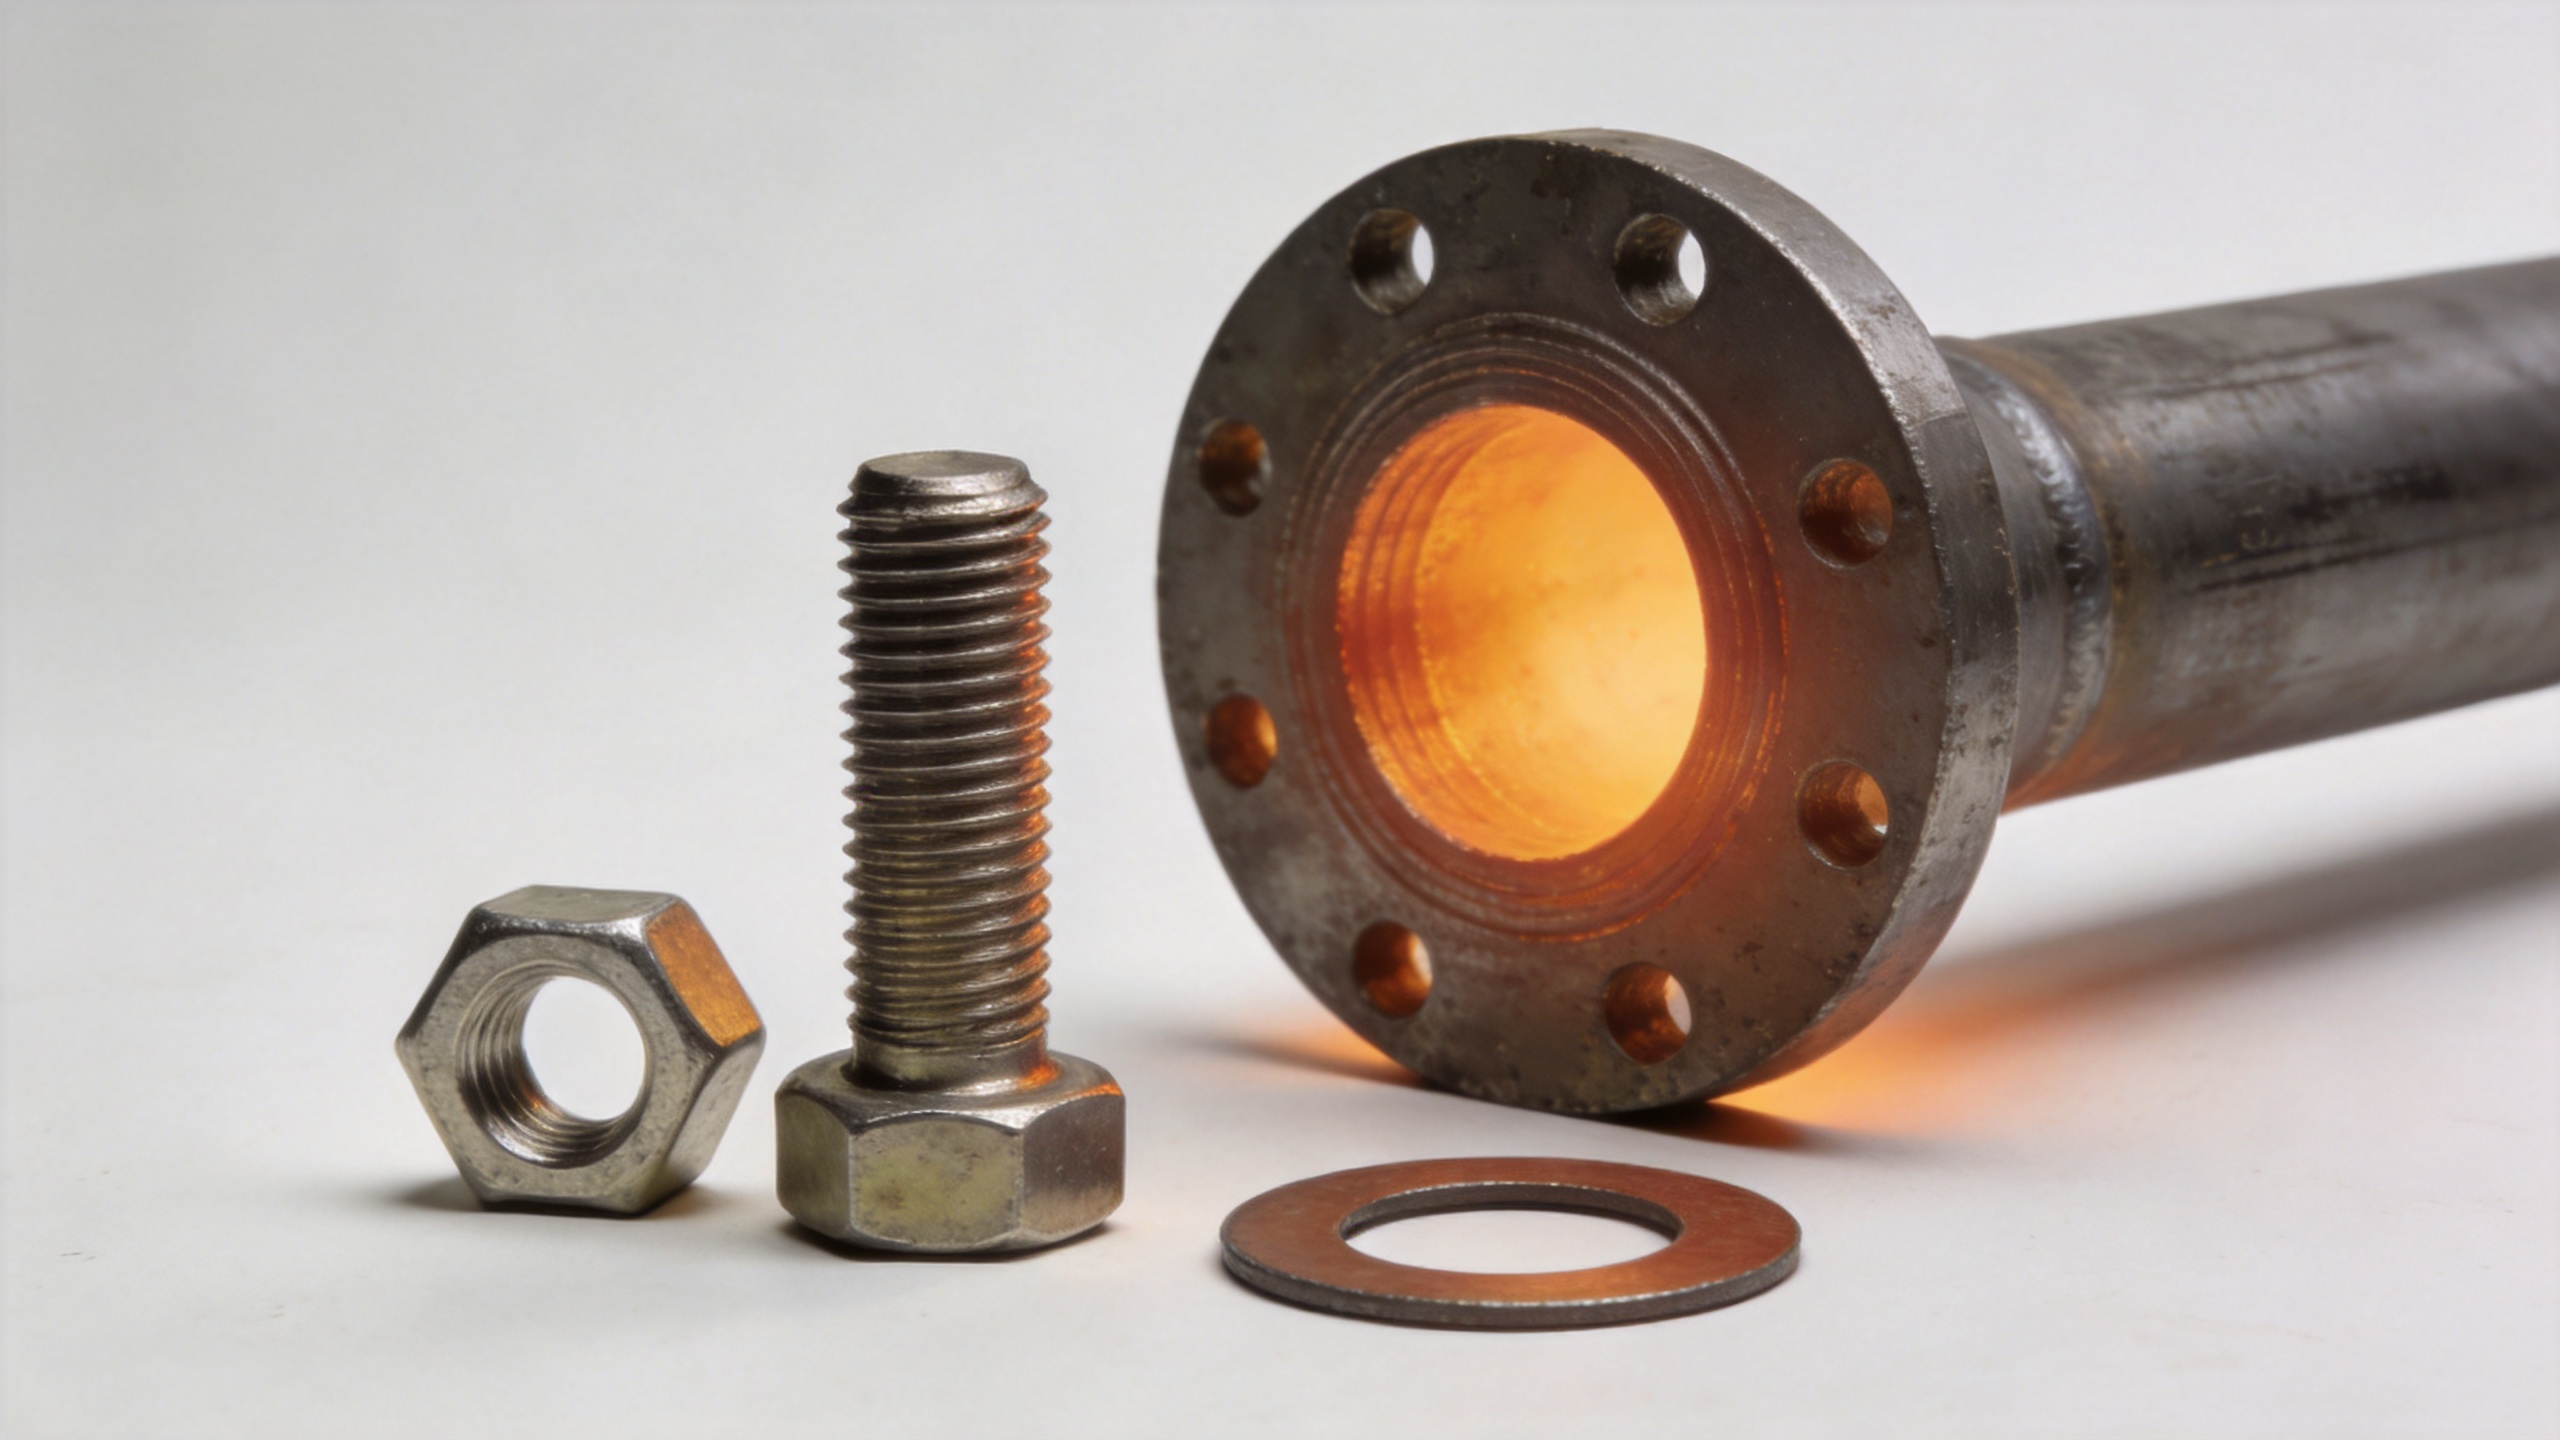
Five Common Routes to Cracking
1. Material loses margin at the actual metal temperature
Temperature ratings must be tied to the governing design code, specified material grade, heat treatment, and real metal temperature—not only the process-fluid reading. A material that is acceptable for an intermittent exposure may not retain enough creep resistance for sustained service. Verify the material test report, grade markings, nut compatibility, and the project specification before substituting studs.
2. Over-tightening creates a short fatigue life
High assembly torque does not automatically mean a safer joint. Excess preload can put the thread roots close to their allowable stress before the first heat cycle. Scatter from friction, damaged threads, dry assembly, or an inconsistent lubricant can make two apparently identical threaded stud assemblies carry very different load. Later thermal cycling can turn that initial overload into a fatigue crack.
3. Under-tightening permits slip and bending
Insufficient preload permits joint separation or local slip. The stud then sees bending in addition to tension, often concentrated near the first engaged thread. Leakage marks, polished contact surfaces, loose nuts, and fretting debris are useful indicators. Re-torquing without identifying why preload was lost can repeat the same cycle.
4. Thread geometry and engagement concentrate stress
Threads are natural stress raisers, but poor engagement makes the problem worse. Common triggers include a damaged first thread, mismatched pitch, nuts with insufficient engagement, a stud that bottoms in a blind hole, and an unthreaded length that does not place the nut bearing surface where the joint needs it. For a double ended stud, confirm insertion depth and ensure the installed end does not transfer load through a bottomed thread.
5. Environment and metallurgical condition add a second damage mechanism
High temperature does not remove environmental concerns. Oxidation, corrosion deposits, process contamination, and unsuitable surface condition can damage threads or initiate local pits. Prior exposure, improper heat treatment, or uncontrolled fabrication can also leave a stud with reduced toughness or residual stress. Where a welding stud is involved, review the qualified welding procedure and inspect the weld region rather than treating it as a conventional removable fastener.
A Practical Inspection Sequence
- Make the joint safe and capture evidence. Record temperature history, pressure excursions, leak locations, tightening records, and the as-found nut position.
- Map the damage. Identify whether cracks start at the first engaged thread, a transition, a corrosion pit, or the weld region.
- Check dimensions and fit. Verify stud length, thread pitch, engagement, nut grade, washer condition, and flange alignment. Compare removed studs for permanent elongation when the inspection plan permits.
- Confirm material identity. Review markings and material certificates; use appropriate positive material identification or laboratory examination when required by the service consequence.
- Review joint loading. Consider thermal expansion, gasket behavior, pressure thrust, piping loads, and assembly method together. A cracked stud bolt is often evidence that the joint model needs correction.
Mitigation That Addresses the Mechanism
Choose materials for the service envelope. Specify the stud and nut as a compatible system. The decision should account for sustained metal temperature, cycle count, corrosion environment, required strength at temperature, and the governing standard. Avoid assigning a universal maximum temperature from a catalogue comparison; project design rules and certified material data control.
Control preload, not only torque. Use the approved tightening procedure, calibrated tools, correct nut factor or lubricant, and a defined tightening pattern. For critical joints, consider tensioning or another controlled method where the design and access allow it. The objective is repeatable preload that maintains sealing without consuming the fastener’s high-temperature margin.
Improve geometry and fit-up. Specify adequate engagement, compatible thread form, suitable washers where required, and a stud length that supports full nut engagement without bottoming. Correct flange distortion, misalignment, and external piping loads before installing new studs; a replacement cannot compensate for a joint that is being forced out of alignment.
Plan verification into the maintenance scope. Include heat-by-heat traceability, incoming thread checks, visual inspection criteria, and a hold point for any crack indication. Suppliers that can provide material documentation and batch traceability can support this control plan, but the purchaser should define the acceptance criteria for the actual service.
When to Escalate the Investigation
Escalate beyond routine replacement when multiple studs crack in one joint, cracks recur after a short operating interval, leakage follows every thermal cycle, or the service is pressure-retaining, toxic, flammable, or otherwise high consequence. An engineering review may need joint-calculation inputs, metallographic examination, hardness checks, fracture-surface analysis, and a review of the operating transients. These steps help separate creep-related preload loss, fatigue, embrittlement concerns, and installation error.
Procurement Checklist for Replacement Studs
- State the governing standard, required grade, dimensions, thread form, and nut requirements.
- Provide the sustained metal temperature and thermal-cycle description, not only nominal process temperature.
- Request material certification and define traceability expectations for the order.
- Specify any required heat treatment, coating, cleanliness, and packaging condition.
- Align the incoming inspection plan with the failure mechanism found on the removed studs.
Conclusion
Reliable high-temperature studs depend on a controlled joint system: the right material condition, compatible nuts, repeatable preload, correct engagement, and an honest review of thermal movement. Treat a crack as evidence to investigate, then correct the load path and assembly controls before the next run. That approach is more durable than changing a threaded stud grade in isolation.

