EN

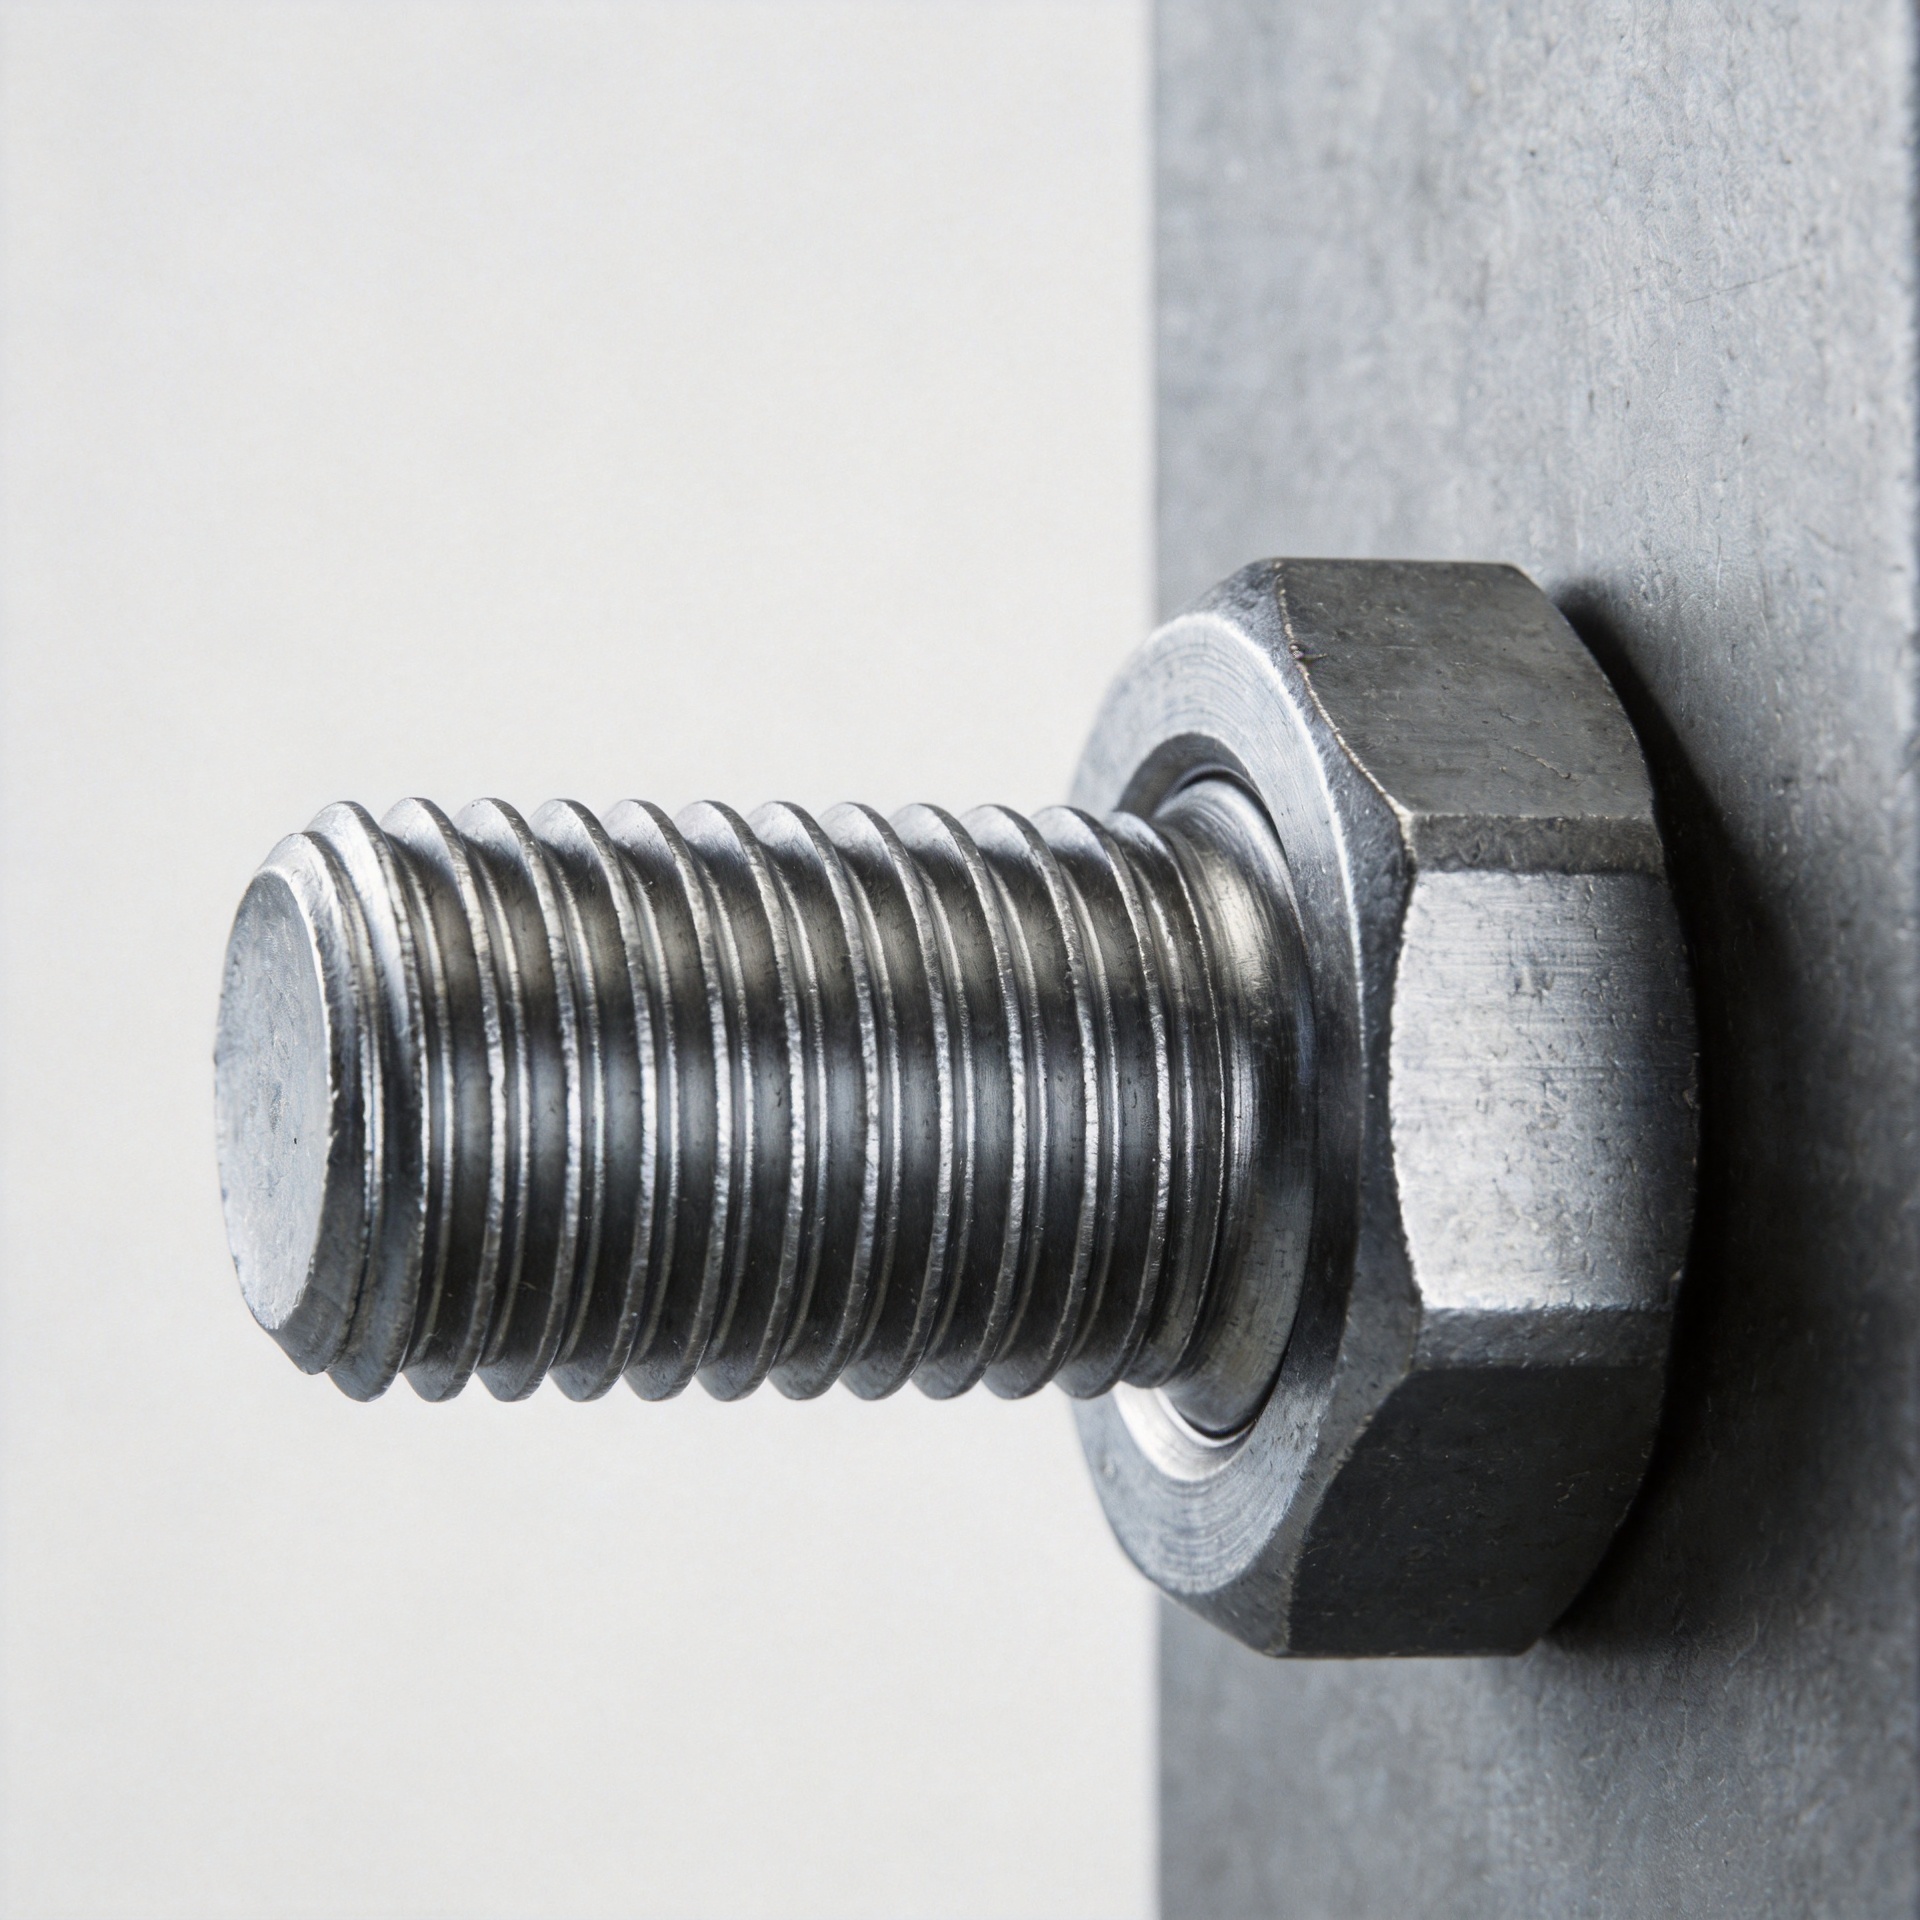
Why Stud Thread Engagement Shortfall Causes Joint Failure in Plants
In plant maintenance, a joint can look properly assembled yet still carry a hidden weakness: too little usable thread engagement. When Studs do not engage enough sound thread in a nut or tapped component, the joint may lose clamp load, damage internal threads, or loosen under temperature cycling and vibration. The issue is not simply whether a few threads can be seen. It is whether the assembled connection has the designed load path, material condition, and installation control to hold preload in service.
From a fastener-selection engineer’s perspective, the practical sequence is straightforward: identify the load and environment, confirm the real engaged length and mating material, then verify the assembly method. This approach is especially important in pumps, compressors, pipe-flange connections, structural equipment supports, and other plant systems where access is limited and a small assembly mistake can create repeat maintenance work.
What Thread Engagement Actually Does in a Studded Joint
Thread engagement is the axial length over which a threaded stud is supported by the mating internal thread or nut. Its purpose is to transfer tensile force without stripping the weaker member. A joint with adequate engagement can develop useful preload when tightened; one with short engagement concentrates load on too few thread flanks.
Load is not shared uniformly across every engaged thread. Engineering references commonly note that the first engaged threads take a disproportionately large portion of the load. That is why a connection that is only marginally short can be much more vulnerable than its appearance suggests. One nominal diameter of engagement in equal-strength steel is often used as an initial rule of thumb, but it is not a substitute for the applicable drawing, design calculation, material comparison, or site procedure. Softer tapped materials, high-temperature service, cyclic loading, and corrosion can all change the required margin.
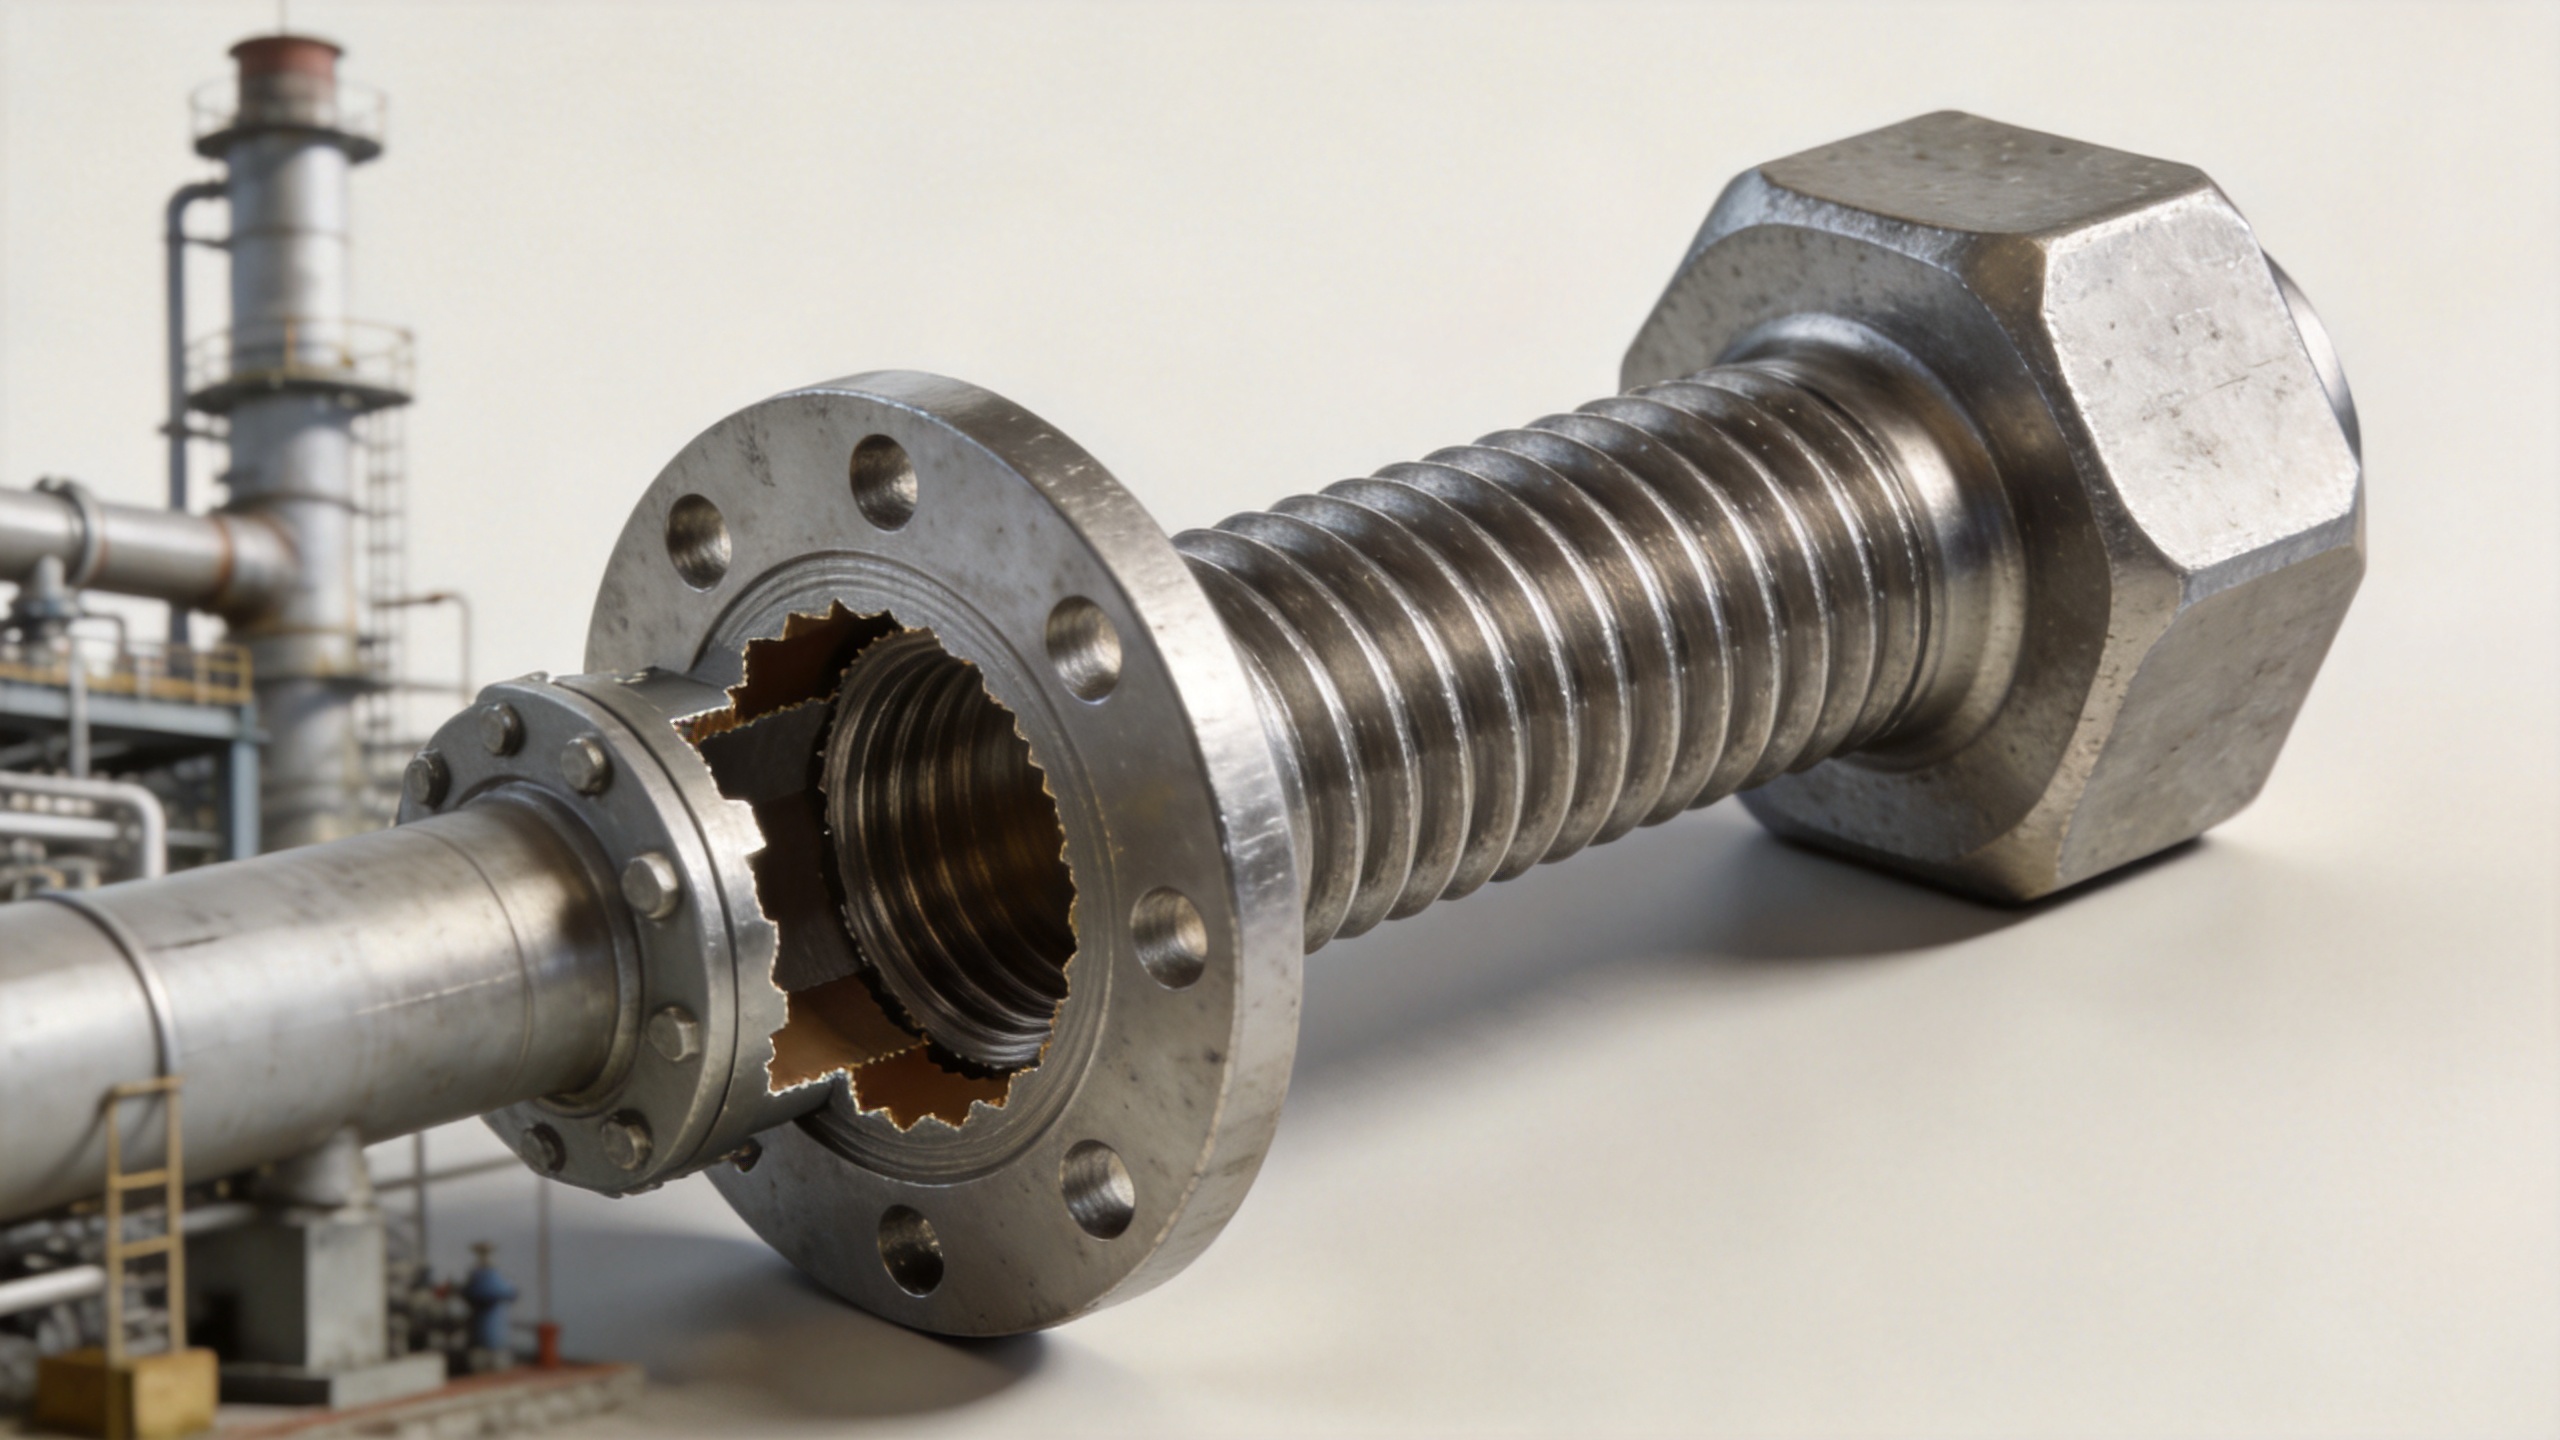
How an Engagement Shortfall Turns Into Joint Failure
The failure chain usually begins with reduced thread shear area. If the stud bolt is engaged only near the end of a nut or a shallow tapped hole, the first loaded threads see higher local stress. Those threads may deform, strip, or settle during tightening. Once settling occurs, preload falls. The joint can then move microscopically under vibration, thermal expansion, pressure pulsation, or external bending.
That movement has secondary effects: the nut can back off, the gasket contact pressure can decline, and fretting can damage the mating faces. In a flange connection, the visible symptom may be leakage rather than a visibly broken fastener. In machinery supports or covers, the symptom may be noise, alignment drift, or recurring torque loss. The root cause may still be inadequate engagement rather than the torque tool alone.
A useful correction to a common assumption is that a higher-strength fastener will automatically solve the issue. It may not. If the female thread or nut is the weaker element, upgrading the stud without confirming engagement and material compatibility can move the weak point into the mating threads. The connection must be assessed as a system.
Common Reasons Plants End Up With Too Little Engagement
Incorrect effective length or stack-up
Washers, spacers, thicker coatings, flange changes, and gasket revisions all consume available length. A double ended stud selected from an older bill of materials may no longer provide the intended engagement once the real clamp stack is measured. Check both ends: a stud can be acceptable at the nut yet too shallow in the tapped body.
Damaged, dirty, or corroded internal threads
Debris, coating buildup, corrosion products, and cross-threading can stop the stud before it reaches its intended seating depth. The exposed portion may make the connection look acceptable while only a fraction of the planned flank contact is carrying load. Clean and gauge questionable threads instead of using torque to force the assembly home.
Wrong part substitution
Thread pitch, class of fit, material, and usable threaded length must match the joint design. Visually similar parts are not interchangeable. A welding stud, for example, is engineered around a different attachment process and should not be treated as a direct replacement for a removable, double-ended service stud unless the joint design specifically permits it.
Installation sequence and bottoming
In blind holes, a stud may bottom before the required thread length engages. In other cases, incomplete seating or inconsistent runout leaves one end short. If the work instruction specifies a seating depth, use a depth mark, gauge, or controlled installation method rather than estimating by eye.
Field Signs That Call for an Engagement Check
- Repeated torque loss after a shutdown or heat cycle.
- Nut travel that stops unexpectedly early or varies from fastener to fastener.
- Visible thread damage, galling, corrosion, or coating buildup at the joint.
- Leakage, fretting residue, or joint movement around a connection that was recently tightened.
- Studs with inconsistent protrusion on nominally identical positions.
- A fastener change made after a gasket, spacer, flange, or equipment revision.
These signs do not prove a short engagement condition by themselves. They do justify measuring it before assuming that retorquing is the right response.
A Practical Inspection and Correction Process
- Make the equipment safe and identify the joint requirement. Use the applicable maintenance procedure, drawing, and isolation controls. Critical pressure-boundary or safety-related joints should be evaluated by qualified personnel.
- Measure the actual stack-up. Record flange thickness, gasket compression allowance, washers, spacers, and usable threaded depths. Do not rely only on the nominal stud length stamped on an old package.
- Inspect both mating threads. Look for deformation, corrosion, contamination, damaged starts, and bottoming marks. Confirm pitch and fit with suitable gauges where the procedure requires them.
- Confirm effective engagement rather than visible protrusion alone. For a nut, check that the required full threads are engaged. For a tapped hole, account for chamfers, incomplete lead threads, and blind-hole clearance.
- Select the corrective action from the joint design. This may mean a revised stud length, an approved nut or insert solution, thread repair, or a redesign review. Avoid adding washers or extending a thread ad hoc if that changes the specified clamp stack or seating condition.
- Reassemble with controlled preload. Use the specified lubrication condition, torque or tensioning method, and tightening sequence. Record the change where the plant’s maintenance system requires traceability.
Choosing and Specifying Studs for Reliable Plant Joints
Reliable Studs start with a clear specification: diameter, pitch, grade or material, coating, total length, usable thread length at each end, and the intended mating component. For high-temperature, corrosive, or vibrating duty, include the service condition in the engineering review rather than treating the fastener as a generic commodity.
For procurement and quality teams, it is also sensible to maintain batch traceability and confirm dimensional checks before issue to a critical job. A supplier with documented inspection and traceability processes can support that review, but the plant still needs to verify that the supplied configuration matches the specific joint. The most durable improvement often comes from treating the stud, nut or tapped body, assembly tools, and preload instruction as one controlled system.
Thread Engagement Record for Critical Plant Work
For shutdown work, record the installed Studs, actual thread contact, and tightening condition. This connects the selected part to the joint that must retain preload.
- For critical Studs, record the drawing reference, installed length, and engaged length; identify whether the joint uses a threaded stud, double ended stud, or specified stud bolt.
- For replacement Studs, compare the new threaded stud with the removed double ended stud and confirm the stud bolt length suits the current clamp stack.
- For corroded Studs, inspect the female thread before fitting a threaded stud; a sound double ended stud cannot compensate for damaged stud bolt mating threads.
- For hot-service Studs, note material pair and tightening condition of the threaded stud; the double ended stud and stud bolt hardware need service-specific engagement.
- For vibration-prone Studs, verify preload procedure alongside threaded stud depth. A double ended stud can still lose function when the stud bolt has insufficient usable engagement.
- For spare Studs, segregate pitch and length variants so a threaded stud is not exchanged for an unsuitable double ended stud or stud bolt.
- For repaired Studs, document the restoration method and remeasure threaded stud engagement for the intended double ended stud or stud bolt load path.
Conclusion
Short thread engagement can turn a sound-looking connection into a low-preload, high-maintenance joint. The remedy is not to assume that more torque or a stronger fastener will compensate. Verify the effective engagement, compare the mating materials, inspect the thread condition, and restore the joint with the correct Studs and installation method. That disciplined check helps maintenance teams address the load path before leakage, loosening, or thread damage develops into a larger plant failure.