 EN

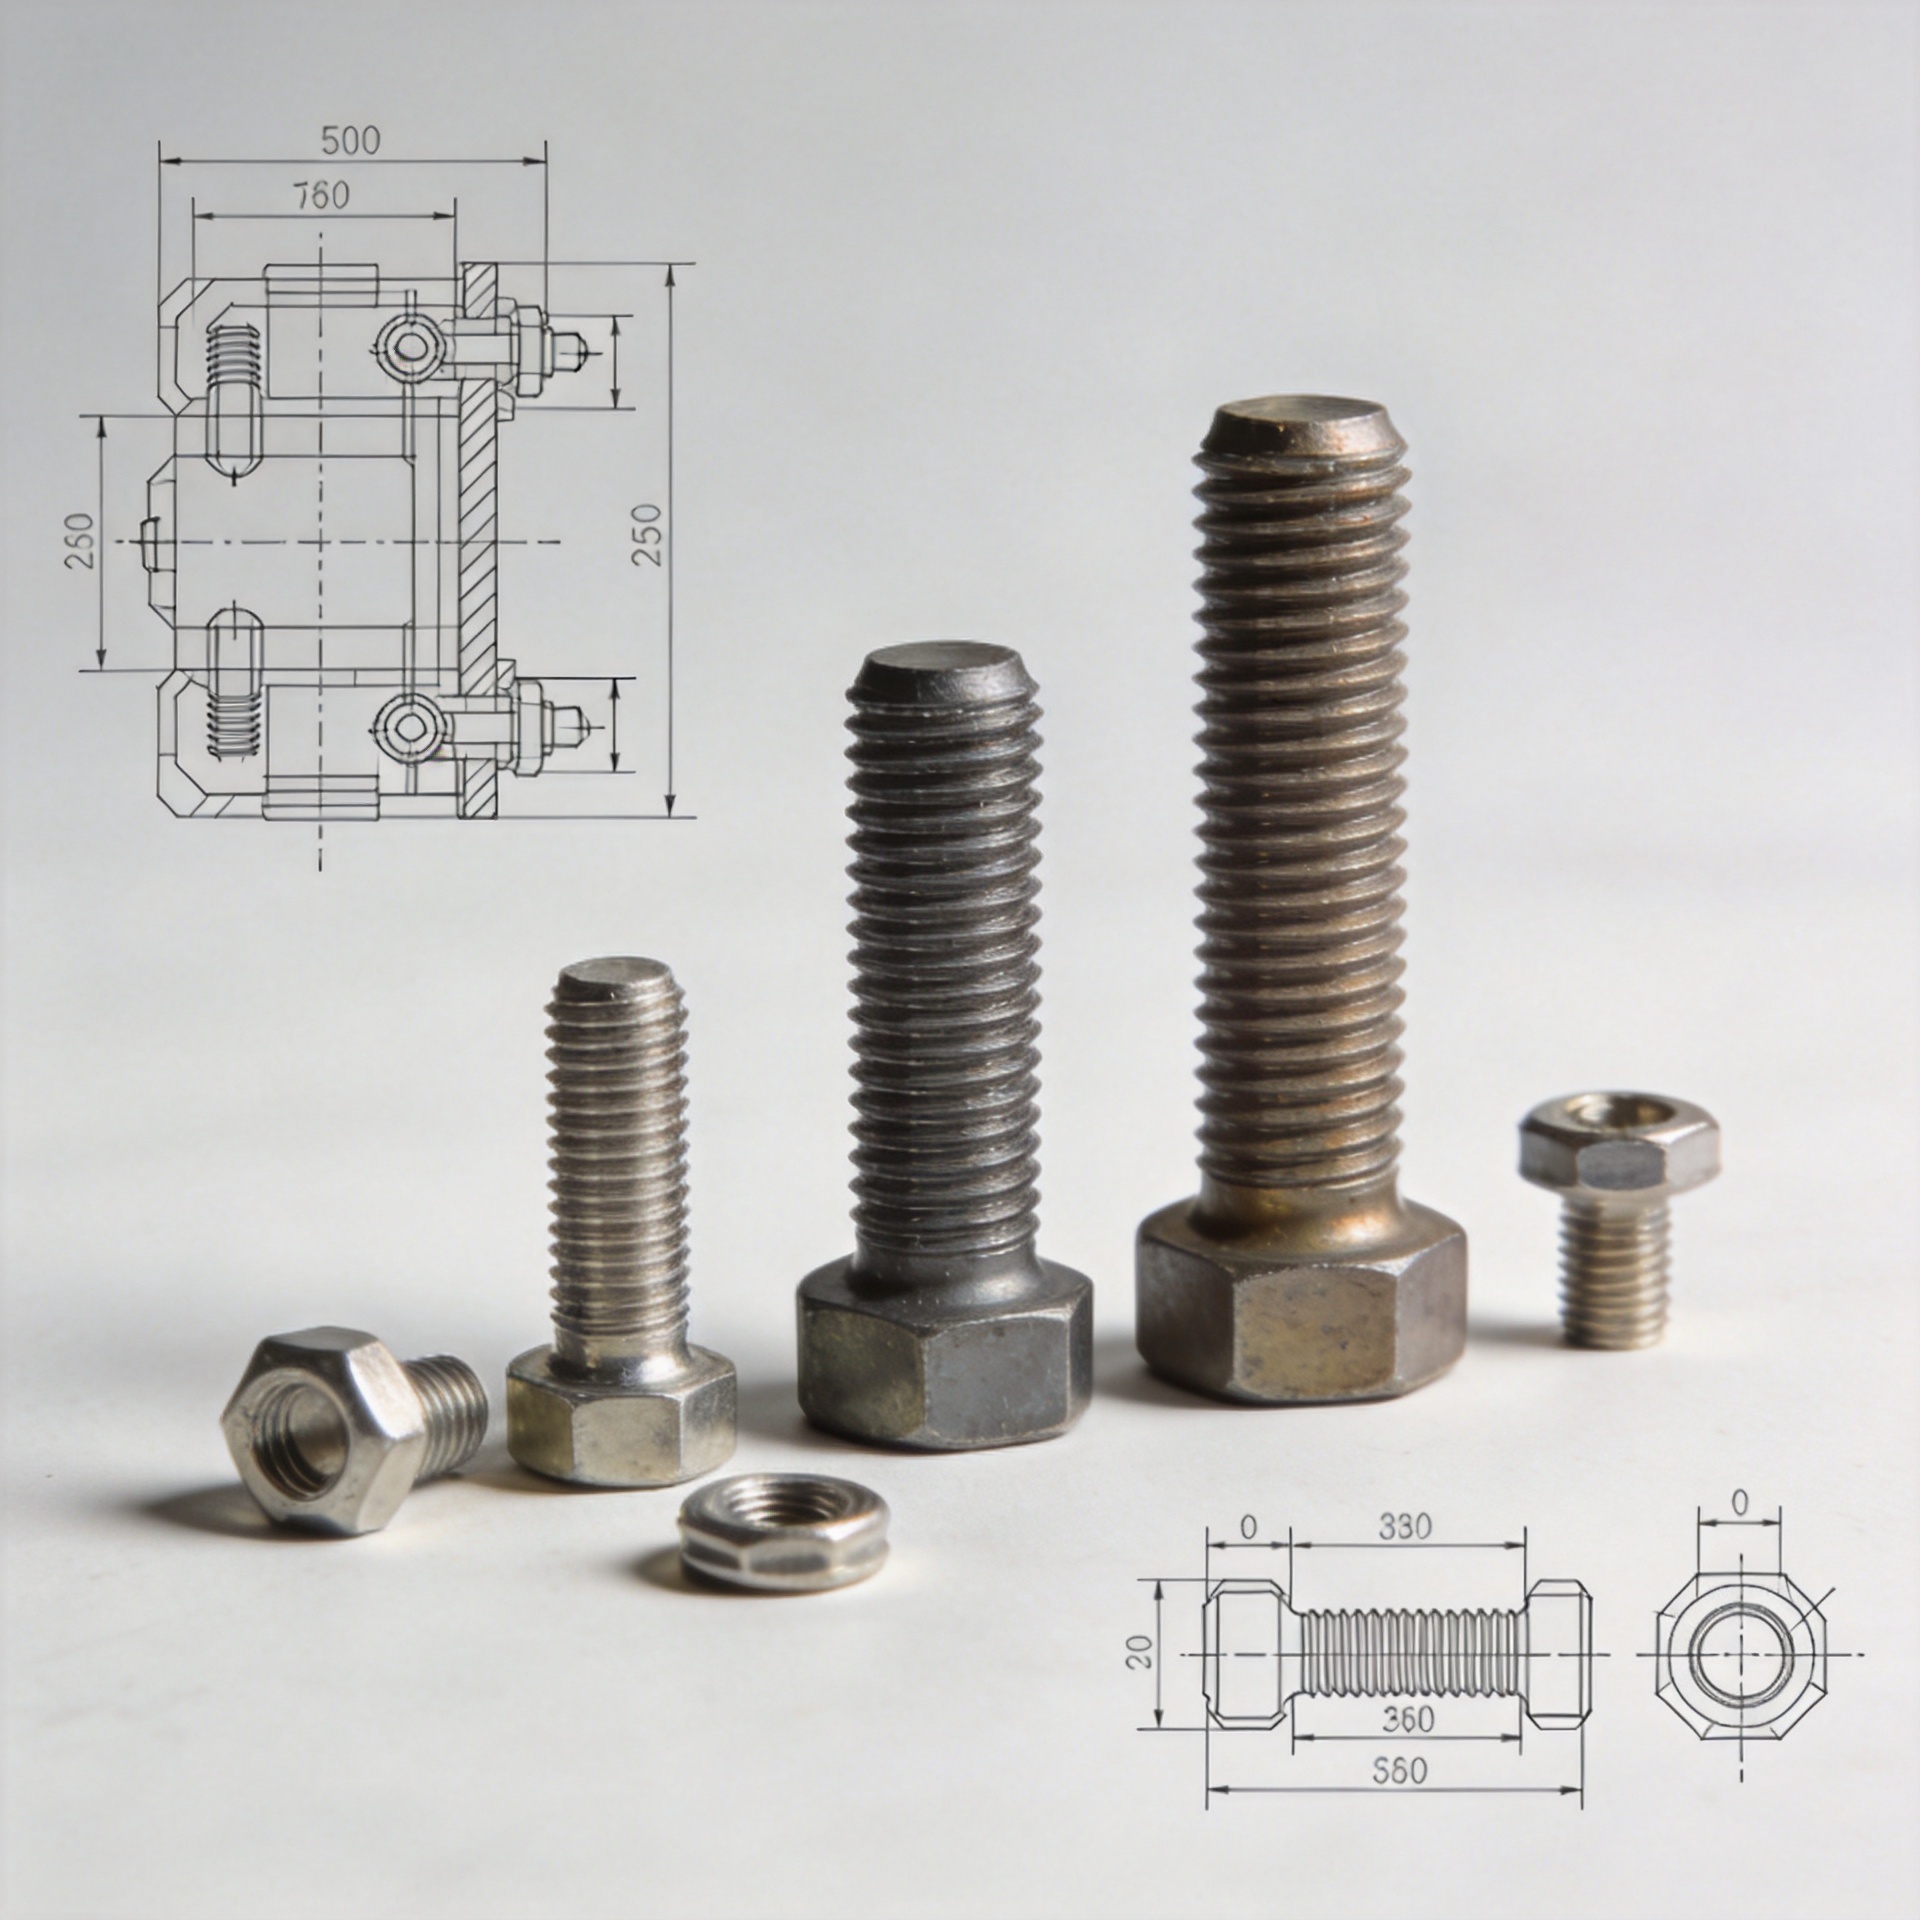
How to Choose Studs for Reliable Mechanical Connections?
For a reliable mechanical connection, choosing studs is not just a matter of matching a nominal diameter to a drawing. A stud must work with the load path, the tapped material or nut, the available clamping length, the environment, and the installation method. As a fastener selection engineer, I start by defining load, vibration, and the joint stack before comparing materials or grades. That order helps avoid a common problem: a mechanically strong stud that is poorly matched to the assembled joint.
Start With the Job of the Stud in the Connection
First, identify what the stud is expected to do. A mechanical stud may fasten two parts with nuts at both ends, anchor into a tapped base, or provide a removable connection where repeated assembly would otherwise wear a parent thread. These are different design cases. List the applied tensile load, shear load, cyclic loading, vibration, temperature, access for tightening, and whether the joint must be dismantled for maintenance.
Do not assume the highest strength class is right. In stud selection, a high-strength part can shift failure to a softer internal thread. Reliable studs work as a system with nuts, washers, clamped parts, and a controlled tightening process.
1. Define the Load Path Before Choosing Diameter
Diameter is a starting point, not a complete design decision. Determine whether the connection is mainly carrying clamp load, direct tension, shear, bending, or a combination. In a preloaded joint, the aim is usually to maintain enough clamping force so the joined parts do not slip or separate under service loads. Where shear is present, clarify whether friction between clamped faces carries the load or whether the stud body bears against the joint.
Ask practical questions early: Is the load static or cyclic? Does impact occur? Is vibration likely to relax the joint? Is there clearance around the stud that could introduce bending? A reliable stud in a lightly loaded access cover may need a very different specification from one in a vibrating machine frame. When design calculations are safety-critical, use the applicable engineering standard and a qualified design review rather than a generic chart.
2. Match Thread Engagement to the Mating Material
Thread engagement is the axial overlap where the external and internal threads share load. It is one of the first checks in sound stud selection. There is no universal engagement length that suits every joint because the required length depends on stud diameter, thread form, fastener strength, and the strength of the threaded material.
A tapped steel part and a softer aluminum part do not respond alike. In stud selection, check usable engagement, thread quality, hole depth, and runout. A connection stud may need a nut-and-through-stud arrangement when the parent thread has limited capacity.
3. Choose Material, Strength, and Surface Protection Together
Material selection should follow the service environment and mechanical demand. Carbon or alloy steel options may suit dry, controlled industrial environments where strength is the main driver. Stainless steel may be considered where corrosion exposure matters, but grade choice still needs to account for load, temperature, and the risk of galling during assembly. In marine, chemical, outdoor, or wet service, evaluate the stud material, mating metals, coating system, and possible galvanic interaction as one package.
A coating can affect friction, torque response, and dimensional fit. So can lubrication. This is why a reliable stud cannot be specified from material alone. Request material and coating information that matches the drawing and intended environment, then make sure the tightening instruction is compatible with the delivered surface condition. If corrosion allowances or hydrogen-related risks may matter for the application, involve the responsible materials or design engineer.
4. Select the Right Stud Configuration and Thread Form
Studs are available with full threads, double ends, tap ends, reduced shanks, and application-specific geometries. The correct configuration depends on the joint. A fully threaded part can offer flexibility in adjustment and clamping position, while a double-ended design may be more suitable when each end serves a different threaded connection. A tap-end design can be useful when one end is installed into a tapped housing and the other accepts a nut.
Review nominal diameter, pitch, threaded length on each end, unthreaded length where relevant, tolerances, and the required protrusion beyond the nut. Fine threads may offer different adjustment and engagement characteristics, but they also demand clean handling and compatible mating parts. Specify only the thread form and tolerance that the joint actually needs; mixing standards or assuming interchangeability can undermine a connection stud before installation begins.
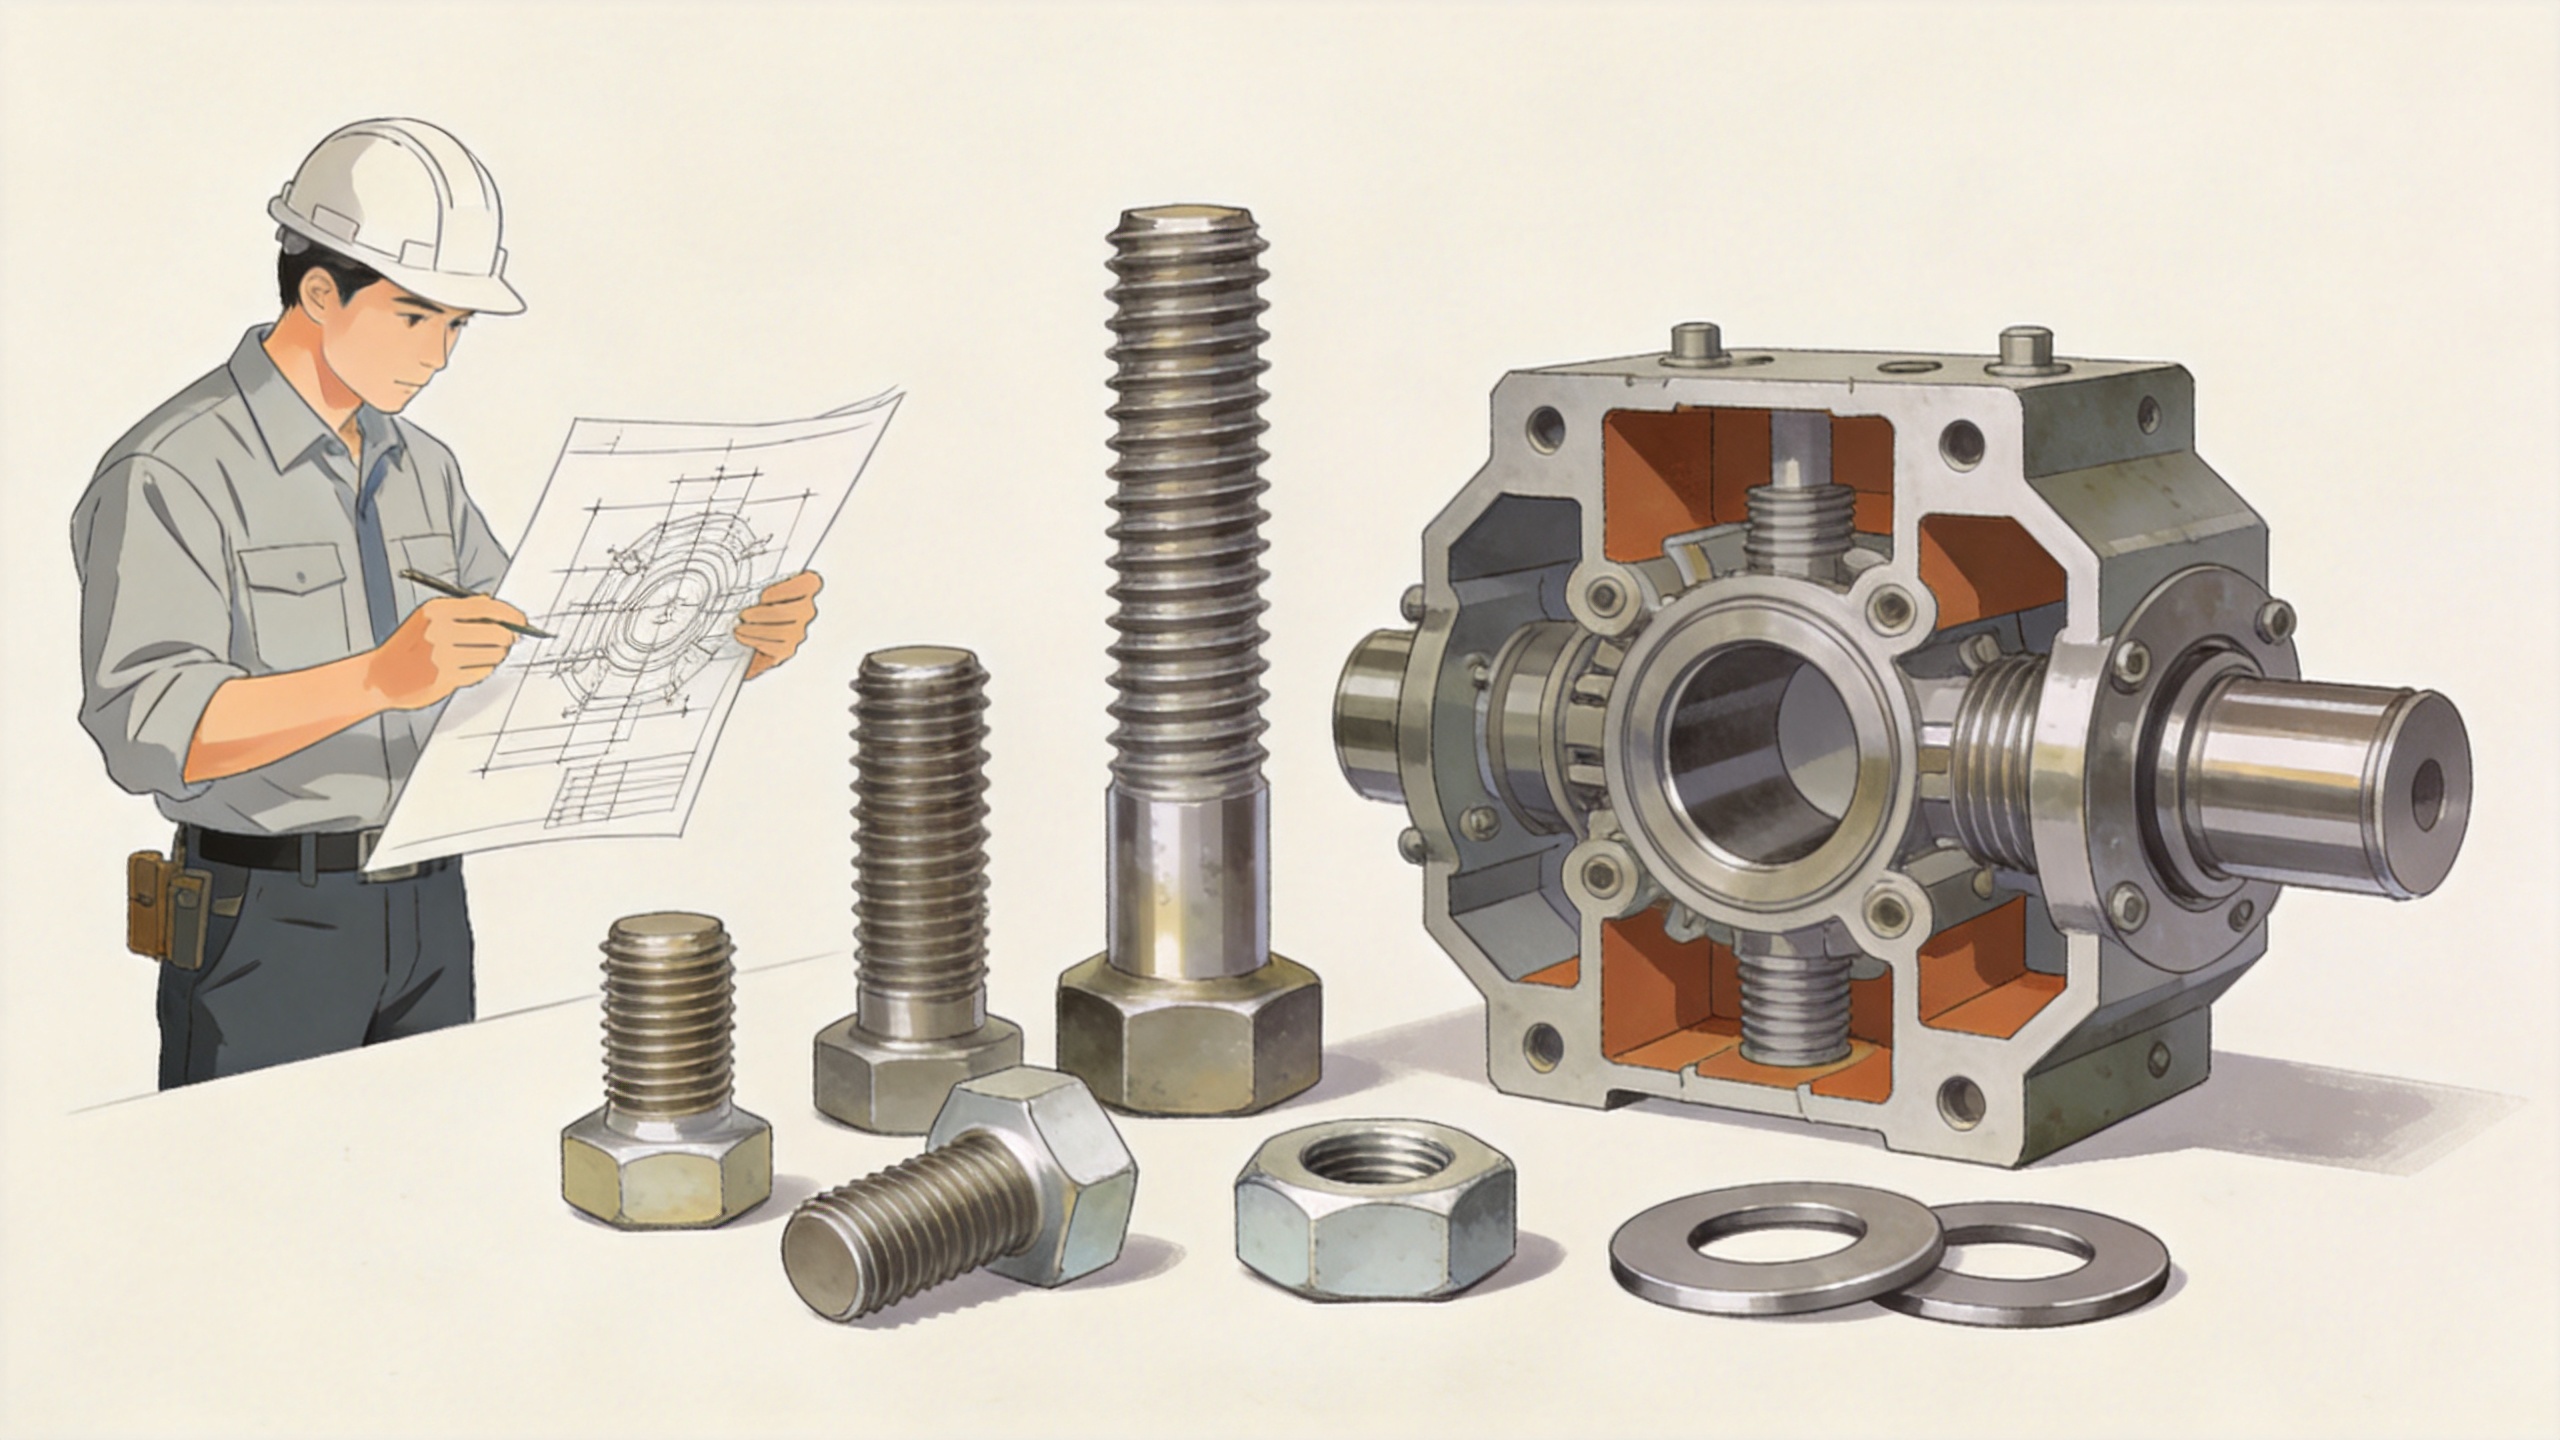
5. Plan Preload and Tightening as Part of the Specification
Many field issues blamed on studs are actually tightening-control issues. Preload is influenced by applied torque, thread friction, bearing friction, lubrication, coating, tool condition, and operator method. A torque value copied from an unrelated finish or lubricant can produce a different clamping result. In vibration service, insufficient preload can allow relative movement; excessive preload can overstress the stud, nut, or connected parts.
For a critical joint, define the assembly method with the fastener specification: torque, torque-angle, tensioning, or another validated procedure as appropriate. Keep surfaces clean, confirm the specified lubricant or dry condition, use compatible washers where required, and record the revision of the tightening instruction. This is especially important for a mechanical stud used repeatedly in maintenance work, because damaged threads and uncontrolled re-lubrication can change the assembly response.
6. Check Fit-Up, Access, and Assembly Sequence
A sound design can still fail in production if the stud cannot be installed consistently. Verify that there is tool clearance, enough thread for nut engagement, access to both ends if needed, and no interference from adjacent components. Consider how the stud is inserted, whether it needs a controlled installation depth, and whether assembly forces could rotate it in the parent component.
A Practical Checklist for Stud Selection
- Joint function: Define tensile, shear, bending, vibration, temperature, and maintenance requirements.
- Load path: Confirm how clamp force and any direct load will travel through the joint.
- Diameter and strength: Size the stud and mating parts from the actual design load rather than a preference for maximum strength.
- Thread engagement: Check usable engagement against the stud grade and threaded material.
- Configuration: Select full-thread, double-end, tap-end, length, pitch, and tolerance for the actual threaded connections.
- Environment: Match material and surface protection to moisture, chemicals, temperature, and dissimilar-metal exposure.
- Tightening: Document the surface condition, lubrication state, tool method, and validated preload procedure.
- Verification: Inspect samples, fit-up, thread condition, and assembly results before a production release.
Quick Selection Matrix for Common Stud Decisions
Use this short review before releasing a drawing or purchase order. For each row, write down the application-specific answer; that record makes stud selection repeatable across engineering, purchasing, and assembly.
- Studs and load: identify tensile, shear, fatigue, and vibration demand before setting diameter or grade.
- Stud selection and threads: confirm pitch, tolerance, usable engagement, and compatible nut or tapped material.
- Mechanical stud and geometry: check the needed grip length, end configuration, tool access, and installed depth.
- Reliable stud and material: compare strength, corrosion exposure, temperature, coating, and mating-metal compatibility.
- Connection stud and installation: define surface condition, lubrication, tightening method, inspection, and reassembly controls.
In day-to-day stud selection, use the same sequence every time: define the joint, check thread engagement, then select material and tightening controls. This makes it easier to compare studs without overlooking the mating parts. A mechanical stud should be accepted only after fit-up is checked. A reliable stud needs a verified preload method, not a nominal torque copied from another finish. For a connection stud in a corrosive or vibrating location, confirm the full joint specification before placing production orders.
Turn the Drawing Into a Clear Purchase Requirement
Conclusion: Select the Whole Joint, Not Only the Stud
The most effective way to choose studs is to work from the connection outward: define the service load, check the mating material and usable thread engagement, select material and configuration for the environment, then control tightening and inspection. This approach makes the decision more defensible and helps the assembled joint retain its clamping function in real service. When the connection is highly loaded, safety-critical, or exposed to severe vibration or corrosion, confirm the final design with the responsible engineering authority.

