 EN

Why Washers Lose Spring Force Over Time and What to Do About It
A washer is often treated as a minor part of a bolted joint, but it can influence whether clamp load stays stable after installation. In a joint that relies on elastic deflection, a loss of spring force can leave the bolt with less preload than the torque procedure intended. The practical result may be fretting, leakage, noise, joint movement, or recurring retightening. The key is to identify whether the problem is the washer itself, the joint surfaces, the bolt, or the installation process.
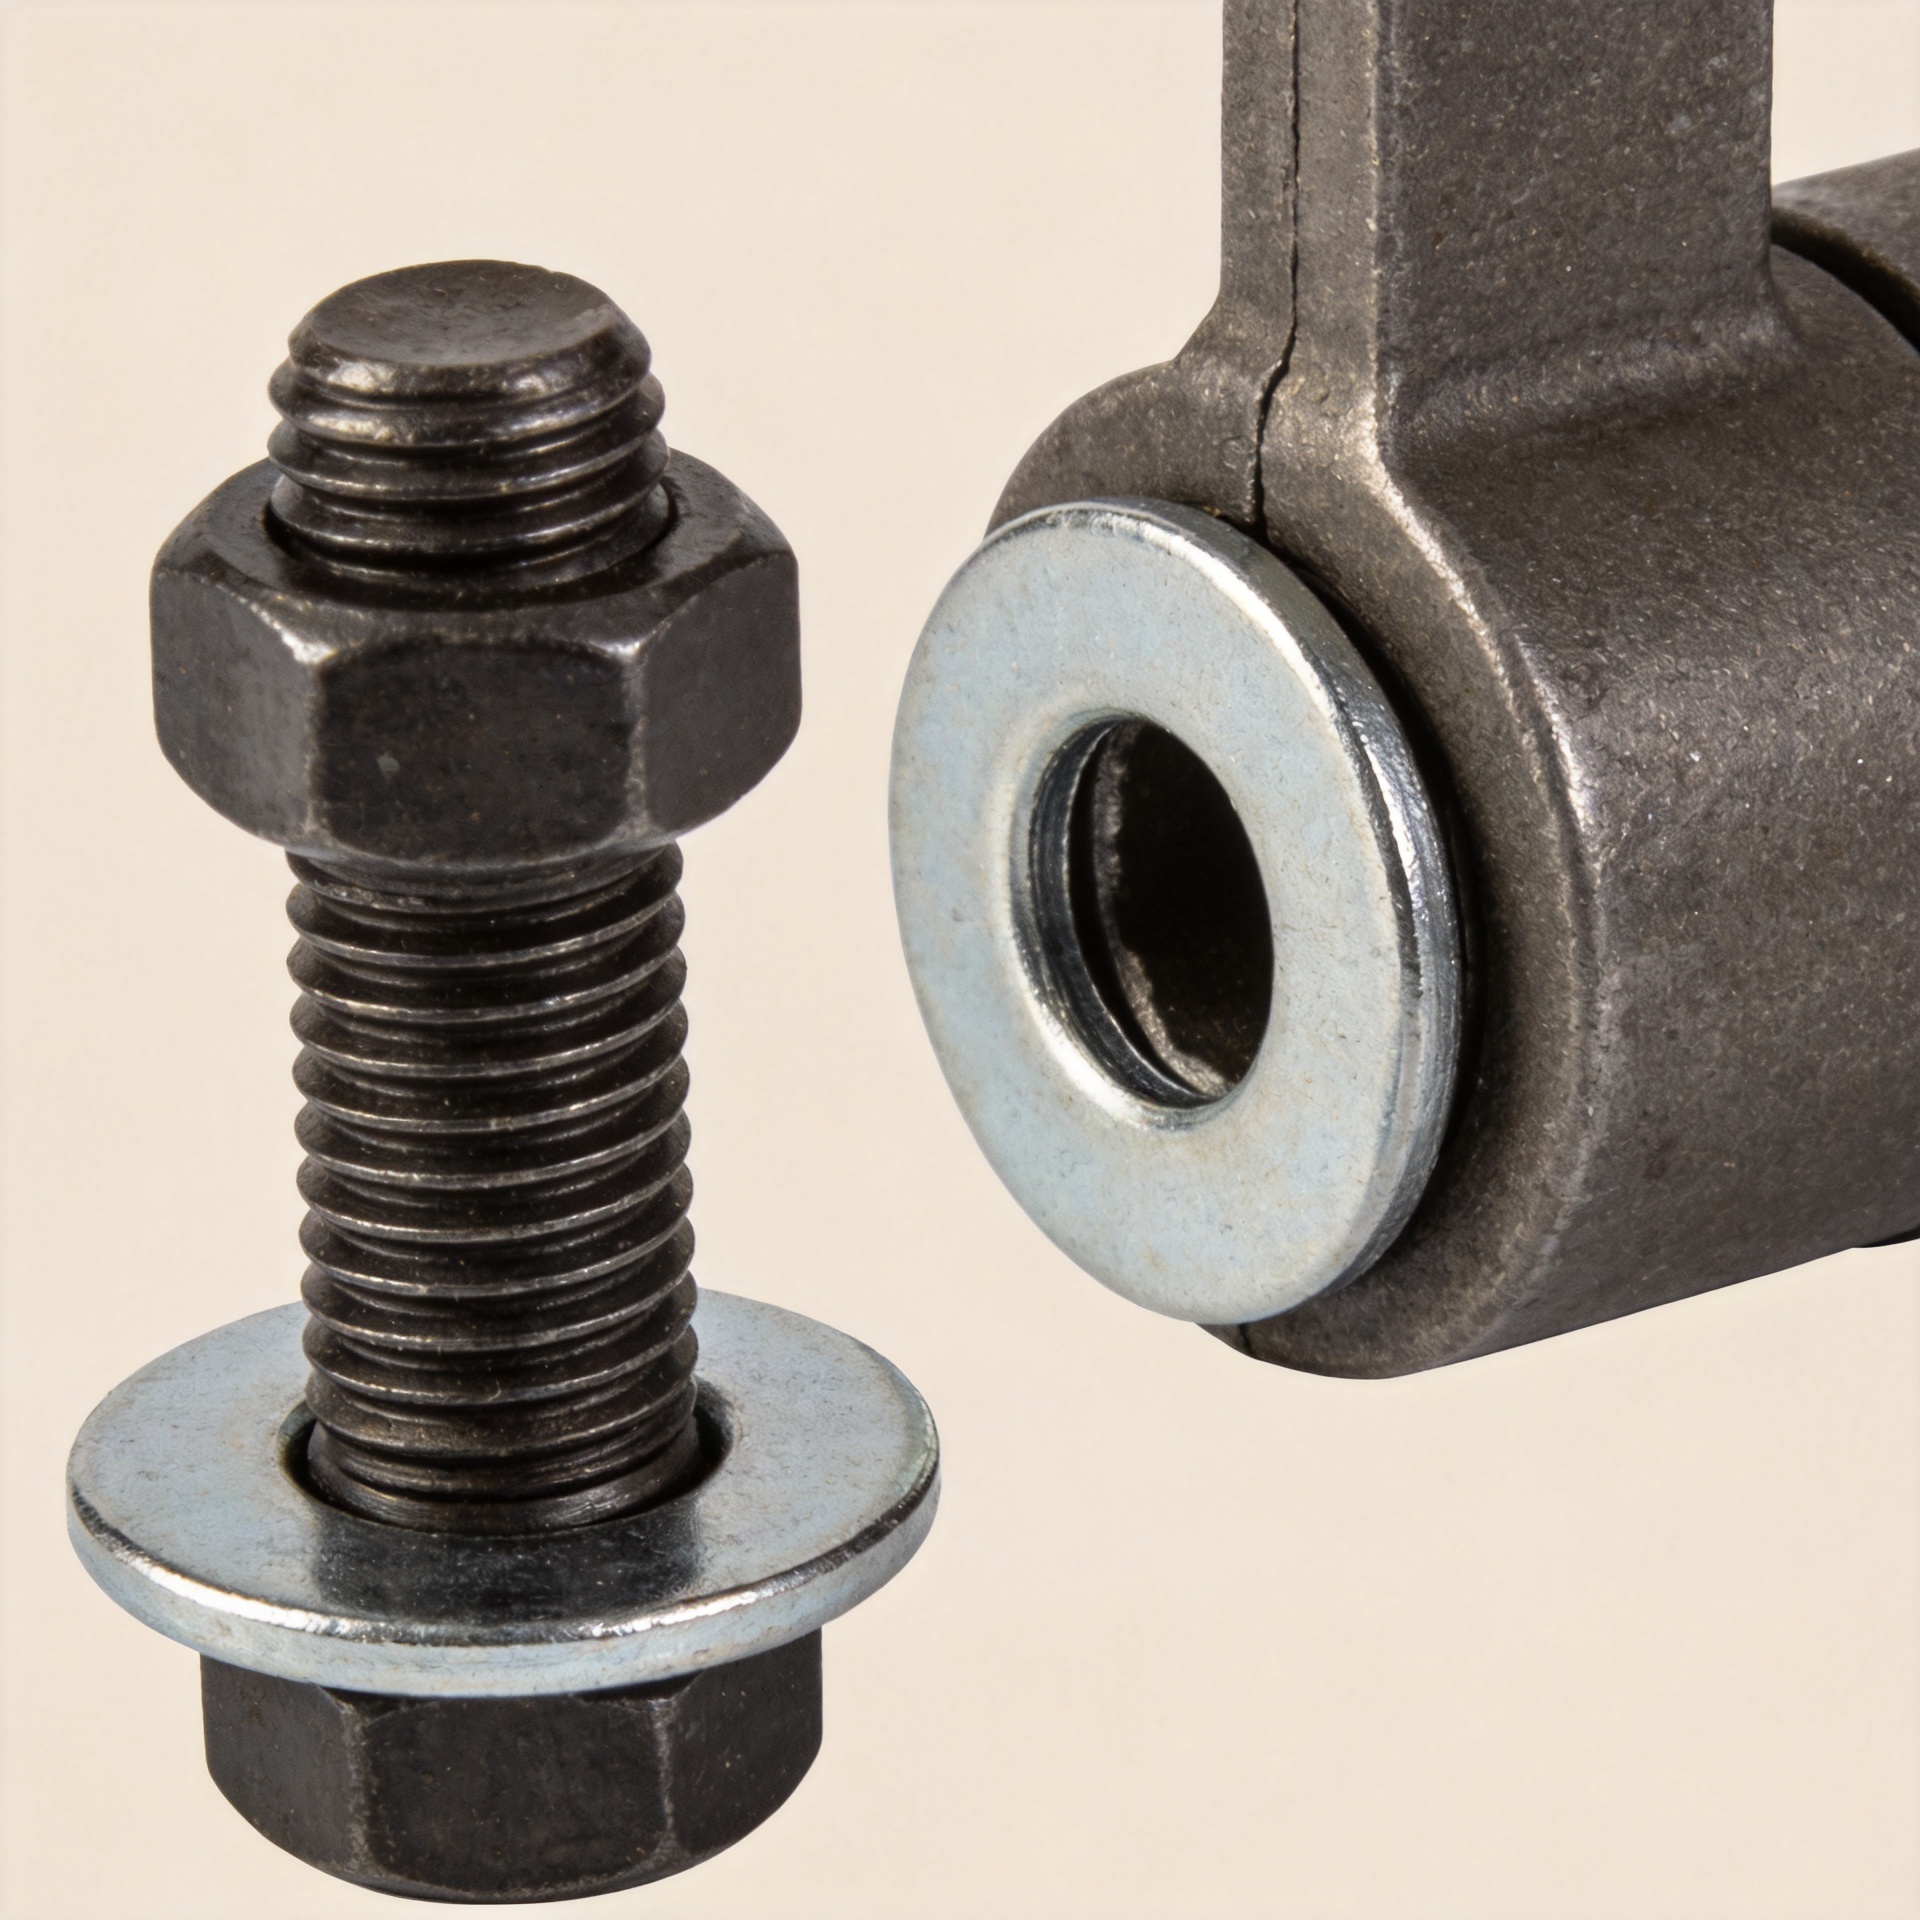
As a fastener-selection engineer, I start with one distinction: not every washer is meant to act like a spring. A flat washer mainly spreads load and protects a bearing surface. A sealing washer is chosen to close a fluid or dust path. A lock washer may add a locking feature, while a conical or disc-style spring washer is designed to deflect elastically. Treating these parts as interchangeable is a common reason for an ineffective repair.
What “loss of spring force” actually means
Spring force comes from elastic deflection. When a washer is compressed within its working range, it pushes back against the joint and helps the assembly retain preload as small changes occur. It loses useful spring force when its load-deflection behavior changes or when the surrounding joint settles enough to consume the available deflection.
That difference matters. A washer that has taken permanent set is no longer returning to its original shape as intended. By contrast, a sound washer can be blamed when the real cause is embedment: rough coating peaks, burrs, paint, soft gasket material, or uneven faces flatten after tightening. In some bolted assemblies, embedment relaxation can account for roughly 5% to 10% of the initial bolt load, but the actual loss depends on the materials, surface condition, geometry, and tightening method.
Five common reasons a spring washer stops doing its job
1. The washer was compressed past its elastic range
Over-tightening can flatten a spring washer beyond the portion of its load-deflection curve intended for service. Once yielding occurs, the washer may look nearly flat and provide far less restoring force on the next load cycle. This often happens when torque is copied from a bolt chart without accounting for lubrication, plating, friction, or the specific washer design.
2. Heat causes relaxation or creep
Elevated temperature can reduce retained preload through stress relaxation in the washer, bolt, gasket, or clamped material. Heat cycling also creates differential expansion between dissimilar materials. If a joint includes aluminum, polymers, coatings, or soft sealing material, the stack can settle while a steel washer remains intact. Check service temperature, exposure time, and material compatibility before assuming a standard carbon-steel washer is suitable.
3. Joint settlement uses up the available deflection
A small amount of settlement is normal in many assemblies. The issue arises when the joint has little elastic reserve. A flat washer over a rough or painted surface may improve bearing stress distribution, yet it does not automatically provide sustained spring travel. Burrs, damaged threads, thin sheet, and compressible coatings can all reduce clamp load soon after installation.
4. Corrosion, wear, or hydrogen-related damage changes the part
Corrosion can pit a washer and alter its contact faces. Repeated vibration may polish, fret, or wear the contact zone. In high-strength spring materials, an unsuitable plating or processing route can introduce additional concerns that should be assessed by the material specification and supplier documentation. Do not reuse a washer with visible corrosion, cracking, gouging, or a distorted profile simply because the bolt still turns.
5. The washer type does not match the failure mode
A split lock washer, a conical spring washer, and a sealing washer address different needs. If the main problem is transverse vibration, the joint may require a locking strategy that is validated for that loading condition rather than extra torque alone. If the problem is a leaky cover, the sealing washer and mating-surface finish may matter more than spring rate. If settlement is expected, a properly selected conical washer can offer useful elastic travel, but only when its dimensions and working load fit the assembly.
How to diagnose the joint before replacing parts
- Record the condition before disassembly. Look for a flattened spring washer, fretting dust, rust streaks, damaged coating, or a witness mark showing joint movement.
- Check the stack-up. Confirm the washer orientation, bearing-face diameter, bolt length, engaged threads, and whether a gasket, paint layer, or soft material is in the clamped path.
- Review the tightening method. Compare the specified torque, tool calibration, lubrication condition, and tightening sequence. Torque is only an indirect way to control preload.
- Inspect the mating faces. Remove burrs and identify surfaces that will embed after assembly. A clean flat washer can be useful here even when a spring element is also required.
- Assess the service environment. Consider vibration direction, temperature cycling, corrosion exposure, and maintenance access. These conditions determine whether the same washer design is appropriate.
Choosing the right corrective action
Replace a permanently set or damaged spring washer rather than trying to bend it back. Then correct the condition that caused the loss. For a joint with stable faces but expected small settlement, select a spring washer with a documented load-deflection range that remains elastic at the intended preload. Conical spring washers are commonly specified for bolted connections; where a DIN 6796-style component is considered, confirm the current drawing, size, material, and application requirements instead of relying on the designation alone.
For wide bearing surfaces or softer substrates, a flat washer may be needed to spread load. For enclosures and fluid paths, use a sealing washer whose elastomer or bonded element suits the medium and temperature. For vibration-driven loosening, evaluate the complete locking method, joint stiffness, and preload procedure. The useful lesson is that a lock washer should not be selected solely because its name suggests a universal answer.
Installation practices that preserve washer performance
- Use new spring elements when a specification or inspection rule calls for them; do not mix visibly different batches or profiles.
- Keep bearing faces clean and remove paint or burrs only where the assembly specification permits.
- Apply the approved lubricant, torque method, and tightening sequence consistently.
- Do not stack multiple spring washers unless the design specifically defines the arrangement and load behavior.
- After initial run-in or thermal cycling, inspect critical joints according to the maintenance plan rather than retightening every joint by habit.
- Document washer material, finish, dimensions, and lot traceability for assemblies where preload retention is safety- or quality-relevant.
A practical maintenance decision
If a washer has lost spring force, replacing only that washer may restore neither preload nor reliability. First decide whether the failure is permanent set, surface settlement, unsuitable material, installation variation, or an incorrect washer function. Then rebuild the joint with the right washer type and a controlled tightening process. For low-frequency, stable-load equipment, that may be a straightforward replacement. For high vibration, heat cycling, or sealing duty, the joint should be reviewed as a system: bolt, washer, clamped materials, surface condition, and assembly method together determine retained clamp load.
That systems view is slower than swapping a part, but it gives maintenance teams a clearer basis for choosing between a flat washer, lock washer, spring washer, or sealing washer—and for avoiding the same preload loss on the next service interval.

