 EN

Why Studs Loosen in Pipeline Flanges and How to Stop the Pattern
A flange that is dry when it is commissioned can still begin to weep after heat-up, vibration, or a shutdown and restart. When that happens, it is tempting to blame the studs. More often, the visible condition of the studs is the final clue in a joint-wide loss of clamp load. The flange faces, gasket, lubrication, tightening sequence, alignment, temperature history, and the studs all share the load path.
From a fastener-selection engineer’s perspective, the useful question is not “Were the studs tight?” It is “Did the assembled joint retain enough reasonably uniform bolt load to keep the gasket sealed in its actual operating cycle?” That distinction turns a routine retightening request into a failure review and discourages extra torque on damaged or poorly aligned hardware.
What “loose” really means in a flange joint
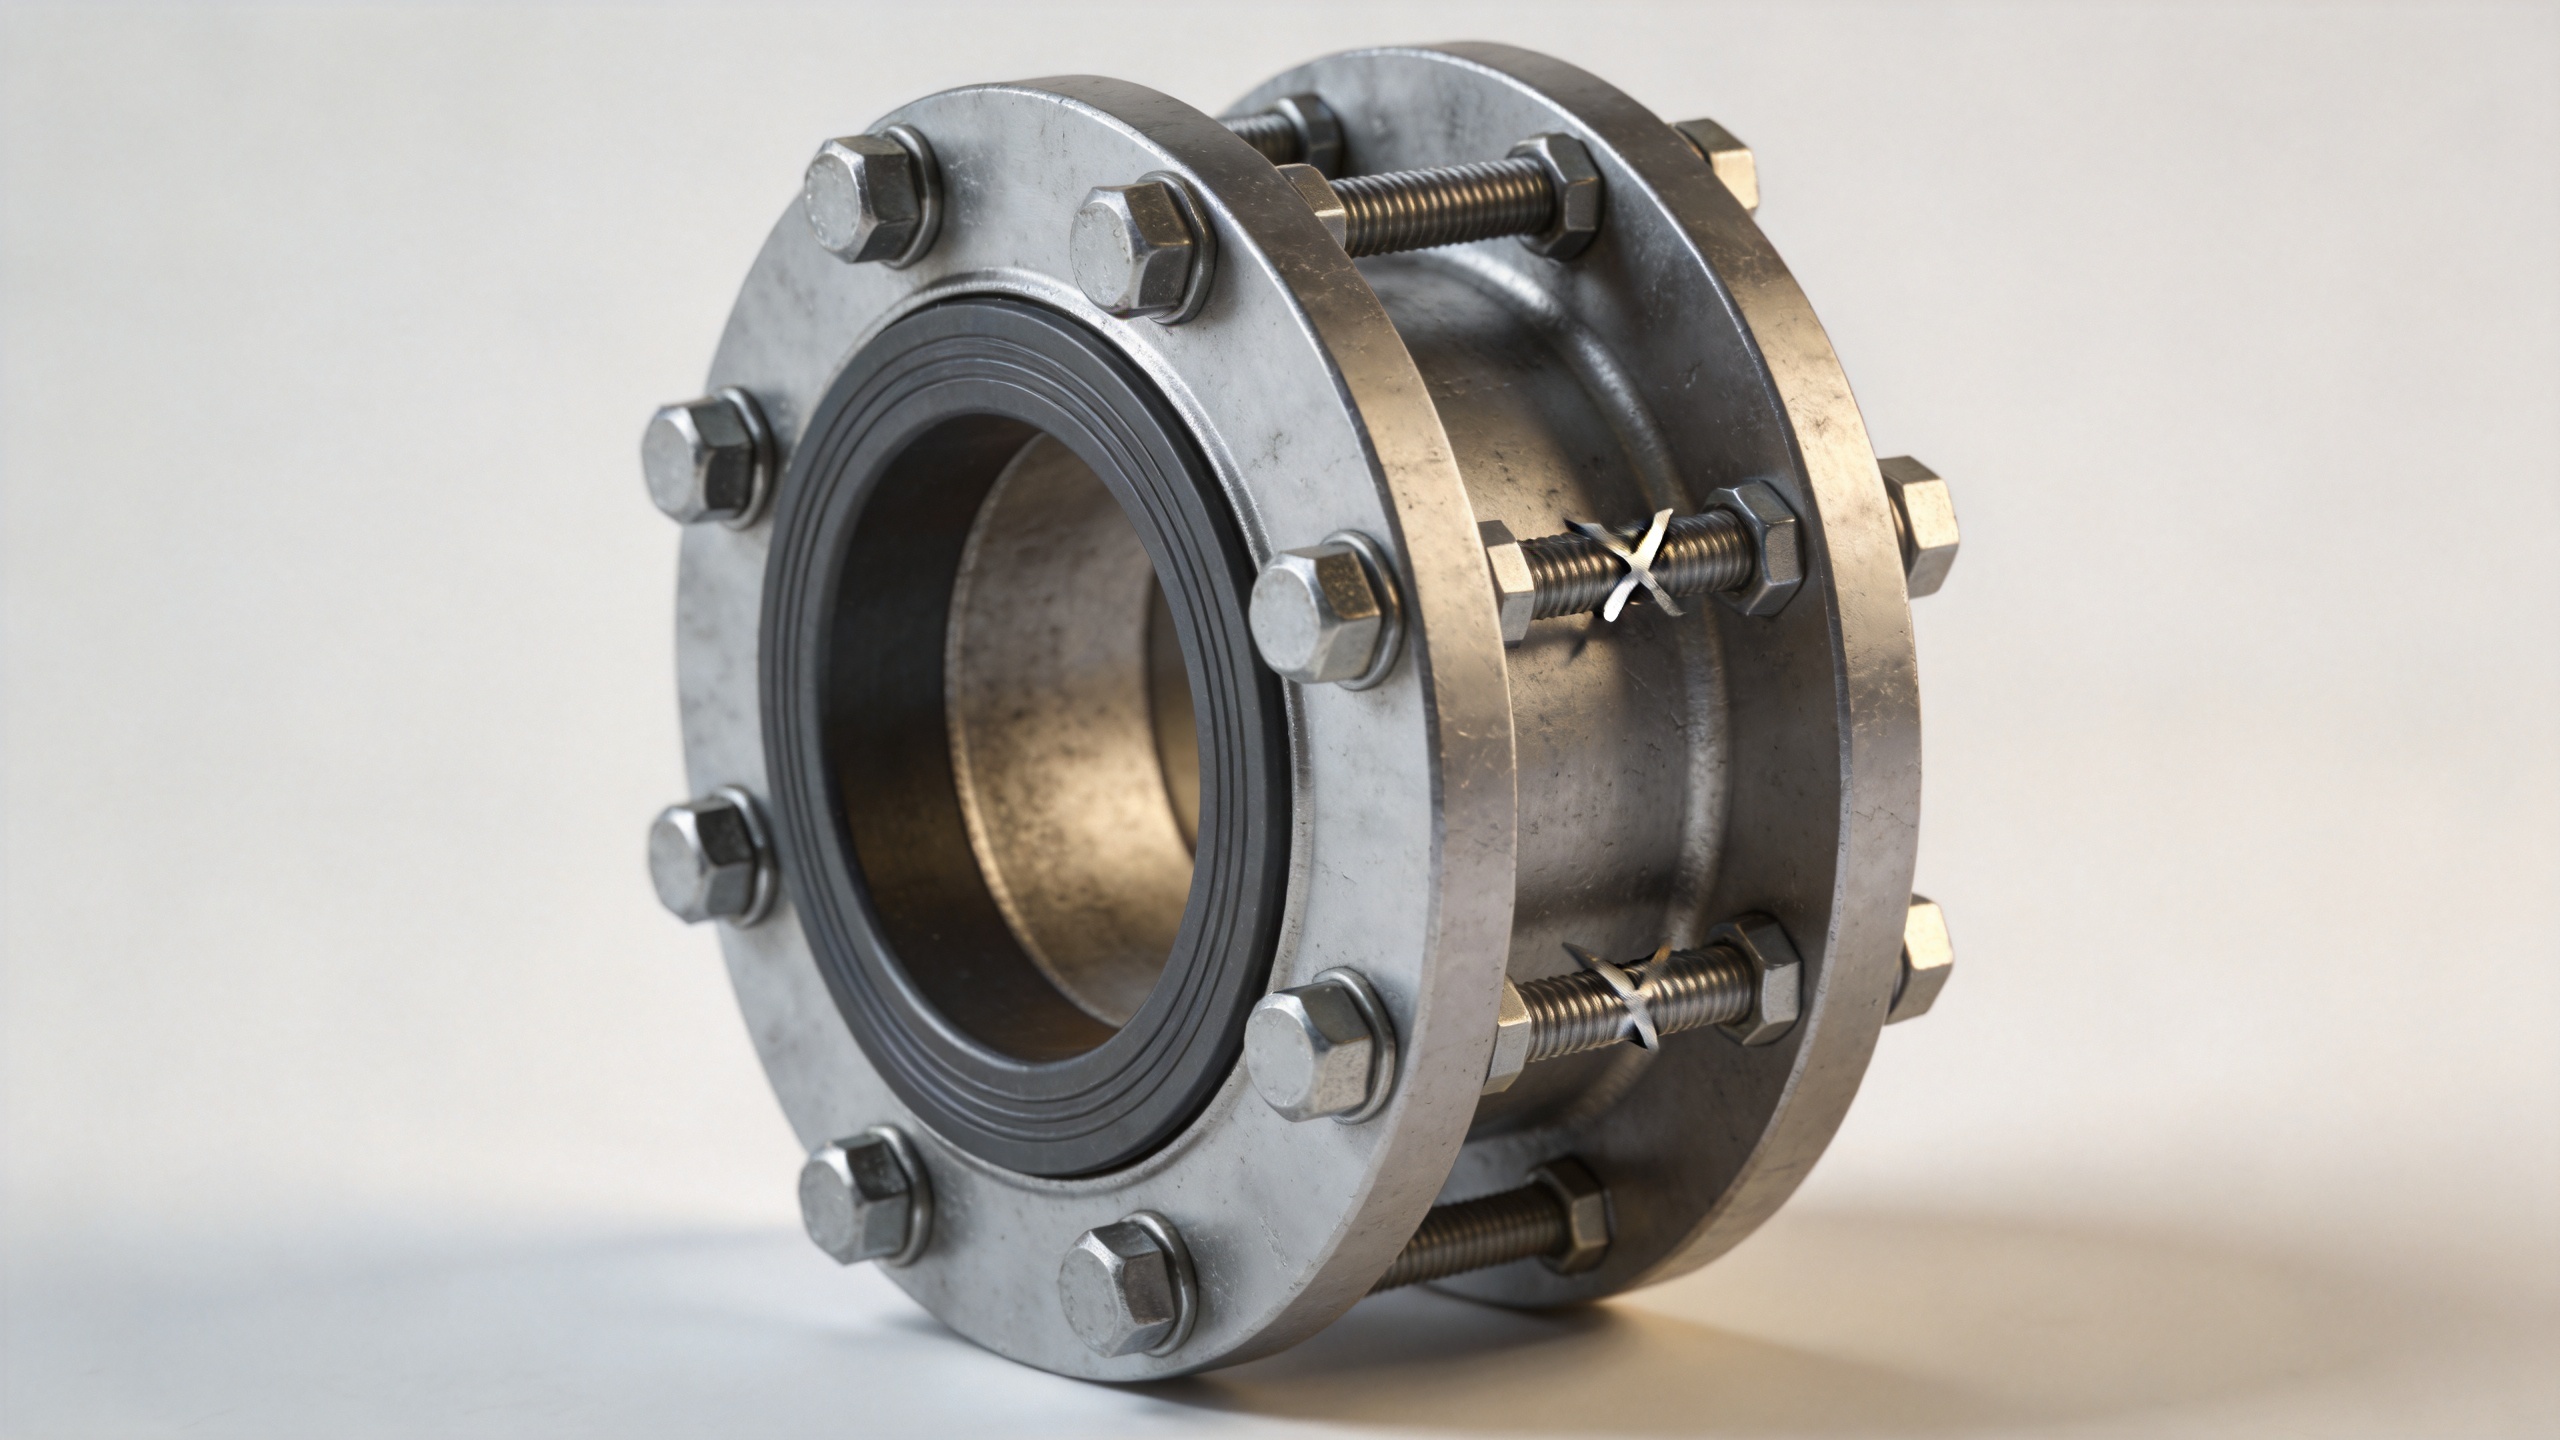
Pipeline-flange studs work as springs. Tightening stretches the studs and compresses the gasket between the flange faces. The stored stretch supplies clamping force; the gasket needs that force to stay seated as pressure, temperature, and external piping loads change. A nut can remain on the thread while the assembly has lost enough useful load to allow leakage.
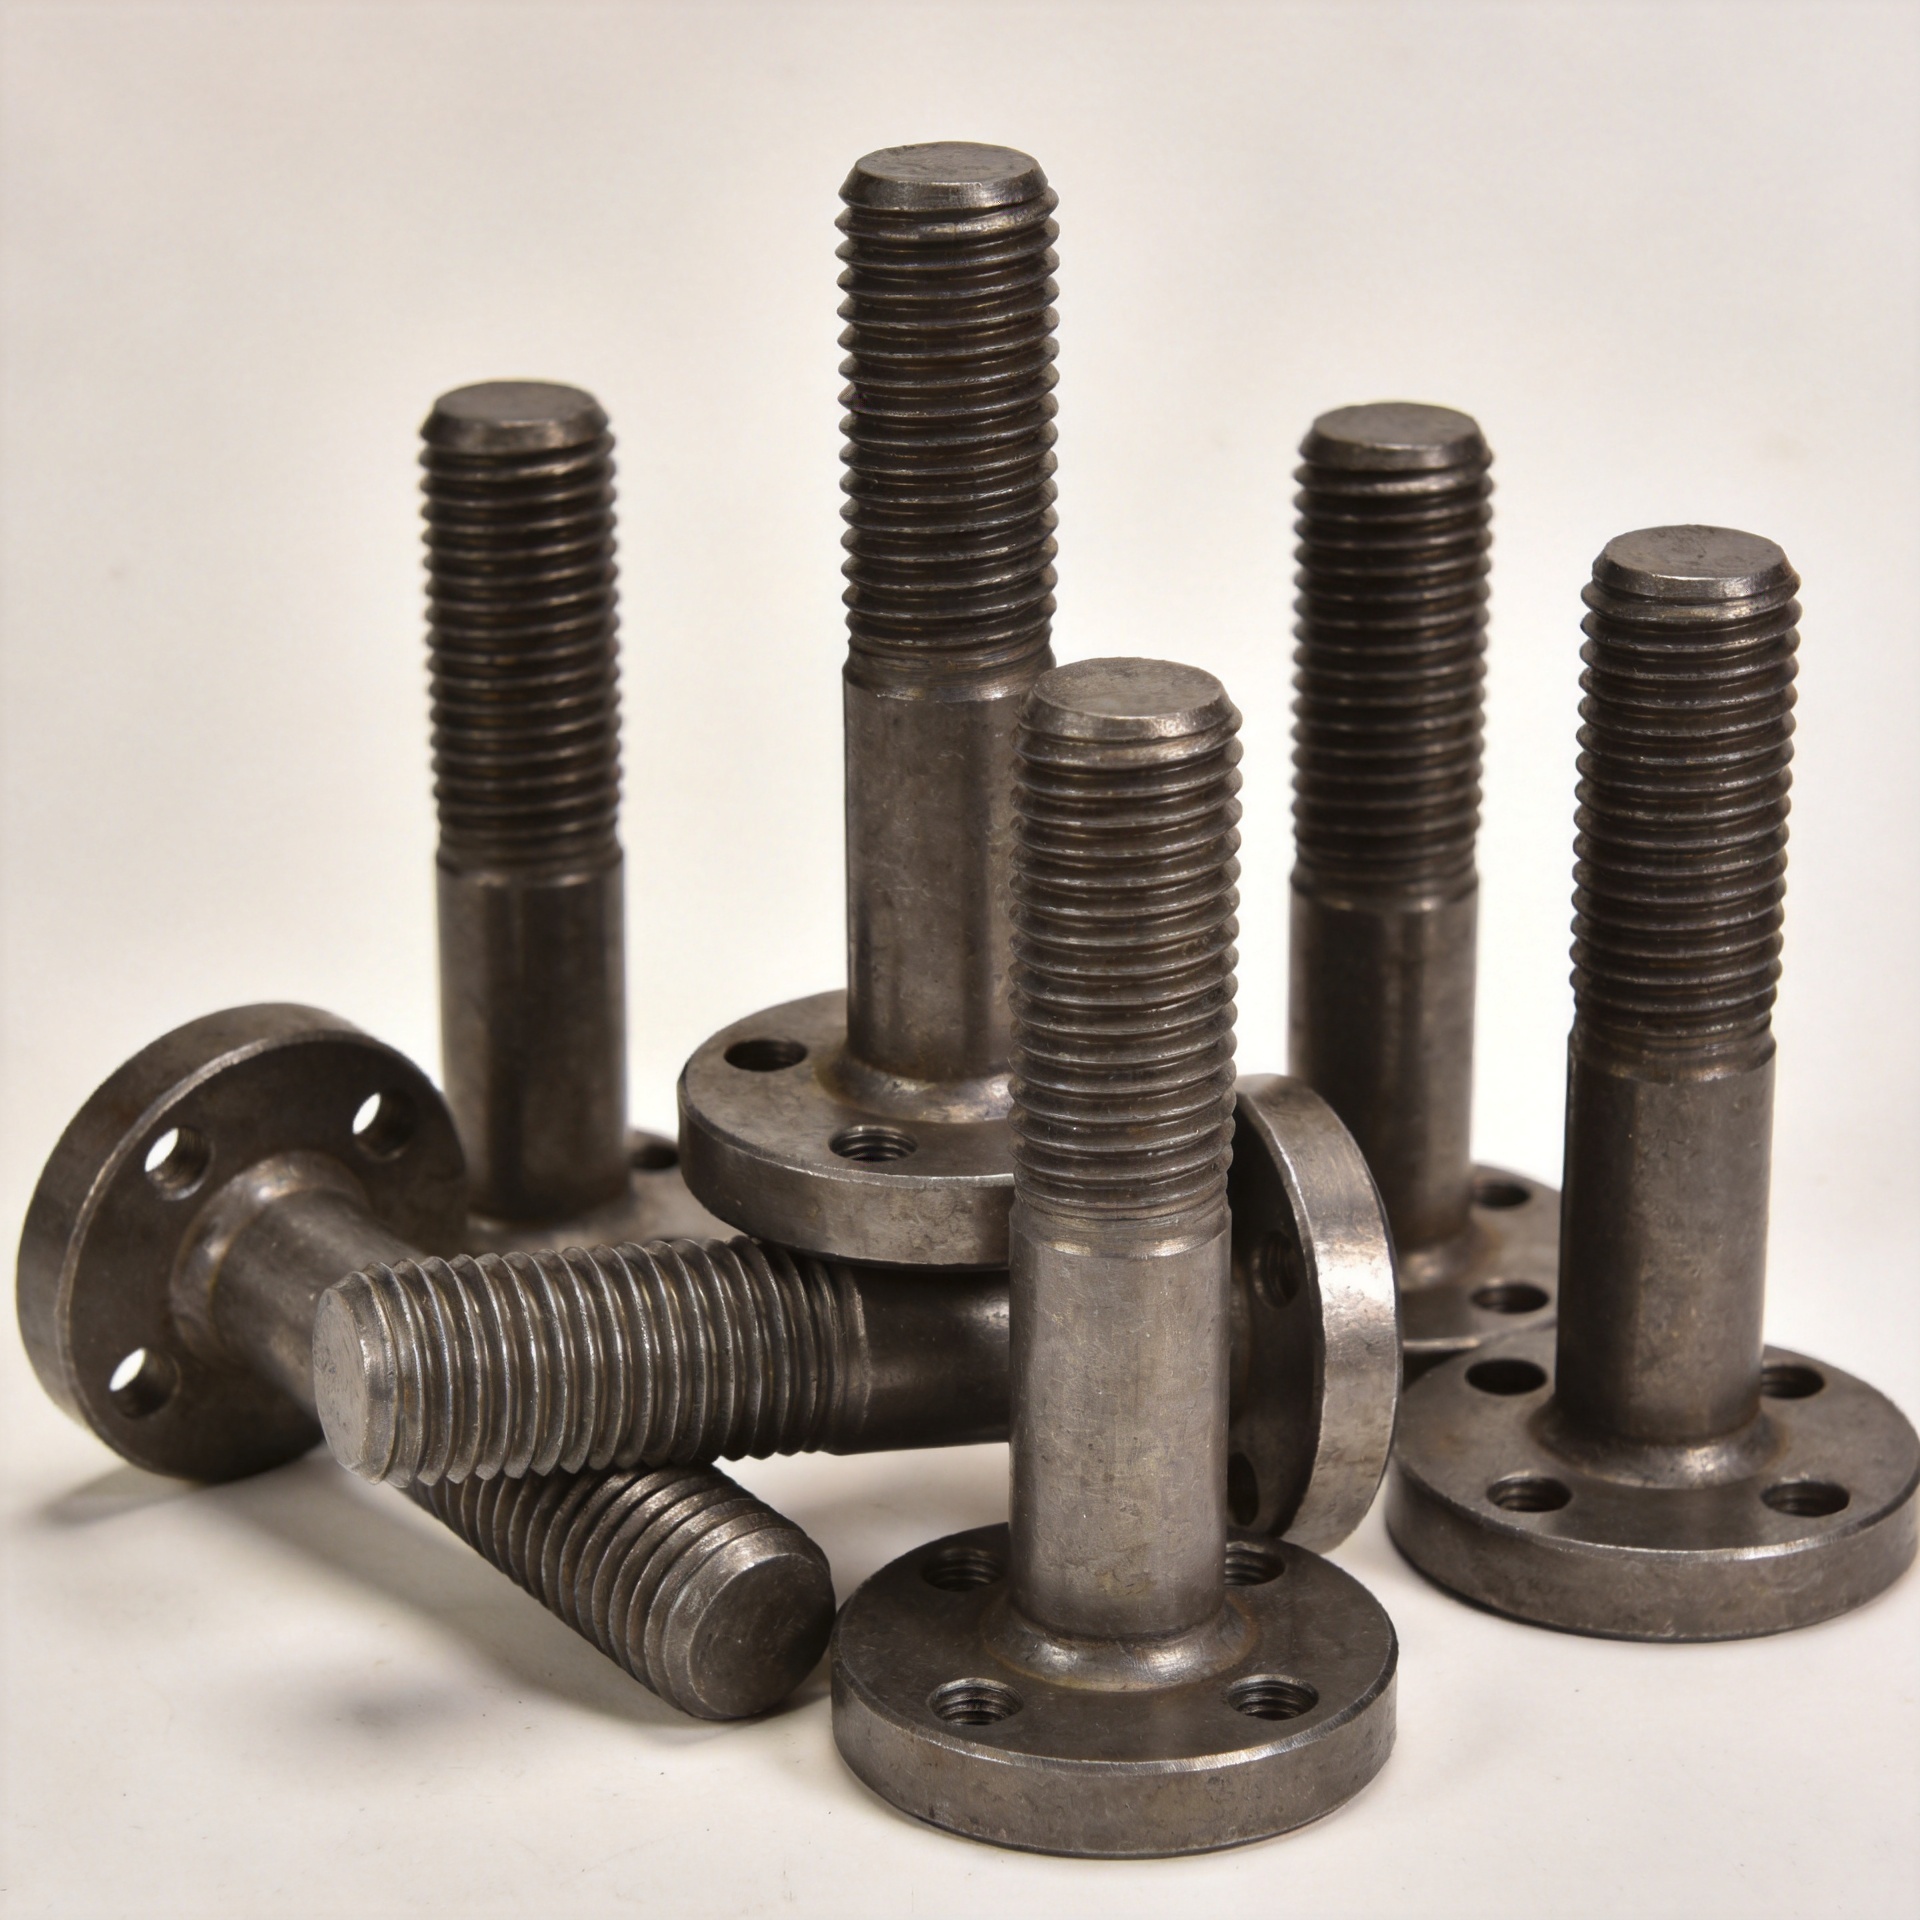
A threaded stud is therefore not simply a substitute for a bolt. In a flanged connection, its exposed length, thread engagement, material condition, and installed tension affect how the joint responds. A double ended stud may be appropriate where the connection design calls for it, but its presence alone does not correct a gasket that relaxes, a tilted flange, or uneven tightening. Likewise, a welding stud serves a different fastening purpose and should not be treated as a like-for-like answer for pressure-boundary flange hardware.
Five patterns that make studs lose clamp load
1. Uneven initial loading
Torque is an indirect way to develop tension. Friction at the nut bearing surface and on the threads can consume a large share of the turning effort. If lubrication condition, nut condition, or tightening practice varies around the circle, apparently similar torque readings can produce unlike loads in the studs. Tightening one location also compresses the joint locally and can relax adjacent studs; this elastic interaction is why controlled cross-pattern passes and a final verification pass matter.
2. Gasket embedment and relaxation
During the first operating period, surface asperities settle and some gasket materials relax under load and temperature. The studs have not necessarily rotated loose; the joint stack has changed thickness. If initial loading was marginal, that small dimensional change can take the gasket below the stress needed for the service. The right response depends on the gasket, flange design, process hazard, and site procedure—not an improvised live retorque.
3. Thermal cycling and differential expansion
When the flange, gasket, and studs heat and cool at different rates, the clamp load changes. In some arrangements the load may temporarily rise; in others it falls. Repeated transients can amplify relaxation or reveal a joint that had little margin at assembly. A leak that appears only during warm-up or cooldown is a diagnostic signal: compare the temperature history, insulation, flange geometry, and material combination before selecting new studs.
4. Alignment, external load, and vibration
Forcing misaligned pipe into position with flange studs bends the joint before it sees process pressure. Pipe weight, thermal movement, vibration, or inadequate support can then shift load around the gasket. A stud bolt may show damage where the thread meets the nut, but replacing it without removing the imposed piping load often repeats the pattern. Look for flange rotation, uneven gasket compression, damaged threads, distorted washers, and witness marks that show movement.
5. Hardware mismatch or condition loss
Incorrect length, inadequate thread engagement, mixed grades, damaged nuts, corrosion, galling, and reused hardware with uncertain condition all make tension less predictable. For pressure service, confirm the approved material and assembly method against the joint documentation. Do not assume a larger diameter, a higher-strength grade, or a different coating fixes the problem; each changes the stiffness, friction, and load relationship of the assembly.
A practical investigation sequence
- Make the condition safe first. Follow the owner’s isolation, depressurization, permit, and flange-management requirements. Leakage from a pressure boundary is not a routine tightening task.
- Capture the pattern. Record which studs appear unloaded, where leakage begins, the service cycle, recent maintenance, and any piping or support changes.
- Inspect the joint components. Check flange faces, gasket evidence, nuts, threads, washers where specified, and the condition and identification of the studs. Replace compromised parts according to the approved scope.
- Check alignment and loading. Confirm that the piping can meet up without using the studs as alignment tools. Investigate support and thermal-movement issues before reassembly.
- Reassemble with a qualified procedure. Use the specified gasket, clean compatible bearing surfaces, approved lubricant if called for, and the documented sequence, passes, and target method. For critical joints, the organization may require controlled tensioning or load measurement rather than relying on torque alone.
- Verify through the operating cycle. Define inspection points that match the process hazard and authorized procedure. Treat a repeat leak as evidence to review the full joint design and operating loads, not as a reason to keep adding torque.
How to stop the repeat pattern
The durable fix is a repeatable flange-management system. Specify compatible studs, nuts, gasket, flange condition, and lubrication as one assembly. Keep traceable records for critical joints, use trained personnel and calibrated equipment, and make the cross-pattern plus verification passes part of the work pack. Where thermal cycling or vibration is known, involve the responsible engineer early so joint stiffness, gasket behavior, and piping loads are considered together.
No universal torque value or single hardware change suits every pipeline flange. If the priority is reliability under changing temperature, first focus on retained gasket stress and alignment; if corrosion is the concern, first focus on the approved material system and inspection plan. That conditional approach may be less dramatic than blaming the studs, but it gives a maintenance team a clearer route to repeatable assembly and inspection.
Frequently asked questions
Can I just retighten loose studs while the line is operating?
Only an approved, hazard-reviewed site procedure can answer that. In many pressure services, live work has significant limits. The condition of the gasket, flange, process fluid, temperature, and operating pressure all matter.
Should I replace every stud after a flange leak?
Replace hardware that is damaged, corroded beyond acceptance, mismatched, or otherwise outside the approved condition. A qualified review should determine whether the leak came from hardware, assembly, gasket behavior, alignment, or external loading before setting the replacement scope.

