 EN

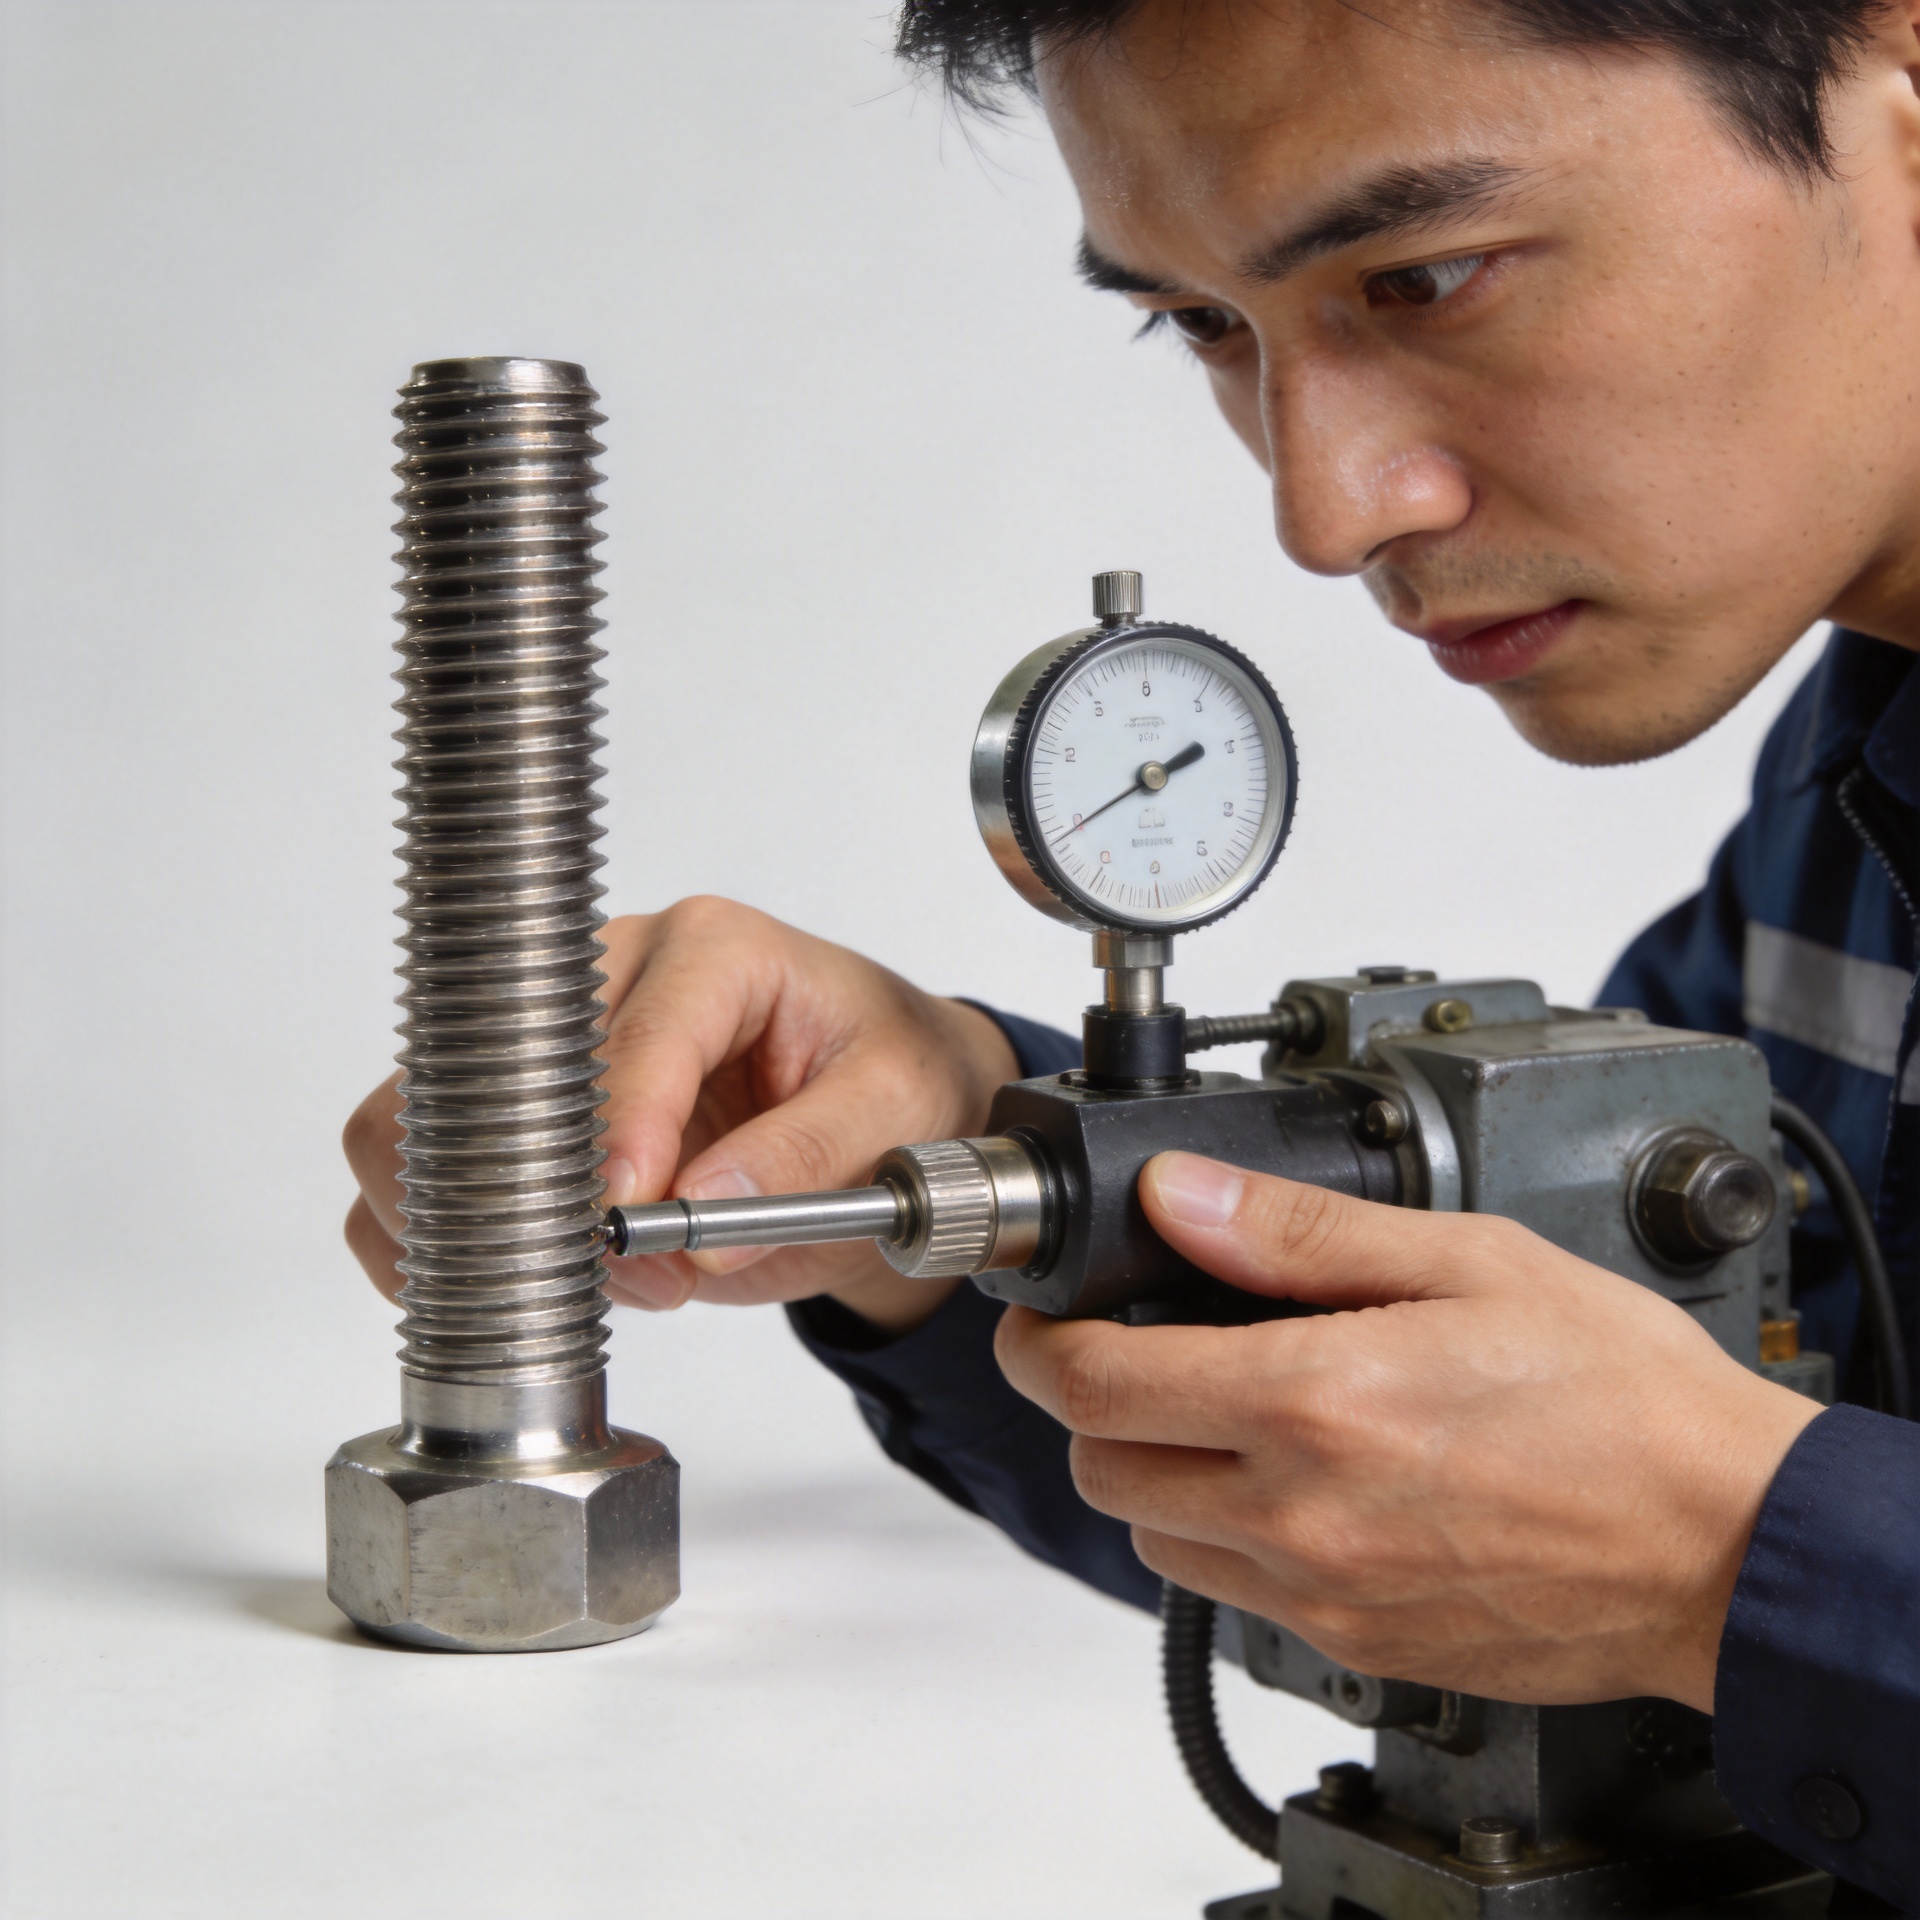
How to Recover a Stud After Thread Damage in Field Maintenance Work
When a fastener begins to bind on a damaged thread, the practical question is not simply whether it can be forced back together. For maintenance teams, the question is whether the remaining engagement can still carry the intended load and whether the repair can be verified. Studs are often used where a component must be removed repeatedly, where alignment matters, or where access makes a conventional bolt awkward. That is why a small nick on one end can become a shutdown issue.
This field guide gives a controlled way to assess damaged Studs, recover a repairable external thread, and identify cases that should move to replacement or engineering review. It applies to a threaded stud, a double ended stud, and many common stud bolt arrangements. A welding stud needs an added base-metal and attachment check before any recovery attempt.
Start with a safety and load decision
Is the assembly pressure-retaining, lifting-related, rotating at speed, or governed by a documented maintenance procedure? If it is, do not treat a thread touch-up as a routine convenience repair. Isolate the equipment, follow the site procedure, and use the approved acceptance criteria. Studs that have yielded, cracked, been overheated, or lost their required engagement length should not be returned to service on the basis of appearance alone.
For less critical work, begin by cleaning the exposed threads with a non-aggressive brush and good lighting. Remove dirt, coating flakes, and loose burrs so the damage can be seen. What looks like stripped threads is sometimes compacted debris at the first one or two turns. Conversely, a polished band, stretched crest, or local necking can indicate more than surface damage.
Classify the damage before choosing a tool
Field work is faster when the defect is classified first. Inspect Studs for four patterns:
- Lead-thread burr or flattened crest: confined to the start of engagement and often recoverable if the remaining profile is sound.
- Cross-threading: displaced material appears in a spiral or the mating nut starts at an angle. Stop before a chaser makes the damage longer.
- Corrosion or coating buildup: the thread form may remain usable after cleaning, but pitting or section loss calls for a closer decision.
- Bent, stretched, or cracked shank: this is a replacement condition for ordinary maintenance purposes, not a thread-restoration job.
Record the nominal diameter, pitch, and thread system before selecting any tool. A thread file, die, or nut with the wrong pitch can make usable Studs unusable. If markings are absent, compare against a known mating part, thread gauge, or the equipment documentation rather than relying on an estimate.
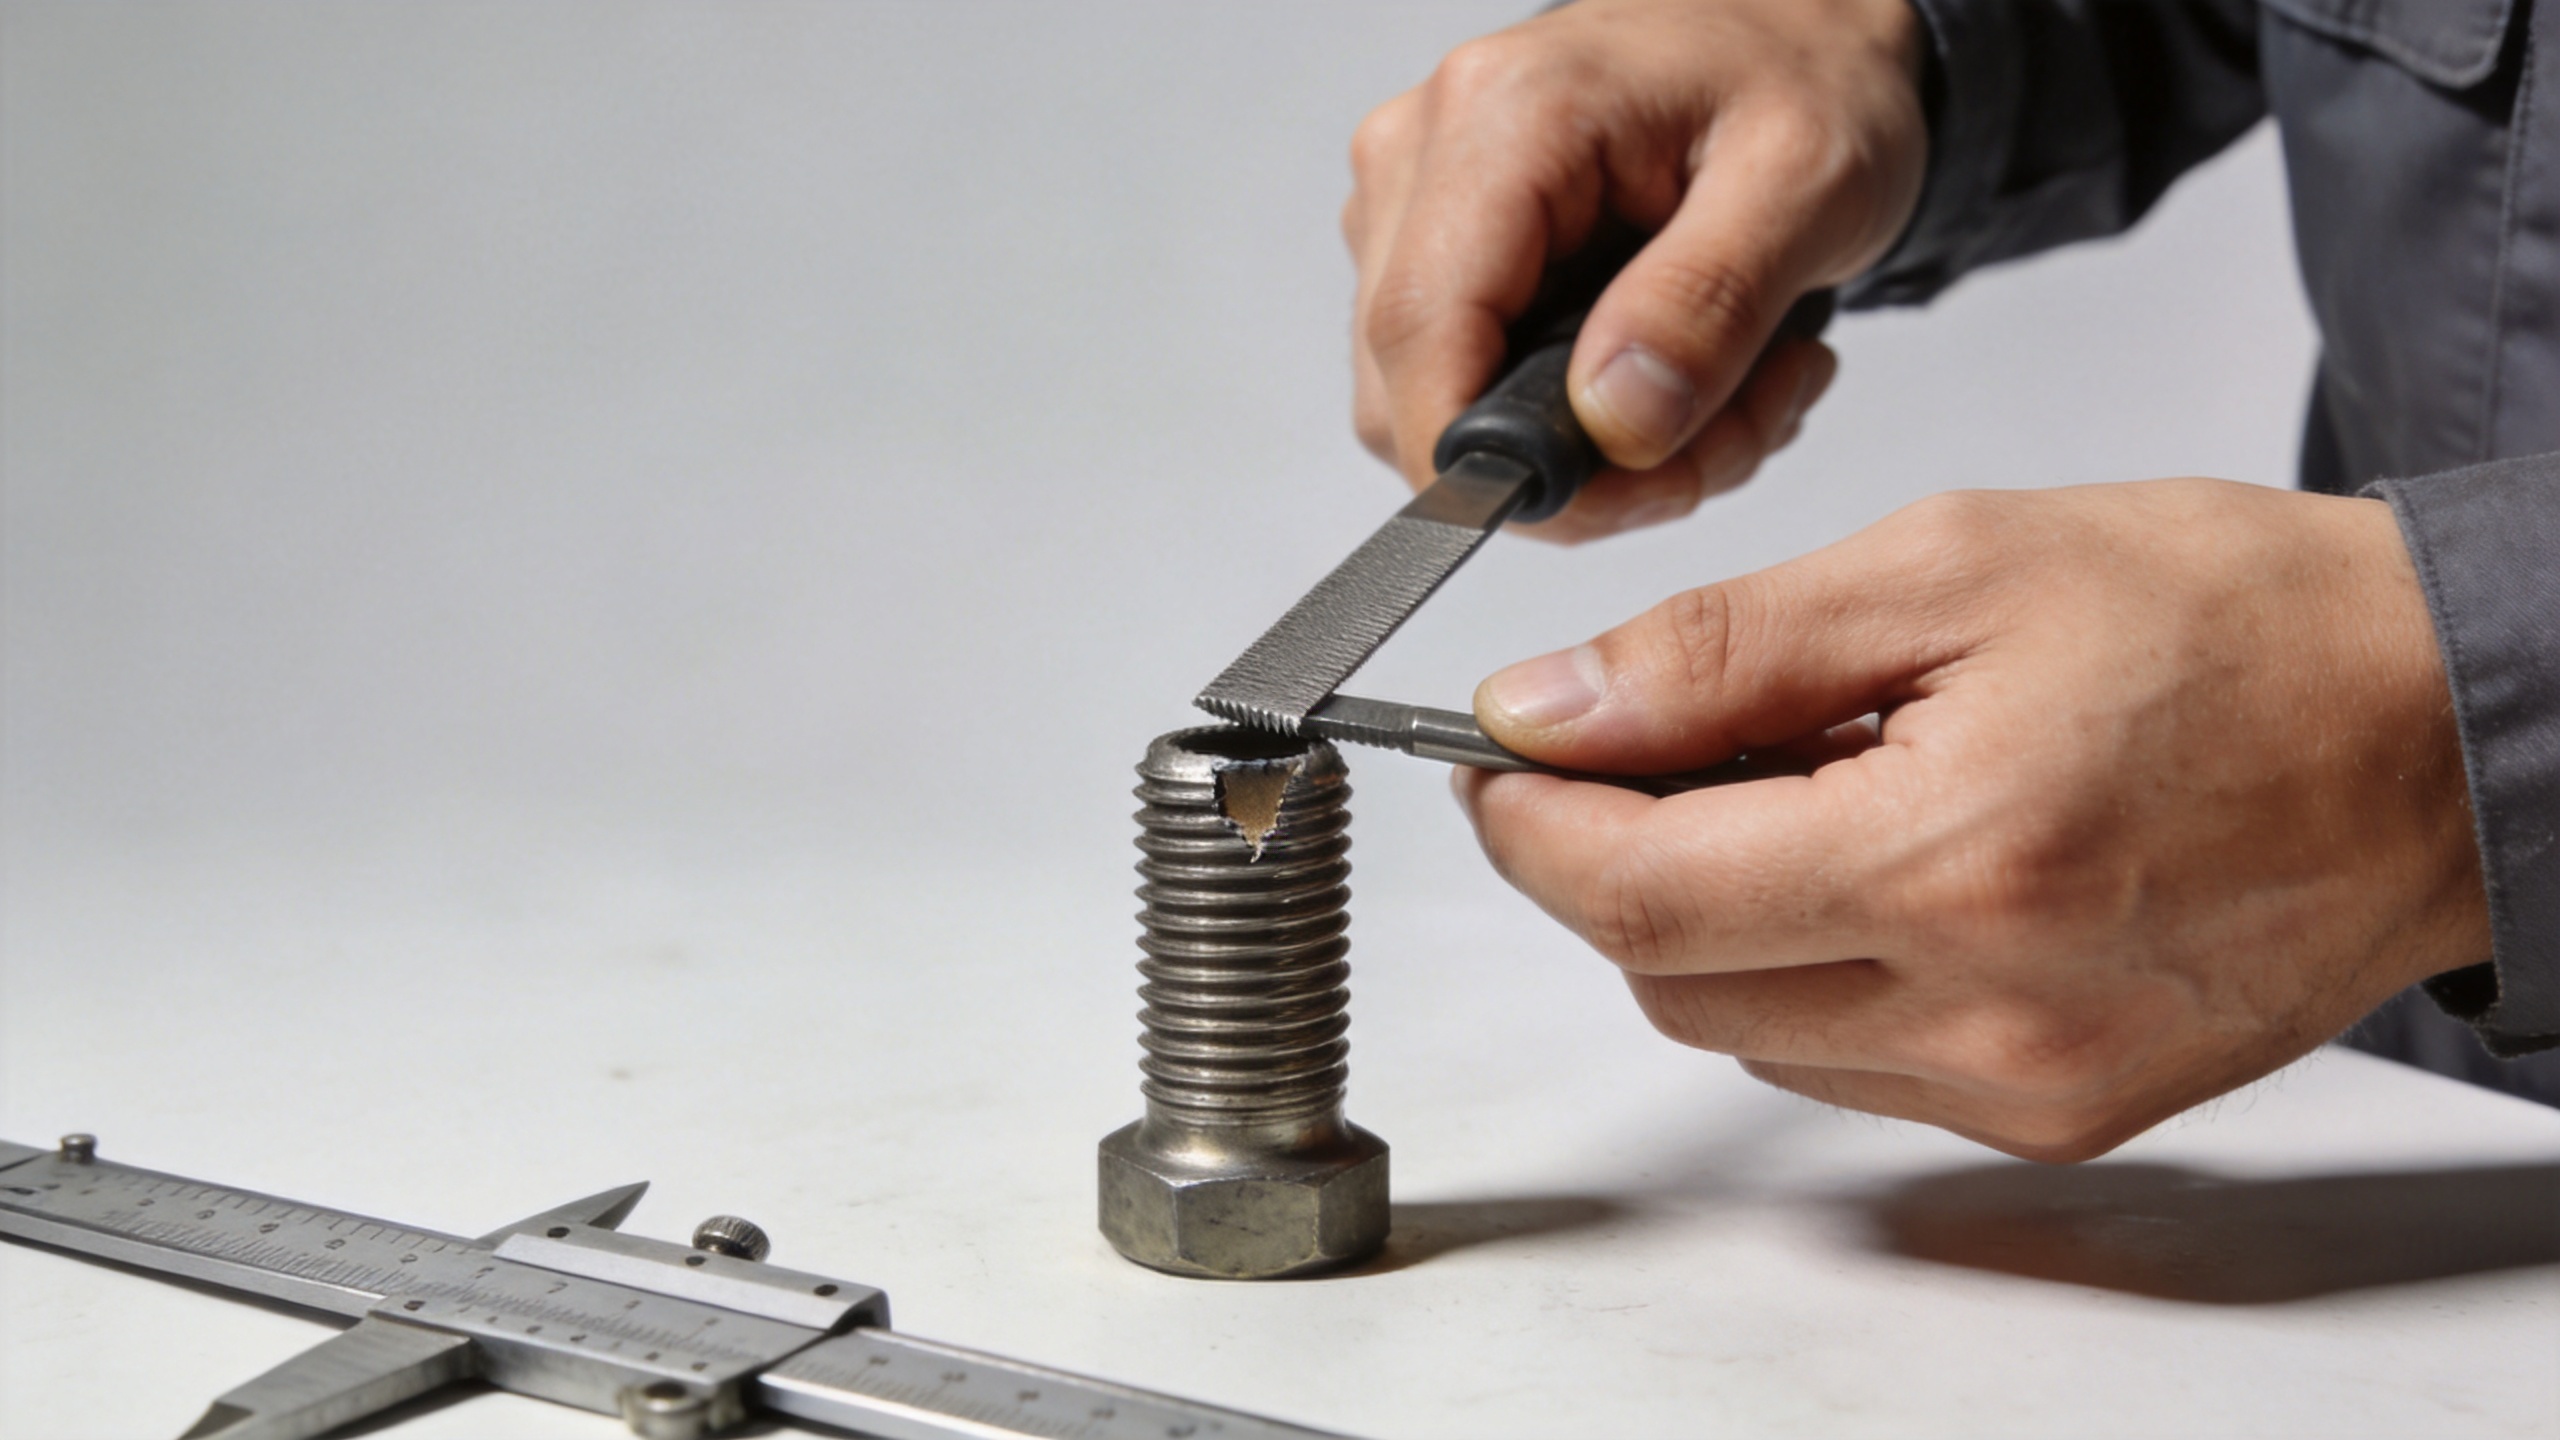
Recover light external-thread damage in a controlled sequence
- Relieve only the raised damage. Use a fine file or suitable deburring tool to remove the raised displaced edge. Keep the tool aligned with the thread form; do not reduce the shank or flatten multiple sound crests.
- Restore the lead gradually. For a local defect, a correctly sized thread file can re-form the affected turns. Turn it along the helix in short passes and inspect after each pass. On Studs, this is usually more conservative than running a cutting die across the full exposed length.
- Use a chaser only when appropriate. A thread chaser can clean and reform minor damage without intentionally cutting a new thread profile. Use lubricant compatible with the service environment, start squarely, and reverse frequently to clear debris.
- Do not force a standard nut as a repair tool. A nut may mask damage by galling or carrying displaced material farther down the thread. If a nut is used for a controlled check, it should turn by hand over the repaired zone before any wrench is applied.
- Clean again and inspect. Remove chips and confirm that crests, roots, and flanks are not torn. A clean surface makes it easier to see whether the repair merely removed a burr or remove significant thread material.
How the stud style changes the decision
A threaded stud with equal ends may allow a planned replacement if one end is damaged, but do not reverse it automatically. Check engagement length, access, corrosion exposure, and the specified end geometry. With a double ended stud, identify which end locates in the tapped base and which end takes the nut. The ends can differ in length, fit, or intended use even when the diameter looks identical.
A welding stud deserves a separate stop point. Damage near the attachment area, a cracked weld area, or visible distortion changes the issue from thread repair to attachment integrity. Do not chase threads or apply heat in a way that could hide a weld-related defect. For a stud bolt in a flange or other joint with controlled tightening, the relevant procedure may also specify replacement once thread damage is found.
Match the repair method to the type of stud
Before a tool touches the part, identify whether the assembly uses a threaded stud, a double ended stud, a welding stud, or a conventional stud bolt. These labels describe different installation conditions, and they change what a field technician needs to inspect. A threaded stud may have the same functional thread at both ends, while a double ended stud may use a shorter installed end and a longer nut end. Measure rather than assume.
For a threaded stud, inspect the end that enters the parent part and the exposed end separately. For a double ended stud, protect the installed end from accidental rotation while repairing the exposed end. A welding stud must be checked for attachment-area damage before its threads are restored. A stud bolt in a controlled joint may have specified replacement criteria that take precedence over a field touch-up.
Keep the identification on the work record: threaded stud or double ended stud, nominal size and pitch, defect location, tool used, and verification method. This detail helps the next shift distinguish a repaired lead thread from an unresolved joint issue. It also makes clear when a welding stud or stud bolt needs review beyond ordinary external-thread restoration.
Verify the recovery instead of judging by feel
Visual inspection is necessary but not enough for Studs. First, test the intended mating nut or approved gauge by hand over the repaired area. It should start squarely and travel without a sudden tight spot. Next, confirm that the required engagement remains available after the damaged turns are bypassed. A repair that allows the nut to start but leaves too little effective engagement is not a useful recovery.
Where the job calls for formal verification, use the correct external-thread gauge or follow the equipment maker’s acceptance method. Do not substitute a caliper reading for a thread-function check. Before final assembly, clean the mating nut or tapped part as well; damaged or contaminated counterparts can ruin newly repaired Studs.
When replacement is the lower-risk choice
Replace Studs when damage extends beyond the lead threads, when threads are torn around a substantial circumference, when a nut will not run freely by hand after careful restoration, or when corrosion has reduced the section. Replacement is also the sensible choice after cross-threading that has removed flank material, after galling across several turns, or when the fastener history is unknown in a critical joint.
The field tradeoff is speed versus verification. A quick touch-up may be reasonable for isolated lead damage on accessible, noncritical Studs; it is not a substitute for a documented decision on a safety-sensitive joint. If you cannot identify the thread, confirm the required engagement, or verify the finished condition, stop and escalate the repair decision.
A short maintenance checklist
- Identify the thread system, diameter, pitch, and the stud’s service role.
- Clean the threads and inspect for burrs, distortion, cracks, corrosion, and stretch.
- Use the least aggressive suitable restoration method.
- Check hand engagement with the correct mating part or approved gauge.
- Confirm engagement length and the applicable torque or assembly procedure.
- Replace the fastener or seek engineering review when structural damage or uncertainty remains.
Handled this way, Studs are not treated as disposable at the first mark, nor as parts that can be rescued in every case. The useful distinction is simple: recover only a localized thread defect that can be identified and verified; replace the stud when the thread form, shank, attachment, or required joint performance is in doubt.

