 EN

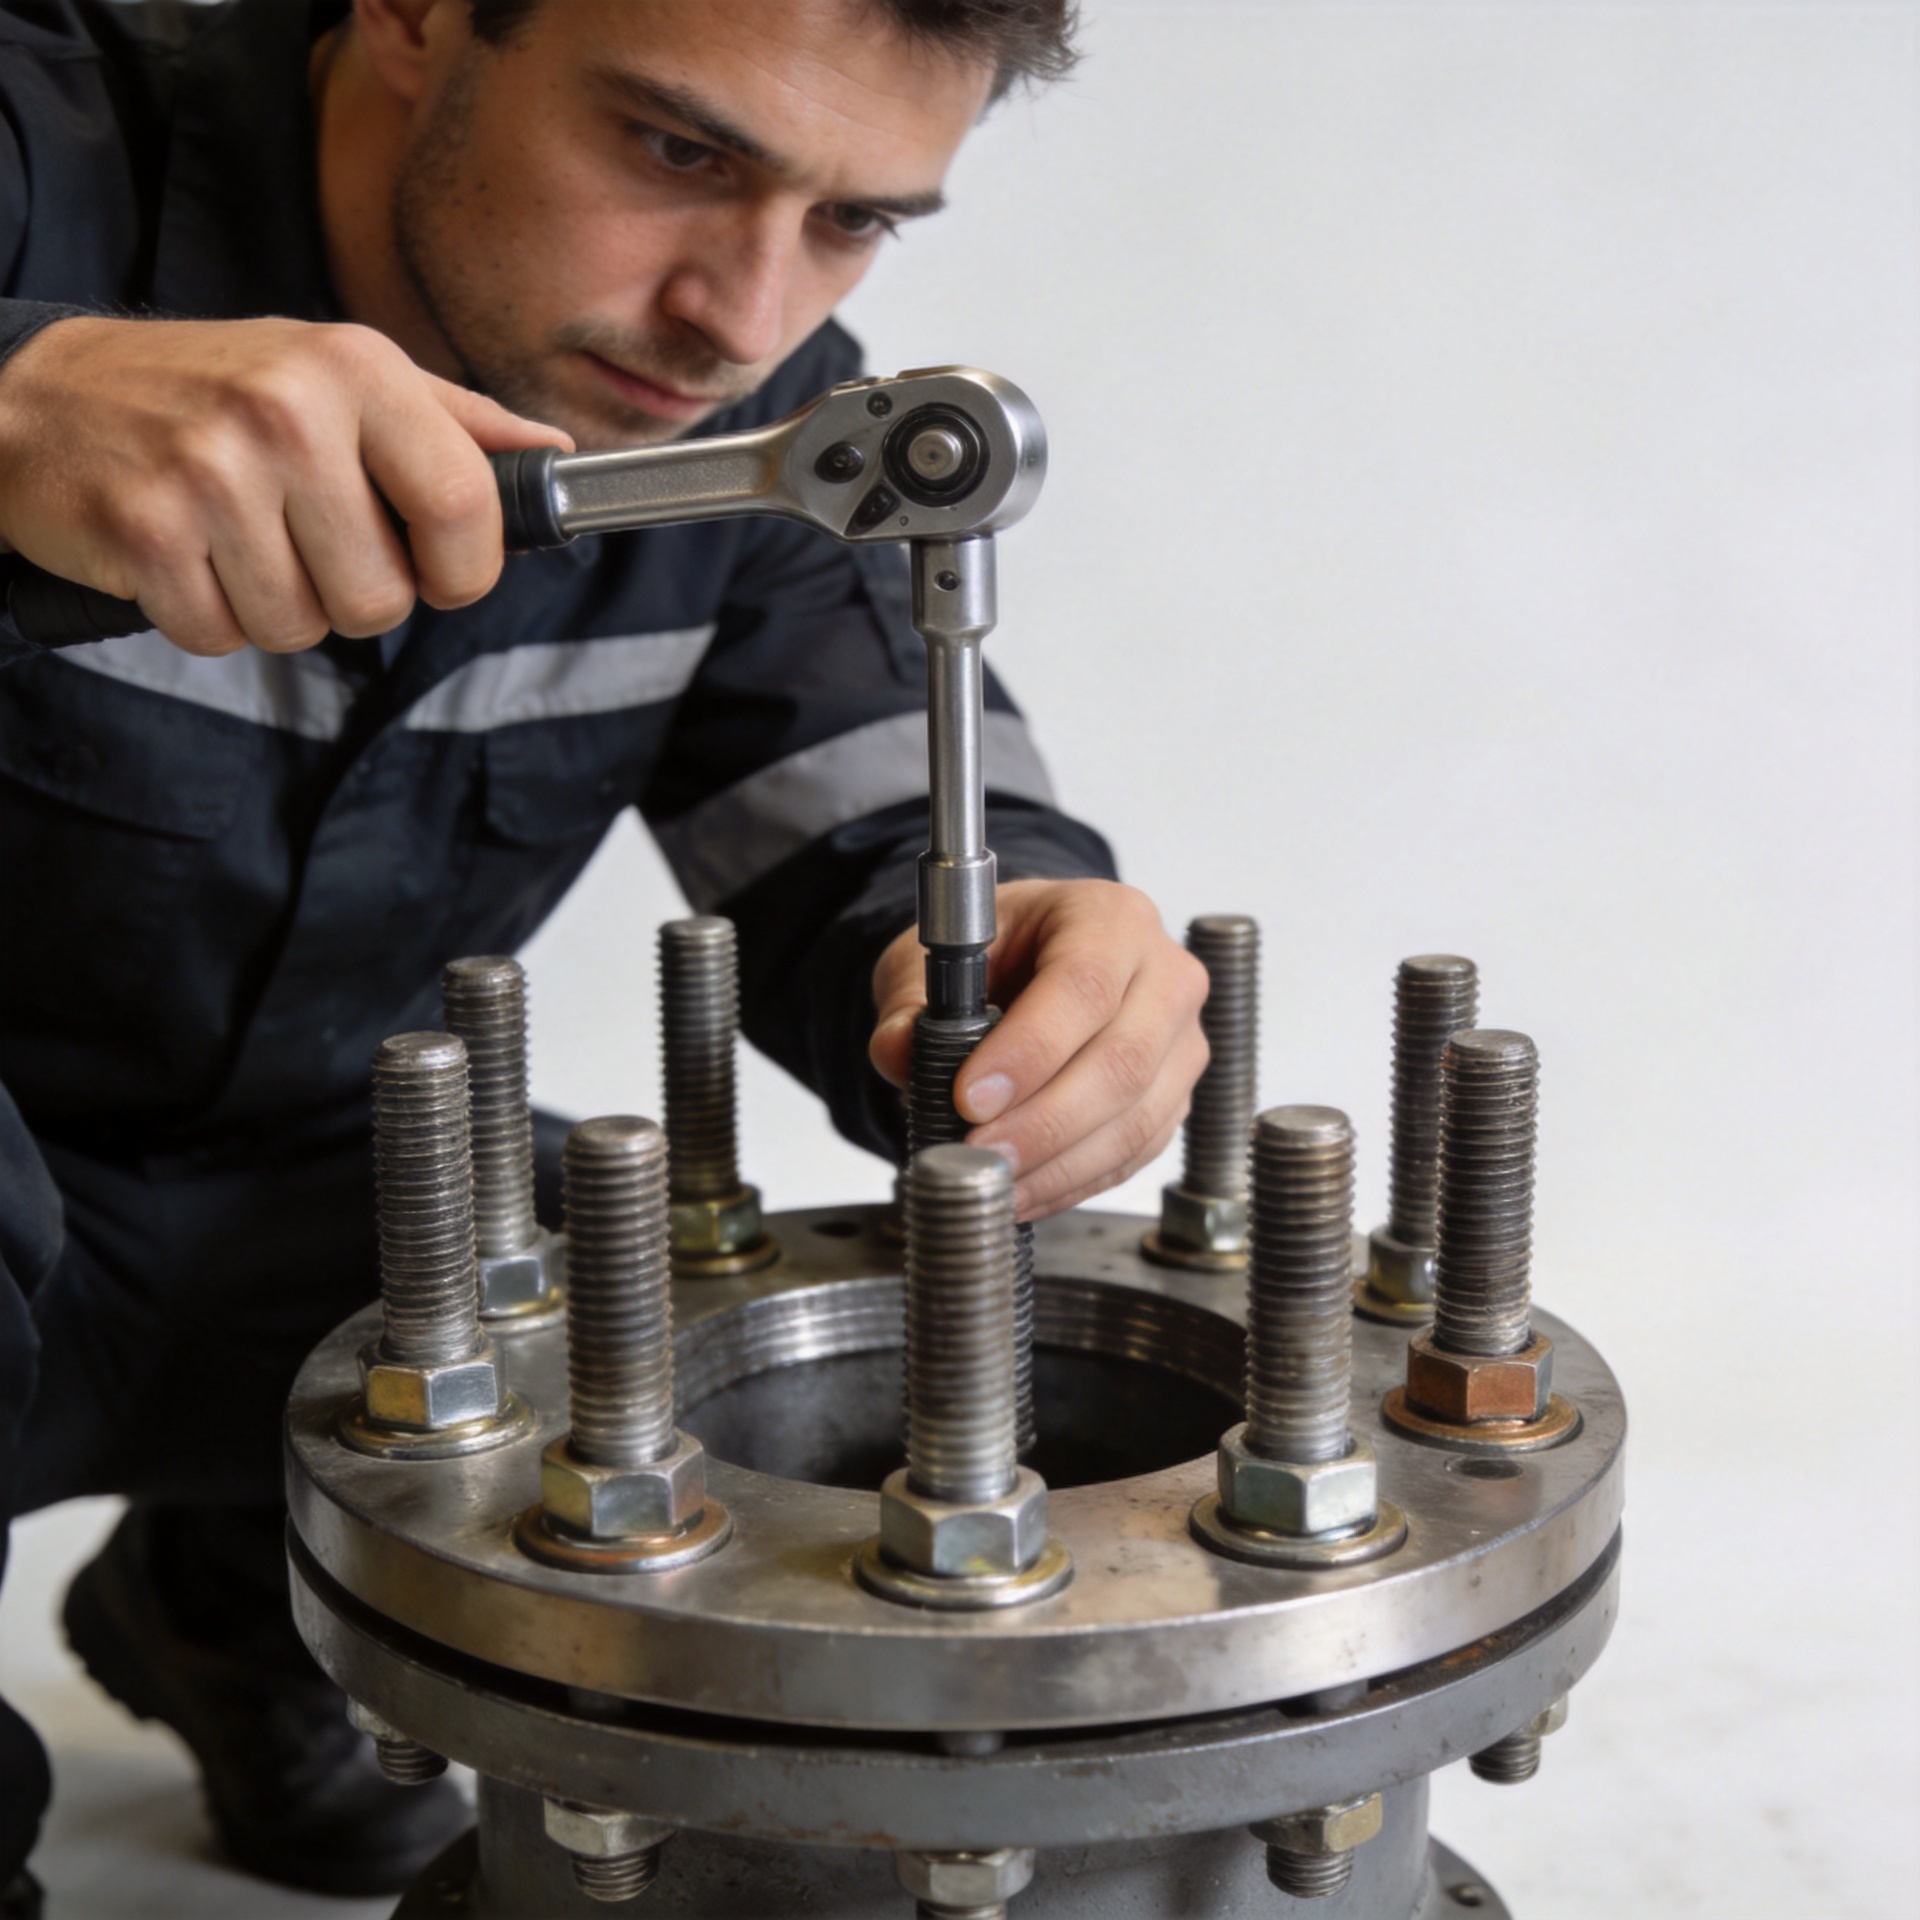
Keeping Studs Straight During Tightening in Field Conditions
A stud that begins to lean, bow, or bind while a nut is being tightened is signaling that the joint needs attention. In field work, this can happen on piping supports, machinery bases, flanged connections, and repair assemblies where access is limited and surfaces are not perfectly prepared. The useful response is not simply to apply more torque. It is to identify what is putting sideways load into the fastener before the tightening sequence turns a small alignment issue into damaged threads or an unreliable joint.
From a fastening-selection engineer’s perspective, the first questions are practical: Are the bearing faces parallel? Is the threaded engagement clean and adequate? Is the tool applying torque squarely to the nut? And is the stud being asked to pull parts together that should have been aligned before tightening? Those checks matter for ordinary Studs, a threaded stud used in a flange, a double ended stud installed into a tapped body, or a stud bolt loaded by nuts at both ends.
Why Studs Bend While a Joint Is Being Tightened
Studs are intended to carry mainly axial tension once the joint is seated. Bending begins when the load path is no longer centered. A cocked washer, a nut started at an angle, a gap between clamped parts, or a tool reaction that pushes sideways can turn tightening force into a bending moment. The more unsupported length there is between the joint and the engaged threads, the more visible that movement can become.
It is easy to assume that a higher-strength fastener will solve the issue. Often it will not. A stronger stud can still be bent by misalignment, and forcing it may transfer the problem into the female thread, nut, or joint face. The more reliable approach is to correct the geometry first, then tighten only after the load is traveling through the assembly as intended.
Start With the Joint, Not the Torque Wrench
Before loading Studs, inspect the clamped parts and their contact faces. Rust scale, weld spatter, paint buildup, burrs, and trapped debris can hold one side of a component off its seat. That small offset may be enough to side-load a stud when the nut begins to draw the joint together. Clean the bearing surfaces and check whether a straightedge or visual gap inspection shows uneven contact.
Next, confirm that the holes or tapped locations allow the fastener to enter freely. Do not use a nut to pull a distorted bracket, flange, or cover into line unless the assembly procedure specifically allows it. If parts need levering or heavy force just to start, loosen the setup and address the fit-up. Studs should guide a prepared joint; they should not serve as alignment pins for a component that is significantly out of position.
Check the Stud Before It Carries Load
Look for thread damage and runout
Roll the uninstalled fastener on a known flat surface when practical, or use a simple runout check for critical work. A previously bent threaded stud may enter a hole but will show increasing resistance as the nut travels. Inspect for flattened crests, galling, corrosion, or impact marks near the first engaged threads. Cleaning a thread is different from forcing a damaged thread; if engagement remains rough after appropriate cleaning, replace the affected component or obtain a qualified repair decision.
Verify engagement and installed length
A double ended stud must have the specified engagement in the tapped member before its exposed end is loaded. If it bottoms unexpectedly, bridges on debris, or has too little engagement, the exposed portion can be left unsupported and prone to deflection. For a stud bolt, check that the nuts and washers bear evenly and that enough thread is available for the specified hardware without bottoming on an unthreaded section.
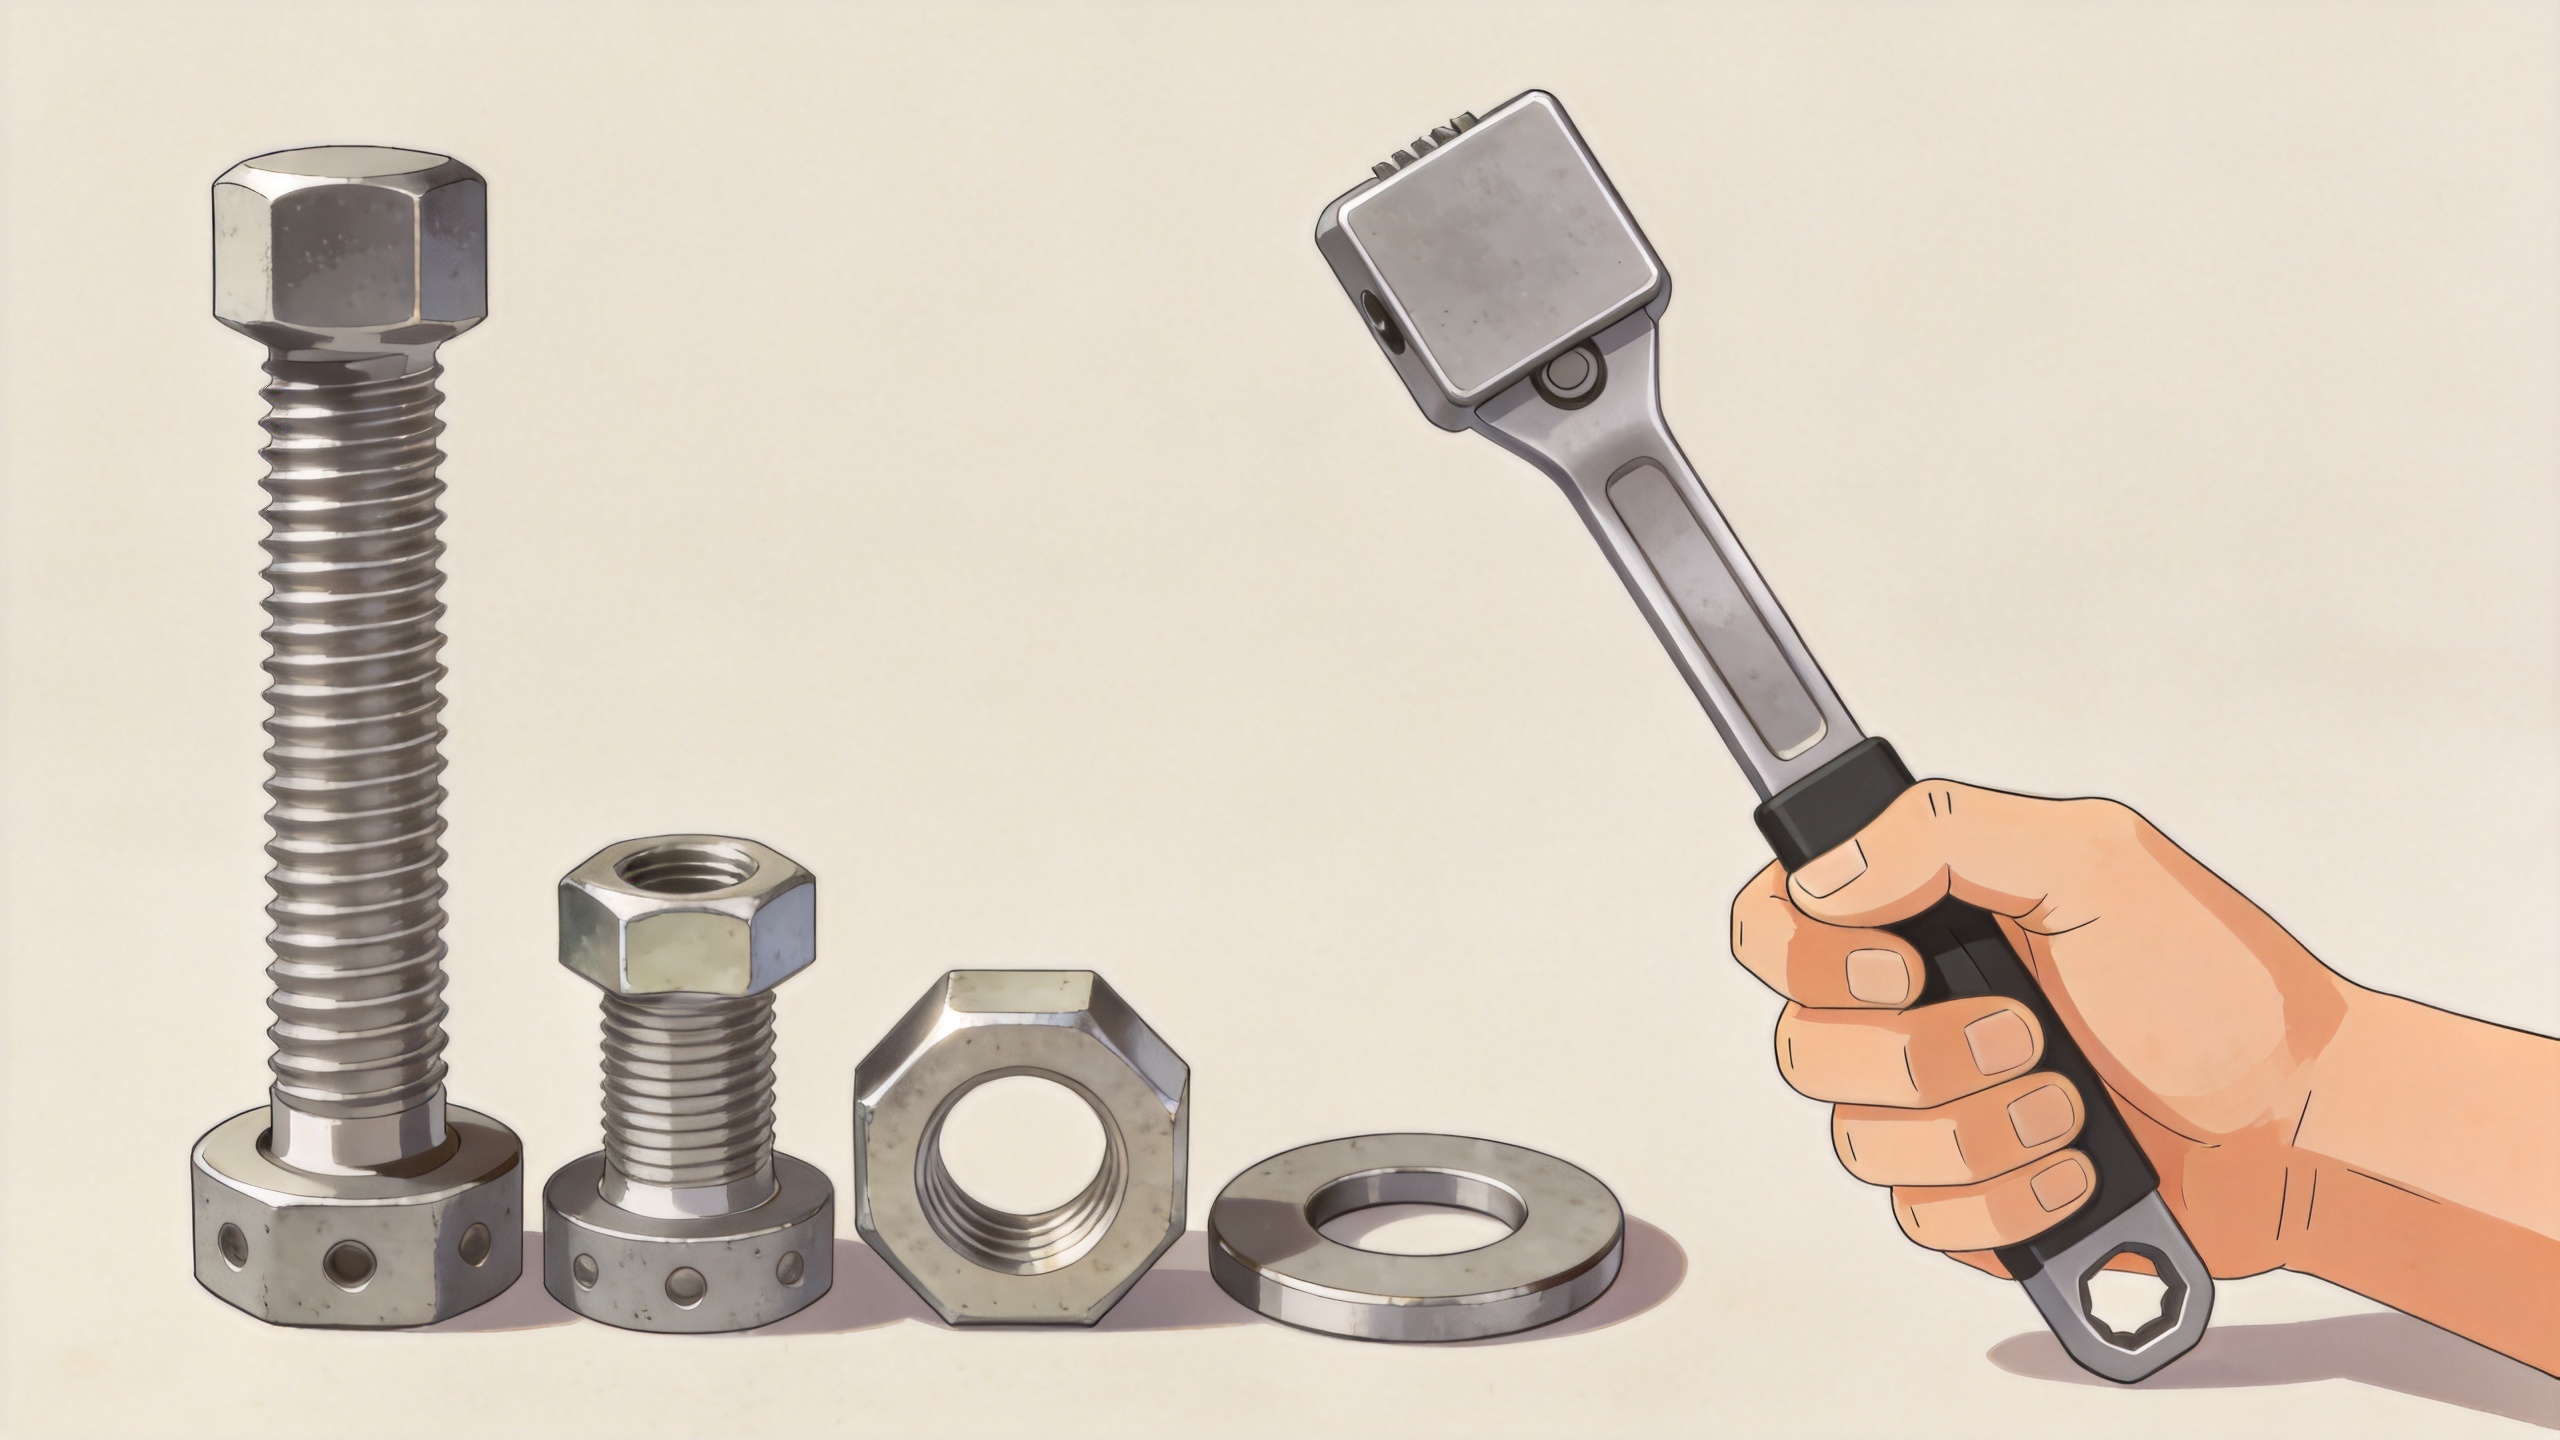
Use a Controlled Tightening Sequence
Once the joint is seated and the fastener is straight, bring all nuts to a light, even snug condition first. On multi-fastener joints, use the required cross pattern or the documented sequence for the equipment. This helps distribute seating load instead of pulling one corner down while another remains open. Make progressive passes rather than taking one nut directly to final torque.
For individual Studs, hold the tool square to the nut and avoid using long extensions or side pulls that create a visible lateral load. The torque value and lubricant condition should come from the applicable drawing, equipment manual, or approved fastener procedure. Torque is affected by friction in the threads and under the nut face, so a generic number is not a substitute for the correct specification. If the nut stops moving while the wrench load rises sharply, stop and investigate rather than continuing through abnormal resistance.
Field Conditions That Need Extra Attention
- Limited access: Offset sockets, universal joints, and improvised tool angles can push sideways on Studs. Use suitable tooling or revise access where possible.
- Uneven supports: Temporary shims, soft packers, or unmachined repair faces can change the bearing plane as they compress. Confirm stable contact before final tightening.
- Dirty or coated threads: Contamination changes running friction and can make a nut feel tight before the joint reaches its intended condition. Follow the approved cleaning and lubrication practice.
- Temperature changes: Hot equipment, cold assemblies, and dissimilar materials may change fit and preload behavior. Use the governing procedure where thermal conditions are part of the job.
- Welding nearby: A welding stud or a threaded connection near recent weld work deserves a close check for spatter, distortion, and damaged thread starts before assembly.
When to Stop and Escalate
Stop tightening if you see a stud move laterally, if the nut runs unevenly, if a gap remains on one side of the joint, or if thread resistance changes abruptly. Remove load in a controlled way and inspect the joint faces, alignment, threads, washers, and installed length. Replacing a visibly bent fastener is generally less disruptive than discovering later that the joint has lost clamp load or that a tapped hole has been damaged.
For safety-critical, pressure-containing, rotating, or heavily loaded equipment, field judgment should not override the equipment manufacturer’s instructions, engineering drawing, or site procedure. Escalate unclear torque, engagement, material, or alignment questions to the responsible engineer.
A Simple Pre-Tightening Checklist for Studs
- Confirm the parts are aligned and bearing faces are clean.
- Check that the stud enters straight and that its threads are serviceable.
- Verify specified engagement, washers, nuts, and any approved lubricant.
- Seat the joint with light, even tightening before applying final procedure-controlled load.
- Keep the wrench square, use the required sequence, and watch for side movement.
- Stop if resistance or alignment changes unexpectedly; correct the cause before continuing.
Conclusion
Reliable Studs tightening is mostly a matter of alignment, engagement, clean bearing surfaces, and disciplined load application. A threaded stud, double ended stud, welding stud, or stud bolt can only perform as intended when the joint guides force along its axis. Treat visible bending as a diagnostic clue, correct the fit-up, and use the approved tightening procedure for the specific assembly.

