 EN

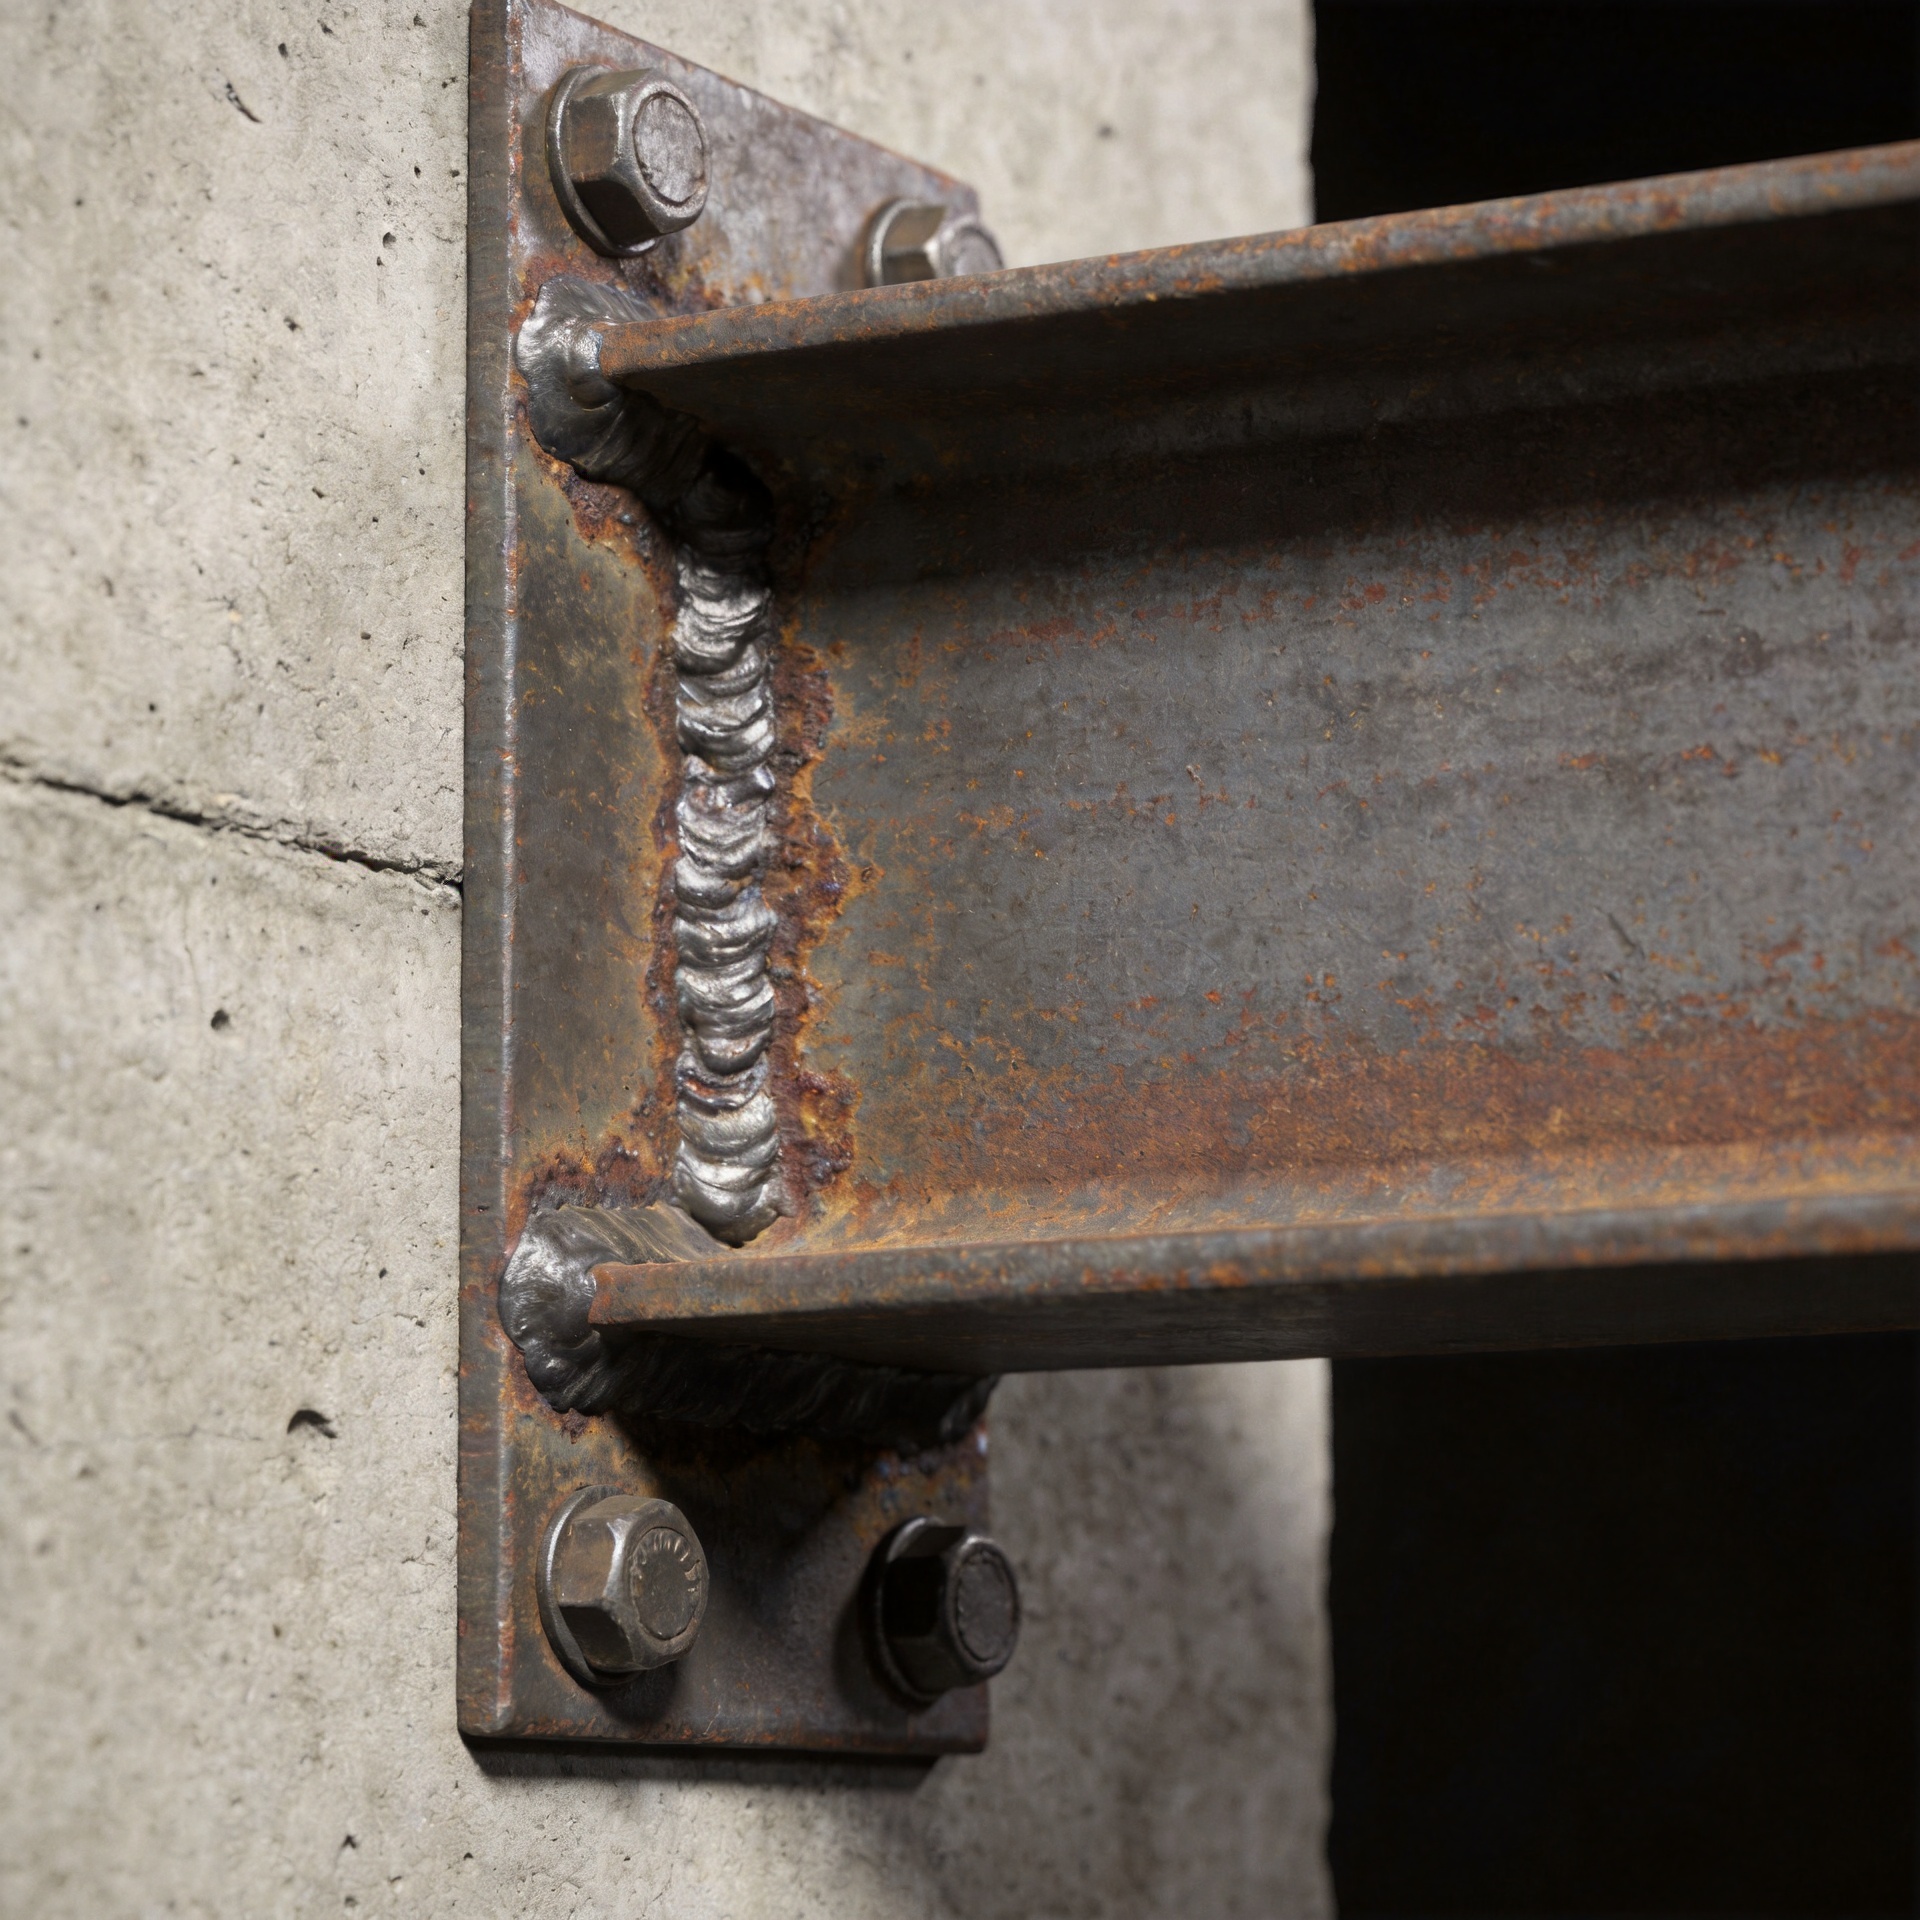
How to Address Anchor Corrosion at the Concrete-Steel Contact Zone
An Anchor installed in concrete can appear sound at the exposed end while moisture and salts are working at the concrete-to-steel contact zone. For maintenance teams, the key is to separate a cosmetic rust stain from a condition that may affect load transfer, edge integrity, or the connected steelwork. This article outlines a practical way to investigate the condition, control the cause, and decide when an anchor needs engineering review or replacement.
Why corrosion develops around an Anchor in concrete
Concrete is alkaline when new, which helps protect embedded steel. That protection can be reduced when carbon dioxide changes the concrete near the surface, when chlorides enter through pores or cracks, or when recurring wetting supplies an electrolyte. Oxygen, moisture, and a conductive path then allow electrochemical corrosion to proceed. The contact zone can be especially vulnerable where the anchor passes through a crack, a poorly sealed fixture, a deck surface, or a joint that holds water.
Corrosion products occupy more volume than the original steel. At an exposed connection, that expansion may show up as rust bleeding, lifting coatings, spalling, or radial cracking around the hole. These are useful warning signs, but they do not establish residual capacity by themselves. A heavily stained concrete anchor may remain serviceable, while a lightly stained anchor in cracked, chloride-affected concrete may require a more cautious assessment.
Start with a condition survey, not a coating decision
As a fastener-selection engineer, I would first map the connection rather than choose a coating from appearance alone. Record the anchor type, diameter, embedment if known, base-material condition, fixture geometry, exposure, and whether the connection is safety-critical or carries sustained, cyclic, or seismic loads. Photograph each location before cleaning. This simple record helps distinguish an isolated leak from a repeatable contact-zone problem across a structure.
- Inspect the concrete: Look for cracking, delamination, rust staining, spalls, standing water, failed sealant, and signs that drainage directs water toward the fixture.
- Inspect exposed steel: Note loss of section, damaged threads, loose nuts, coating breakdown, crevice deposits, and dissimilar-metal contact.
- Confirm the anchor system: A wedge anchor, a sleeve-style mechanical anchor, an adhesive system, and a cast-in insert do not respond to deterioration in the same way.
- Check the load path: Do not loosen or torque-test an Anchor merely to “see if it is tight” when the fixture supports people, equipment, rails, façade components, or primary steelwork.
For load-bearing work, use the project documents and involve the engineer of record or a qualified anchor-design professional. Evaluation guidance for post-installed mechanical anchors is commonly linked to ACI 355.2, but product qualification does not replace a project-specific assessment of an existing, corroded installation.
Identify the cause before selecting a repair
The repair has to address the exposure path. If a roof penetration or unsealed base plate repeatedly wets the hole, brushing exposed rust and applying paint only delays the next cycle. Find the source of water, salt, condensate, or incompatible material contact, then address it with drainage correction, sealant renewal where appropriate, joint detailing, or a revised fixture configuration.
Also consider galvanic effects. Combining metals in a damp, conductive environment can accelerate attack on the less noble material. Material compatibility should be checked for the Anchor, washer, nut, fixture, coating, and nearby steel. A more expensive coating is not automatically the right answer: the exposure class, abrasion, installation damage, trapped-moisture geometry, and inspection access all matter.
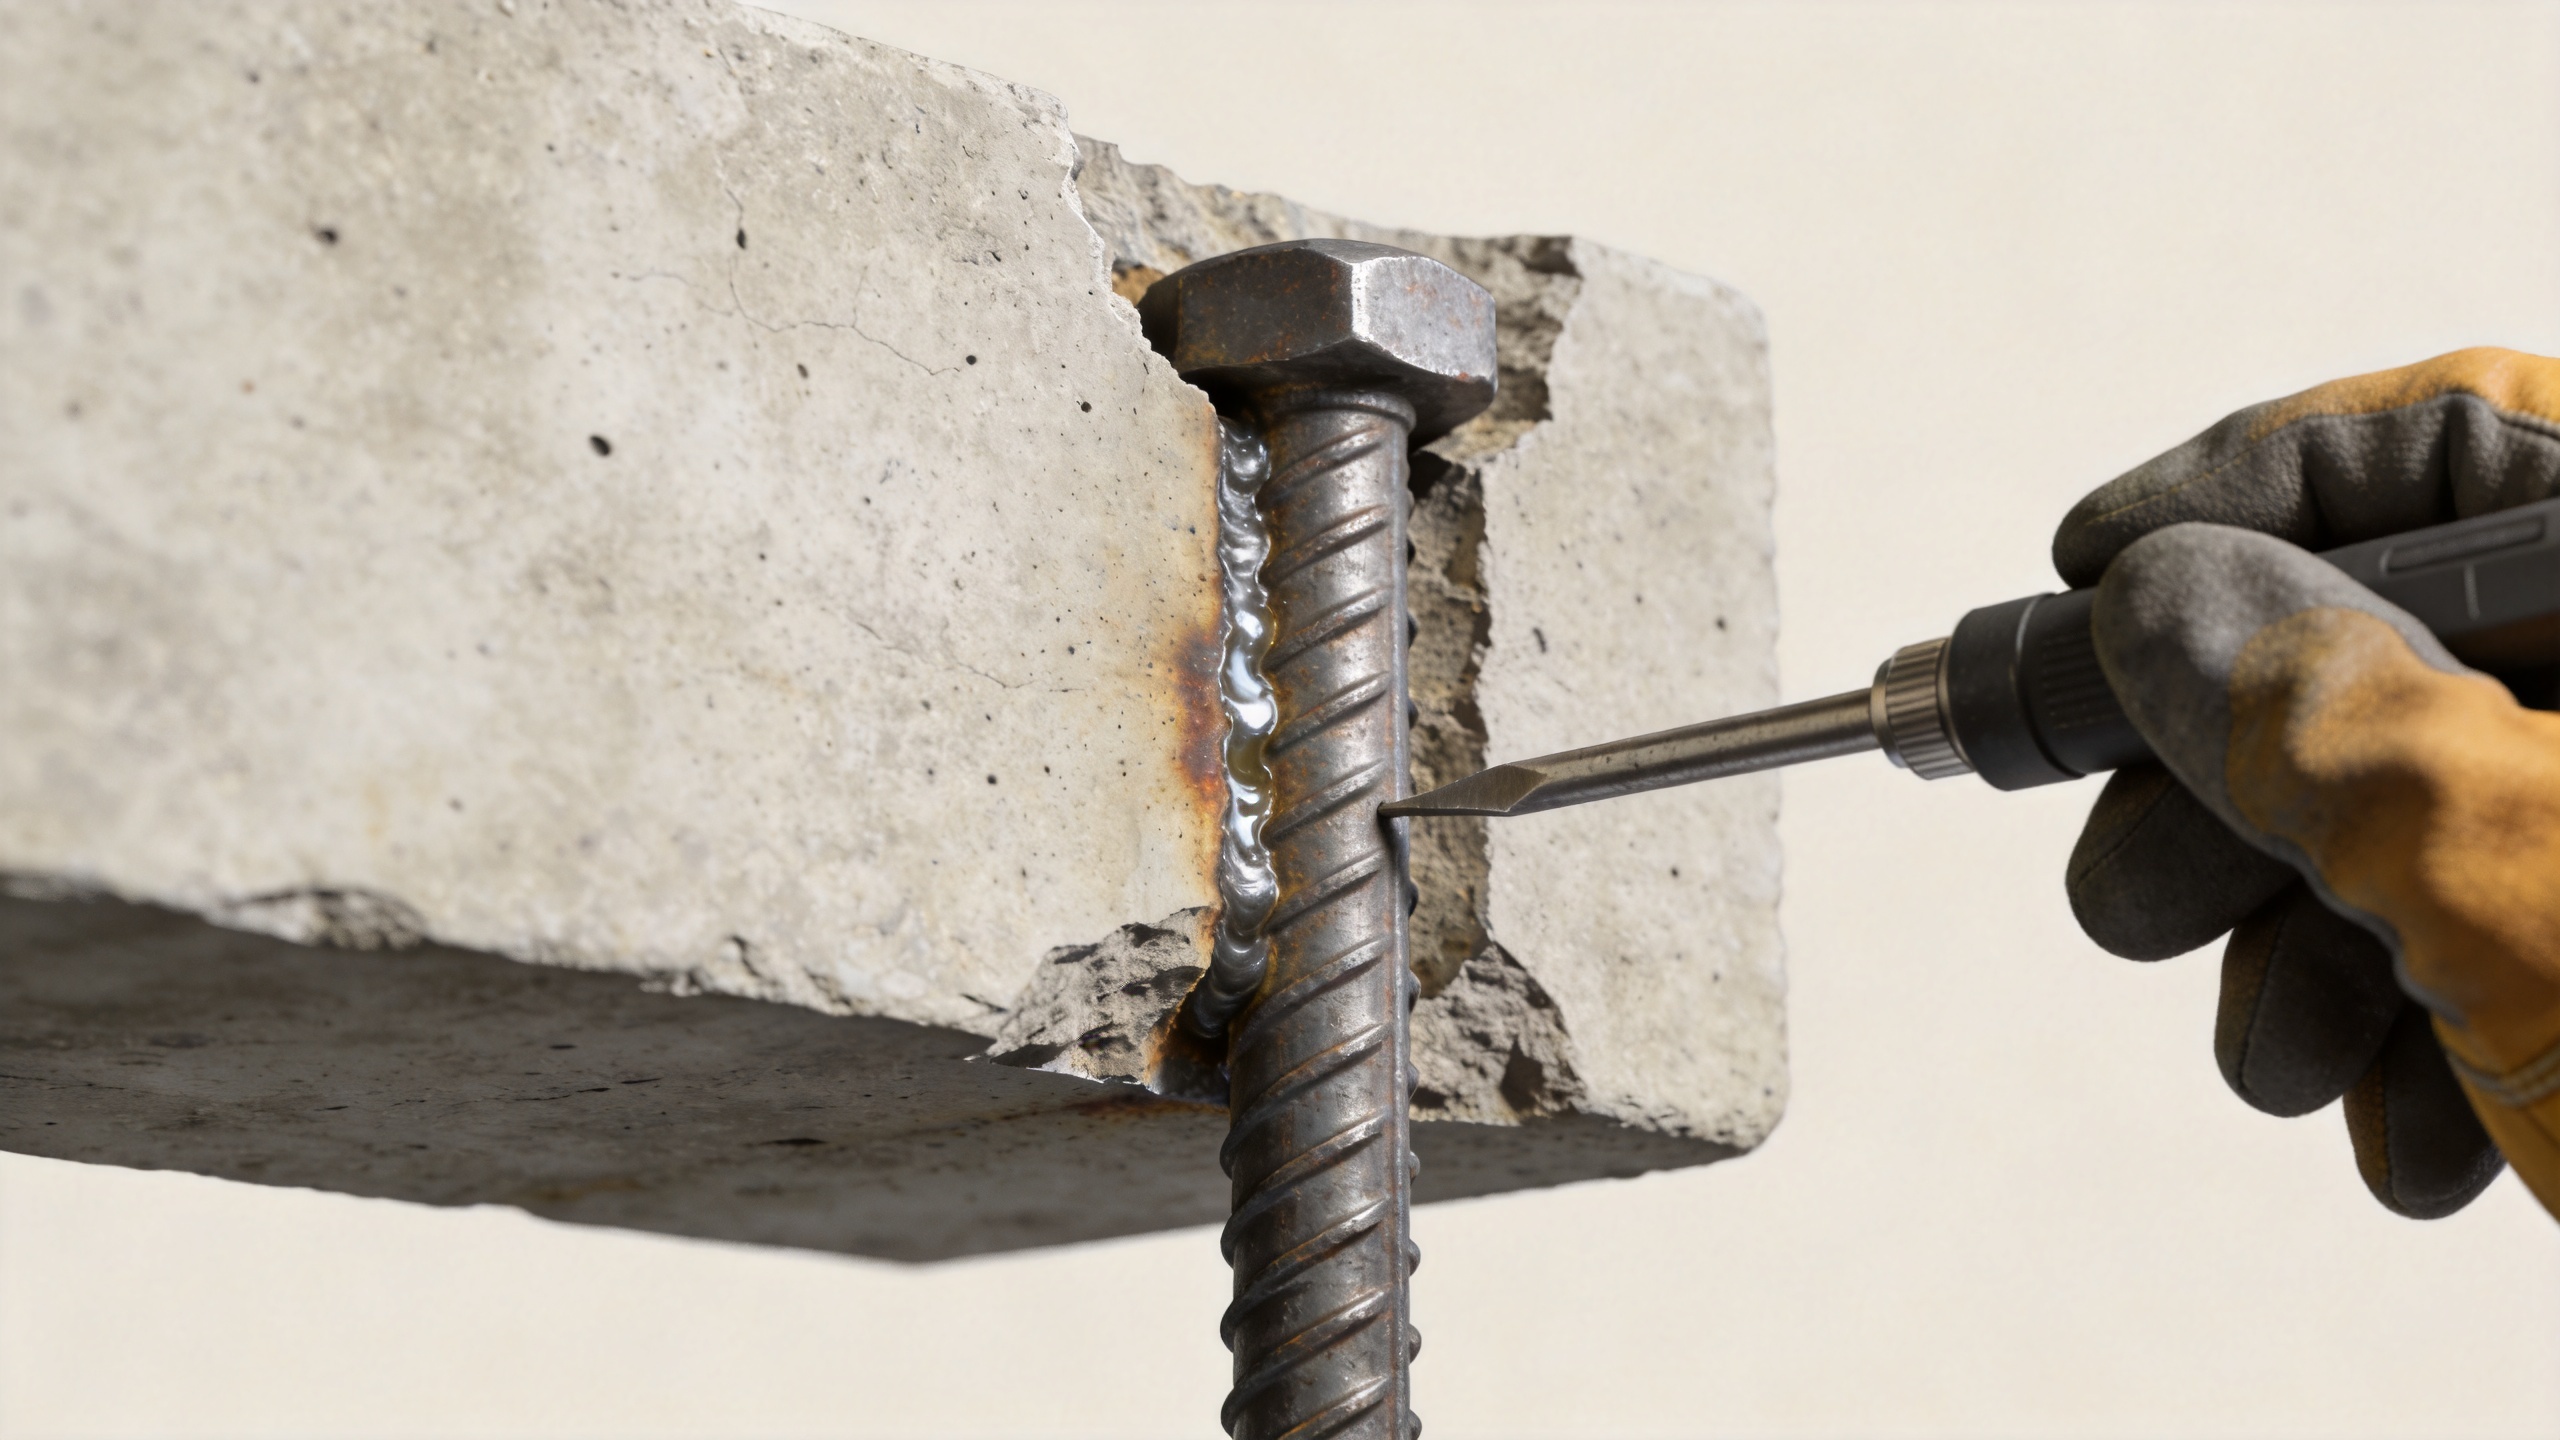
Choose an action path based on condition and consequence
| Observed condition | Typical response | Decision boundary |
|---|---|---|
| Light surface discoloration; sound concrete; no section loss visible | Clean appropriately, correct the moisture path, document baseline condition, and establish inspections. | Use only when the connection is noncritical or a competent reviewer confirms no loss of function. |
| Rust staining with cracks, spalls, or persistent wetting | Investigate concrete condition and exposure source before any patching; obtain engineering input for loaded connections. | Do not assume a surface repair restores anchor capacity. |
| Thread loss, reduced diameter, loose fixture, distorted hardware, or uncertain embedment | Remove from service if the safety plan requires it; have the load path and replacement design reviewed. | Replacement must consider spacing, edge distance, reinforcement, existing holes, and load demand. |
| Marine, de-icing-salt, chemical, or high-humidity exposure | Use an exposure-specific material and protection strategy, with planned inspection intervals. | Verify compatibility and the approved anchor system rather than substituting a different fastener in the field. |
Replacement is a design task, not a like-for-like swap
When replacement is required, treat the old hole and surrounding concrete as part of the engineering problem. Corrosion may have enlarged the opening or damaged the concrete cover. The replacement location may be limited by edge distance, spacing, reinforcement, load direction, or the fixture’s hole pattern. A new Anchor should be selected for the actual base material, demand, exposure, and installation condition—not simply for matching the old diameter.
A wedge anchor relies on mechanical expansion, so hole diameter, drilling quality, cleaning, embedment, and torque matter. A sleeve anchor can be suited to some fixtures and base-material situations, but it still needs the manufacturer’s approved installation parameters. If drawings call for a drop in anchor, installation depth, setting procedure, and compatible bolt engagement should be verified. When a sleeve anchor or another mechanical system is considered near a damaged hole, confirm that the revised geometry and concrete condition support it.
For critical repairs, document the approved anchor type, material grade, coating or corrosion-resistance approach, hole preparation, torque or setting method, installer, and inspection result. Good records reduce the risk of a later maintenance team mixing components or assuming that an unmarked replacement is equivalent.
Build corrosion resistance into the next installation
- Classify the exposure: Interior dry conditions differ substantially from coastal, splash-zone, de-icing-salt, process-chemical, or constantly wet environments.
- Select compatible materials and finishes: Compare the anchor, fixture, washers, nuts, and coating system as one assembly.
- Control water: Detail slope, drainage, flashing, and seals so water does not remain at the concrete-steel contact zone.
- Install to the approved instructions: Use the specified drill diameter, cleaning method, embedment, setting procedure, and torque. Field improvisation can alter both performance and corrosion behavior.
- Plan inspections: Establish practical intervals based on exposure and consequence, then compare future observations with the baseline record.
When to escalate immediately
Escalate without delay when corrosion affects a life-safety connection, a loaded structural member, electrical grounding, pressurized equipment, guardrails, suspended items, or a fixture that could fall. The same applies when there is concrete spalling, exposed reinforcement, visible loss of anchor section, movement under normal service, or evidence of aggressive chemical exposure. In these cases, isolation, temporary support, and a qualified engineering assessment may be more appropriate than field cleaning or re-torquing.
Conclusion
Anchor corrosion at the concrete-steel contact zone is managed by understanding the exposure, inspecting the whole connection, and making a repair decision that matches the consequences of failure. Start with water and salt pathways, assess both concrete and steel, and use an approved replacement design when the condition or load path is uncertain. A disciplined record of anchor type, installation details, and inspection findings gives future teams a defensible basis for maintenance decisions.

