 EN


How to Diagnose Anchor Failure Before Structural Movement Occurs
An Anchor connection rarely announces a problem with one dramatic event. More often, the first clues are small: fresh dust at a hole, a washer that no longer bears evenly, a nut that reaches its previous torque position too quickly, or a fine crack that appears to follow an anchor line. Those signs do not prove that a connection has lost capacity. They do mean the condition deserves a disciplined inspection before the supported item shifts, rotates, or transfers load elsewhere.
From a fastener-selection engineer’s viewpoint, the useful question is not “does this Anchor look tight?” It is whether the installed system still matches its assumed load path. That system includes the fastener, fixture, base material, drilled hole, embedment, spacing, edge distance, and installation record. This article is a practical screening guide, not a substitute for the engineer of record, a project specification, or a qualified inspector.
Start With a Safety and Evidence Boundary
If the connection supports overhead equipment, guards people from a fall, restrains machinery, carries seismic or dynamic loads, or shows visible movement, isolate the area and follow the project’s escalation procedure. Do not retighten, re-drill, or proof-load an Anchor simply to see what happens. An improvised test can change the evidence and may add load to a damaged substrate.
First, document the condition without disturbing it. Photograph the whole fixture and each suspect location; mark the date and location; note whether the item is loaded, vibrating, wet, hot, or exposed to corrosion. Compare the condition with approved drawings, installation records, and the fastening schedule where available. A change from the documented configuration is often more informative than an isolated visual impression.
Early Warning Signs Around the Anchor Head
Look for a changed relationship between the fixture, washer, nut, and base material. A gap beneath a plate, a tilted washer, polished metal at one side of a slot, fresh rust streaks, or paint cracking at the fixture edge can indicate localized slip. These are screening signals, not a capacity calculation.
- Witness marks that no longer align: paint, marker lines, or dirt patterns can reveal relative movement.
- Unexpected loss of clamp: a nut or bolt head that appears seated while the plate is no longer firmly clamped requires investigation.
- New corrosion products: corrosion near the entry point can point to moisture pathways, coating damage, or changing section condition.
- Thread damage or a damaged head: these can make later torque readings misleading and can complicate removal or examination.
Do not treat a torque check as a universal diagnostic. Torque is affected by friction, lubrication, coatings, and the condition of threads. If the governing documents call for verification testing, it should be planned and performed under the relevant procedure rather than improvised in the field.
Read the Concrete, Not Just the Hardware
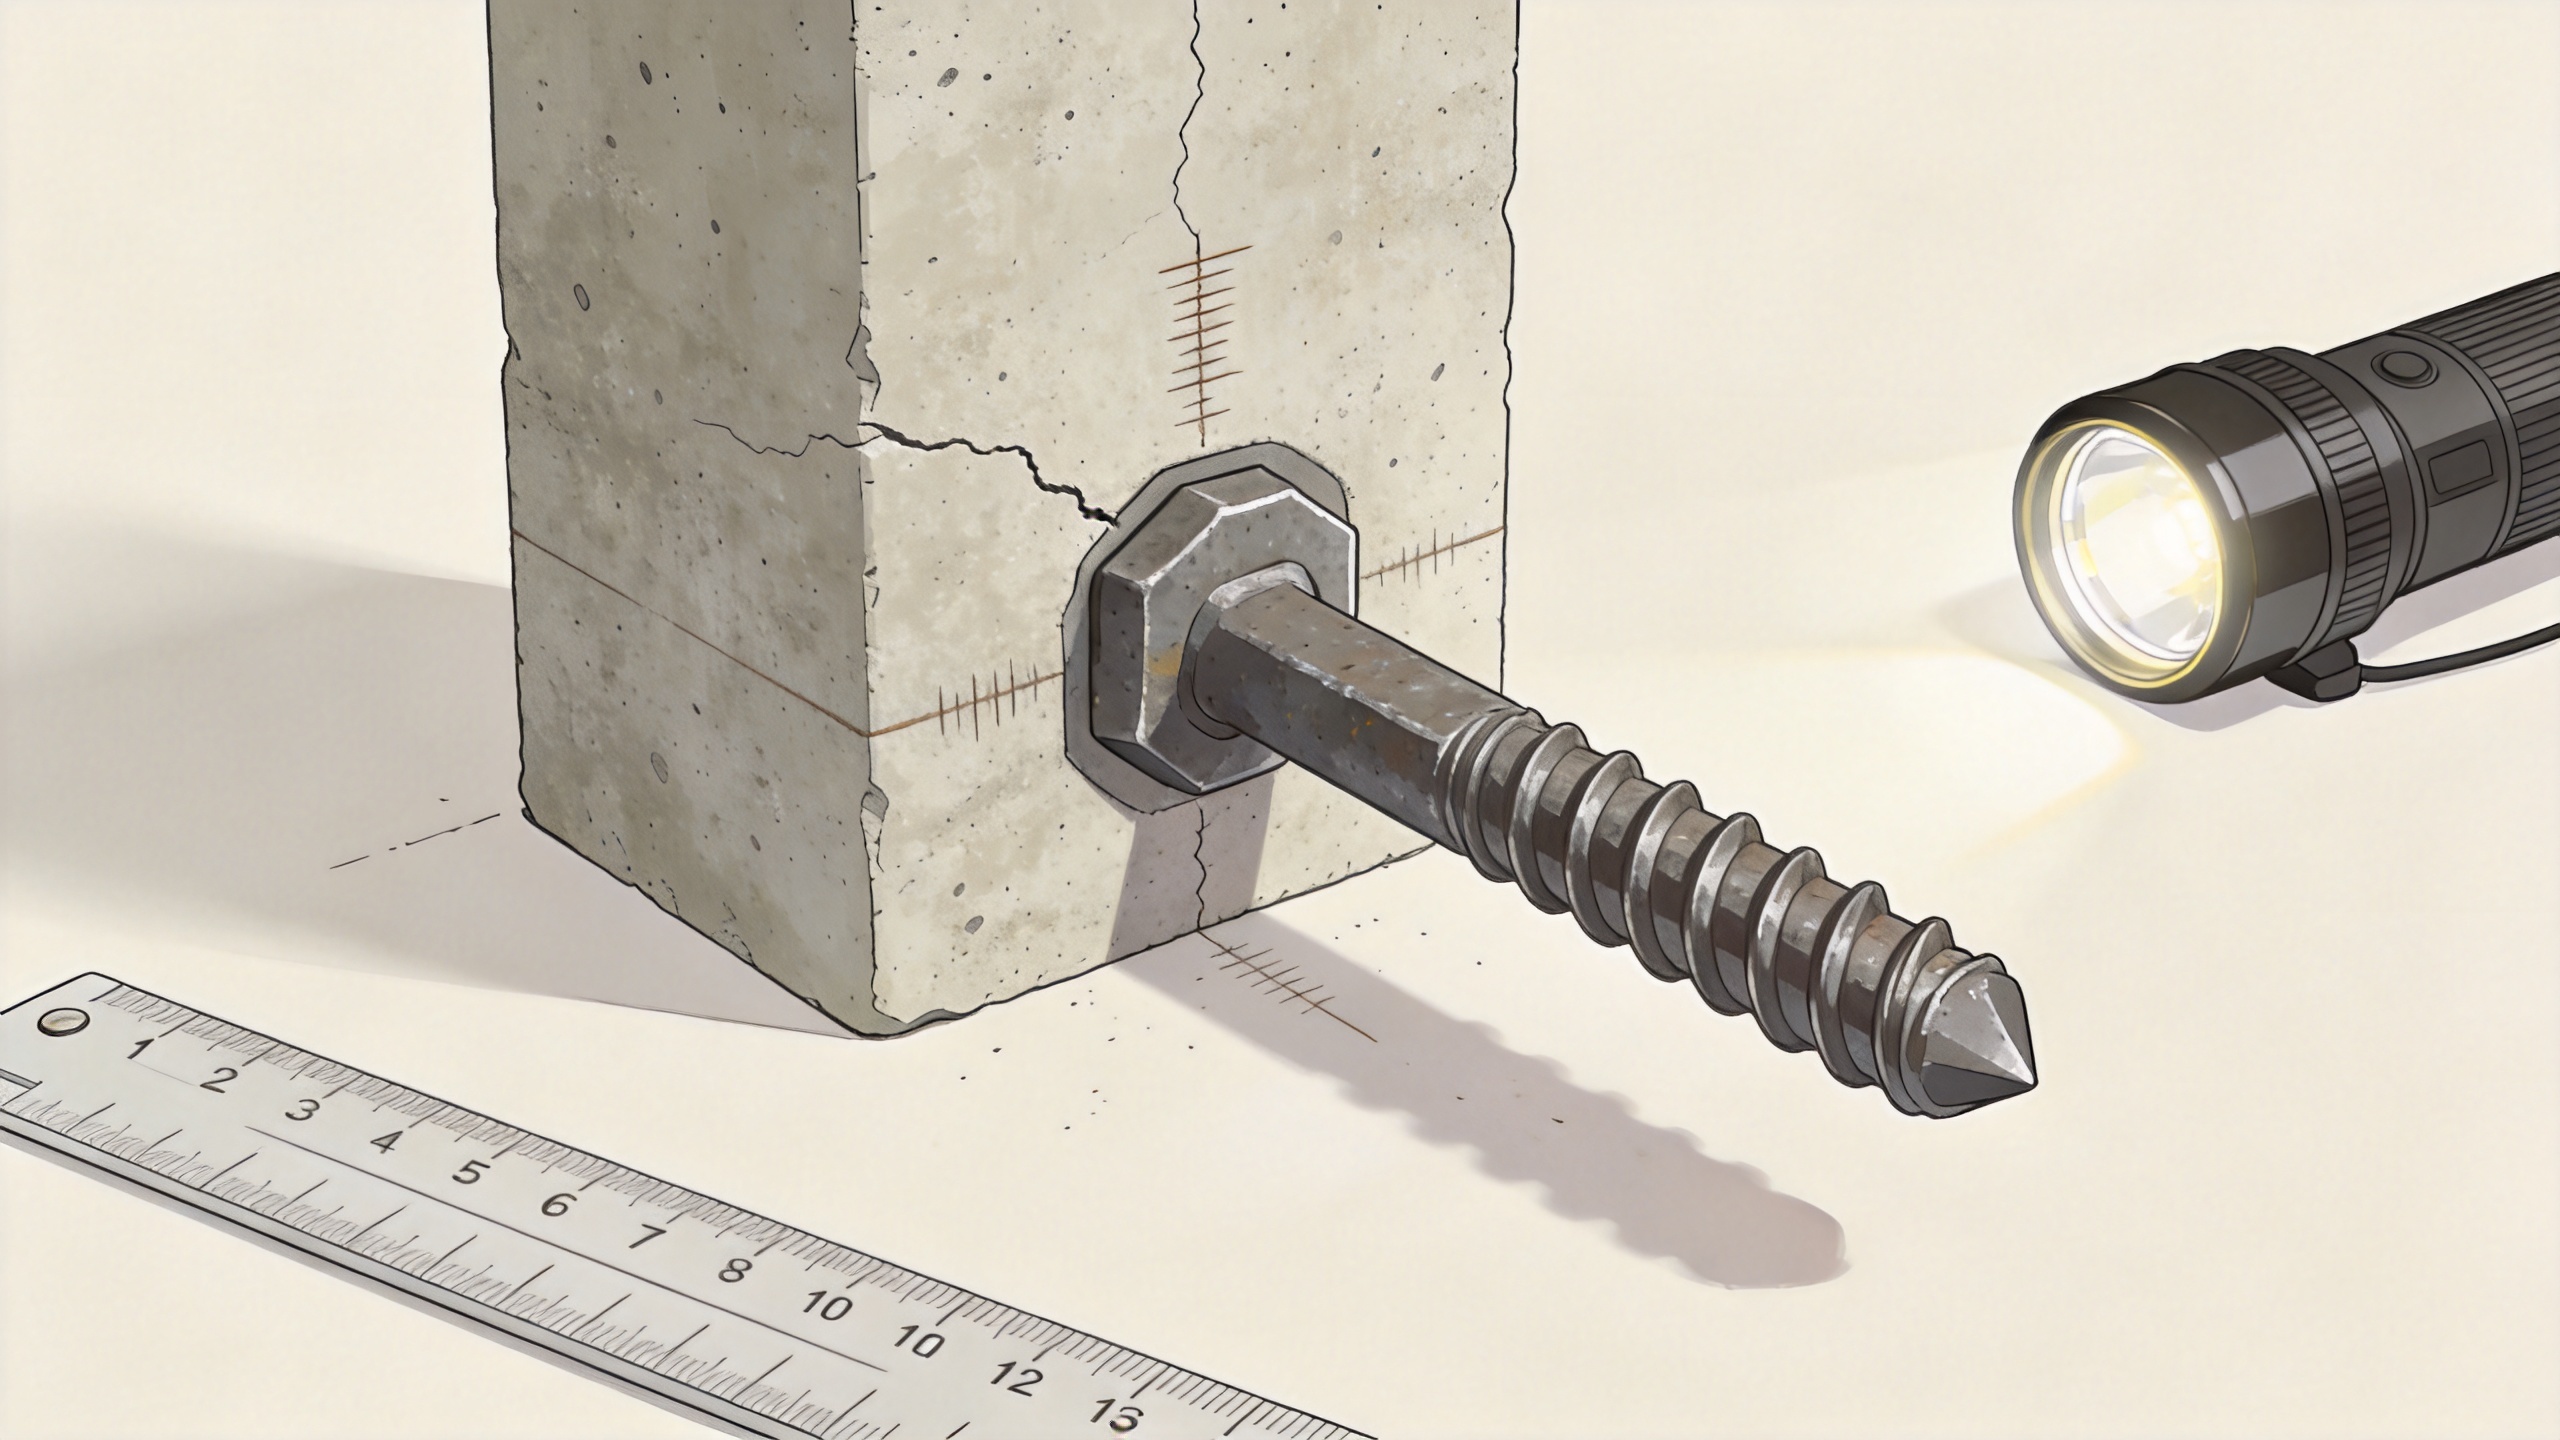
A concrete anchor works with the base material, so the surrounding concrete deserves equal attention. Fine, old shrinkage cracking may be unrelated to the fastener. In contrast, a newly opened crack that radiates from an anchor, connects nearby holes, or widens after loading warrants prompt review. Concrete breakout and splitting are recognized anchor-related failure modes; the pattern, location, depth, and timing matter.
Inspect for spalling, crushed concrete under a fixture, cone-shaped breakout, loose fragments, moisture staining, and cracks near edges or adjacent anchors. Also identify whether the base is cast-in-place concrete, masonry, cracked or uncracked concrete under the design assumptions, or a material not intended for the installed fastener. The visible symptom may be in the substrate even when the steel part looks intact.
Measure and record rather than estimate: crack width if the project procedure permits, distance to a free edge, clear spacing to neighboring anchors, fixture thickness, and any observed hole enlargement. A short record of what changed is more useful to the responsible engineer than a statement that the connection “seems loose.”
Check Installation Clues Before Naming the Failure Mode
Many apparent Anchor problems originate in installation controls. Inspection guidance for concrete anchors commonly addresses position, embedment, hole condition and cleaning, and the setting procedure. These items are especially important when the installed connection differs from the assumed detail.
- Confirm the anchor type. A wedge anchor, a sleeve anchor, and a drop in anchor rely on different installation and load-transfer mechanisms. Do not apply one product’s setting method or inspection expectation to another.
- Verify location and geometry. Compare hole position, spacing, edge distance, and fixture alignment with the approved detail. A field adjustment can alter the base-material behavior even when the hardware size is unchanged.
- Review embedment and hole preparation. Incorrect depth, a damaged hole, debris, or an unverified cleaning process can affect how the system bears or expands. Use the applicable product instructions and project requirements rather than a generic rule of thumb.
- Look for signs of over-tightening or incomplete setting. A distorted fixture, damaged threads, a bearing surface that has sunk into weak concrete, or hardware that bottoms out early may indicate that the intended installation sequence was not achieved.
With a wedge anchor, for example, relative movement can be connected to the clip’s interaction with the concrete, but it can also come from a loose fixture, a drilled-hole issue, or cracked base material. A sleeve anchor may show a different set of installation sensitivities. The correct response begins by confirming the installed system, not by assuming every expansion anchor behaves alike.
Separate Load-Path Changes From Cosmetic Changes
Some observations are cosmetic; others suggest that load is moving. Focus on repeatable changes: a fixture that returns to a different position after equipment cycles, a crack that becomes more visible under service load, a gap that grows, or a witness mark that shifts between inspections. Where safe and authorized, compare unloaded and operating conditions using the project’s documented method.
Ask four practical questions:
- Has the supported item changed weight, vibration, impact exposure, or duty cycle?
- Has the base material been altered by drilling, water exposure, cracking, repair, or nearby demolition?
- Has a new attachment, shim, oversized hole, or slot changed how the fixture transfers force?
- Are similar anchors nearby showing the same condition, or is the issue isolated?
This is where a system view matters. An Anchor can be correctly manufactured yet be unsuitable for the altered base material, geometry, or loading condition. Conversely, a mark at one fastener may be caused by fixture distortion or eccentric loading elsewhere.
When to Escalate Without Delay
Stop relying on routine observation and involve the responsible engineer or qualified inspection team when there is visible displacement, widening cracks, breakout or spalling, deformation of the fixture, uncertainty about the installed anchor type, damage after impact or fire, or a connection serving a safety-critical function. Escalate as well when the required installation records, design assumptions, or acceptance criteria cannot be verified.
The next step may be a documented engineering review, non-destructive examination, or a specification-controlled test plan. If a project procedure requires testing after a failure, it may also define how comparable anchors are evaluated. That scope belongs to the governing specification and the authority responsible for the structure, not to an ad hoc site check.
A Field Record That Supports a Useful Decision
A concise record reduces guesswork. Include the Anchor location, anchor type if verified, fixture description, observed condition, photographs with scale, known load condition, base-material observations, drawing reference, installer or date if known, and the action taken to secure the area. Record what is unknown instead of filling gaps with assumptions.
For procurement and maintenance teams, the recurring lesson is straightforward: evaluate the connection as a system. Specify the correct Anchor family for the substrate and load case, retain installation instructions and batch traceability, and make early inspection part of the maintenance plan. In demanding construction and steel-structure work, that discipline helps teams identify a developing issue while options for safe engineering review are still available.
Conclusion
Early Anchor failure diagnosis is about recognizing change, preserving evidence, and escalating on the basis of load path and consequence. Small symptoms around a concrete anchor, wedge anchor, sleeve anchor, or drop in anchor should trigger structured inspection rather than quick tightening. Before structural movement occurs, careful documentation and qualified review give the project team a clearer basis for deciding whether the connection can remain in service, needs repair, or requires redesign.

