 EN

Why Concrete Anchors Fail Near Expansion Joints and How to Avoid Them
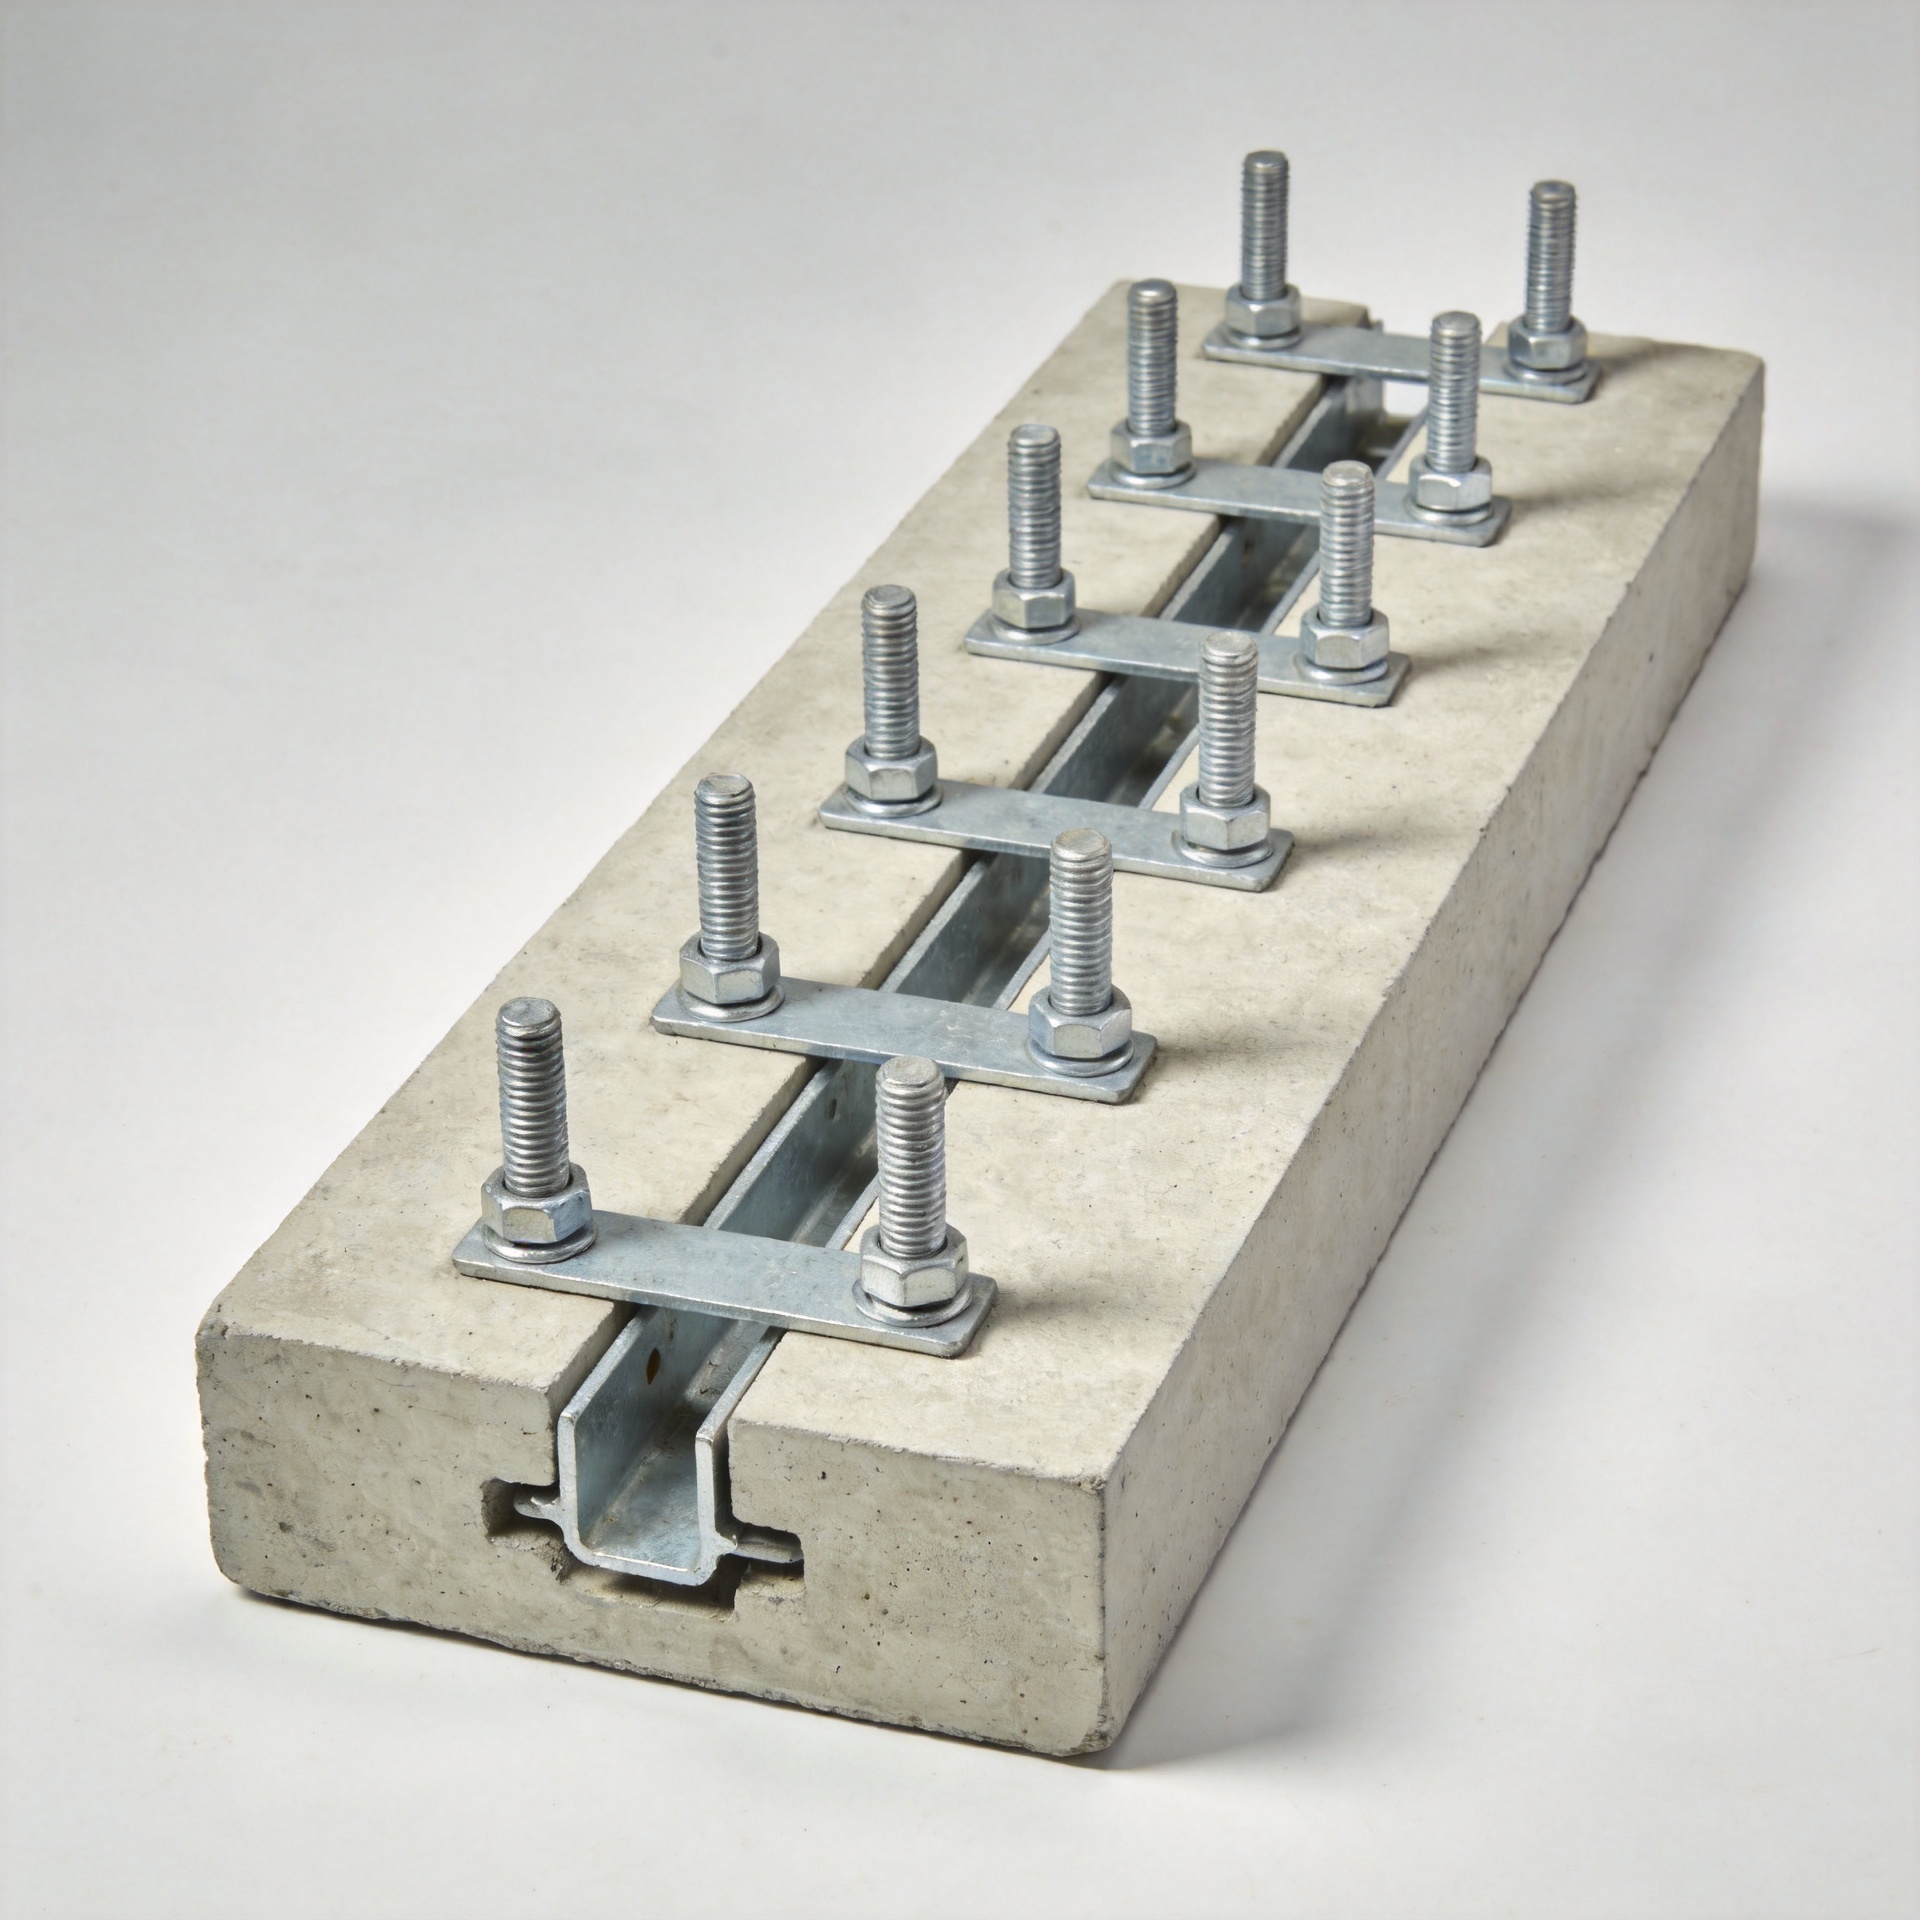
Expansion joints are intended to let concrete sections move. An Anchor installed too close to one can turn that intended movement into a local failure: cracked concrete, reduced holding capacity, loosened hardware, or a fixture that restrains the joint. The problem is rarely solved by choosing a stronger-looking fastener. It starts with recognizing that concrete beside a joint does not behave like a wide, continuous slab.
From a fastener-selection engineer’s perspective, the first questions are the load path, the expected joint movement, the concrete condition, and the installation geometry. That sequence matters more than a catalog label. A project-specific design review and the selected anchor manufacturer’s published data remain essential, particularly for safety-critical or regulated work.
Why an Expansion Joint Changes the Anchor Condition
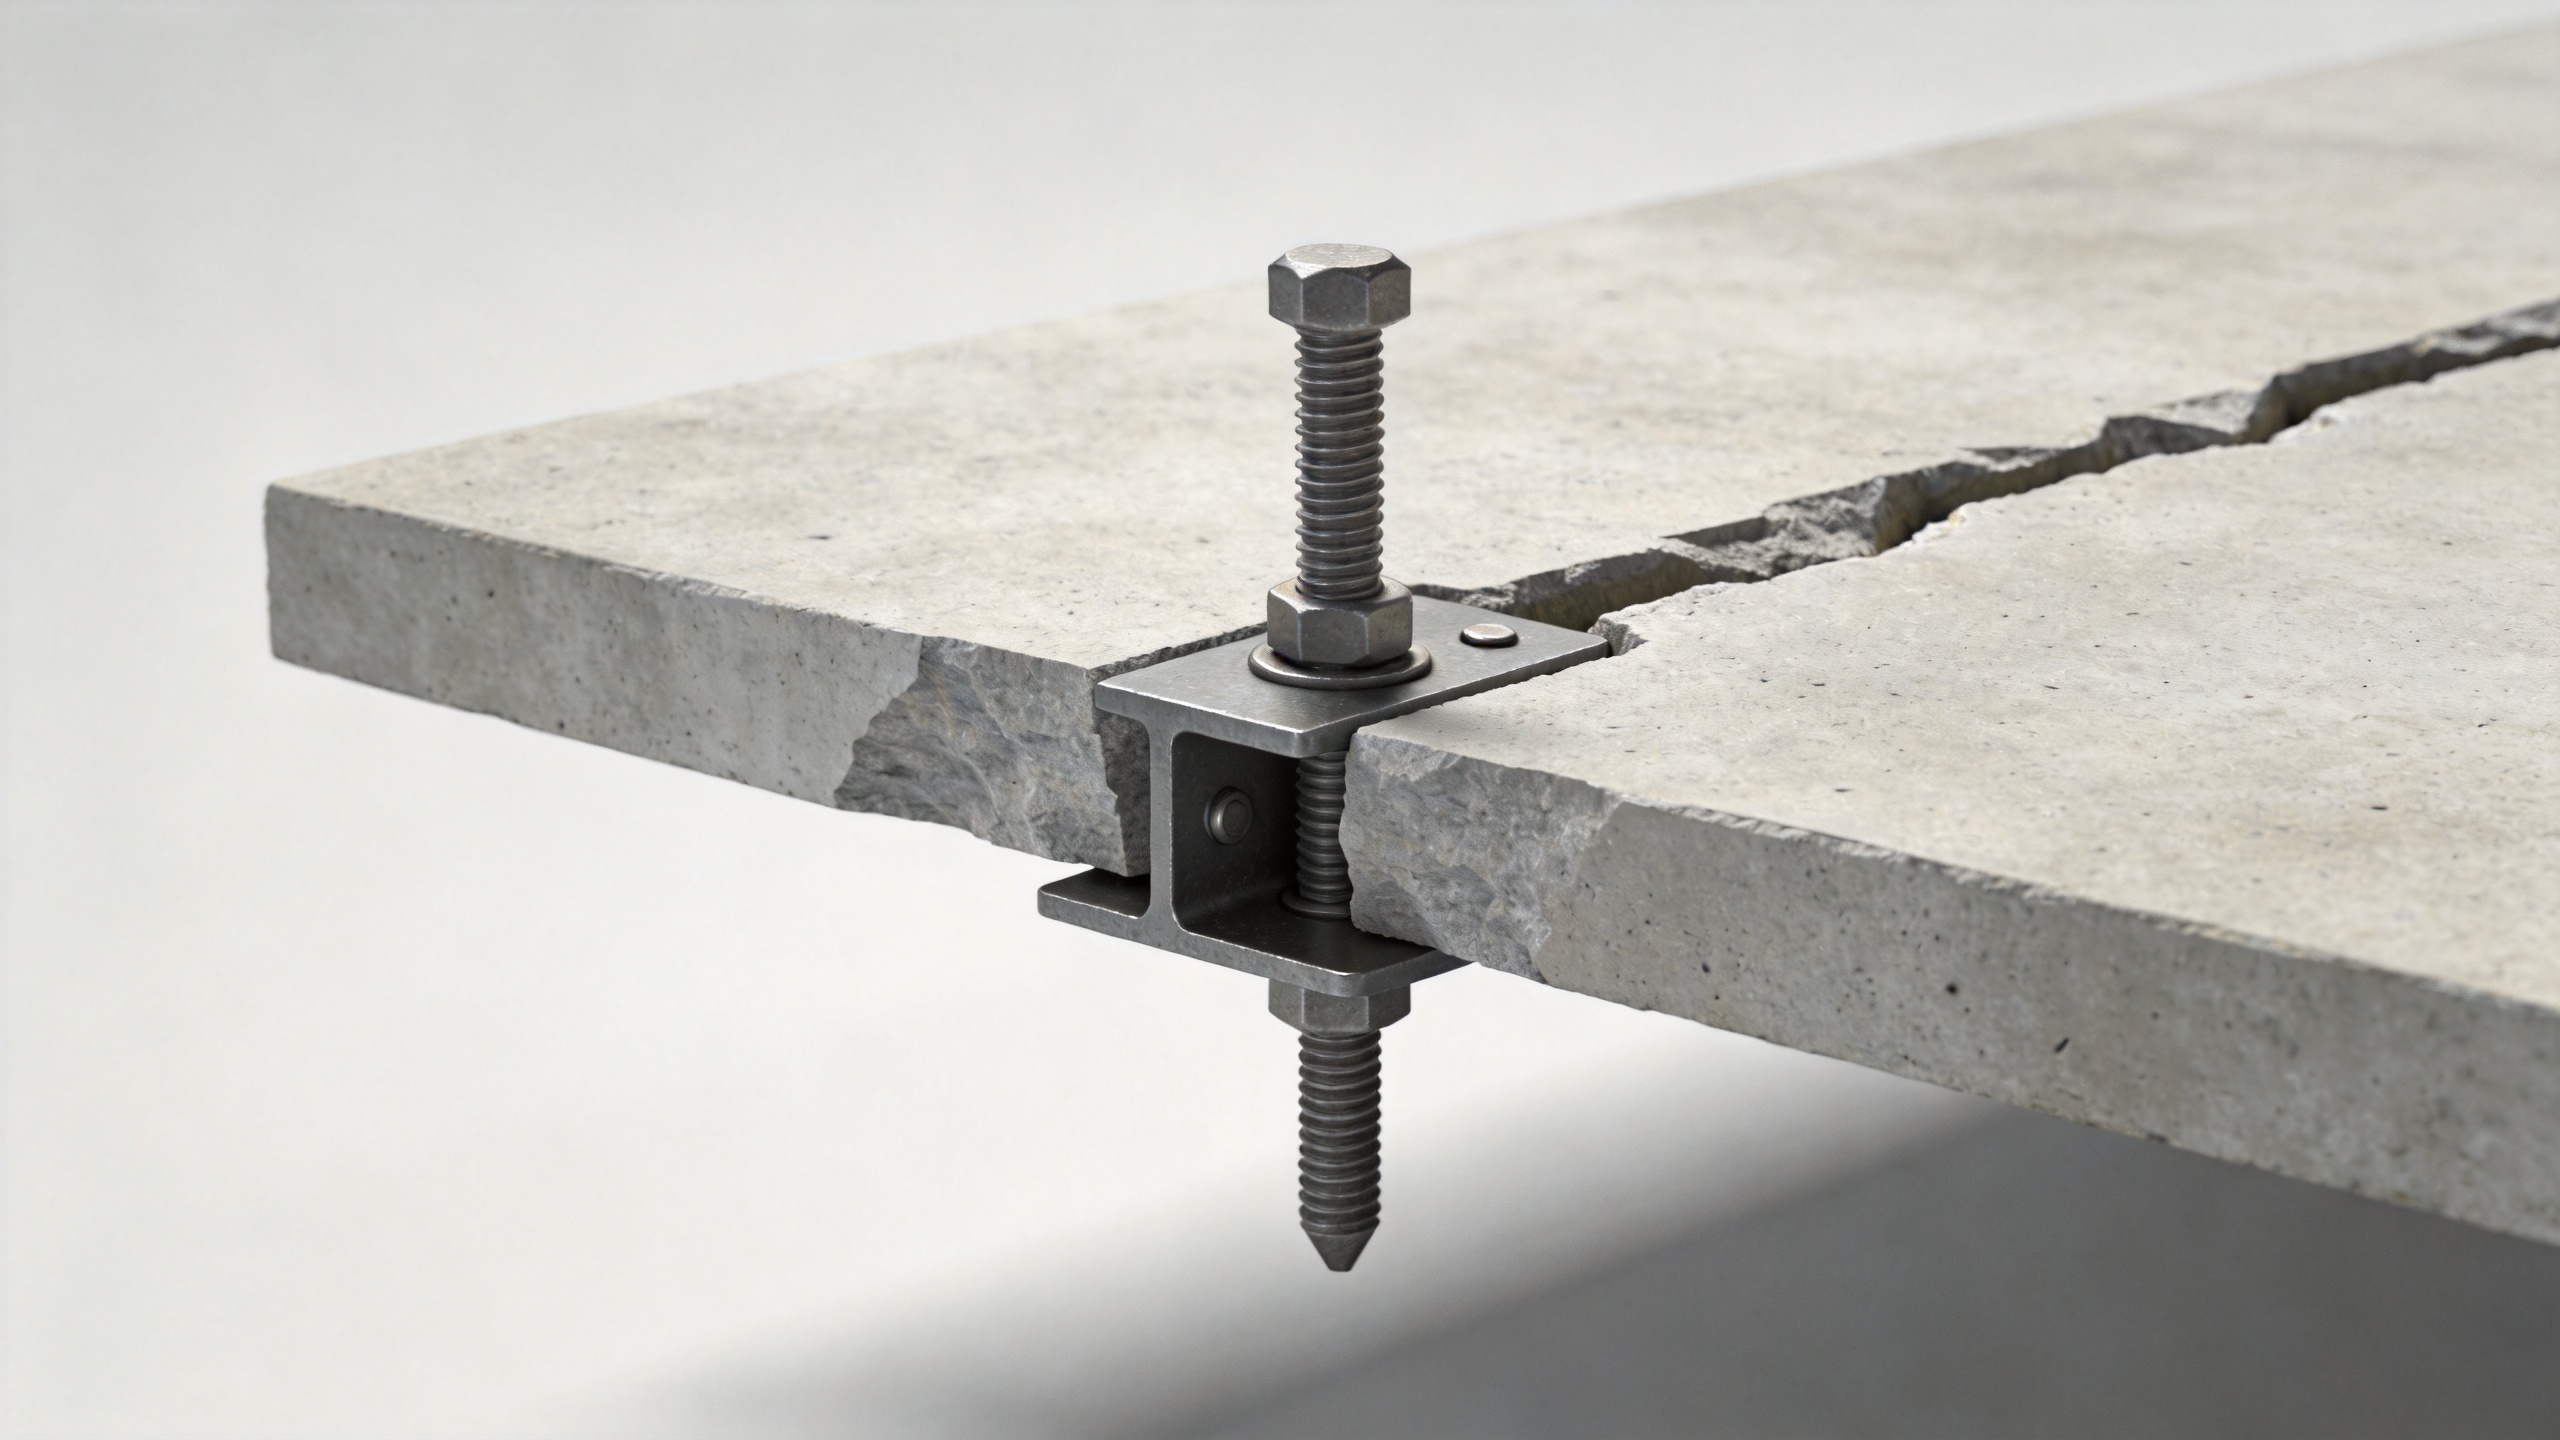
An expansion joint separates concrete so adjacent sections can accommodate thermal change, shrinkage, settlement, vibration, or other movement. That gap reduces continuity near the joint. When an Anchor transfers tension, shear, or a prying action into concrete beside it, the joint may act much like a nearby free edge for some failure modes. The available concrete that can resist breakout is smaller, and local splitting or spalling becomes more likely if the installation is not designed for that condition.
Movement adds a second issue. If a bracket, rail, pipe support, machine base, or facade component is fixed rigidly across a moving joint, the connection can attract cyclic loading that was not part of the original anchor selection. Even a carefully installed concrete anchor can loosen over time if the assembly forces it to bridge a joint that is meant to open, close, or move laterally.
Common Reasons Concrete Anchors Fail Near Joints
1. Edge-distance assumptions are carried over from ordinary slab areas
Mechanical expansion anchors develop resistance by engaging and expanding against the drilled concrete. Close to a joint, there may not be enough surrounding concrete for the anchor’s specified edge-distance condition. A wedge anchor that performs acceptably in an open field location may create cracking pressure in a narrow concrete strip. The correct distance is not a universal field rule: it depends on anchor type, diameter, embedment, load direction, concrete strength, reinforcement, and the manufacturer’s evaluated installation conditions.
2. The connection accidentally bridges the joint
A rigid baseplate on both sides of a joint is a common coordination issue. One set of anchors may be sound individually, yet the assembly can transfer slab movement into the hardware. Look for slotted holes, movement-rated details, separate supports, or another design that allows the joint to do its job. The responsible designer should define the load path rather than leaving this decision to the installer at the drill location.
3. The selected Anchor is not suited to the base-material condition
Cracked concrete, narrow members, poor edge condition, voids, and shallow slabs all change anchor behavior. A sleeve anchor, a wedge anchor, and a drop in anchor have different installation mechanisms and evaluated applications. Treating them as interchangeable can lead to an unsuitable choice near a joint. A drop in anchor, for example, is an internally threaded option whose suitability depends on the actual product data, embedment, loading, and concrete condition; it is not automatically a remedy for a joint-adjacent location.
4. Drilling and cleaning steps damage the available concrete
Drilling too near a joint can chip the arris or break out weak material before the anchor is even set. Oversized holes, incorrect bit size, incomplete hole cleaning where required, and uncontrolled installation torque can further reduce performance. If drilling exposes a crack, a void, or deteriorated concrete, pause the work and have the location assessed instead of installing the Anchor as planned.
5. Installation checks focus only on the fastener
Crews often verify anchor diameter and torque but miss the larger detail: the joint layout, fixture clearance, concrete thickness, reinforcement, and whether the supported item crosses the joint. The result is a technically correct fastener installed in the wrong structural location.
How to Choose Between Anchor Types Near a Joint
There is no single “joint-safe” category. Start with the connection design, then select an anchor only after confirming its published approvals, load tables, spacing and edge-distance requirements, and installation instructions for the actual base material.
- Wedge anchor: Often selected for through-fixture mechanical fastening, but its expansion action makes joint proximity and edge condition especially important. Confirm the evaluated edge-distance and cracked-concrete conditions for the exact product.
- Sleeve anchor: May be useful for certain fixture and masonry applications, yet it also relies on expansion. Its suitability must be based on the product’s data rather than on a general assumption that a sleeve anchor creates less risk.
- Concrete anchor systems: This broad term covers several mechanisms. Compare the actual system’s load data, embedment requirements, concrete condition, corrosion environment, and movement detail.
- Drop in anchor: Can provide an internal thread for removable hardware, but it still needs sufficient sound concrete and correct setting. Verify hole depth, setting procedure, and design limits before using it near a movement joint.
If the joint cannot be avoided, the connection detail may need a different support location, an engineered movement accommodation, or another anchoring method confirmed by the engineer of record. A change in anchor type alone does not resolve a load-path problem.
A Practical Pre-Installation Checklist
- Locate the joint precisely. Mark its full path, not just the visible top gap. Review drawings and inspect for joint filler, sealant, and hidden geometry.
- Identify movement. Determine whether the joint is expected to open, close, shear, or move vertically, and whether the fixture must remain independent of that movement.
- Check the Anchor design inputs. Confirm tension, shear, combined loading, eccentricity, concrete thickness, strength, cracking condition, and the manufacturer’s required spacing and edge distances.
- Review the fixture detail. Avoid creating a rigid bridge across the joint. Coordinate slots, clearances, separate brackets, or supports with the project designer.
- Inspect the drilling location. Keep the hole within the approved layout, use the specified bit and depth, and stop if drilling reveals unsound concrete or reinforcement that conflicts with the approved detail.
- Install and document. Follow the product instructions for cleaning, setting, torque, and inspection. Record the anchor type, size, lot information if required, location, and any field adjustment approval.
What to Do When an Anchor Is Already Too Close
Do not assume that adding more torque, grout, or another nearby fastener will correct the condition. First isolate the load if practical and compare the installed position with the approved detail and manufacturer requirements. The designer or qualified engineer can then decide whether the connection can remain, needs a revised load path, requires a relocated Anchor, or needs a purpose-designed repair. The right response depends on the actual loading and the concrete condition, not on visual appearance alone.
Build Joint Coordination into Procurement and Installation
For construction teams and steel-structure contractors, the useful purchasing conversation begins with more than diameter and finish. Provide the joint location, concrete condition, fixture geometry, loading information, corrosion exposure, and documentation requirements. That gives the engineering, procurement, and quality teams a common basis for reviewing the anchor selection and installation plan.
Qingdao Jeekuu Hardware Products Co., Ltd. supplies fasteners for construction and industrial applications. For a project-specific Anchor inquiry, share the drawing and installation conditions so the requested fastener configuration can be reviewed against the intended connection. The key lesson is simple: respect the movement joint, verify the concrete around it, and select the anchor system only after the whole connection has been defined.

