 EN

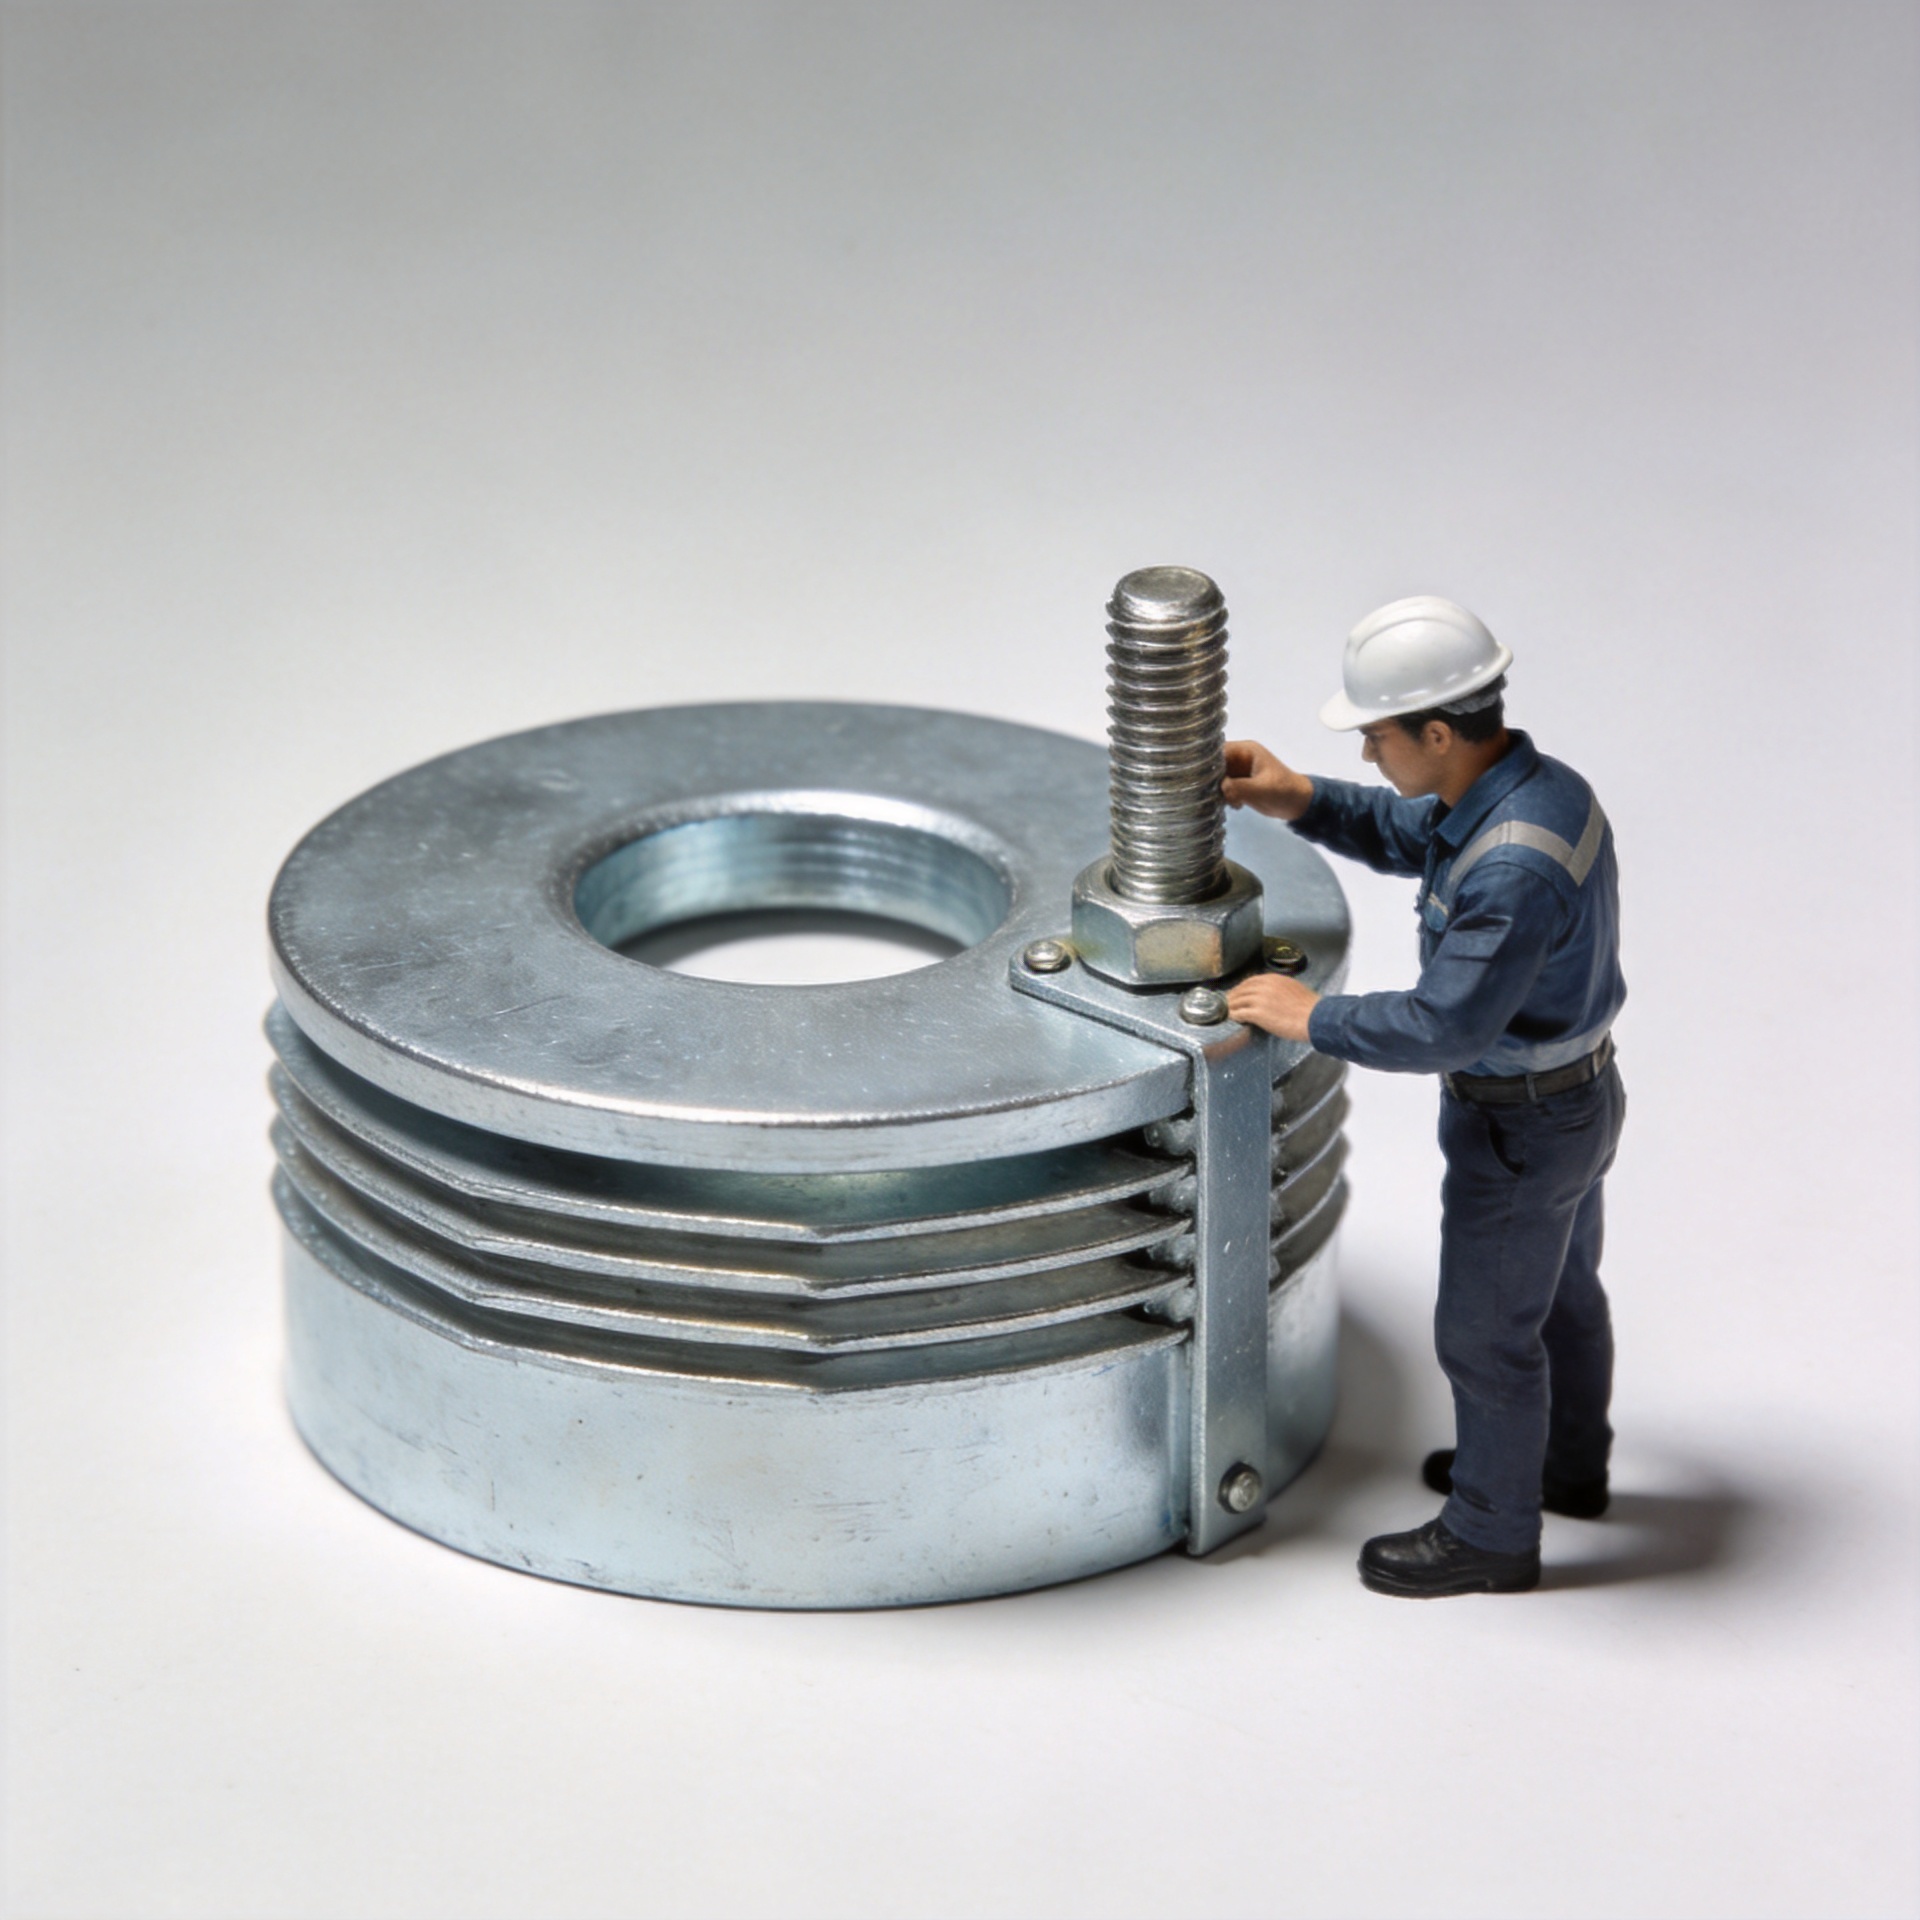
How to Stop Washer Embedding Into Soft Connecting Surfaces in Service
A washer that sinks into a joint face is more than a cosmetic issue. As the bearing surface yields, clamp load can fall, the connection can settle, and a once-stable assembly may need repeated attention. This article discusses mechanical washers used with bolts and screws, not laundry appliances. It is written for service teams working with aluminum, plastics, coated sheet, timber-based panels, soft gasket stacks, or thin sections where the support under a fastener is limited.
From a fastener-selection engineer’s perspective, the first question is not “Which washer do we have on the shelf?” It is whether the joint can carry the local compressive load created under the fastener head or nut. A washer helps by spreading that load across a bearing area, but a poorly matched washer can still dish, cut in, or drive a soft layer out of shape.
Recognize the embedment pattern before changing parts
Start with a clean, unloaded visual inspection. A circular witness mark, a raised burr around the washer outside diameter, crushed coating, or a recessed ring in the connected material all suggest local bearing stress is too high. Also look for a gap under the washer edge, paint debris, fretting powder, or torque that drops noticeably when the joint is rechecked. Those signs point to joint settlement rather than simply a loose nut.
Separate the affected parts and inspect both sides. If only the outer finish is damaged while the base material remains sound, installation technique or a washer edge with an aggressive profile may be the key issue. If the base material is compressed or torn, the bearing area, support thickness, or clamp-load path needs review. Do not assume a higher tightening torque will solve it; on a soft surface, more torque can deepen the indentation.
Why a washer embeds in a soft connection
The load from a nut or bolt head enters the connected material through a relatively small contact zone. A flat washer enlarges that zone, which usually lowers local pressure. Yet the result depends on the complete stack: washer outside diameter, washer thickness and hardness, hole clearance, substrate strength, backing support, fastener size, and installed clamp load all matter.
Embedment commonly appears when a small-diameter washer is used over thin sheet or a polymer cover, when the washer itself bends, or when an oversized clearance hole leaves too little material around the fastener. A rough or angled support face can concentrate force at one edge. Coatings, soft sealing layers, and compressible insulation can add settlement after the first tightening cycle. In service work, this is why an assembly that seemed acceptable at installation can show loss of clamp load later.
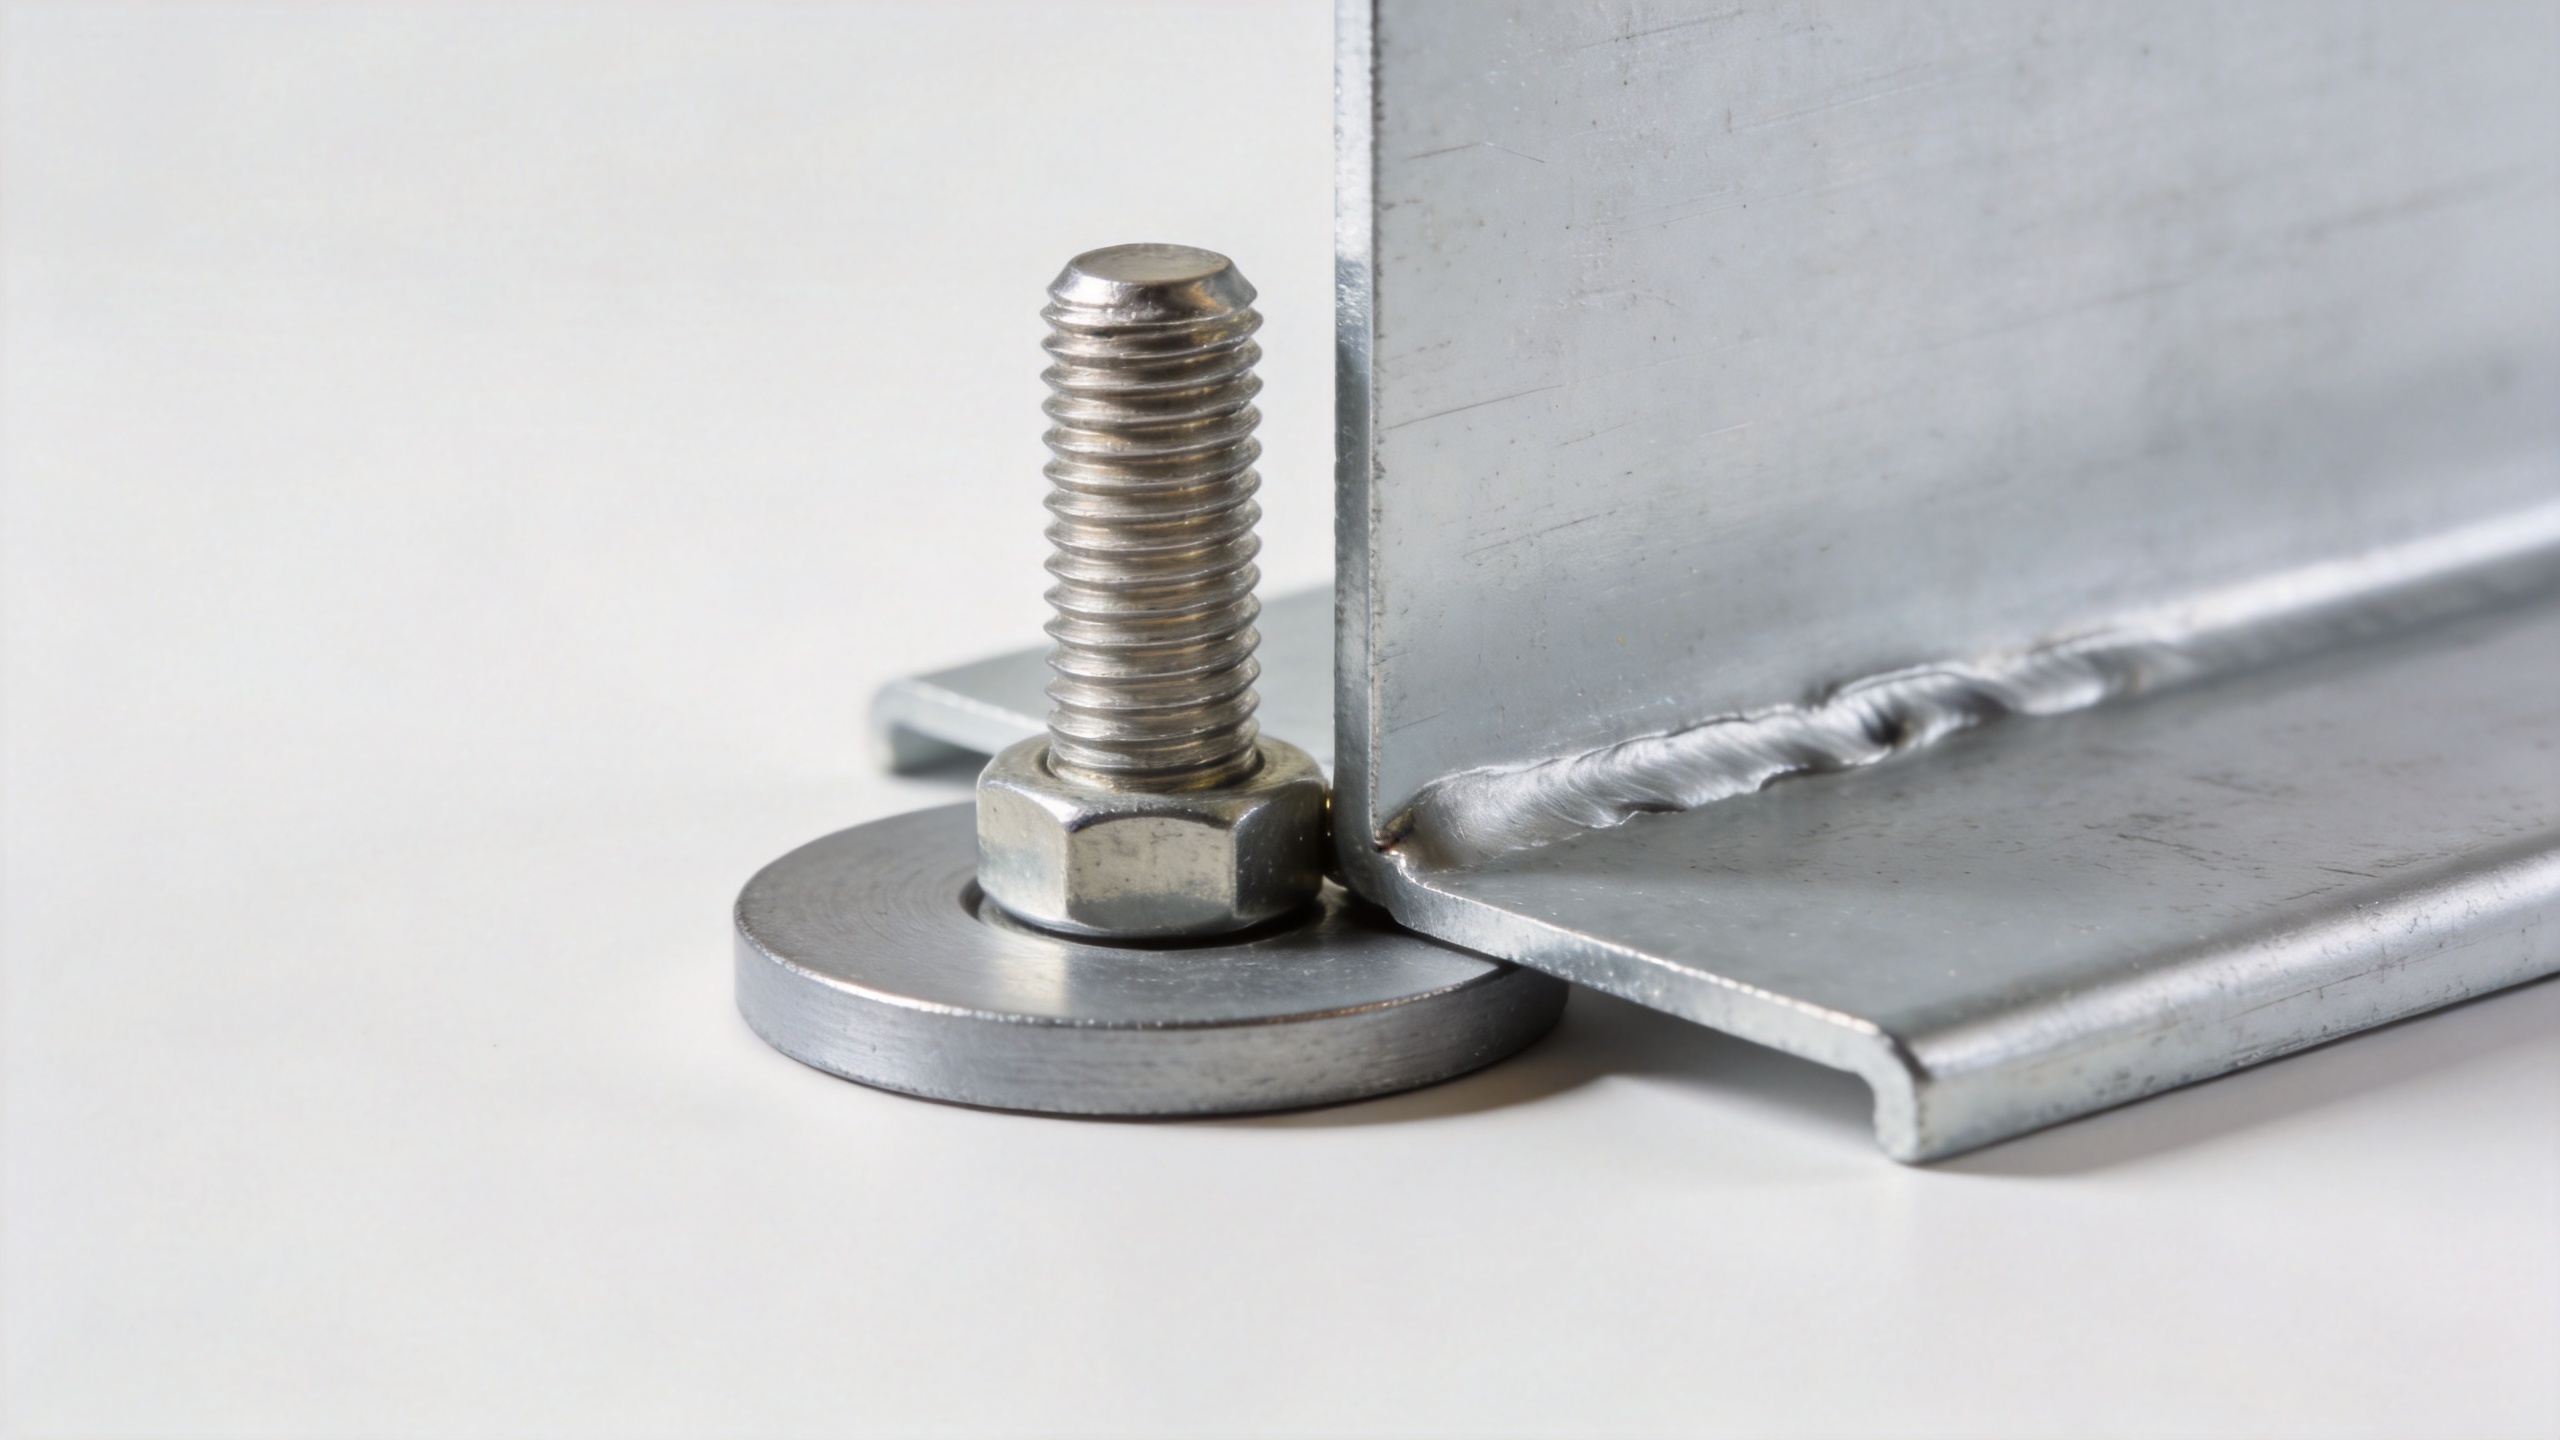
Choose the washer by function, not by name alone
Use a flat washer to build bearing area
For most soft-surface connections, a flat washer is the starting point because it creates a broader, more even bearing face. Select an outside diameter that reaches sound supporting material without interfering with edges, formed features, or access tools. Check that the washer is sufficiently rigid for the applied load and that its bore fits the fastener sensibly. A loose, poorly centered bore can leave a narrow stressed bridge beside the hole.
A larger flat washer is not automatically the answer. On a very thin panel, it may span an unsupported area and flex with the sheet. In that case, improve the backing condition, add a properly designed reinforcement plate where the joint design permits it, or reduce the load path through that location. The correct choice is the one that works with the connected material rather than merely covering more area.
Keep locking separate from load spreading
A lock washer addresses resistance to rotation or loss of preload in suitable assemblies; it does not replace a bearing washer on a soft surface. If the locking element has teeth, spring action, or a small contact footprint, placing it directly against a soft painted, plated, polymer, or aluminum surface may damage that surface. Where the joint design calls for both functions, arrange the stack so the load-spreading washer bears on the soft member and the locking method works against a compatible, sufficiently hard surface.
The same distinction applies to a spring washer. Its behavior under service load must be evaluated as part of the full joint, not treated as a universal anti-loosening fix. If a spring washer is flattening against a soft member, it can accelerate settlement instead of stabilizing the connection. Inspect the product specification and the assembly drawing before changing stack order.
Use a sealing washer only where sealing is the job
A sealing washer can protect a joint against fluid, dust, or weather ingress when its elastomer or bonded element is compatible with the environment. It should not be expected to carry the full bearing load alone. Over-compression can distort the sealing material, while under-compression may leave the sealing boundary vulnerable. If both sealing and load distribution are required, confirm that the joint design provides a rigid bearing path as well as controlled seal compression.
A practical service sequence
- Document the stack. Record the fastener size, washer type, washer orientation, connected-material thickness, hole condition, coating, and visible deformation before disassembly.
- Check the support. Confirm that the washer lands on a flat, clean face. Remove burrs, trapped debris, loose coating, and damaged material that would create a high spot.
- Assess the bearing zone. Compare the existing washer footprint with the remaining sound material around the hole. Look for edge proximity, unsupported cavities, and oversized holes.
- Select the revised stack. Use a suitable flat washer for the soft face, then add locking or sealing elements only where their function is required and their contact surface is appropriate.
- Tighten to the approved assembly requirement. Follow the drawing, procedure, or validated torque-and-angle instruction for the application. Avoid substituting a general torque value when material, lubrication, or coating has changed.
- Reinspect after service exposure. On joints subject to vibration, thermal movement, or compressible layers, include a planned check for settlement, witness marks, and retained clamp condition.
Common corrective-action mistakes
One common mistake is stacking several washers without understanding which one carries the load. Another is placing a locking feature against the soft face because it is convenient for assembly. A third is using a very large washer on a weak panel without checking whether the panel underneath can support it. These changes can move the damage rather than resolve the cause.
It is also easy to overlook surface condition. A hard washer seated on chipped paint, a curved flange, or a burr will not distribute load evenly. If service records show repeated indenting at the same locations, review the joint geometry and support structure, not just the hardware bin. In many assemblies, the durable correction is a matched combination of washer footprint, washer rigidity, clean contact surfaces, and a verified tightening method.
Build a repeatable inspection standard
For recurring maintenance, create a simple acceptance checklist: no visible washer sinkage, no torn coating at the bearing edge, no unsupported washer span, correct stack order, and no evidence of joint settlement at follow-up. Keep the rejected washer and a photo of the contact face when an issue is found. That small record helps engineering distinguish a material-support issue from an installation variation.
Qingdao Jeekuu Hardware Products Co., Ltd. supplies a broad fastener range for industrial applications. When specifying a washer for a soft connecting surface, provide the fastener size, mating-material description, thickness, environment, joint layout, and service load information so the bearing, locking, and sealing requirements can be reviewed together.
Key takeaway
To stop washer embedment, treat the washer as part of a load path rather than as a generic spacer. Start with the condition of the soft material, provide a stable bearing area with an appropriate flat washer, keep locking and sealing functions in their proper places, and verify the installed connection after it has seen service. That approach gives maintenance teams a clear route from visible indentation to a more reliable joint design.

