 EN

How to Diagnose Stud Failure Before It Shuts Down Plant Operations
A failed stud can turn a routine maintenance window into an unplanned outage. The fastener itself may be inexpensive, but the connection it holds can affect alignment, pressure boundaries, guards, rotating equipment, or a production fixture. The practical goal is not to wait for a break. It is to recognize the evidence that a joint is losing reliability and take a controlled maintenance action before the loss becomes disruptive.
From a fastener-selection engineering perspective, the useful starting point is the joint rather than the part alone. Load direction, vibration, temperature, corrosion exposure, installation method, and thread engagement all influence how Studs behave in service. A visual inspection matters, but it is only one layer of diagnosis.
Start With the Failure Pattern, Not a Replacement Order
For critical Studs, the inspection question is whether the complete joint still transfers load as intended, not merely whether a replacement part is available.
When a plant finds a loose, stretched, corroded, or fractured fastener, replacing the visible part immediately can restore operation but may leave the cause untouched. Record the exact location, equipment condition, installation history, and any change in vibration, leakage, alignment, or torque behavior. Compare the affected joint with similar joints that have remained stable. This simple comparison often separates a local assembly issue from a recurring design or environment problem.
For Studs in a critical joint, treat repeat tightening, repeated leakage, or a growing mismatch between adjacent fasteners as an early-warning condition. Do not assume a higher strength grade is the answer. If the load path, joint stiffness, or installation procedure is wrong, a stronger part can still be exposed to damaging cyclic stress.
Look for Six Early Signs of Stud Failure
1. Loss of clamp load
Studs that retain clamp force help the joint resist relative movement; a change in that behavior needs investigation.
A joint that needs repeated tightening may be losing preload. Evidence can include fretting dust around mating faces, movement marks under a nut or washer, a gasket that begins to seep, or a component that shifts after thermal cycles. As clamp force falls, service loads are more likely to move the joint and impose alternating stress on the fastener. Review the approved tightening method, lubrication condition, seating surfaces, and whether the joint has settled after installation.
2. Thread damage and poor engagement
When inspecting Studs, start with the exposed threads and the matching internal threads as a paired condition.
Inspect exposed threads for flattening, galling, corrosion product, pulled material, or uneven wear. A threaded stud should not be forced through damaged female threads simply because it starts by hand. Check that engagement is appropriate for the joint design and that the nut runs freely on a clean sample thread. Cross-threading, mixed pitch, or a bottomed-out stud can create a misleading torque reading while leaving inadequate clamp load.
3. Stretching or local necking
Compare suspect Studs with a known conforming sample before deciding whether the condition is local or widespread.
Compare suspect fasteners with a known conforming sample of the same drawing requirement. Elongation, a reduced shank area, distorted first threads, or a nut that sits differently from neighboring locations can indicate overload or repeated yielding. If the geometry is changing, remove the equipment from normal loading until the joint can be evaluated. Re-torquing a yielded fastener may hide the symptom without restoring its capacity.
4. Crack indicators near the first loaded thread
Crack evidence on Studs calls for a controlled response because visible damage may represent only the final stage of a longer loading history.
Fatigue damage often begins where stress is concentrated, including the first engaged thread, a thread runout, or a transition in diameter. Look for fine radial marks, discoloration from rubbing, or a fracture surface that suggests progressive crack growth followed by a final overload zone. Cleaning the part for examination is useful, but avoid grinding or altering the fracture surface before a qualified review if the joint is safety- or production-critical.
5. Corrosion, deposits, and environmental attack
In corrosive service, Studs need an environmental inspection as well as a thread inspection.
Rust staining is not merely cosmetic when it appears at load-bearing threads or under a nut face. Moisture, process chemicals, temperature swings, and trapped deposits can change friction during tightening and reduce section thickness over time. In wet or chemically exposed areas, inspect adjacent surfaces and drainage paths as well as the stud bolt itself. Replacing only the visible fastener without correcting the exposure route can reproduce the issue on the next maintenance cycle.
6. A delayed or unexpected break in high-strength plated parts
Some high-strength plated fasteners can be susceptible to hydrogen-related embrittlement and may fail after installation with little visible warning. This is not a diagnosis that can be made from appearance alone. If a recently installed high-strength fastener fractures unexpectedly, preserve the part, identify its material and finishing history, and escalate it through the plant’s engineering and quality process before returning the same specification to service.
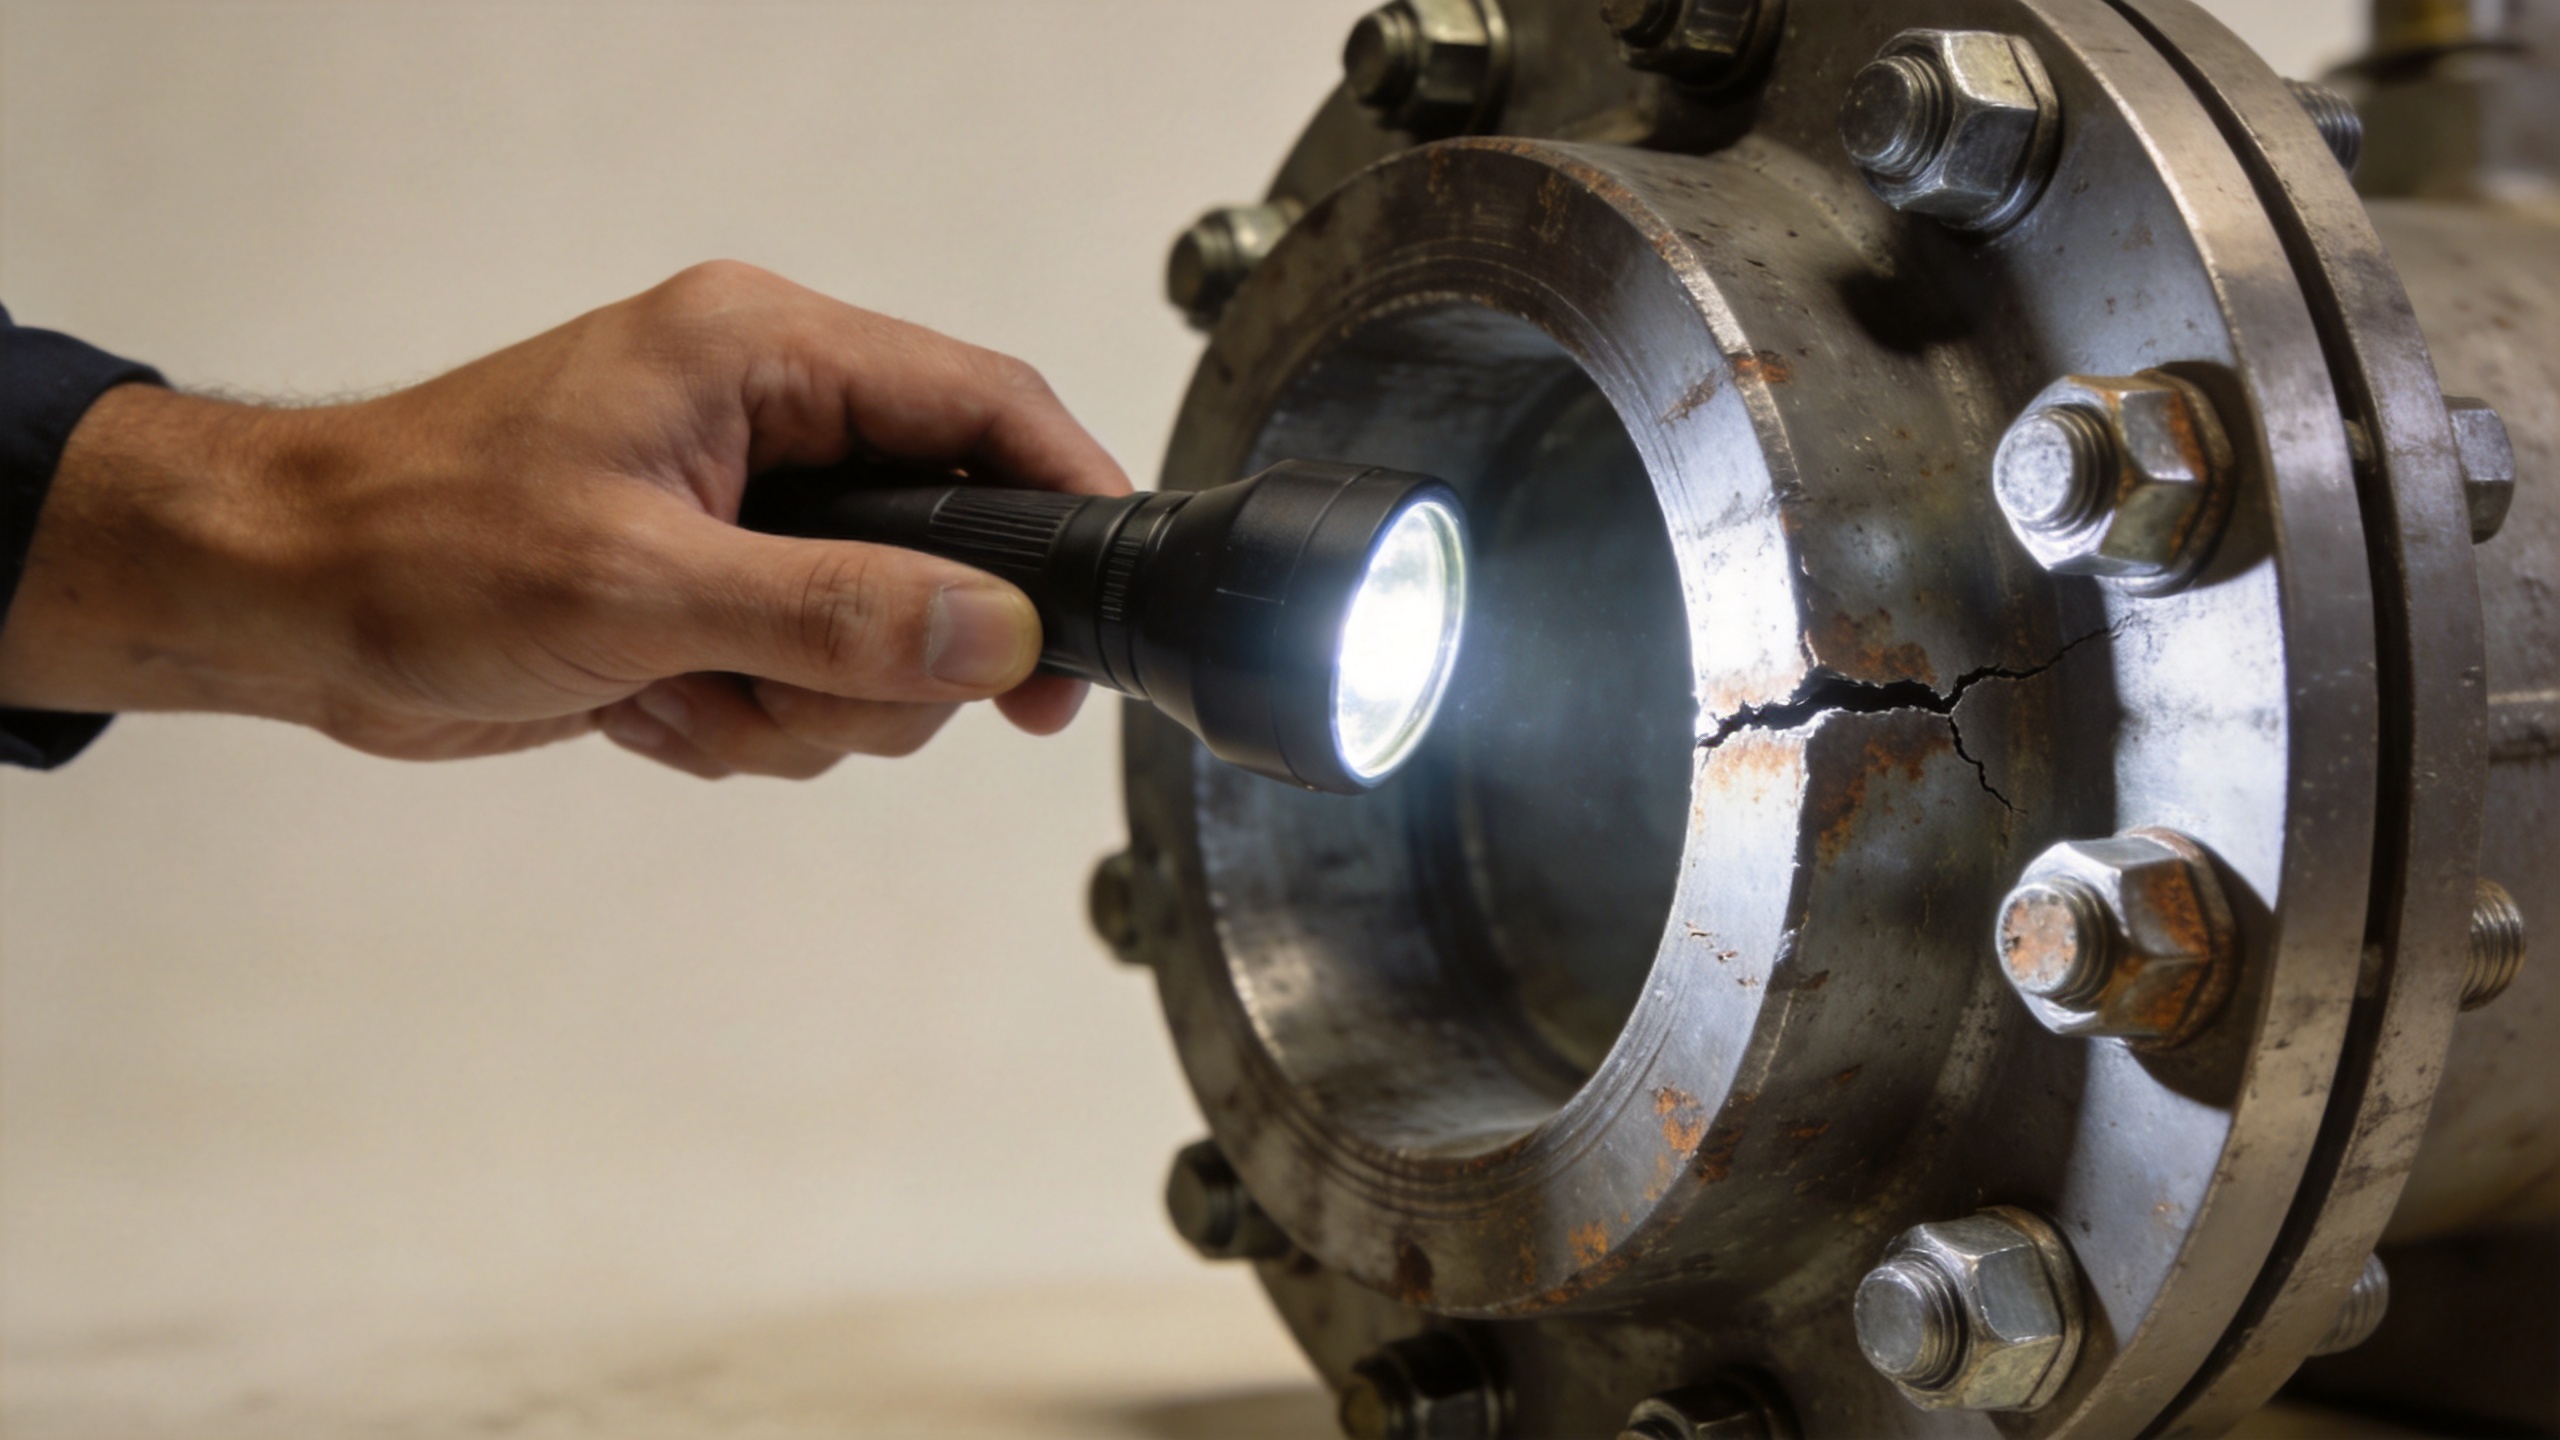
These warning signs are more useful when the same inspection order is applied to all comparable Studs during a planned round.
Use a Controlled Inspection Sequence
- Make the equipment safe. Isolate energy and follow the site’s maintenance and safety procedures before touching a loaded joint.
- Document before disassembly. Photograph the joint, mark orientation where useful, and capture component position, leakage, deposits, and nearby witness marks.
- Check the joint contact surfaces. Inspect seating faces, washers, gasket condition, holes, alignment, and evidence of movement. A fastener rarely works independently of these details.
- Examine the fastener and threads. Check the stud, nut, and mating threads for wear, deformation, corrosion, and contamination. Keep suspect components identified by location.
- Review the installation record. Confirm the specified part, lot traceability where available, tightening procedure, tool condition, and any changes in lubricant or assembly sequence.
- Decide the next level of analysis. A single localized installation error may call for correction and monitoring. Repeated failures, unexplained fracture, pressure-boundary concerns, or structural movement merit a qualified failure analysis.
Before reassembly, verify that replacement Studs match the approved drawing, material requirements, and assembly method for the location.
Match the Diagnostic Question to the Stud Type
A double ended stud deserves attention at both threaded ends because damage can occur in the retained side, the nut side, or the transition between them. Confirm that removal does not damage the parent threads and that the installed length leaves the intended engagement at each end. For joints where one end is installed permanently, inspect the accessible evidence and use assembly records instead of assuming the hidden end is sound.
A welding stud requires a different check. The fastener and the attachment method form one system. Review position, attachment quality, surrounding material condition, and any process changes that could alter the attachment. A loose or misaligned attached stud should lead to review of the approved welding or attachment procedure, not just substitution of a new part.
The inspection record for Studs should distinguish a cosmetic condition from evidence that affects load transfer or joint stability.
Turn Findings Into a Maintenance Decision
Use three decision categories. First, a stable joint with no movement marks, sound threads, and no unusual environment may remain on its planned inspection interval. Second, a joint with early evidence such as preload loss, light corrosion at a critical contact area, or isolated thread damage should receive a scheduled corrective action and an updated inspection point. Third, a joint with a crack indication, stretch, unexpected fracture, recurring loosening, leakage in a critical service, or uncertain material history should be removed from normal operation until the responsible engineering authority defines the disposition.
This approach is deliberately conditional. A low-frequency, stable-load application may tolerate a different response from a high-vibration, thermally cycled, or corrosive application. The same visible mark has different consequences when the joint supports a noncritical cover versus a process boundary or rotating assembly.
Where critical Studs recur in the same service, use the findings to revise the inspection route rather than treating each event as isolated.
Build a Failure-Prevention Record Before the Next Outage
Use one concise record for critical Studs: location, observed condition, installation history, environment, action, and follow-up result. Then use the same terms on every inspection round.
| Check | Record for Studs |
|---|---|
| Identity | Studs location and joint function |
| Movement | Studs witness marks or loss of clamp load |
| Threads | Studs thread condition and engagement evidence |
| Shape | Studs stretch, necking, or distortion |
| Surface | Studs corrosion, deposits, and coating condition |
| Cracks | Studs crack indicators and evidence preserved |
| Assembly | Studs installation method and tool record |
| Environment | Studs exposure route and nearby condition |
| Disposition | Studs monitor, correct, or escalate decision |
| Follow-up | Studs next inspection point and owner |
Diagnosing Studs early is a joint-management task. Watch for movement, lost clamp load, damaged threads, deformation, cracks, corrosion, and unexplained delayed breaks. Preserve evidence, correct the cause as well as the component, and escalate uncertainty before a small fastening issue becomes a plant-operations event.
When the same location reappears in the record, treat the history of Studs as a signal to review the whole joint and its operating conditions.

