 EN

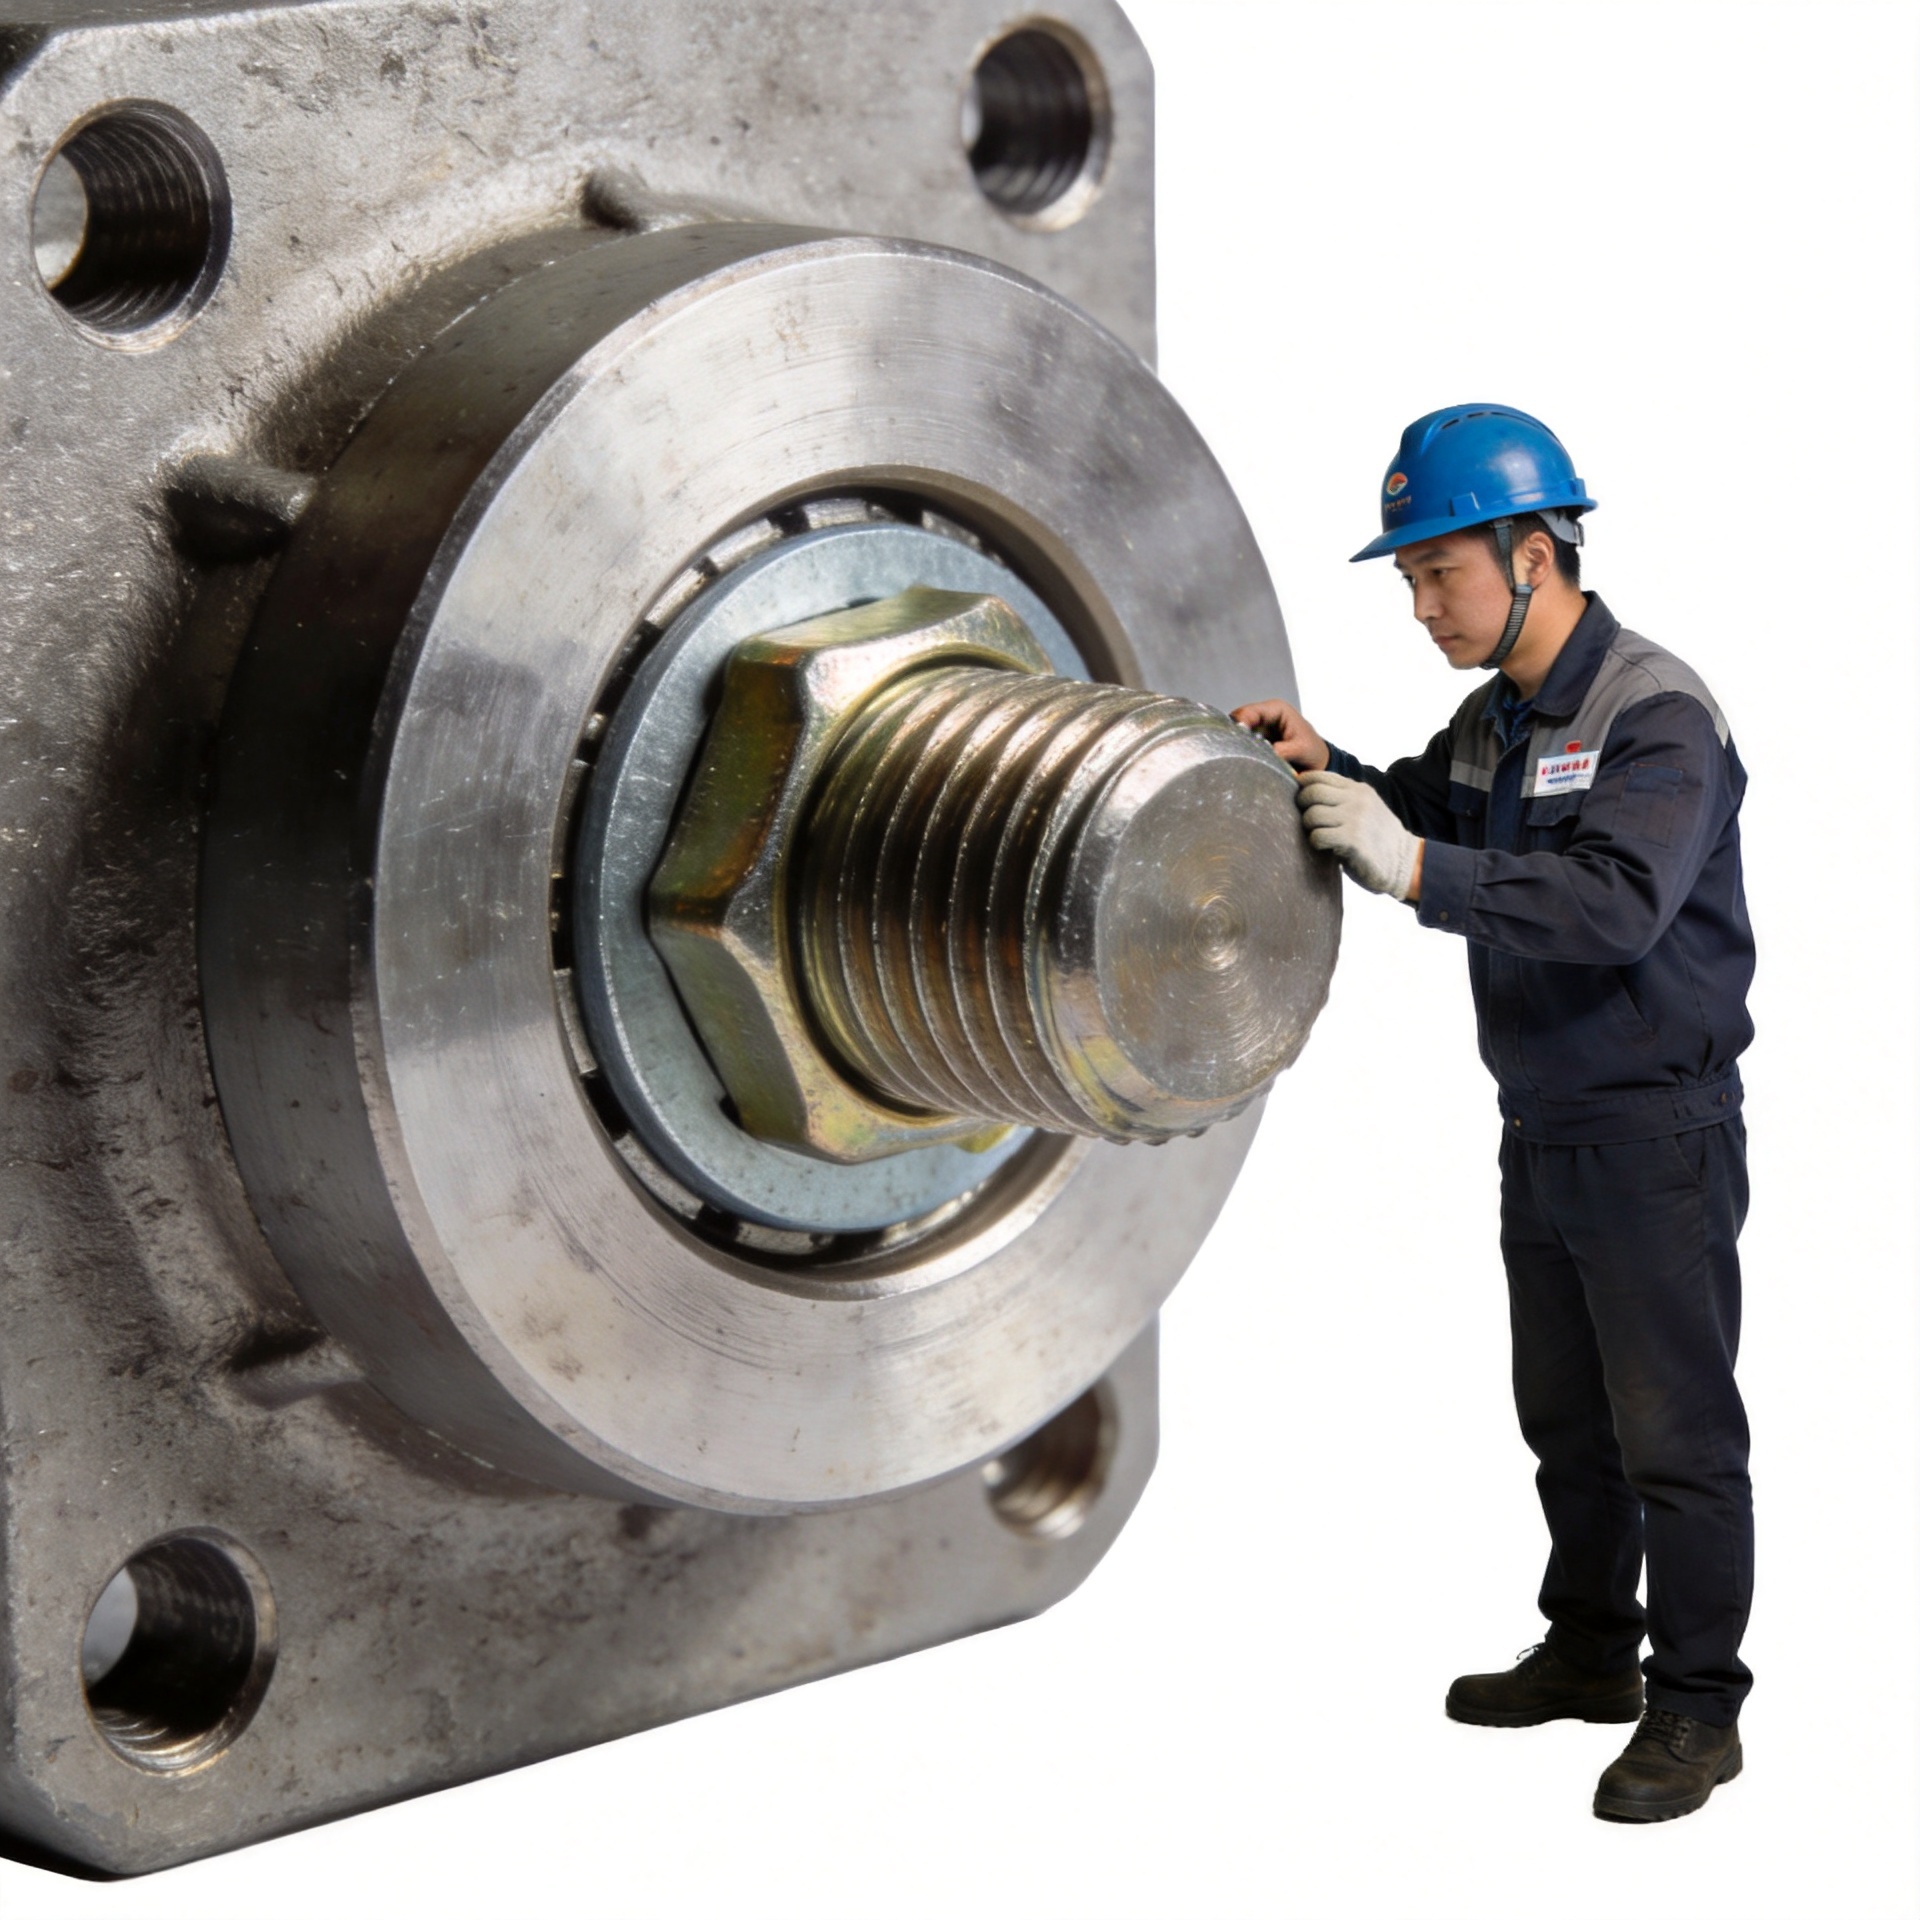
How to Diagnose Washer Failure Before It Damages Surrounding Material
In this article, washer means the small fastener component used with a bolt, screw, or nut—not a laundry appliance. A washer is easy to overlook because it is thin and inexpensive, yet it helps manage bearing pressure, surface protection, vibration resistance, or sealing within a bolted joint. When it starts to fail, the first visible problem may be a marked coating, leakage around the joint, or a growing loss of clamp force. A prompt inspection can keep a small issue from turning into damage to the joint members.
From an engineering selection perspective, the useful question is not simply “Is the washer damaged?” Ask what changed in the full assembly: load, vibration, moisture, temperature, tightening method, or the material under the head or nut. A washer can show the evidence, while the root cause sits elsewhere.
Start by identifying what the washer is meant to do
Diagnosis is more reliable when the component’s intended function is clear. A flat washer commonly spreads the bearing load under a bolt head or nut and helps protect a softer or coated surface. A lock washer is used in assemblies where resistance to loosening is part of the joint design. A spring washer adds elastic behavior, but it is not a universal solution for every vibration condition. A sealing washer combines a load-bearing element with a compliant sealing material to limit leakage around a fastener.
These terms are sometimes used loosely in purchasing lists, which can lead to an incorrect substitution. If the joint is leaking, a flat washer may look intact and still be the wrong component. If a bearing surface is denting, adding a lock washer may not address the contact pressure. Record the washer type, material, finish, inside diameter, outside diameter, thickness, and the side of the joint where it sits before changing anything.
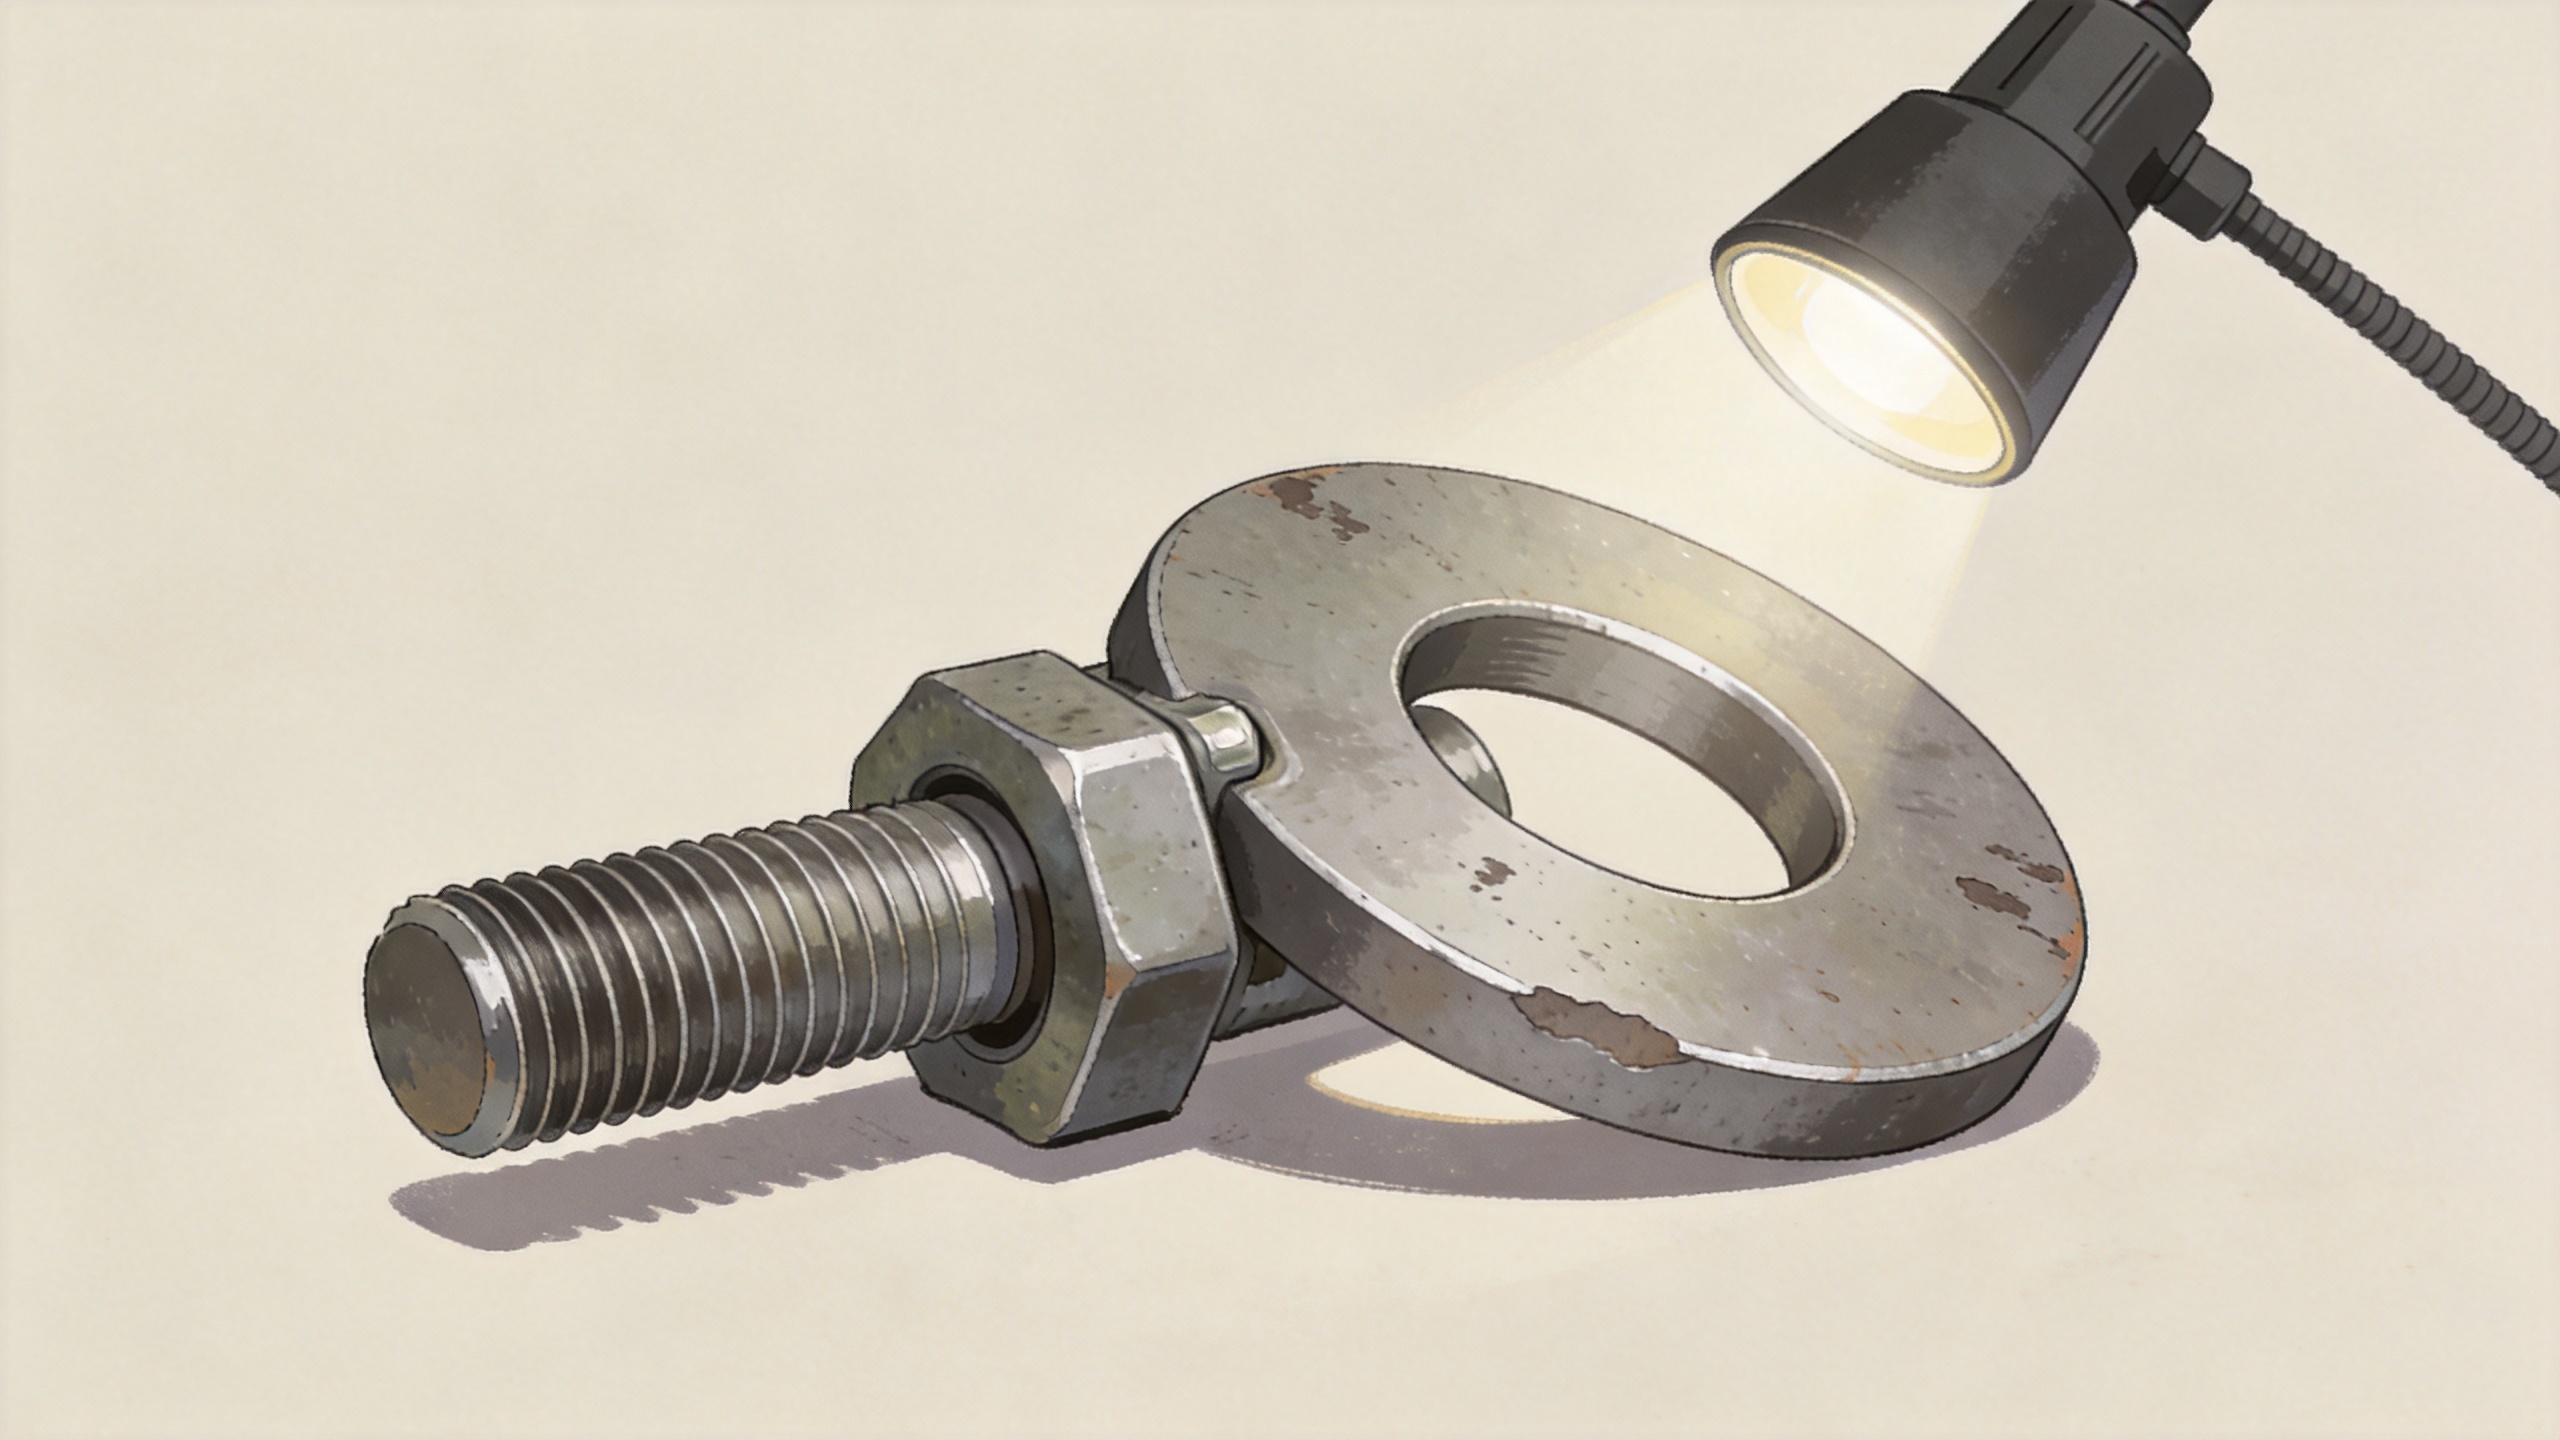
Use this early-warning inspection sequence
- Make the equipment safe and establish a reference. Isolate energy, relieve pressure where relevant, and follow the site’s maintenance procedure. Photograph the joint before disassembly. Note orientation and any witness marks so that a shift can be distinguished from an old installation mark.
- Look for a change in contact pattern. A healthy washer normally bears over a broad, reasonably even area. A shiny crescent, a narrow polished band, tipped contact, gouging, or an imprint that stops at one edge can indicate misalignment, an undersized outside diameter, a warped washer, or movement in the joint.
- Check for loss of shape. A dished flat washer, a flattened spring washer, cracked lock washer, or extruded sealing washer deserves attention. Deformation does not automatically reveal the cause; it does mean the original bearing or sealing condition should not be assumed.
- Inspect the surrounding material, not just the washer. Look under the washer and around the hole for fretting debris, chipped coating, corrosion, elongated holes, crushed composite, cracking, or a raised burr. Those signs suggest motion or unsuitable contact conditions and may require repair beyond washer replacement.
- Check the fastener and joint condition. Examine the threads, nut, bolt head, mating faces, and accessible alignment. Corrosion, damaged threads, a bent bolt, contaminated faces, or an incorrect grip length can reduce clamp force or distort the washer’s loading.
- Review how the joint was tightened. If the specified procedure and tooling are available, compare the observed condition with the required method. Do not use “tighten it harder” as a diagnosis. Excess tightening can crush soft material, damage a sealing washer, or yield a fastener; insufficient tightening can allow slip and fretting.
Read the symptom before choosing the repair
| Visible condition | What it can indicate | Practical next check |
|---|---|---|
| Washer is cupped, bent, or cracked | Uneven bearing, excessive assembly load, misalignment, or an unsuitable washer geometry | Inspect both mating faces and confirm the specified washer dimensions and material. |
| Rust, pitting, or finish loss at the edge | Moisture exposure, coating damage, crevice conditions, or incompatible materials | Assess the fastener and parent material together; select replacement materials for the actual environment. |
| Polished arcs or dark fretting residue | Relative movement after clamp force changed or joint members settled | Check hole condition, alignment, fastener integrity, and the documented tightening method before reassembly. |
| Sealing washer is squeezed out, split, or leaking | Wrong size, aged sealing element, uneven surface, incompatible medium, or unsuitable tightening | Inspect the sealing faces and verify material compatibility with the fluid and temperature range. |
| Spring or lock washer appears flattened | It may no longer provide the behavior expected in the original assembly | Confirm the joint’s anti-loosening design rather than replacing it with the same part by habit. |
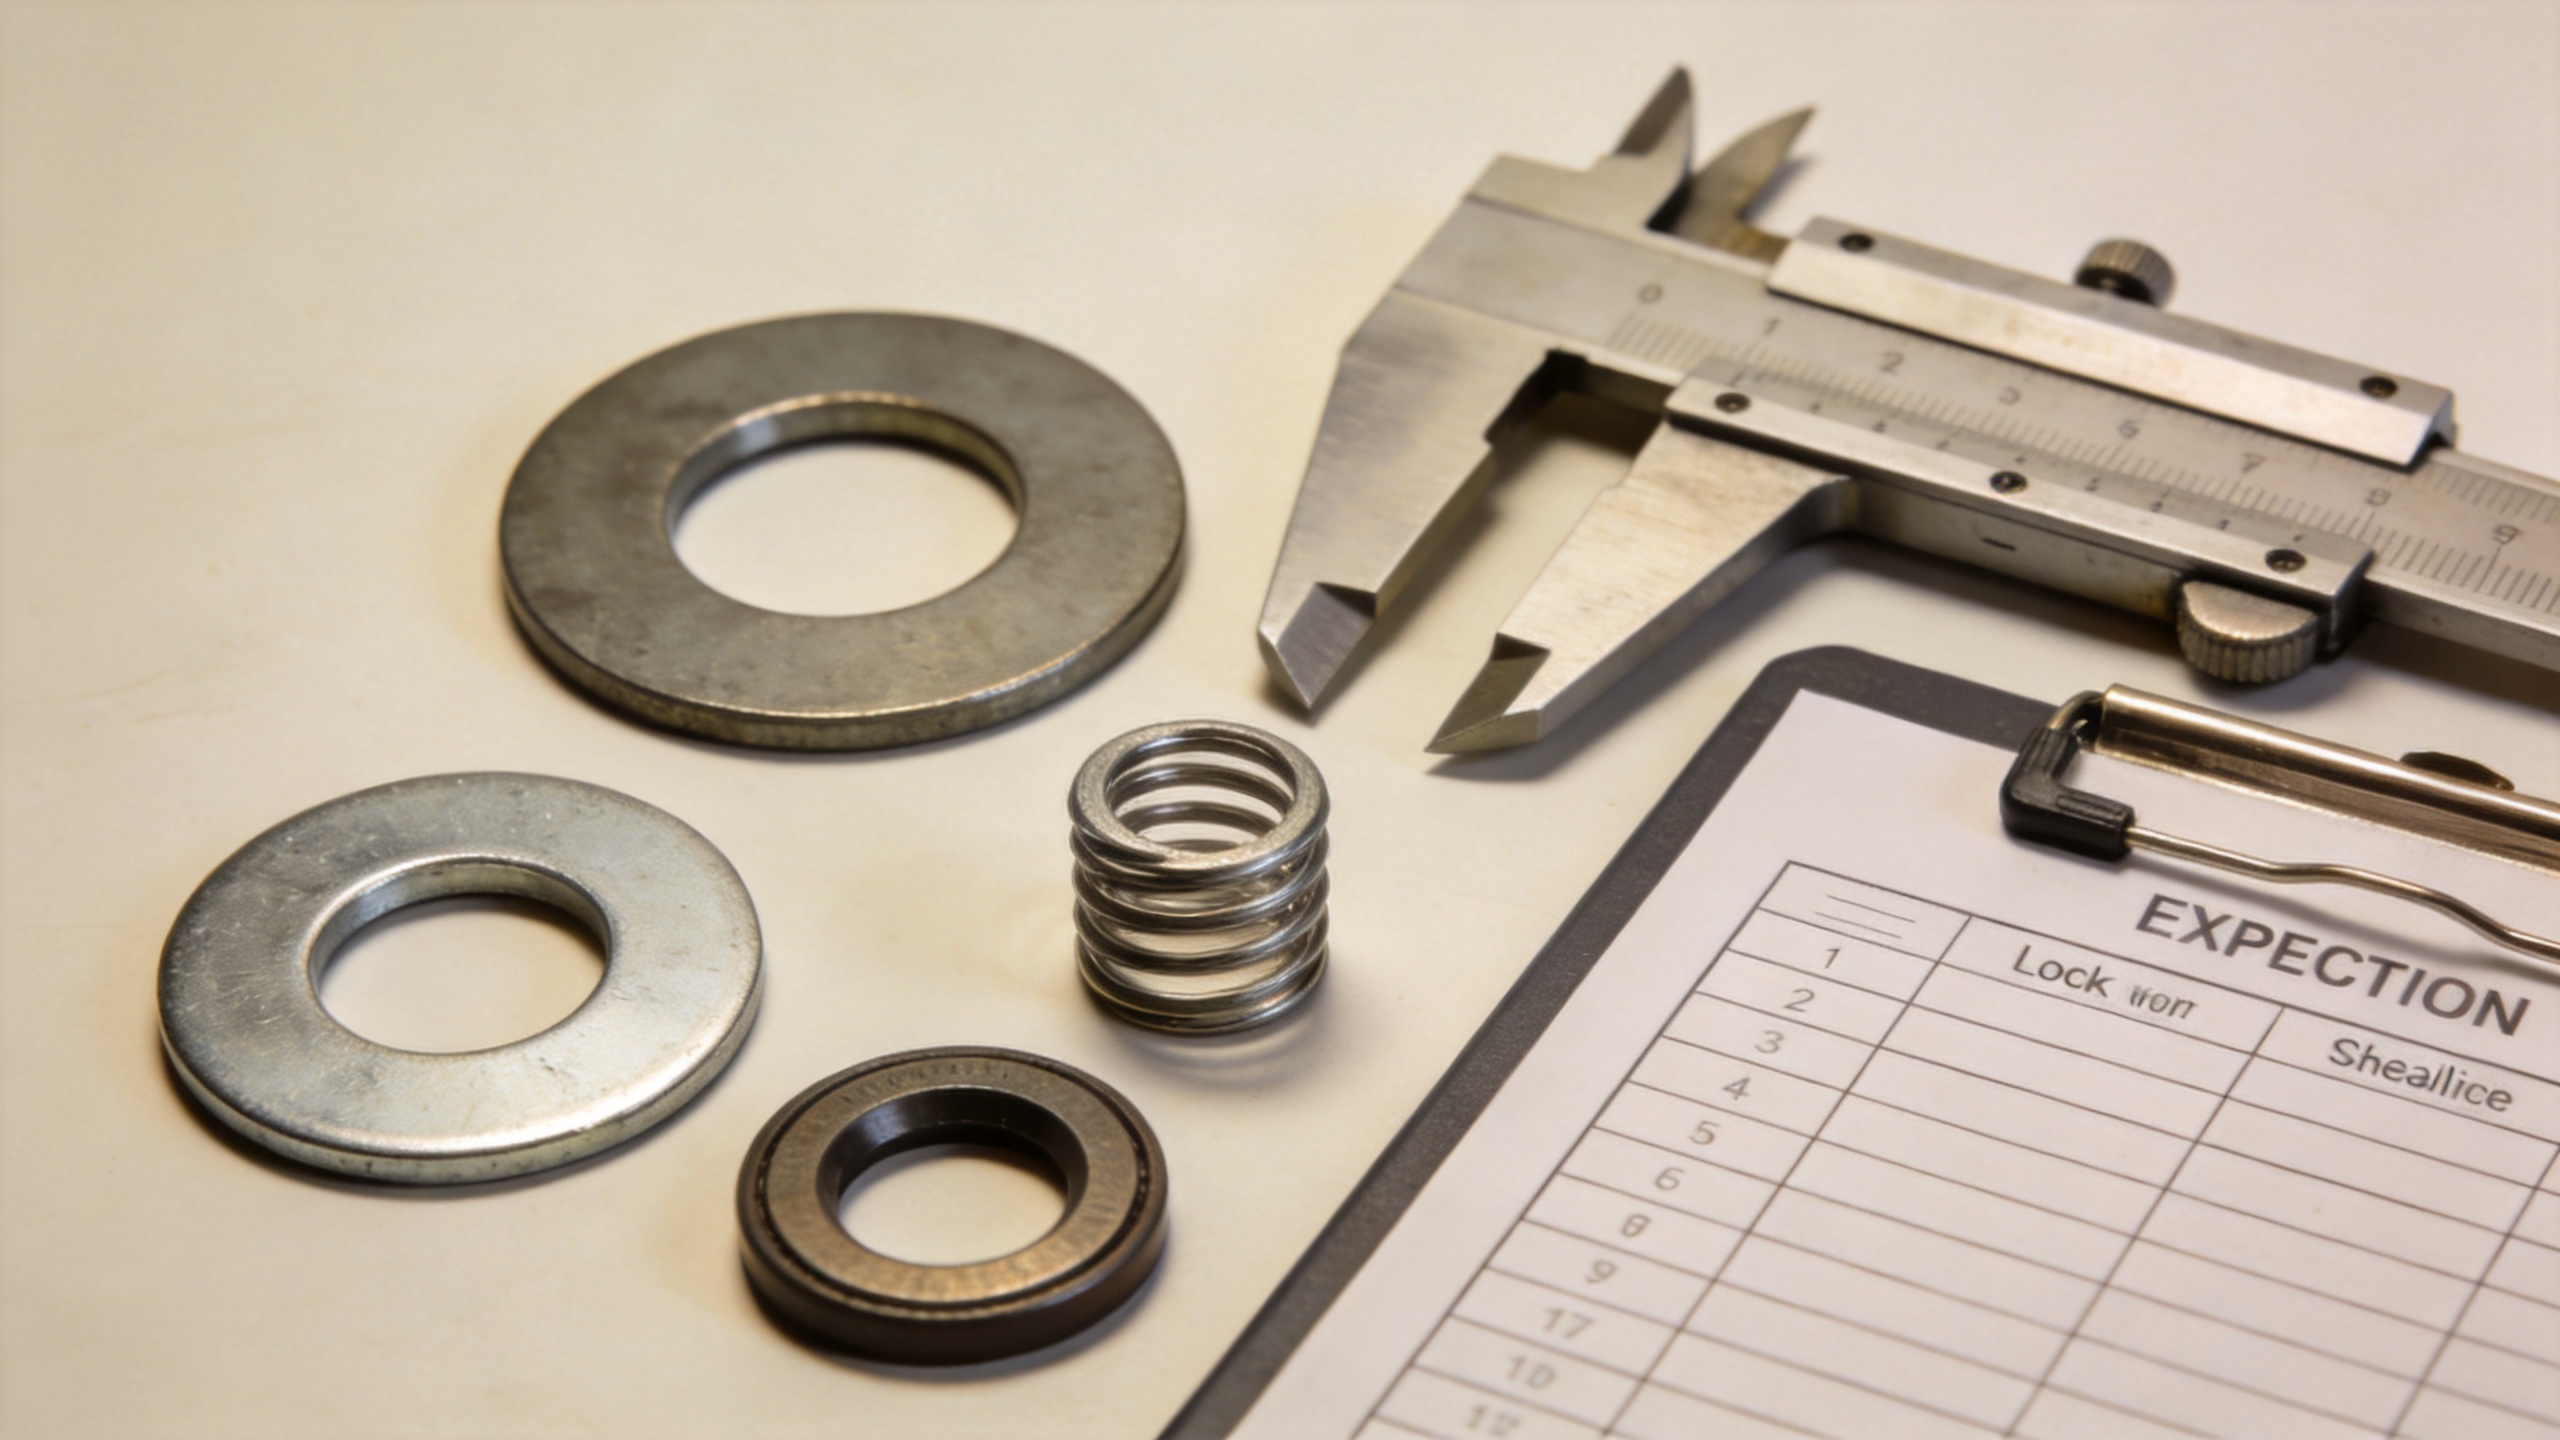
Why a washer failure can damage nearby material
Once contact becomes uneven, the load that should be spread by a flat washer can concentrate near one edge. On painted steel this may mark or break the coating. On softer materials, the washer can embed and reduce the effective clamp condition. On a sealed enclosure, a damaged sealing washer may let moisture or process fluid reach a crevice. In vibrating equipment, repeated micro-movement can leave fretting residue and enlarge a hole over time.
That is why a failed washer should be treated as a joint-level signal. Many teams initially focus on the price of a replacement part. In practice, access time, surface repair, unplanned inspection, and a repeated assembly fault can matter more than the component itself. The appropriate response depends on the load, vibration, environment, and the consequences of joint movement.
Distinguish a simple replacement from a stop-and-review condition
A straightforward replacement may be reasonable when the washer has minor surface wear, the mating surfaces are sound, the fastener is undamaged, and the correct specification and tightening procedure are known. Replace the washer with the specified type rather than mixing a flat washer, lock washer, spring washer, and sealing washer without a design reason.
Pause the work and involve the responsible engineer or maintenance authority when you find an elongated hole, a crack in surrounding material, repeated loosening, corrosion affecting the fastener, a leak at a pressure boundary, uncertain fastener grade, or missing torque/tension instructions. These conditions can indicate that the washer is only one part of a broader problem. This caution is especially important in structural, lifting, rotating, pressure-containing, or safety-critical equipment.
Build a repeatable washer inspection routine
A practical routine is to inspect accessible bolted joints at planned intervals and after events that may change loading: impact, major vibration, thermal cycling, chemical exposure, or maintenance that disturbed nearby parts. Keep a short record of the location, washer type, observed symptom, photographs, corrective action, and whether the bearing surface required repair. Consistent records make it easier to tell an isolated installation error from a repeating design or environment issue.
For procurement and maintenance teams, specification clarity also matters. State the washer type, dimensions, material, finish, and applicable assembly requirement on the bill of materials. When a nonstandard condition is involved, request technical confirmation before ordering. Qingdao Jeekuu Hardware Products can support specification discussion, inspection-point communication, and fastener documentation for industrial buyers; the final component choice should remain tied to the actual joint design and service conditions.
Final check: diagnose the joint, not only the washer
The quickest way to miss a developing problem is to replace a visibly damaged washer and close the job without checking why it changed shape, corroded, moved, or leaked. Begin with the washer’s function, inspect the surrounding material and fastener, review assembly conditions, and then choose a repair that fits the application. That approach helps preserve the bearing surface, keeps the fastening system easier to maintain, and gives the next inspection a useful reference point.

