 EN

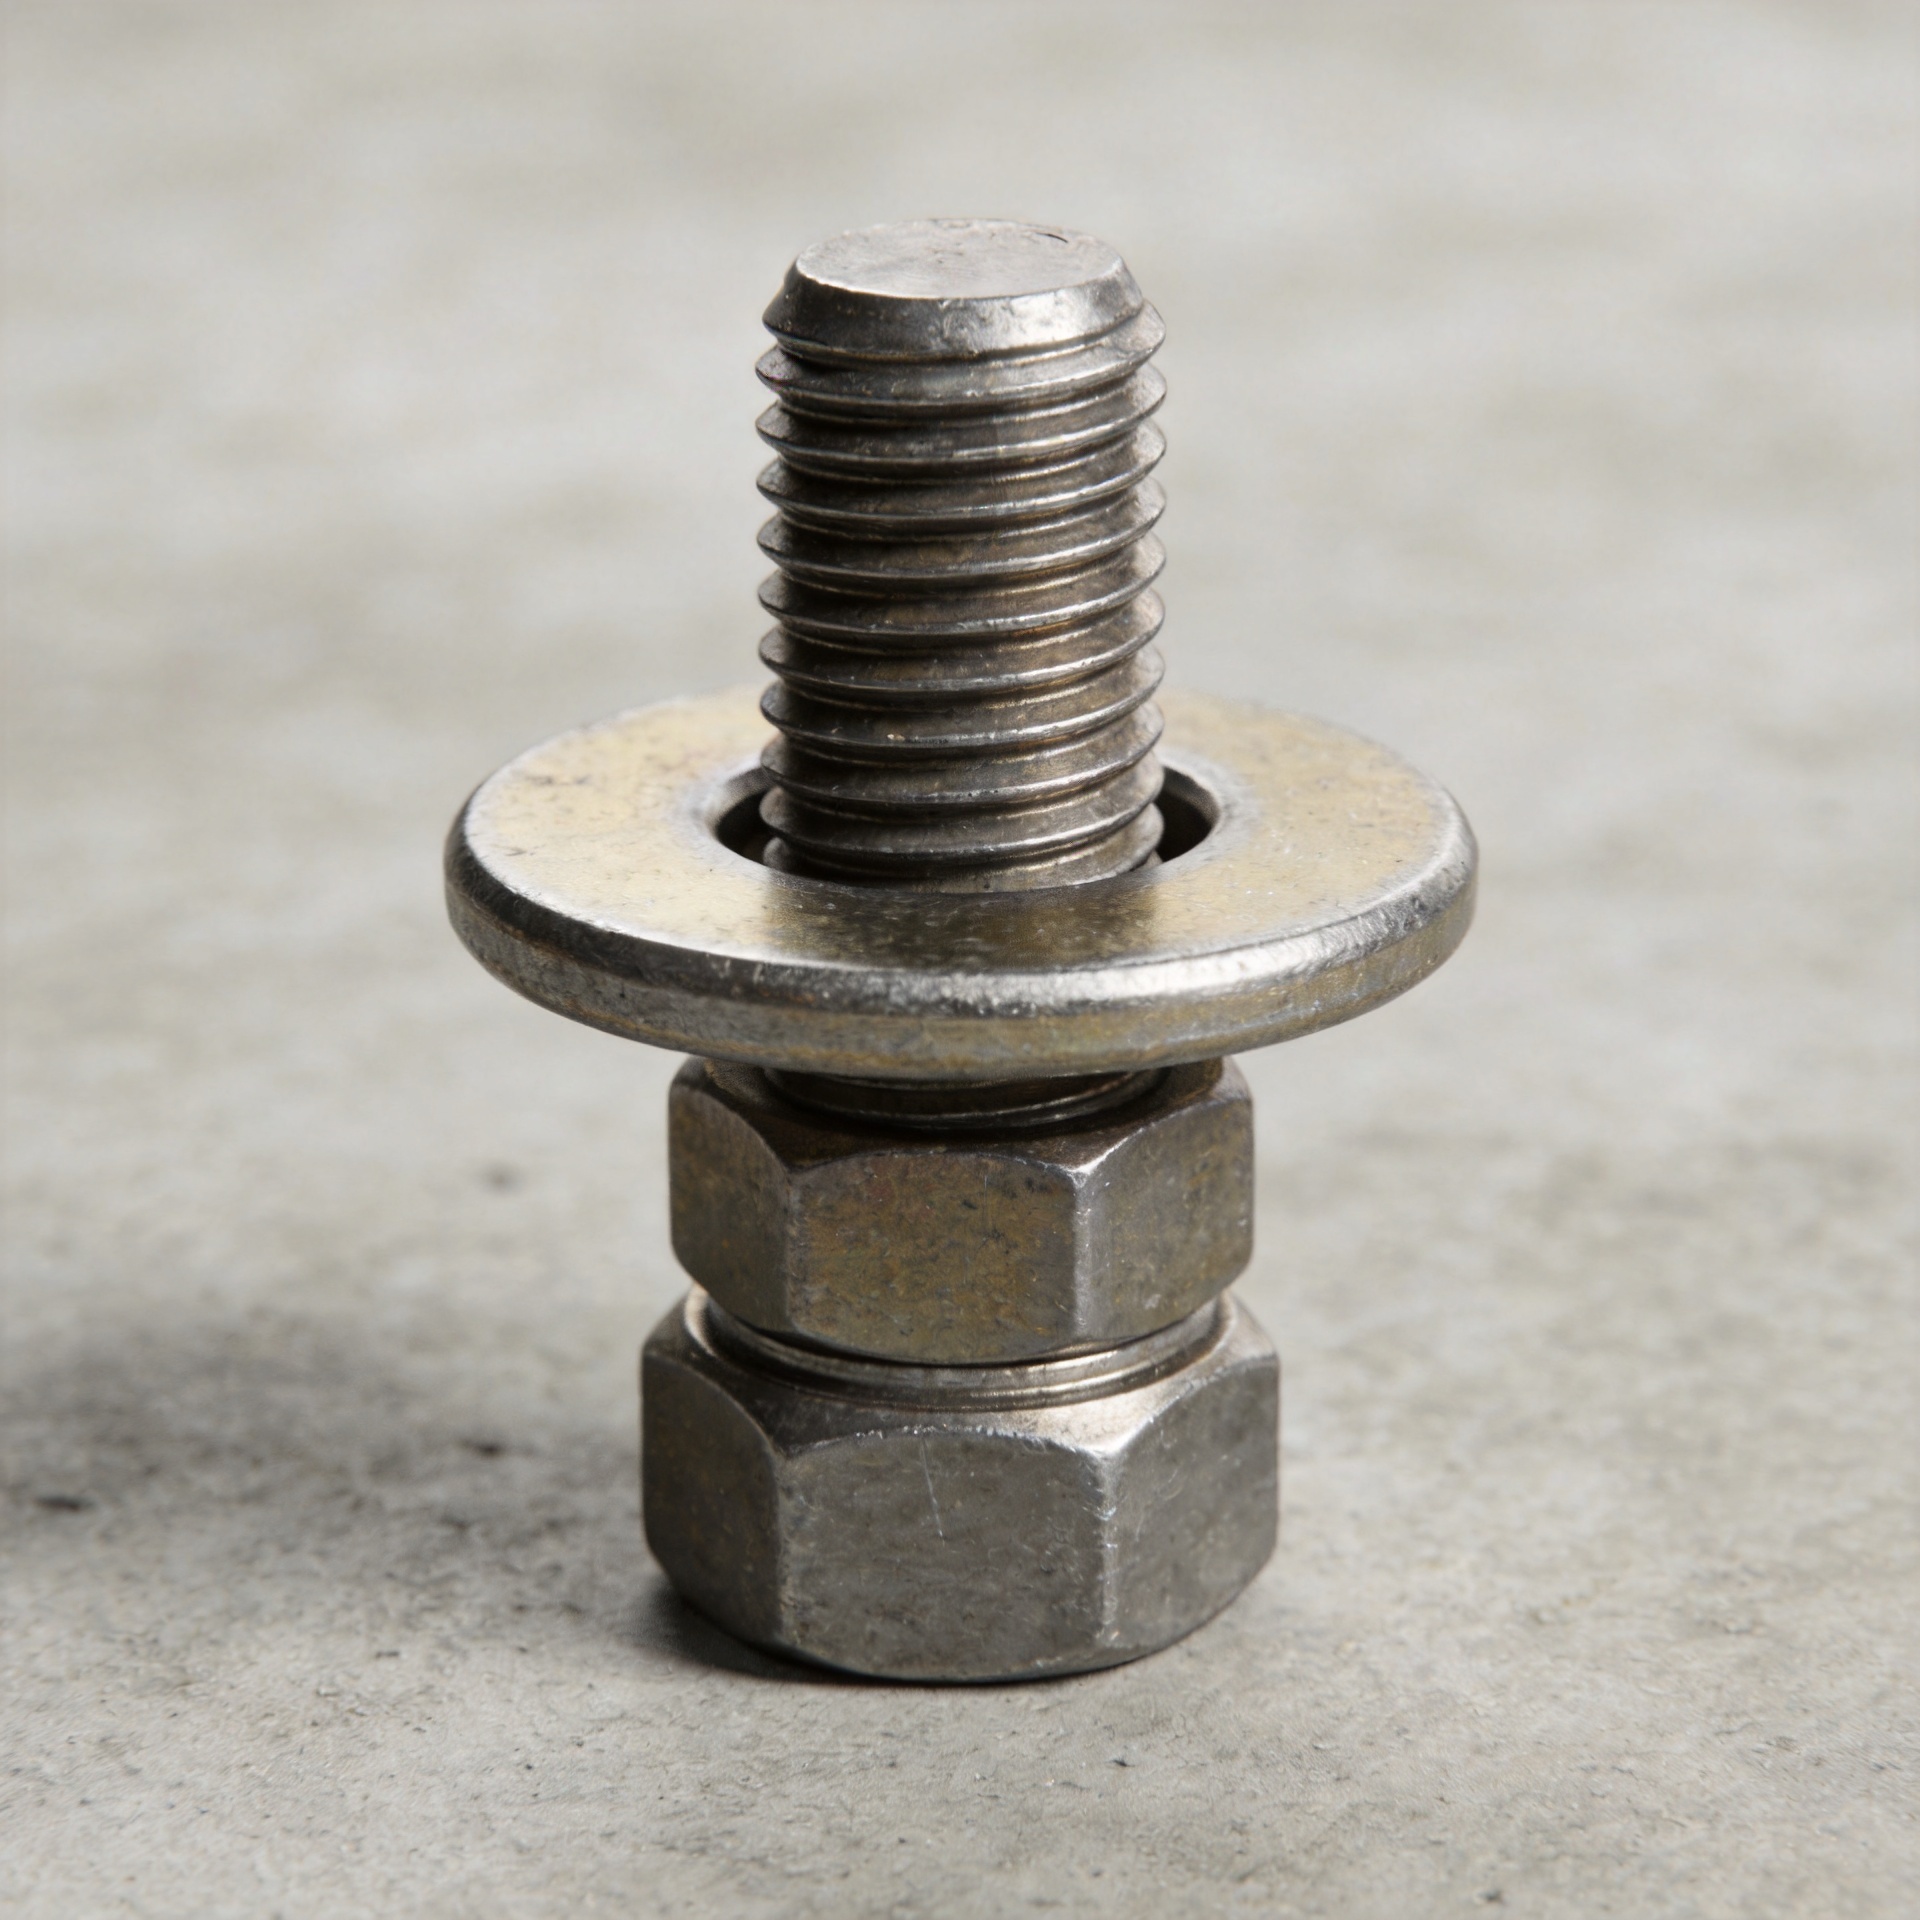
How to Stop Washer Fatigue Failure in High Cycle Vibration Joints
In a high-cycle vibrating assembly, a washer is not a minor line item. It is part of the load path that turns installation torque into useful clamp force. When a washer fatigues, settles, cracks, galls, or allows the joint faces to move, clamp force can fall and the bolt can begin to see damaging cyclic stress. The practical response is not merely to add a different washer. It is to diagnose the whole joint: the fastener, the washer, the clamped materials, the surface condition, the tightening method, and the vibration direction.
From a fastener-selection engineering perspective, the first question is whether the washer has actually failed or whether it is showing the consequence of another problem. A cracked or flattened washer is important evidence, but it does not by itself identify the root cause. High-cycle vibration joints need a repeatable preload process and a contact stack that resists settlement and slip.
Why a Washer Can Fail Under Repeated Vibration
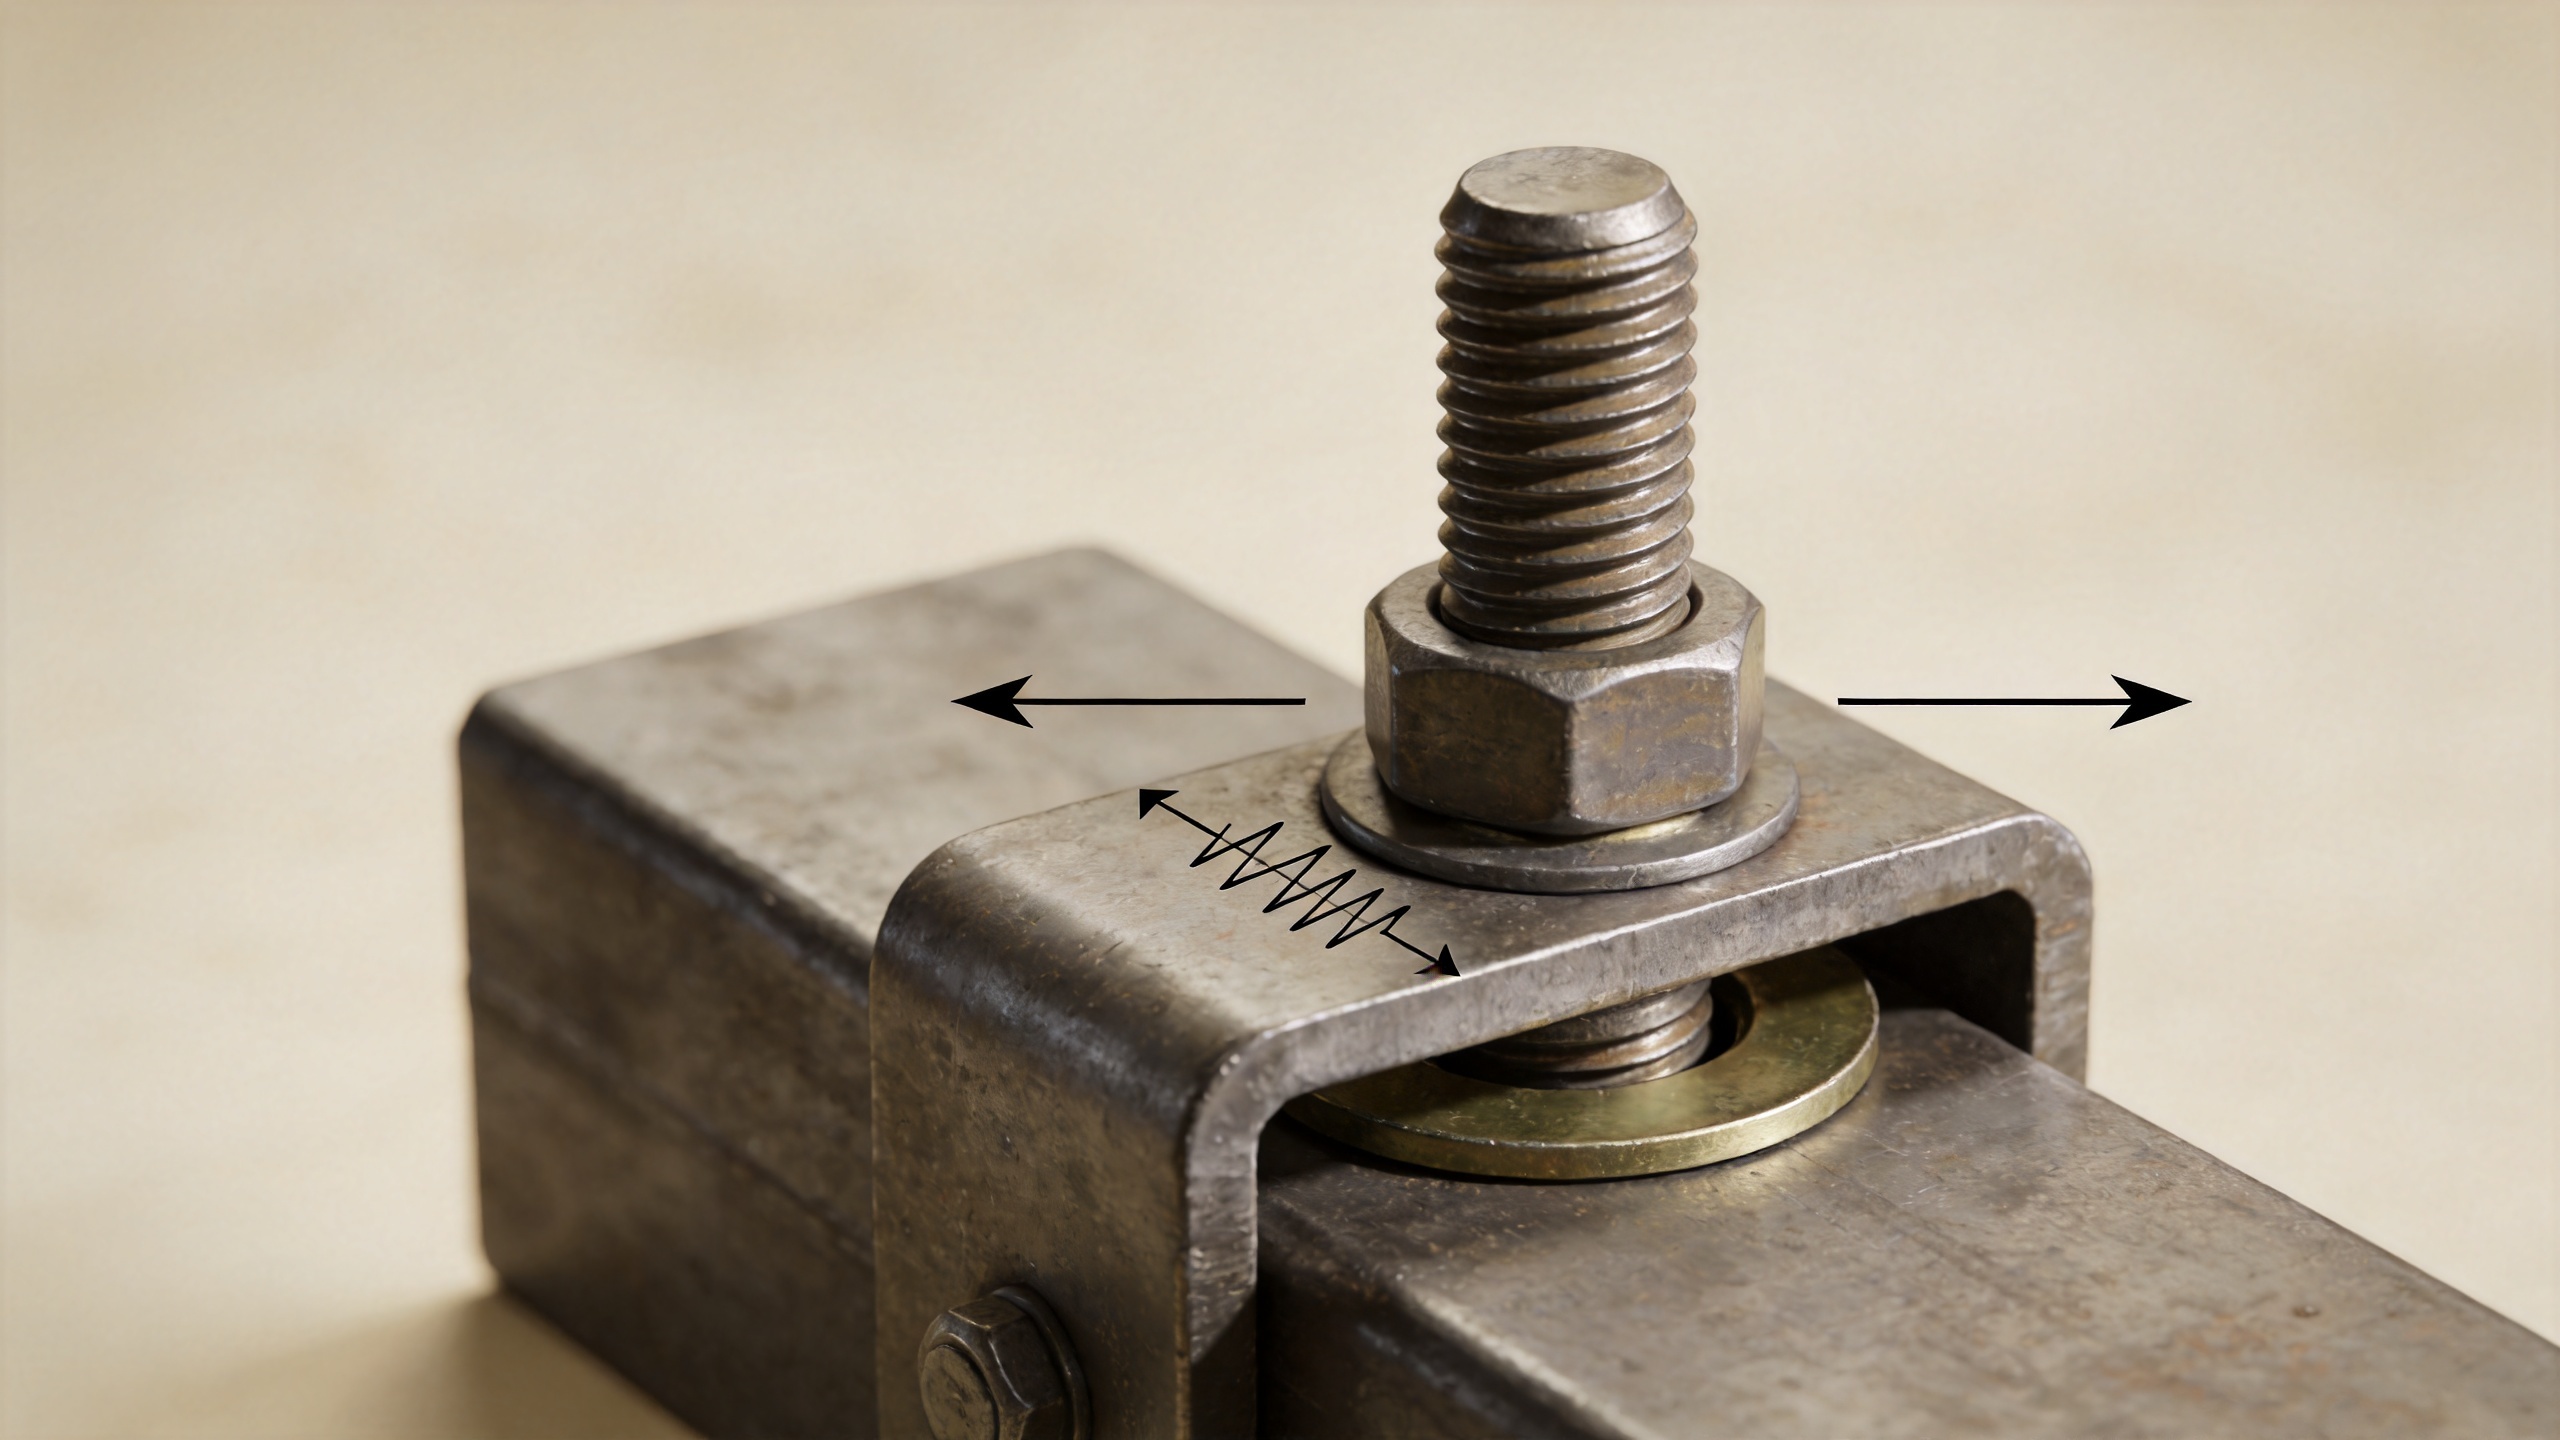
A correctly selected washer spreads bearing stress under a bolt head or nut and can protect a softer clamped surface. In a vibrating joint, its contact faces also experience tiny relative movements. If preload is too low, transverse vibration can drive joint slip. That movement may fret the mating faces, polish coating off, create local indentations, and reduce the effective clamping load. The bolt then carries a larger share of the alternating load, which raises fatigue risk.
Settlement is another common pathway. Rough coatings, paint, burrs, soft plated surfaces, and uneven bearing faces compress during the first cycles after tightening. A flat washer with insufficient hardness for the bearing load can dish into the parent material. A spring washer may also relax or lose useful deflection if it is selected as a substitute for controlled preload. In each case, the symptom may be called washer fatigue, but the decision must be based on the contact conditions and the loading history.
Do not overlook geometry. A washer that is too small, too thin, off-center, or used over an oversized hole concentrates load. A washer beneath a tilted bolt head can be bent once per vibration cycle. If the stack contains dissimilar metals or moisture, corrosion products can further change friction and seating. The joint should be treated as a system, not as a single-part problem.
Start With a Failure Check, Not a Replacement Order
- Document the evidence. Photograph both faces of every removed washer, the bolt, nut, and joint surface. Look for radial cracks, permanent dish, brinelling, fretting debris, polished arcs, thread damage, and corrosion.
- Map the motion. Identify whether the joint sees transverse vibration, axial cycling, bending, impact, or a mixture. Check whether motion is concentrated at the washer contact zone, in the shank-to-hole fit, or across the clamped faces.
- Check retained clamp force. Compare post-test torque, bolt elongation, angle, or another approved preload indicator with the validated installation condition. Breakaway torque alone is not a direct preload measurement.
- Inspect the stack. Measure washer outside diameter, inside diameter, thickness, flatness, and hardness where the joint specification requires it. Confirm that the bearing face is clean, flat, and free from paint build-up or burrs.
- Review assembly variation. Record lubricant, finish, tool calibration, run-down speed, seating behavior, and reuse policy. Torque control is sensitive to friction, so a stable torque value does not necessarily mean a stable clamp force.
This sequence is more useful than ordering a stronger washer immediately. Many teams initially focus on the visible washer mark, then find that a seating problem or inadequate preload created the mark. A production review should trace the event back to the installation method before changing material or geometry.
Choose the Washer Function Before Choosing the Part
| Washer type | Primary function | Vibration-joint decision point |
|---|---|---|
| Flat washer | Distribute bearing load and protect the clamped surface | Use a flat washer with suitable diameter, thickness, and hardness when bearing pressure or surface damage is the concern. |
| Lock washer | Add resistance to loosening in a qualified joint design | A lock washer should be verified in the actual transverse-vibration condition; it does not replace correct preload or a stable joint contact plane. |
| Spring washer | Provide compliance in applications designed for its deflection behavior | A spring washer needs a defined working range. Do not assume it will maintain clamp force after significant settlement or joint slip. |
| Sealing washer | Seal against fluid, dust, or environmental ingress | Check compression limits and chemical compatibility. A sealing washer changes stack compliance and may require a revised tightening procedure. |
A flat washer is often the appropriate answer when the main requirement is to spread load on an aluminum, painted, coated, or otherwise softer mating surface. For a high-load joint, a hardened flat washer may help maintain a stable bearing contact, but it must match the fastener grade and the joint design. A lock washer or spring washer should be selected because its tested function fits the joint, not because its name suggests a general answer to vibration.
Build Preload Retention Into the Joint Design
The central fatigue-control target is retained clamp force. When clamp force is sufficient for the validated design, friction between the clamped members can carry small transverse load changes and reduce relative movement. When clamp force falls, the bolt and washer assembly can move, bend, and accumulate fatigue damage.
- Specify a tightening method that is qualified for the actual bolt, nut, washer, coating, and lubricant condition.
- Use a consistent seating condition. Remove burrs, heavy paint under the washer, and damaged coating where the joint specification permits.
- Match washer hardness and geometry to the bearing surface and installation load. Check for local indentation after a representative trial.
- Keep the bolt load as axial as possible. Misalignment, excessive hole clearance, and eccentric loading can bend the bolt and overload the washer edge.
- For a sealing washer, confirm that sealing compression and mechanical preload are compatible rather than treating the seal as a generic flat washer.
- Use an anti-loosening method only after evaluating it with the chosen washer stack, vibration level, temperature, and service environment.
Published fastener guidance also highlights why process discipline matters: torque-only tightening can produce meaningful preload variation as friction changes. That is why a washer specification should travel with instructions for finish, lubrication, seating, tool control, and verification. A part change without those controls can shift the failure instead of resolving it.
Validate the Revised Washer Stack Before Release
Run a representative test using production-intent parts. Record initial installation data, inspect the washer stack after run-in, apply the expected vibration spectrum, and recheck for slip, preload loss, fretting, seal condition, and cracking. Include the temperature and corrosion exposure that the real assembly will see. If the application is safety-critical or highly loaded, have a qualified joint engineer define the load case and acceptance criteria.
Do not use a successful short bench test as proof that every high-cycle joint is solved. The right washer arrangement depends on joint stiffness, fastener size, grip length, clamped materials, surface finish, and vibration direction. The useful outcome is a documented, repeatable assembly window—not a generic promise tied to one washer style.
A Practical Release Checklist
- Confirm the actual failure mode with removed-part evidence.
- Set the washer function: bearing distribution, loosening resistance, compliance, or sealing.
- Verify washer dimensions, hardness, material, and finish against the load path.
- Qualify preload and seating using the actual assembly condition.
- Test the washer stack under representative vibration and environmental exposure.
- Document inspection limits so production can identify a fatigued or settled washer early.
For high-cycle vibration joints, the durable lesson is straightforward: a washer works with the entire clamp system. Select the flat washer, lock washer, spring washer, or sealing washer for a defined function, then validate retained preload and joint stability under the conditions that caused the original fatigue evidence.

