 EN

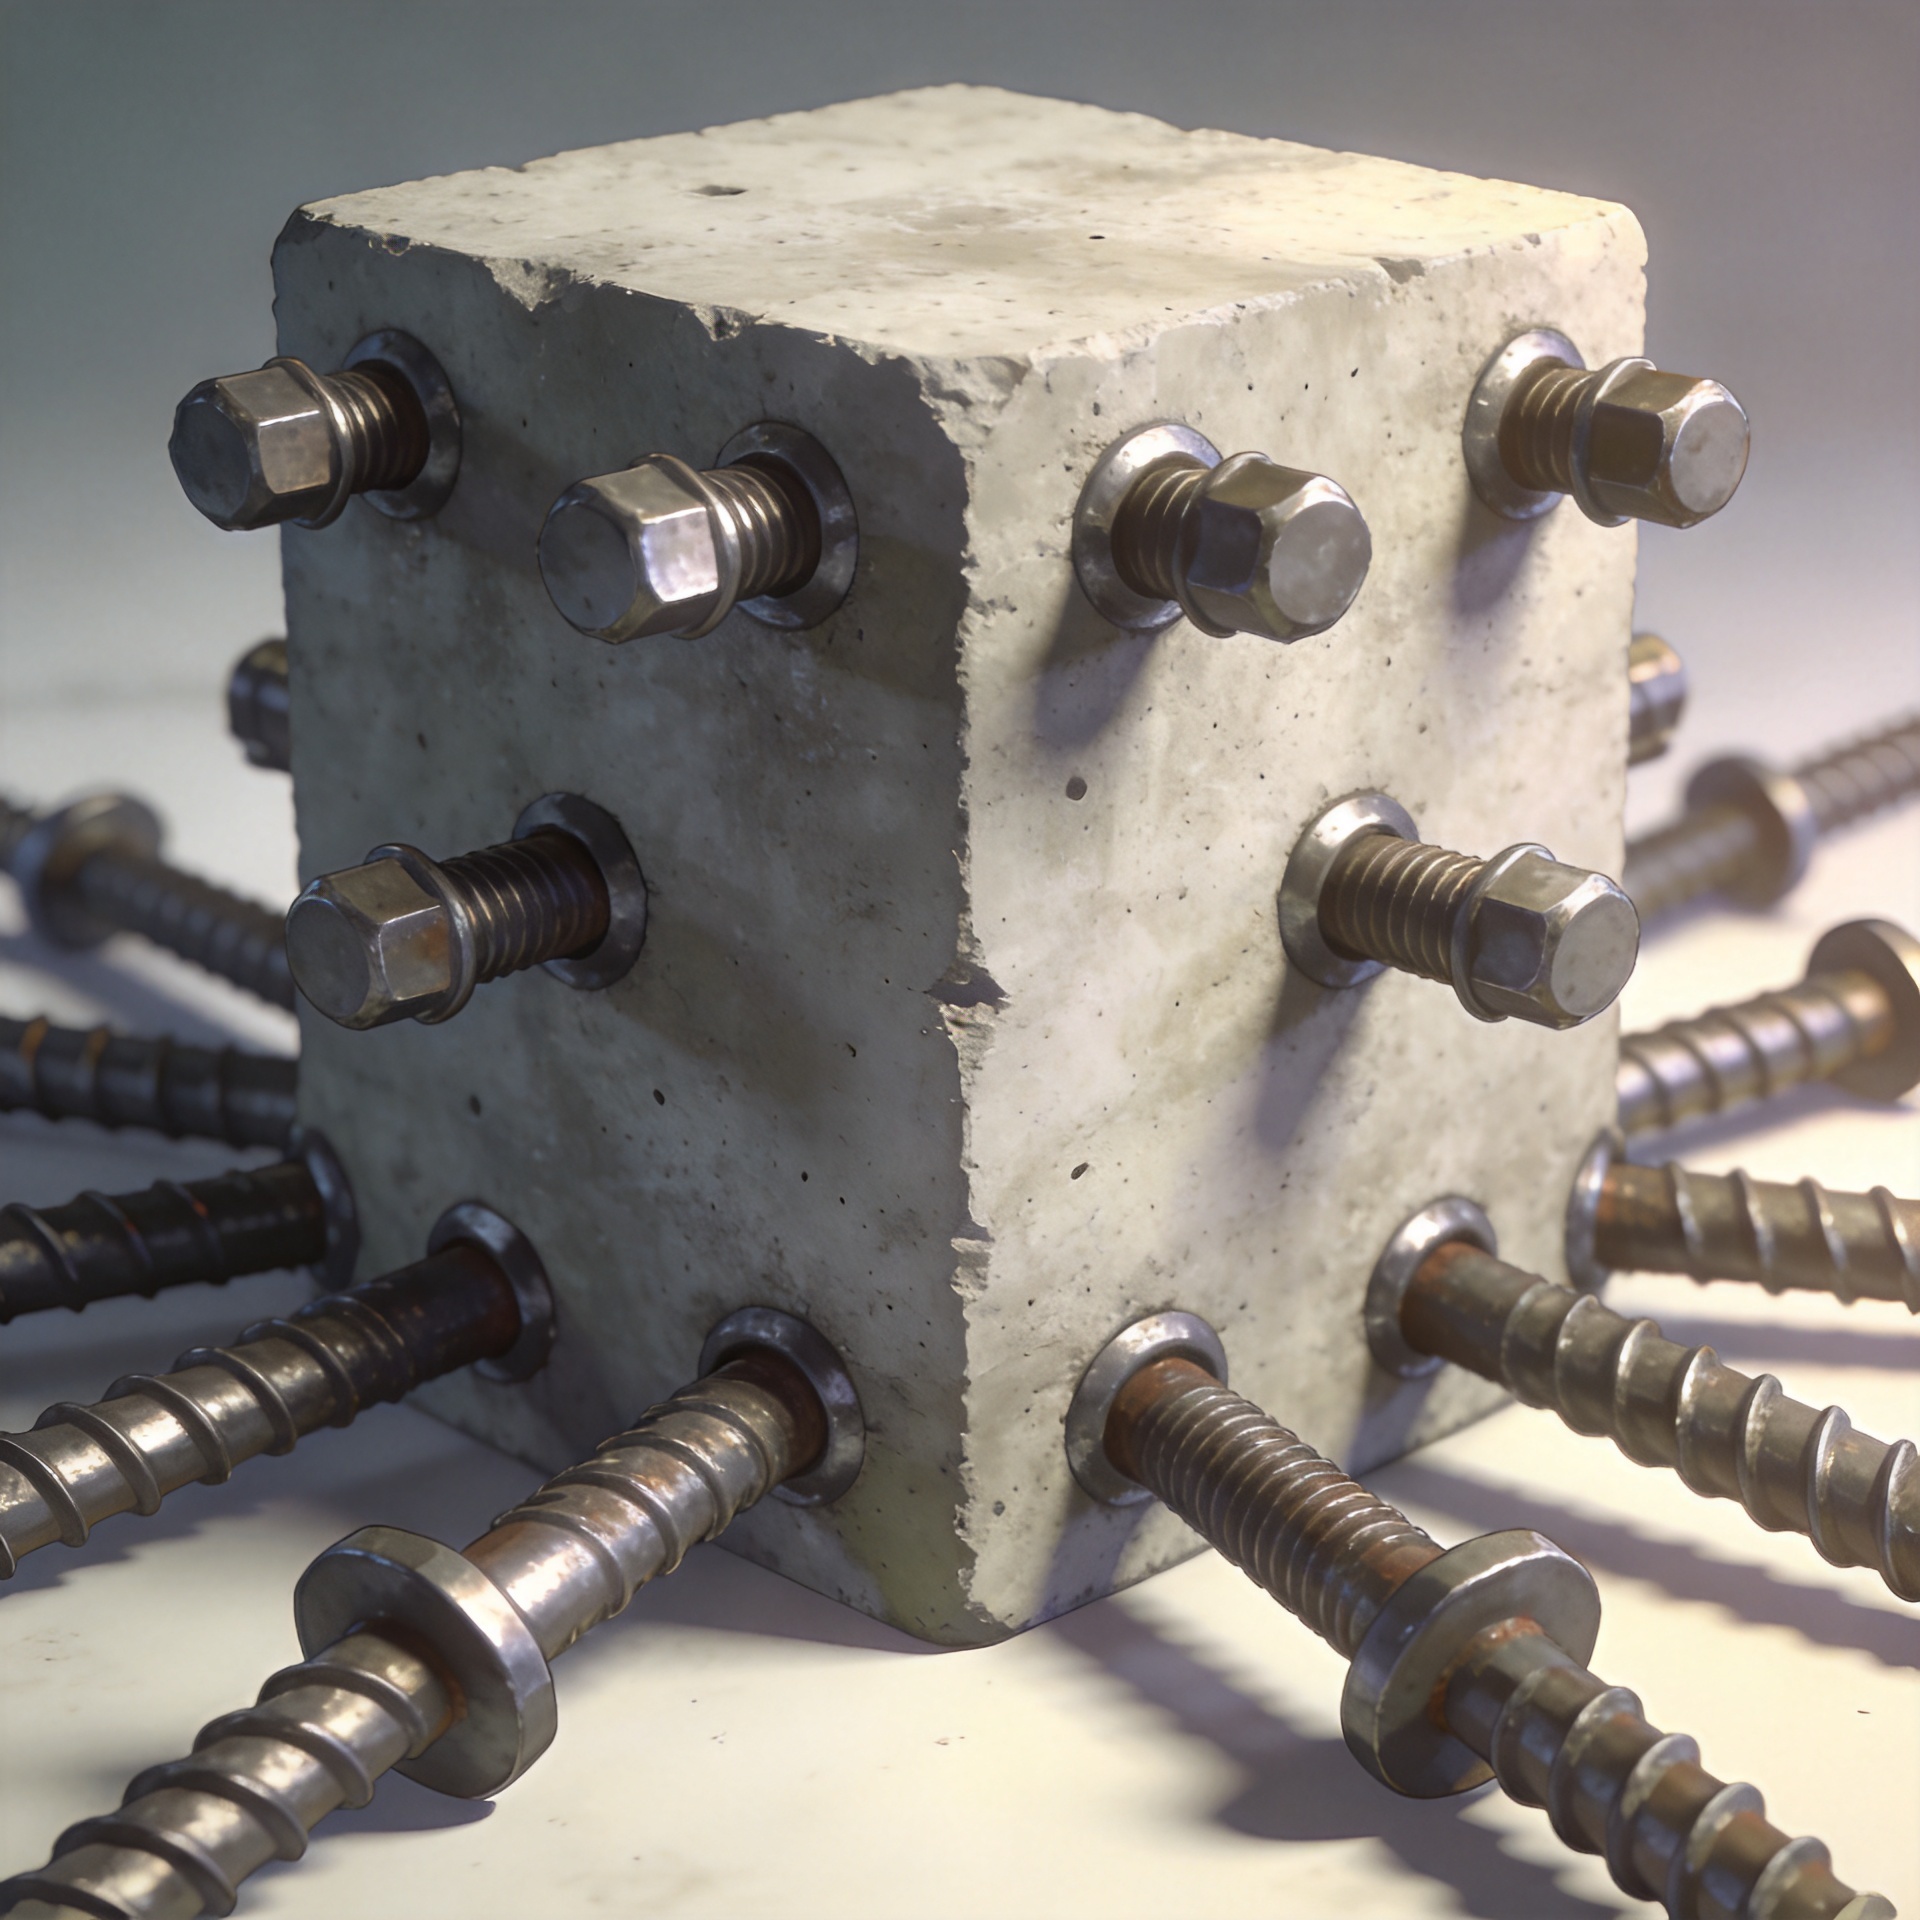
Why Anchor Edge Distance Matters for Group Anchor Installations
When a base plate, bracket, rail, or machine frame needs several fasteners, the layout can look straightforward: mark the holes, drill, set each Anchor, and tighten the fixture. In concrete, that shortcut can hide the decision that matters most. The distance from each Anchor centerline to the nearest free edge affects how the concrete around the whole group responds to load. A layout that appears symmetric on a drawing may still put one or more anchors close to an edge, corner, opening, joint, or damaged area.
As a fastener-selection engineer, I start an Anchor review with the concrete, the load direction, and the installation data rather than the steel fixture alone. In grouped installations, the question is not simply whether every Anchor is installed. It is whether the anchors, their spacing, their embedment, and the available concrete work together as the selected Anchor system requires.
What edge distance means for an Anchor group
Edge distance is the distance from an Anchor centerline to the nearest free concrete edge. It is not the clear distance from the edge of the washer or the edge of a base plate. For a group Anchor layout, identify the nearest free edge for every anchor position, then identify the load direction. An edge that seems remote in one direction may be the critical edge when shear is applied toward it.
The reason is concrete behavior. Under tension or shear, an Anchor transfers force into a volume of concrete. If there is adequate surrounding concrete, the force can spread through the material as assumed by the relevant design method and approved Anchor data. Near an edge, that projected failure region can be cut off by the free surface. The result can be a lower concrete-related resistance, a different governing failure mode, or a need for a revised layout.
This is especially important at corners. A corner exposes an Anchor group to two nearby edges, so the usable concrete region may be smaller than a one-edge condition. Do not treat a corner-mounted bracket as a routine mid-slab Anchor installation just because the same fastener diameter is being used.
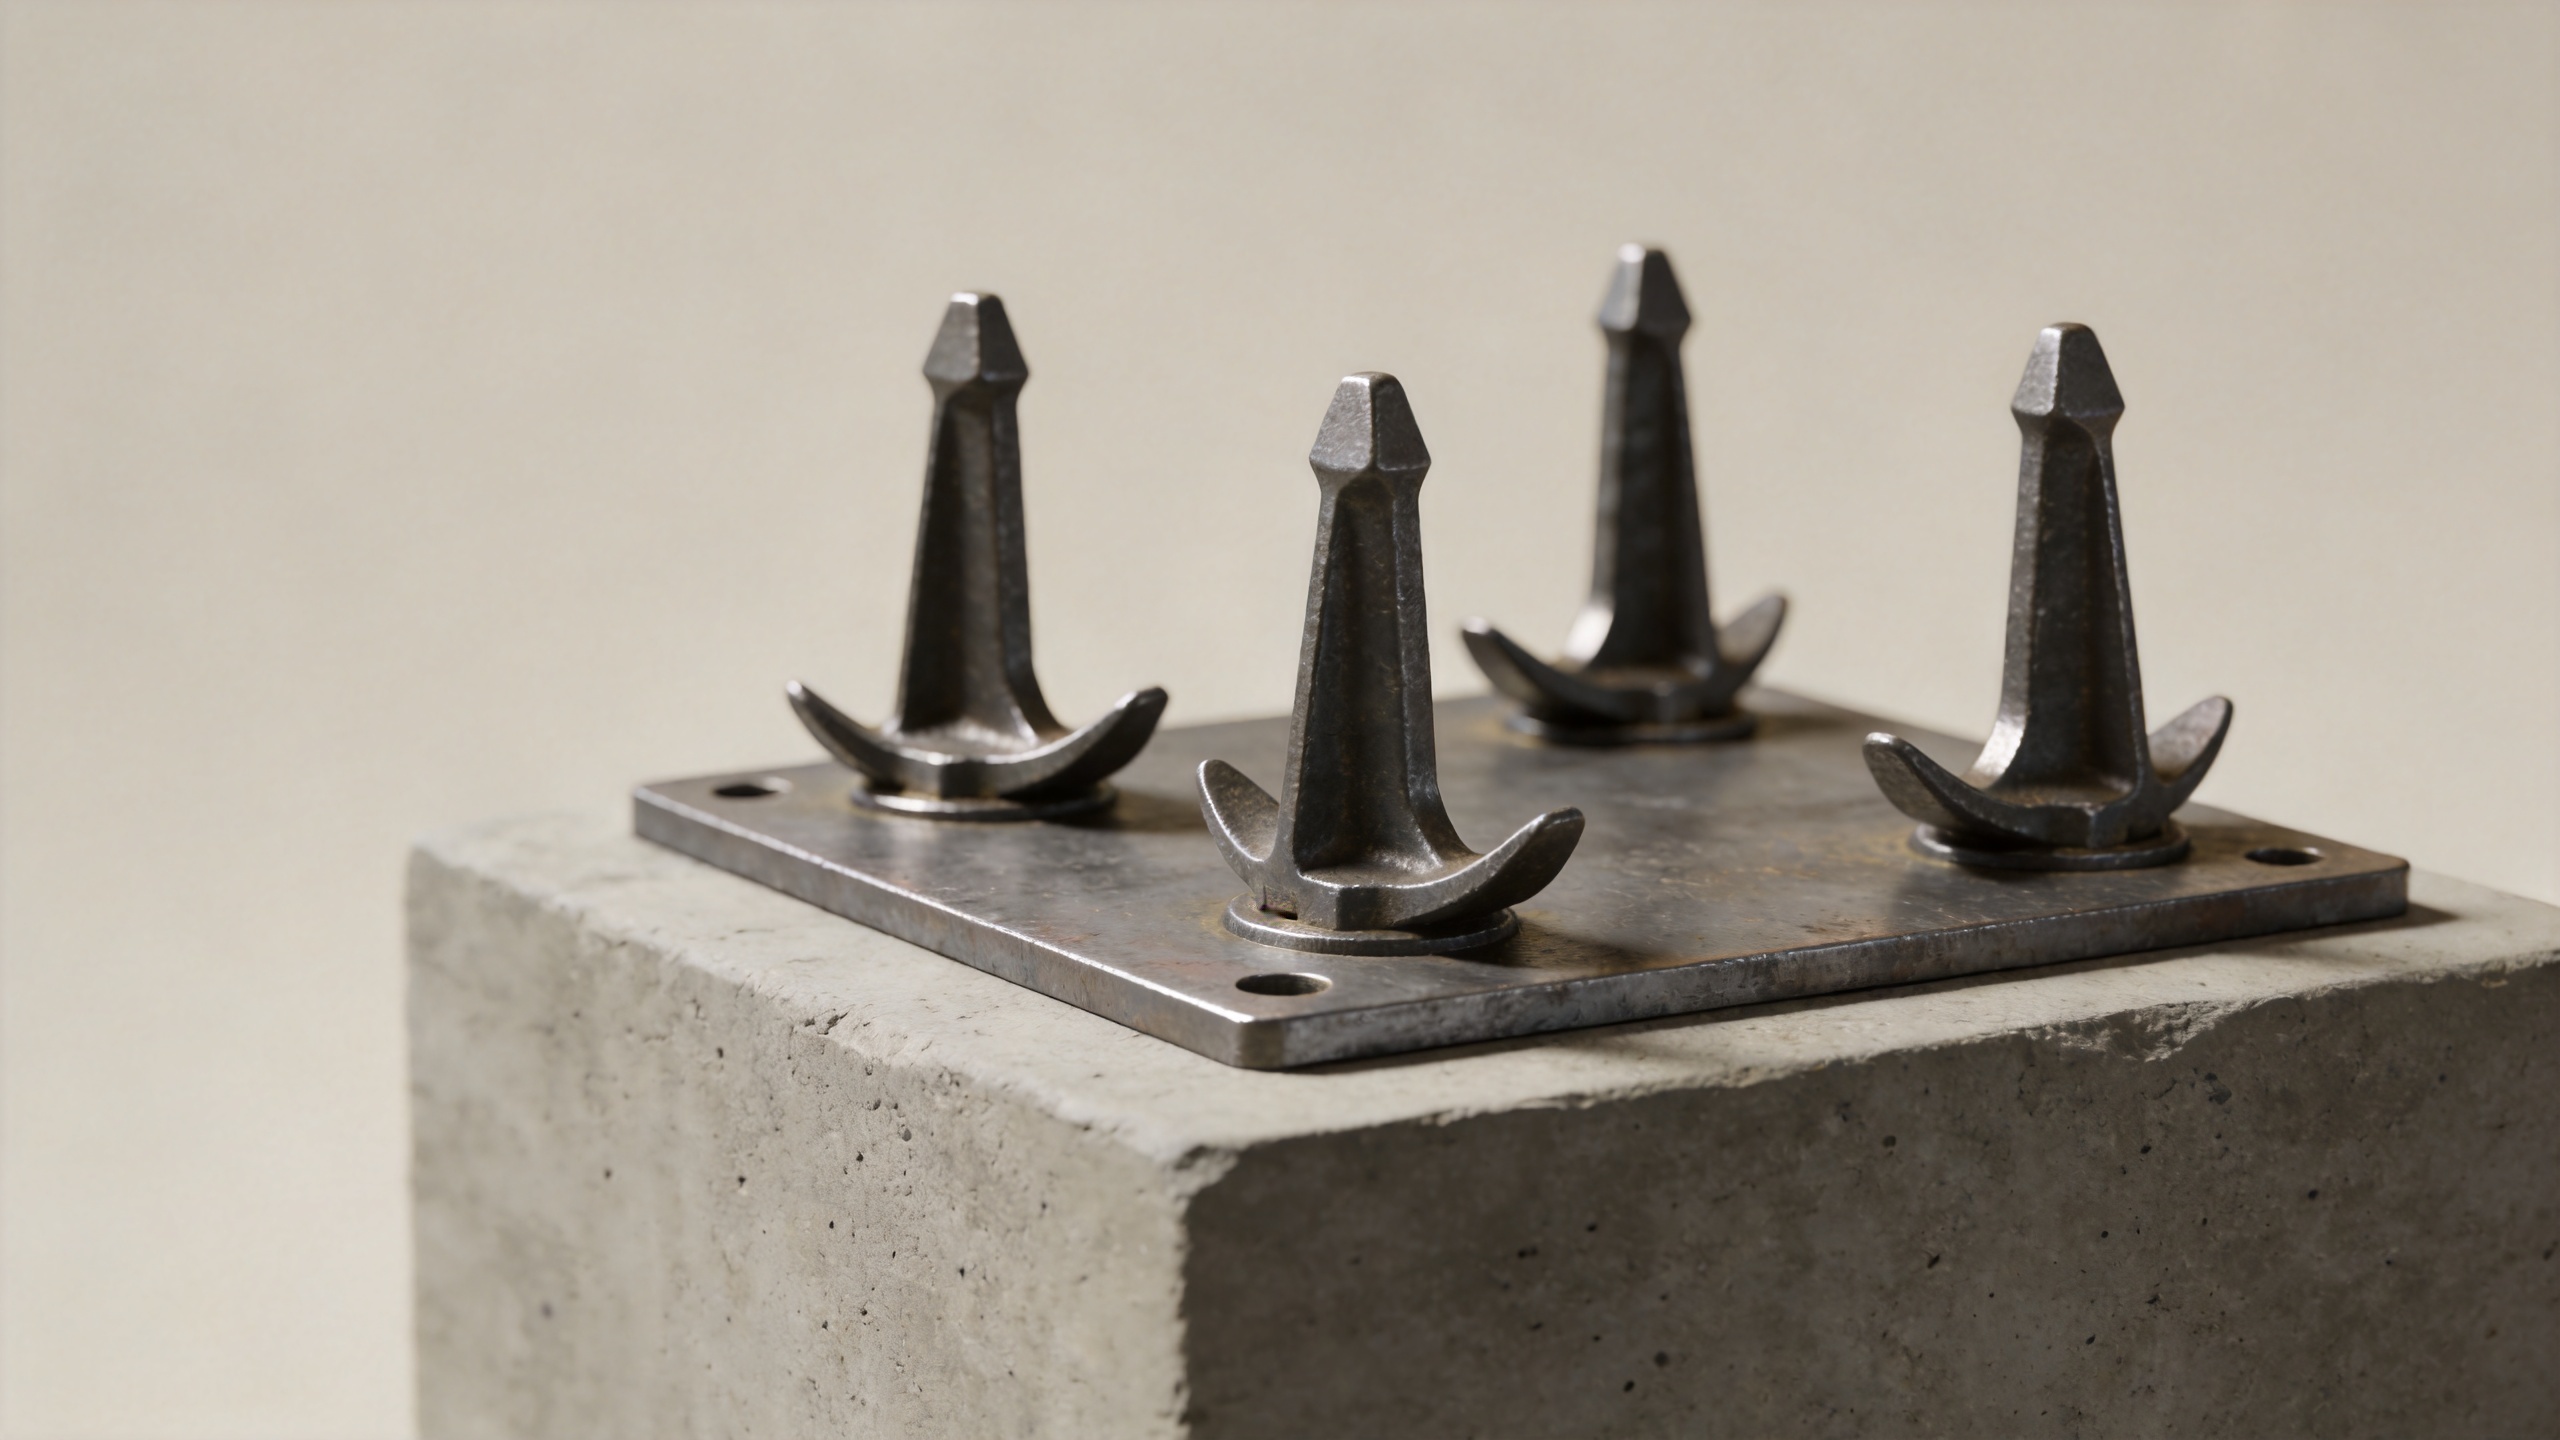
Why group Anchor layouts need a separate check
Anchor spacing and edge distance are connected. When anchors are positioned close enough that their projected concrete regions overlap, the group may not behave like several independent single anchors. The load path, the number of anchors sharing load, the fixture stiffness, and the geometry of the group all matter. Counting four Anchor locations does not automatically mean the connection has four times the single-Anchor capacity.
That point is easy to miss during field changes. A fabricator may reduce a bolt pattern to fit a narrow pedestal, or an installer may shift a template around reinforcing steel. Each move can change both the spacing inside the Anchor group and the edge distance outside it. A layout adjustment should trigger a review against the selected Anchor system’s published installation limits and the project design—not an assumption that “close enough” is acceptable.
Many teams first focus on higher-strength hardware. That instinct is understandable, but it does not solve a concrete geometry problem. If the governing limit is the concrete near an edge, changing the steel grade alone may not restore the intended Anchor performance. The practical answer could involve a larger footprint, a different attachment detail, a revised load path, additional concrete, or a different approved Anchor solution.
How anchor type changes the conversation
It is tempting to apply one shop rule to every concrete anchor, but wedge, sleeve, adhesive, and internally threaded systems do not share one universal edge-distance value. Their installation mechanisms, approved conditions, embedment requirements, and published capacities differ. The correct check begins with the exact product, diameter, substrate condition, loading, and approval or technical data that apply to the job.
Wedge anchor considerations
A wedge anchor develops holding action through expansion. Installation near an edge deserves careful attention because drilling and expansion occur in concrete with less surrounding material on one side. Verify the manufacturer’s minimum edge distance, spacing, hole depth, tightening procedure, and the design values for the actual concrete condition. If an Anchor layout is revised in the field, check the revised coordinates rather than relying on the original template.
Sleeve anchor considerations
A sleeve anchor also uses expansion, but its geometry and approved installation information are its own. It should not inherit a wedge Anchor’s values. Confirm the required hole diameter and depth, clearance through the fixture, minimum distances, and the approved loading data. In a group Anchor arrangement, keep the base plate flat and avoid tightening sequences that pull one side down while another side remains unsupported.
Drop-in anchor considerations
A drop in anchor is installed below the concrete surface and is commonly used with compatible threaded rod or bolts. Its setting action, required hole preparation, and embedment instructions must be followed precisely. The fact that the Anchor sits below the surface does not remove the need to check edge distance. The group still transfers load into a finite concrete area, and the selected Anchor’s documentation still governs.
A field sequence that protects the Anchor layout
- Read the connection information first. Confirm the fixture loads, directions, concrete thickness, concrete condition, and the exact Anchor system specified.
- Locate every free edge and discontinuity. Measure from the planned Anchor centerline to slab edges, pedestal faces, openings, joints, and damaged or unsound concrete boundaries.
- Check the whole group. Record Anchor-to-Anchor spacing, edge distances, embedment requirements, and the fixture pattern together. A single compliant-looking Anchor does not validate the group.
- Use the approved data for that Anchor. Compare the measurements and installation conditions with the manufacturer’s current instructions and the project’s engineered design. Do not substitute a rule of thumb for product-specific information.
- Control drilling and cleaning. Use the prescribed bit size, drilling depth, hole-cleaning method, and setting or tightening process. Poor hole preparation can add uncertainty even when the Anchor coordinates are correct.
- Escalate changes. If reinforcing steel, an edge, a void, cracking, or a shifted template changes the layout, pause and obtain direction from the responsible design professional before installing the affected Anchor group.
Common edge-distance mistakes
- Measuring to the edge of the fixture instead of from the Anchor centerline to the concrete edge.
- Checking one Anchor and assuming the remaining anchors in the group have the same edge condition.
- Using values from a different Anchor type, diameter, or substrate condition.
- Ignoring load direction, particularly when shear acts toward a nearby edge.
- Moving holes in the field without rechecking group spacing, edge distance, and the approved design.
- Assuming a larger steel fastener resolves a concrete breakout or splitting concern.
Make edge distance part of the layout, not an afterthought
For group Anchor installations, edge distance is a design and installation input—not a final inspection detail. Start with a full-coordinate layout, identify the nearest free edges, and evaluate the complete Anchor group using the selected system’s current technical documentation. This approach is useful whether the connection uses a wedge anchor, sleeve anchor, concrete anchor, or drop in anchor.
When the geometry is tight, an early review is usually more efficient than correcting drilled holes later. The right Anchor choice depends on the actual concrete, the connection loads, the installation conditions, and the approved design assumptions. Treat those items as one coordinated check, and the group layout can be reviewed with the clarity a critical connection deserves.

