 EN

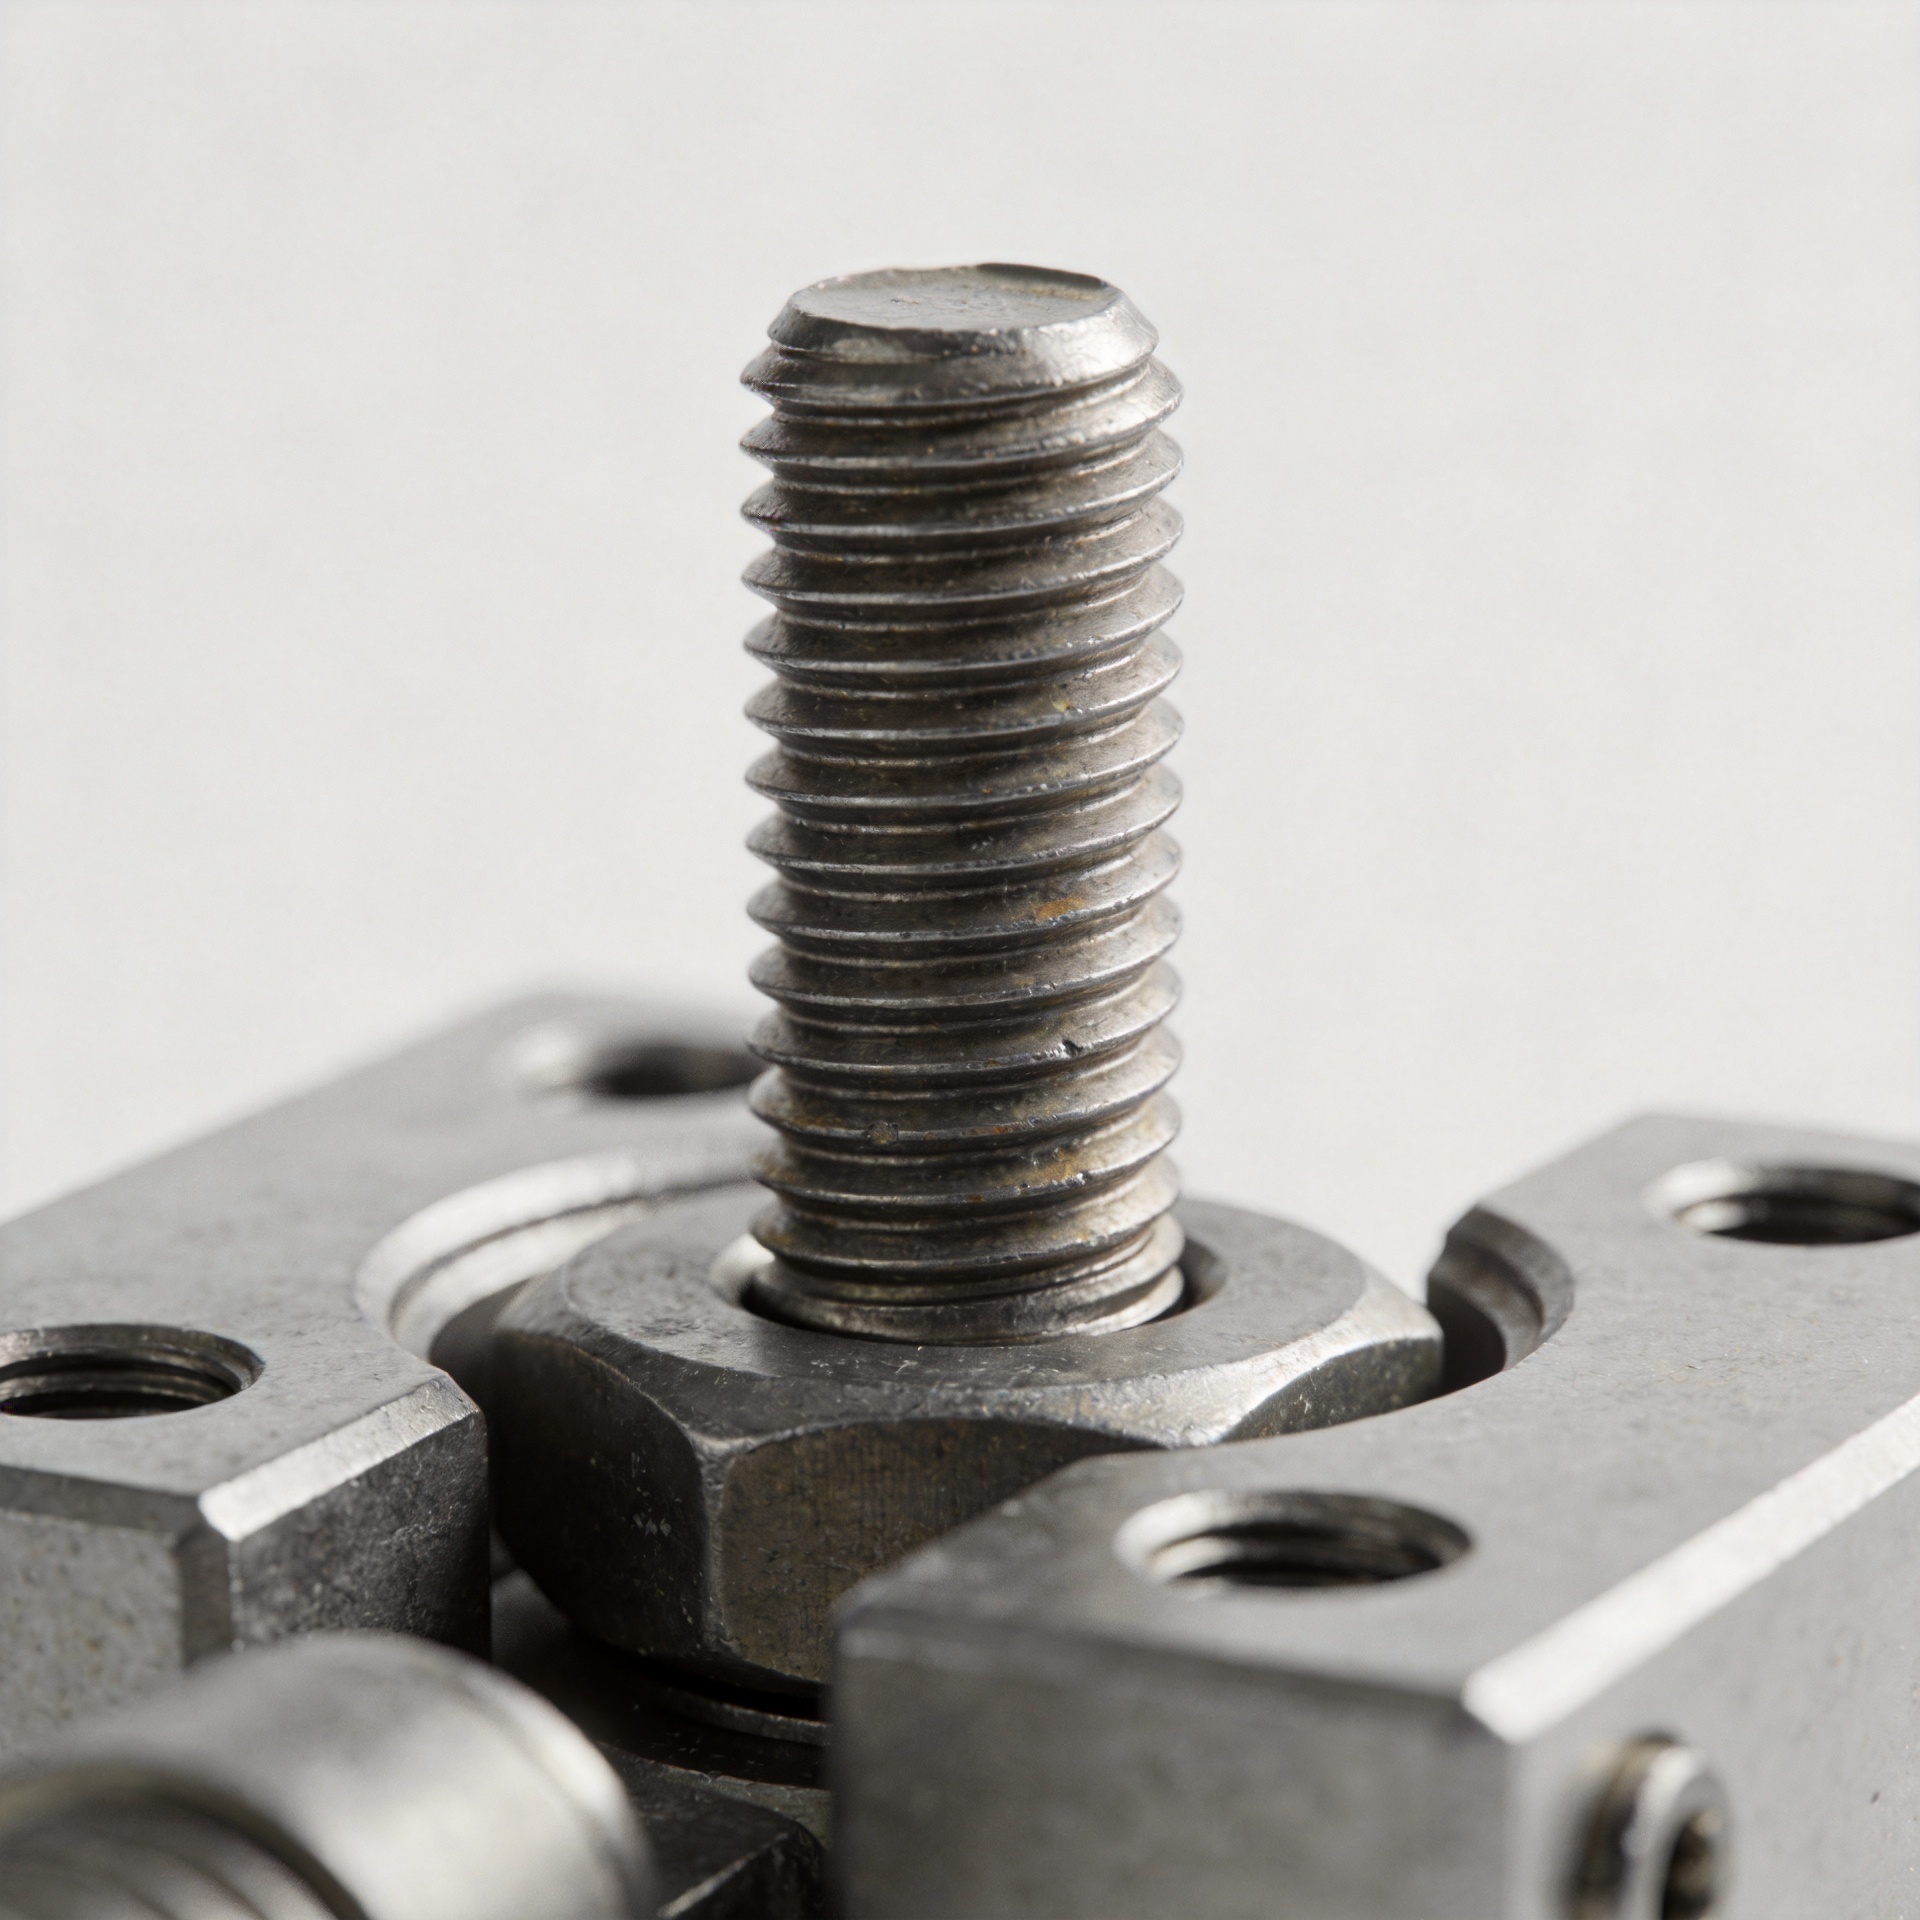
Why Screws Loosen Over Time in Moving Assemblies and How to Stop It
When a screw backs out in a moving assembly, the root cause is rarely just a “bad screw.” In most cases, the joint has lost the clamp load that once held its parts together. Vibration, joint settlement, temperature changes, and repeated side loading can all reduce that load. The practical response is to identify motion at the joint, specify a suitable fastener system, and verify installation instead of simply increasing tightening torque.
From a fastener-selection engineer’s viewpoint, start with the load and vibration path. A screw is a spring after installation: tightening stretches it and compresses the clamped parts. That stored tension creates friction between the parts. When that friction is high enough for the service loads, the joint stays still. When the parts begin to slip, the joint can lose tension cycle by cycle.
What actually makes a screw loosen?
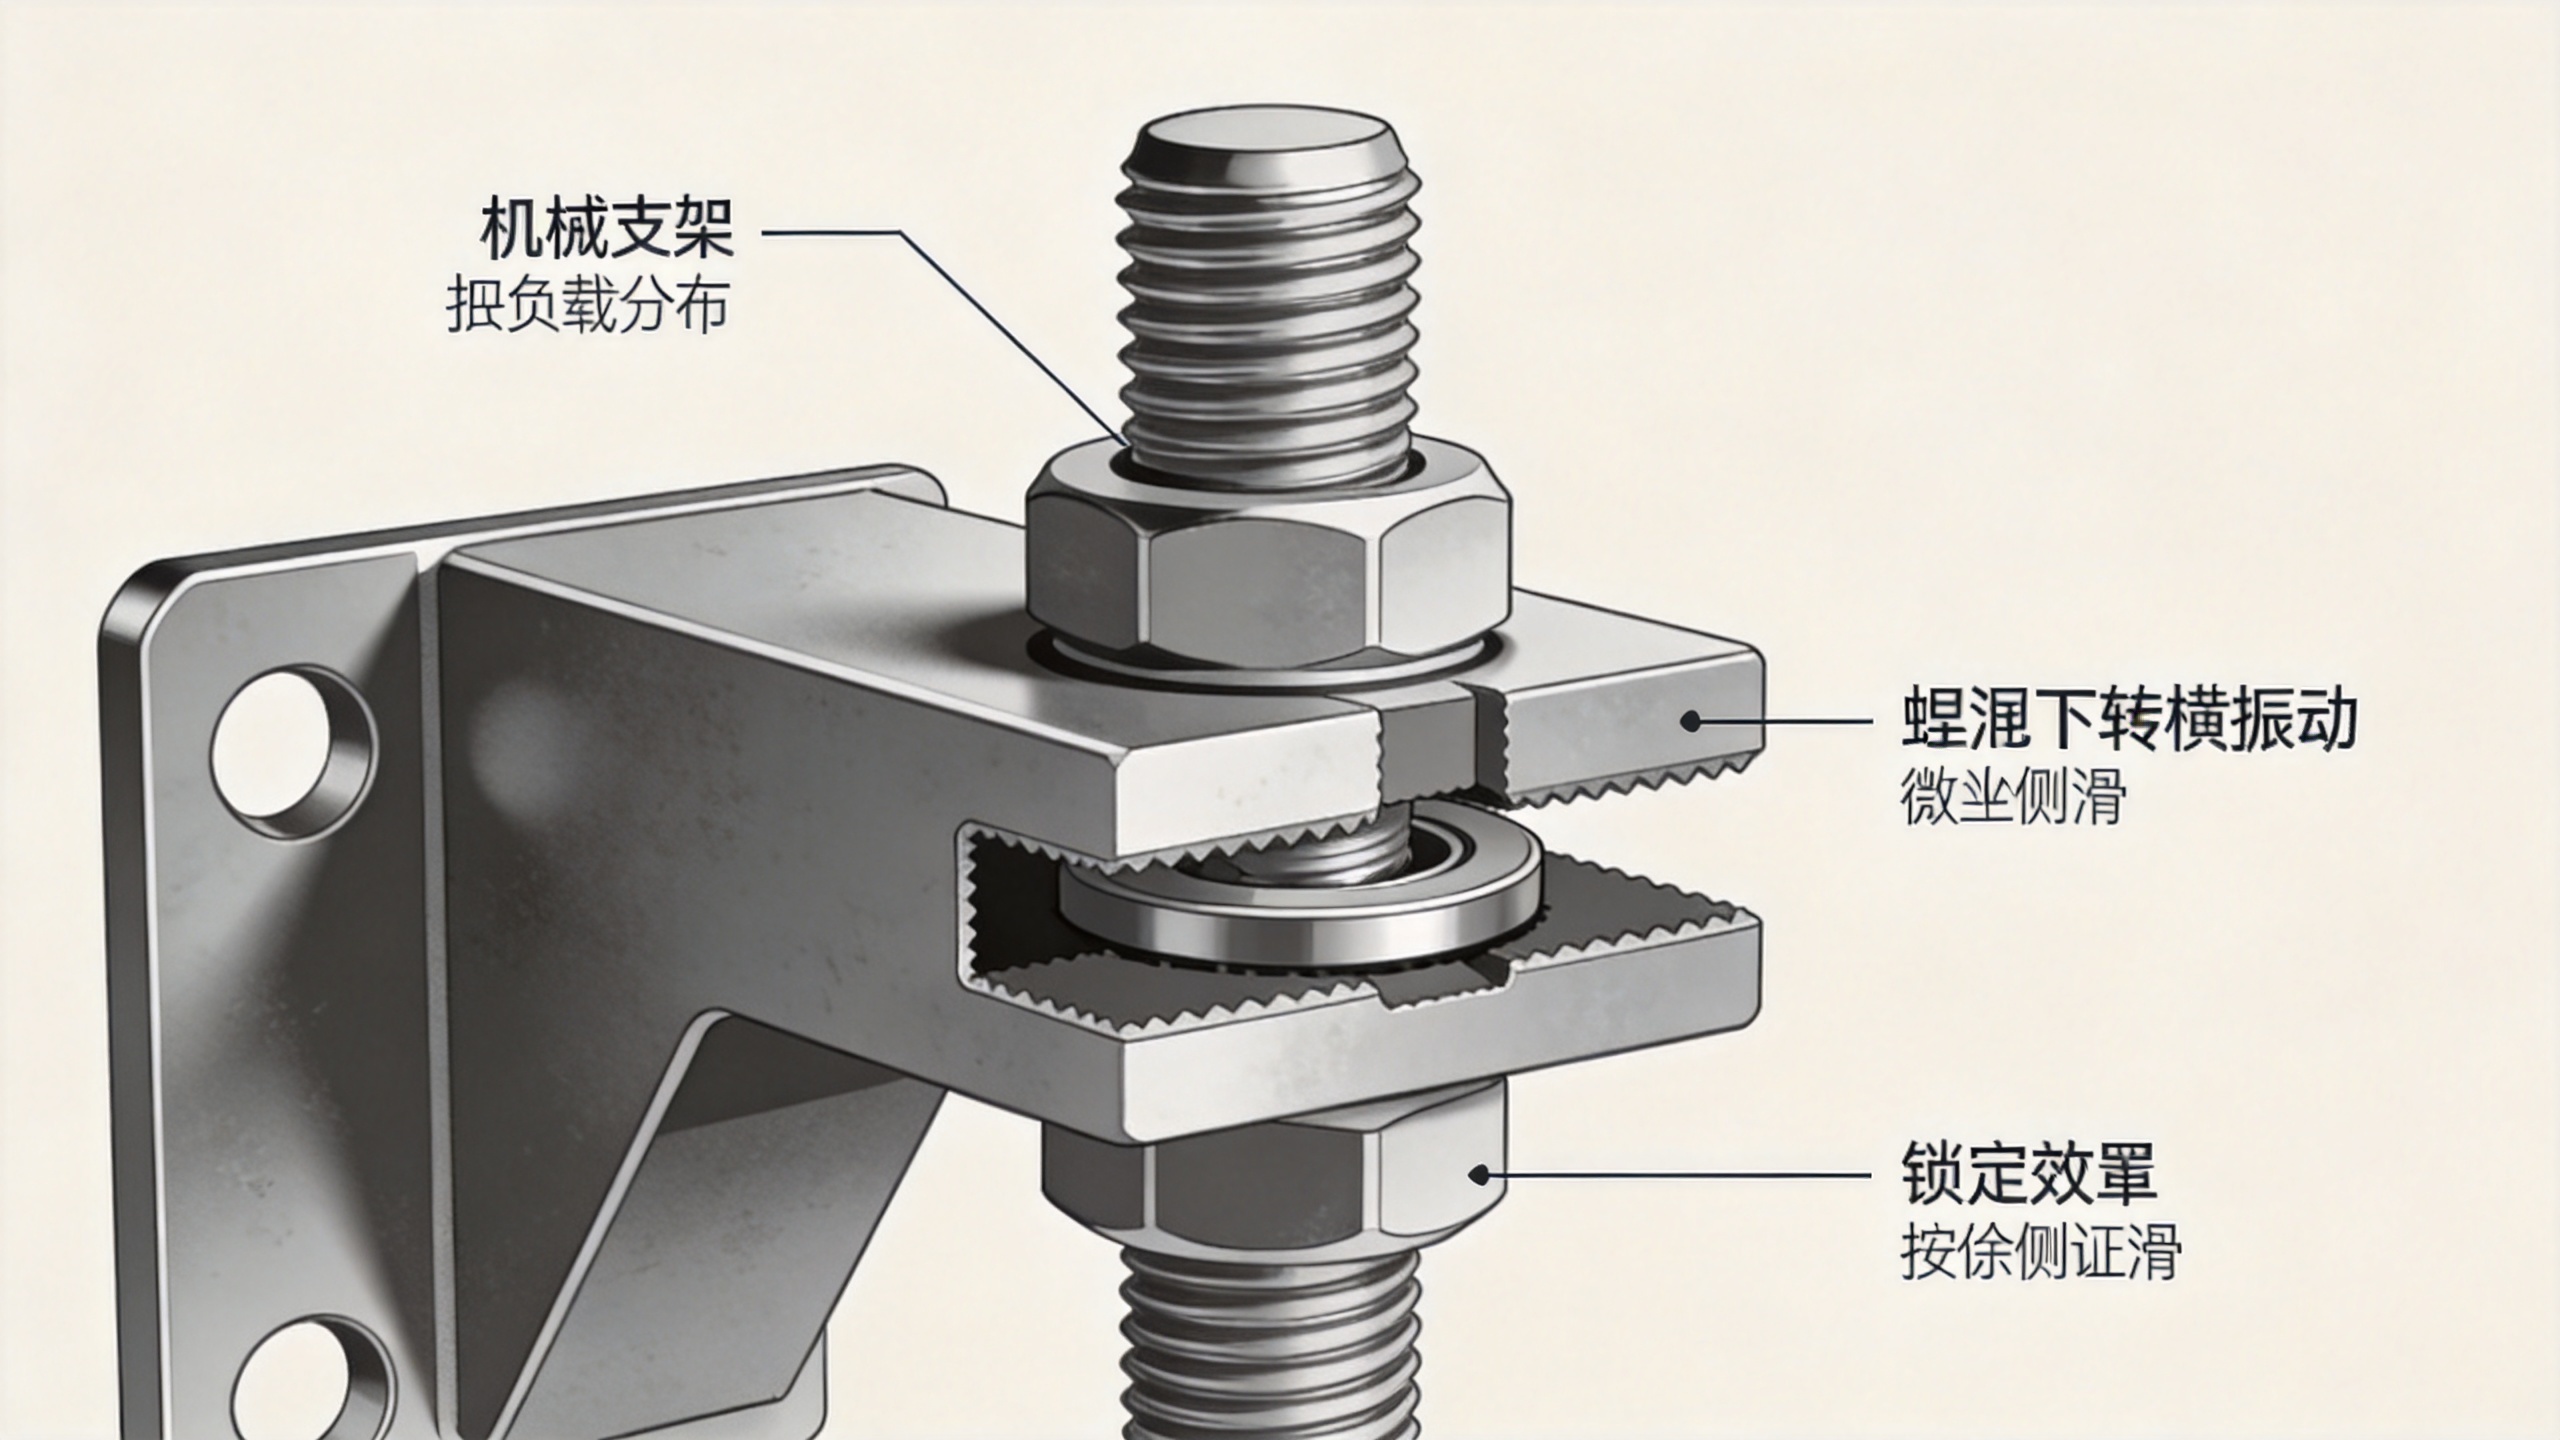
The most important mechanism in moving assemblies is transverse movement: motion across the screw axis. A motor bracket, guard, rail, or linkage may move only a small amount on each cycle, but that motion can overcome friction at the bearing surface or between clamped layers. Once sliding starts, the screw can rotate in the loosening direction and preload falls. Axial tension alone is usually less likely to cause rotational loosening than repeated sideways slip.
Vibration testing of bolted joints commonly uses transverse loading to assess this behavior. For design work, the useful lesson is not a universal vibration limit. Evaluate the joint for its actual displacement, load direction, surface condition, and number of cycles. A joint that looks secure on a stationary bench can behave differently in service.
Common causes of lost clamp load
Insufficient or inconsistent installation torque
Too little torque leaves too little initial clamp load, while inconsistent torque creates a mix of joint conditions across an assembly. It is tempting to solve every loose screw by tightening harder. That can be the wrong move when it damages threads, crushes soft material, or drives a self tapping screw past the useful thread-forming range. Use a documented torque method that matches the screw size, material, finish, lubrication, and joint stack.
Embedment and joint settlement
Coatings, paint, burrs, soft washers, rough surfaces, and fibers can compress after assembly. This settling shortens the effective spring stretch of the screw and reduces preload even before vibration has done much work. In a machine screw joint, a clean, flat bearing surface and suitable washer strategy often matter as much as the nominal screw strength.
Side loading and poor joint stiffness
If the clamped parts are free to move laterally, the screw is being asked to resist shear through friction and, eventually, through contact with the hole. A thin bracket, oversized clearance hole, misaligned surfaces, or long unsupported grip can make slip more likely. The remedy may be a stiffer joint, locating features such as dowels or shoulders, or a revised load path, rather than merely a different hex screw.
Temperature and material mismatch
When the screw and clamped materials expand at different rates, heating and cooling can change clamp load. Plastics, aluminum, coated steel, and layered materials deserve particular attention. If the assembly sees thermal cycling, validate the retained torque or clamp condition after representative cycling instead of relying on room-temperature assembly results.
Choose the fastening method for the joint, not the label
A machine screw is generally used with a tapped hole or a nut and is well suited to a controlled metal-to-metal joint. Its resistance to loosening depends on thread engagement, clamp load, bearing surfaces, and any selected locking feature. For a vibrating machine frame, confirm that the engaged thread length and mating material can carry the intended preload without stripping.
A wood screw relies on thread purchase in wood or an engineered wood product. Movement, moisture changes, and repeated disassembly can degrade that purchase. For moving wooden parts, consider pilot-hole quality, material density, and whether a through-bolt with a washer and nut would provide a more stable clamped connection.
A self tapping screw forms or cuts its mating thread during installation. It can simplify sheet-metal or plastic assembly, but it needs a correctly sized pilot hole and a material suitable for repeated loading. If service access requires frequent removal, assess whether a formed thread will retain sufficient strength or whether an insert or captive nut is more appropriate.
A hex screw describes a drive or head style rather than a complete anti-loosening solution. It may make controlled installation easier, but head style by itself does not preserve clamp load. Select the head and tool access for the assembly process, then address the joint mechanics separately.
How to stop recurrent loosening
- Map the load path. Identify whether motion is axial, transverse, impact-driven, thermal, or a combination. Inspect witness marks, fretting debris, enlarged holes, and polished contact areas for signs of slip.
- Set the correct preload. Use a torque specification or a validated torque-angle or tension-control method. Keep lubricant and coating conditions consistent because they change the relationship between applied torque and clamp load.
- Improve the joint before adding a locking device. Remove burrs, improve seating, increase clamped thickness where practical, add locating features, and reduce lateral movement. A locking device works better when the joint is already stable.
- Match the locking method to the service condition. Depending on the joint, options can include prevailing-torque nuts, threadlocking adhesive, mechanical locking washers, safety wire, or a redesigned contact arrangement. Each has limits involving temperature, reuse, access, surface finish, and inspection needs.
- Validate the assembly. For critical vibration service, test the actual joint configuration. A transverse-vibration method such as a Junker-style test can compare alternatives, while a production audit should also check installation tooling and repeatability.
A practical troubleshooting sequence
When a screw keeps coming loose, document where it occurs and after how many cycles. Next, compare installed torque with the specification, inspect the contact surfaces, and determine whether the parts can move sideways. Then review the fastener type: a machine screw into adequate thread engagement behaves differently from a wood screw in a moving timber member or a self tapping screw in thin sheet. Finally, trial one controlled change at a time and inspect retained clamp condition after representative operation.
Treat screw loosening as a joint-system issue. A stronger fastener alone may not correct a slipping contact arrangement, and a locking feature cannot compensate for damaged threads or an unstable load path. When preload, joint stiffness, and the chosen locking method fit the operating environment, moving assemblies are far more likely to retain their intended connection.

