 EN

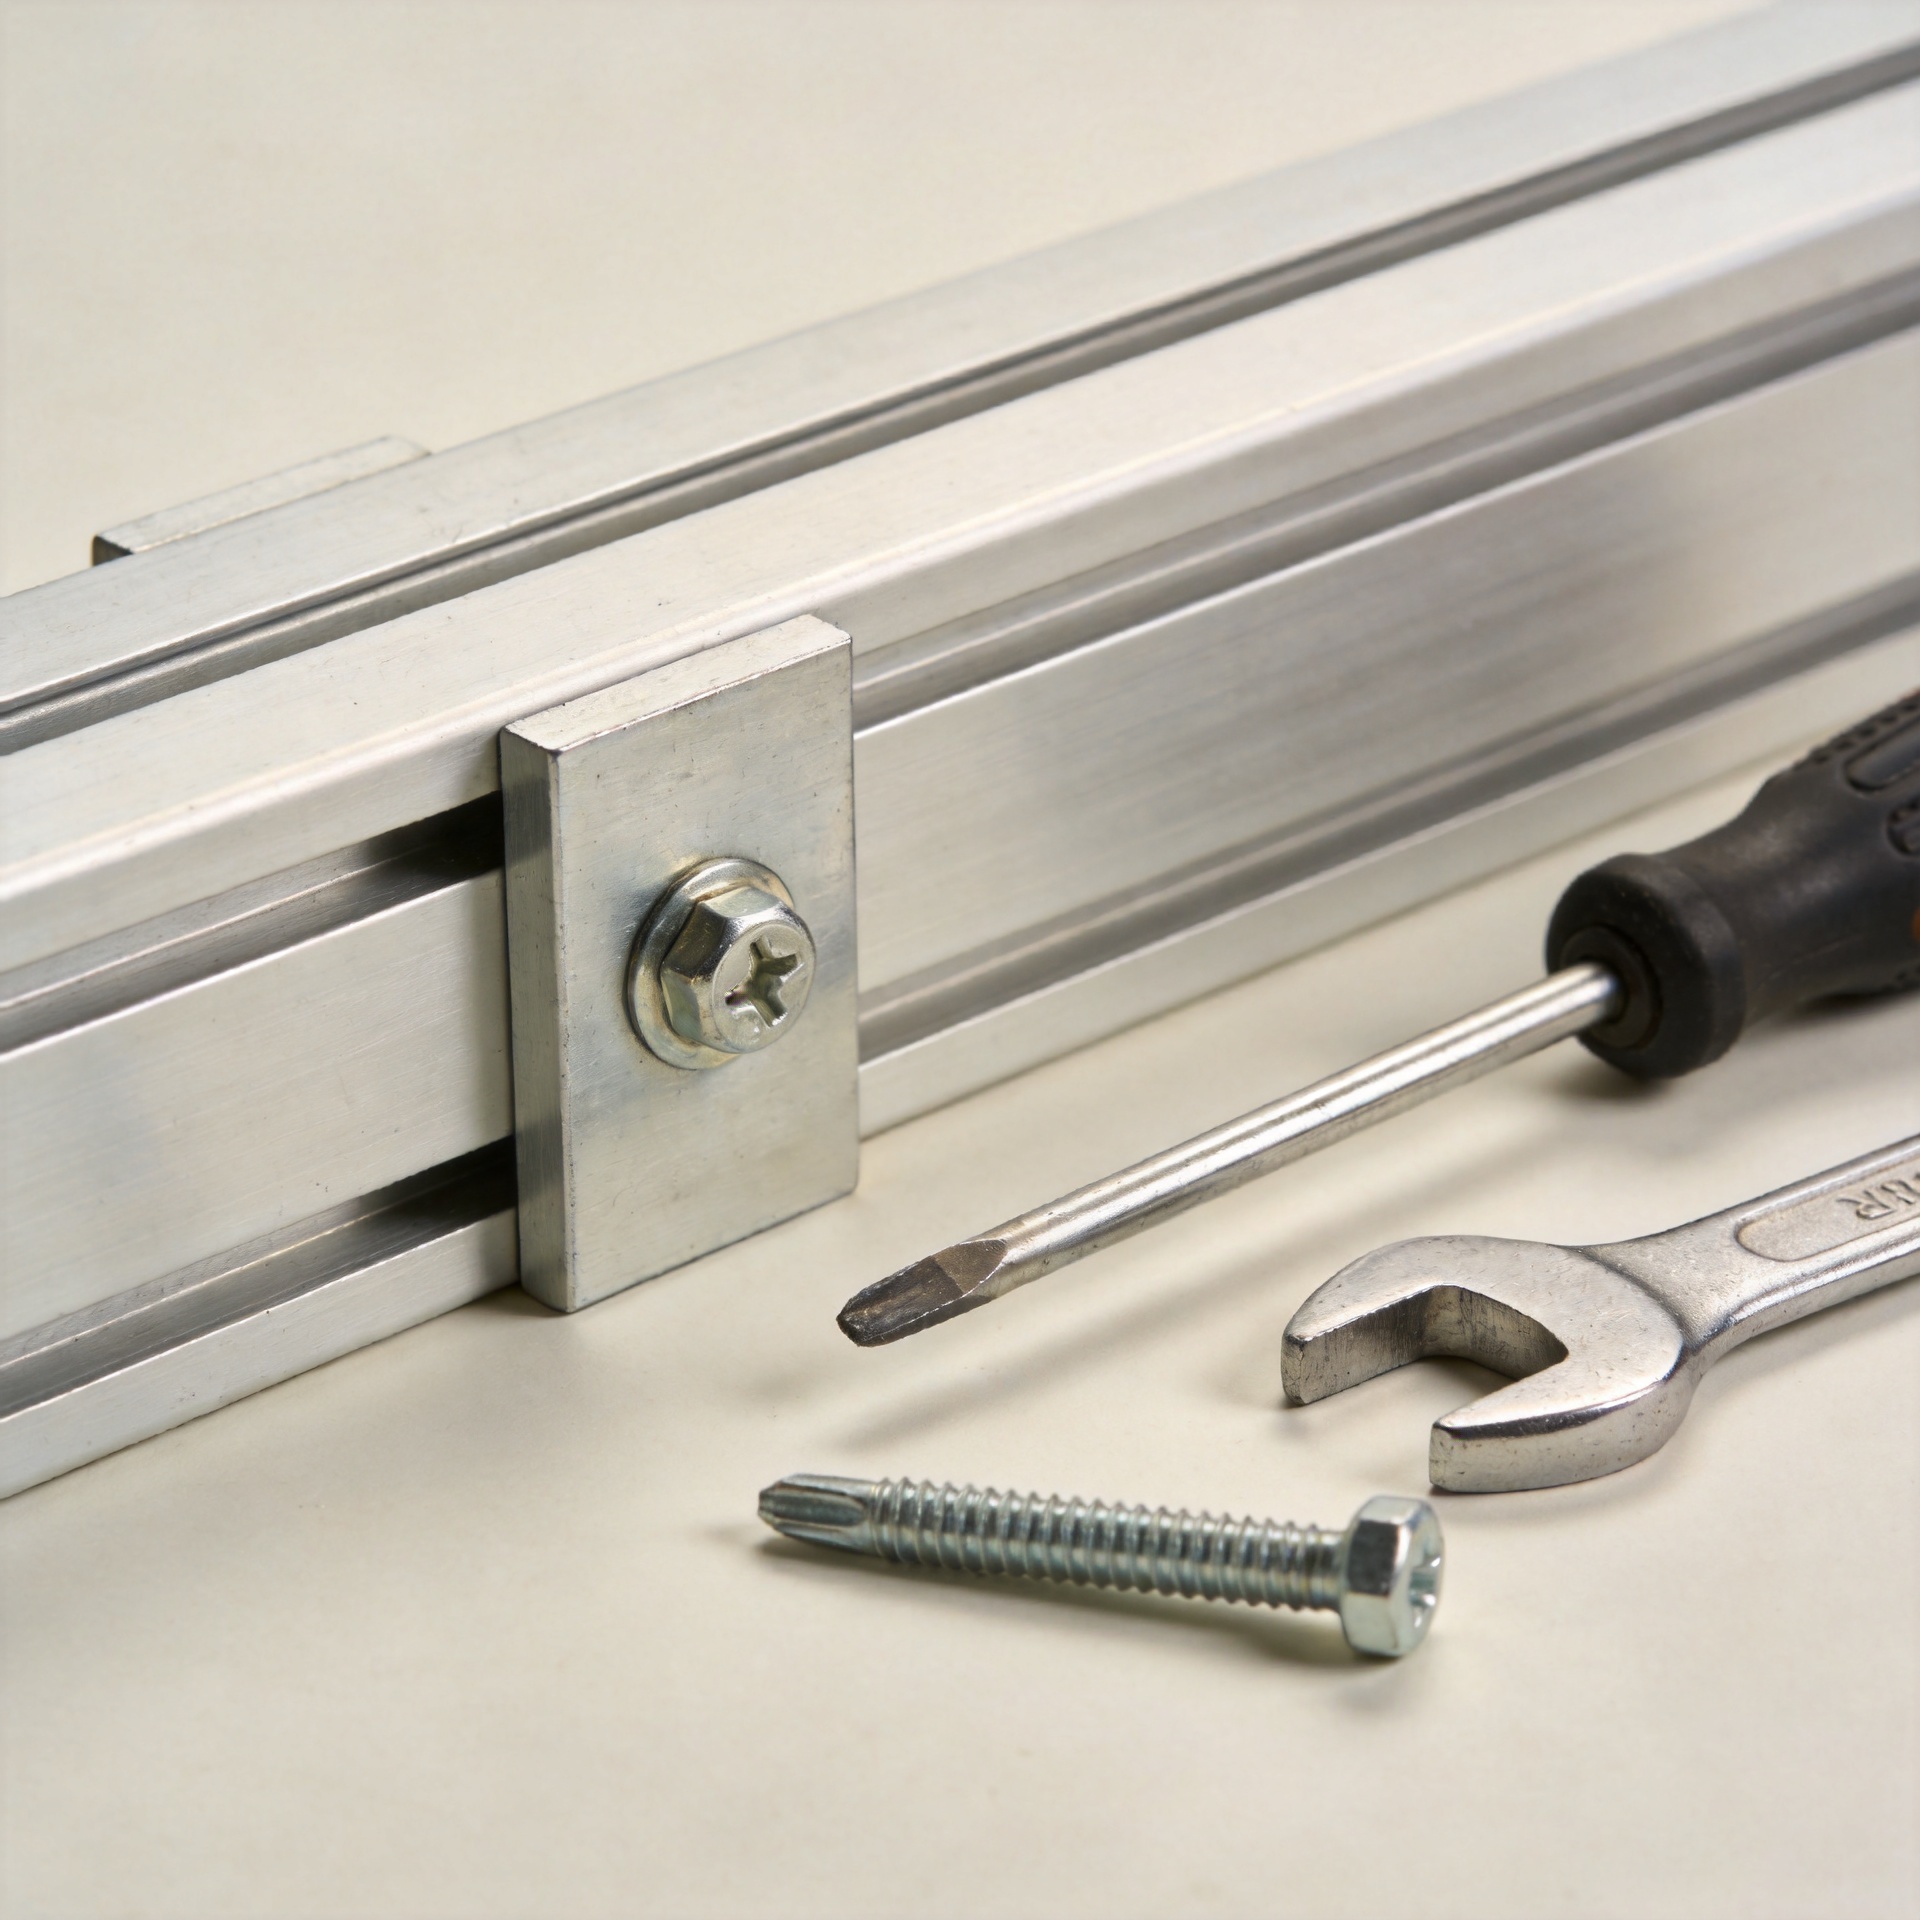
How to Fix a Misaligned Screw Hole in Sheet Metal Without Rewelding
A misaligned screw hole can turn a simple panel installation into a frustrating rework. The fastener starts at an angle, the mating part will not sit flat, or the existing hole has been enlarged after several attempts. Rewelding may be impractical on coated, thin, or already-finished sheet metal. In many cases, a carefully chosen mechanical repair restores alignment without adding heat to the panel.
From a fastener-selection perspective, the first question is not “Which screw can I force into this hole?” It is whether the repaired joint needs to carry clamp load, resist vibration, seal an opening, or simply hold a light cover. That distinction determines whether a larger self tapping screw, a backed-up machine screw, a rivet nut, or a new adjacent hole is appropriate.
Start by checking why the screw hole is misaligned
Before modifying the metal, fit the mating component in its intended position and mark its true center. A hole may look wrong because the panel shifted, a flange is bent, the original hole was drilled off-center, or the part is being pulled out of position by another fastener. Correcting only the hole while leaving the mating part distorted often creates a second problem.
- Check the overlap: Make sure the part can sit flat before you install any screw.
- Inspect the edge distance: If the hole is close to an edge or bend, enlarging it can leave too little metal around the threads.
- Measure the old hole: Compare its diameter with the selected screw’s thread diameter and its unthreaded shank, if present.
- Look for damage: A cracked, oval, or heavily burred hole needs more than a new screw driven into the same opening.
Many repair attempts fail because the installer handles an alignment issue as a thread issue. If the mating holes differ by more than a small adjustment, repositioning the part or using a backing method is usually more reliable than forcing the screw sideways.
Choose the repair method by load and sheet condition
Option 1: Shift the hole slightly and drill a clean new pilot
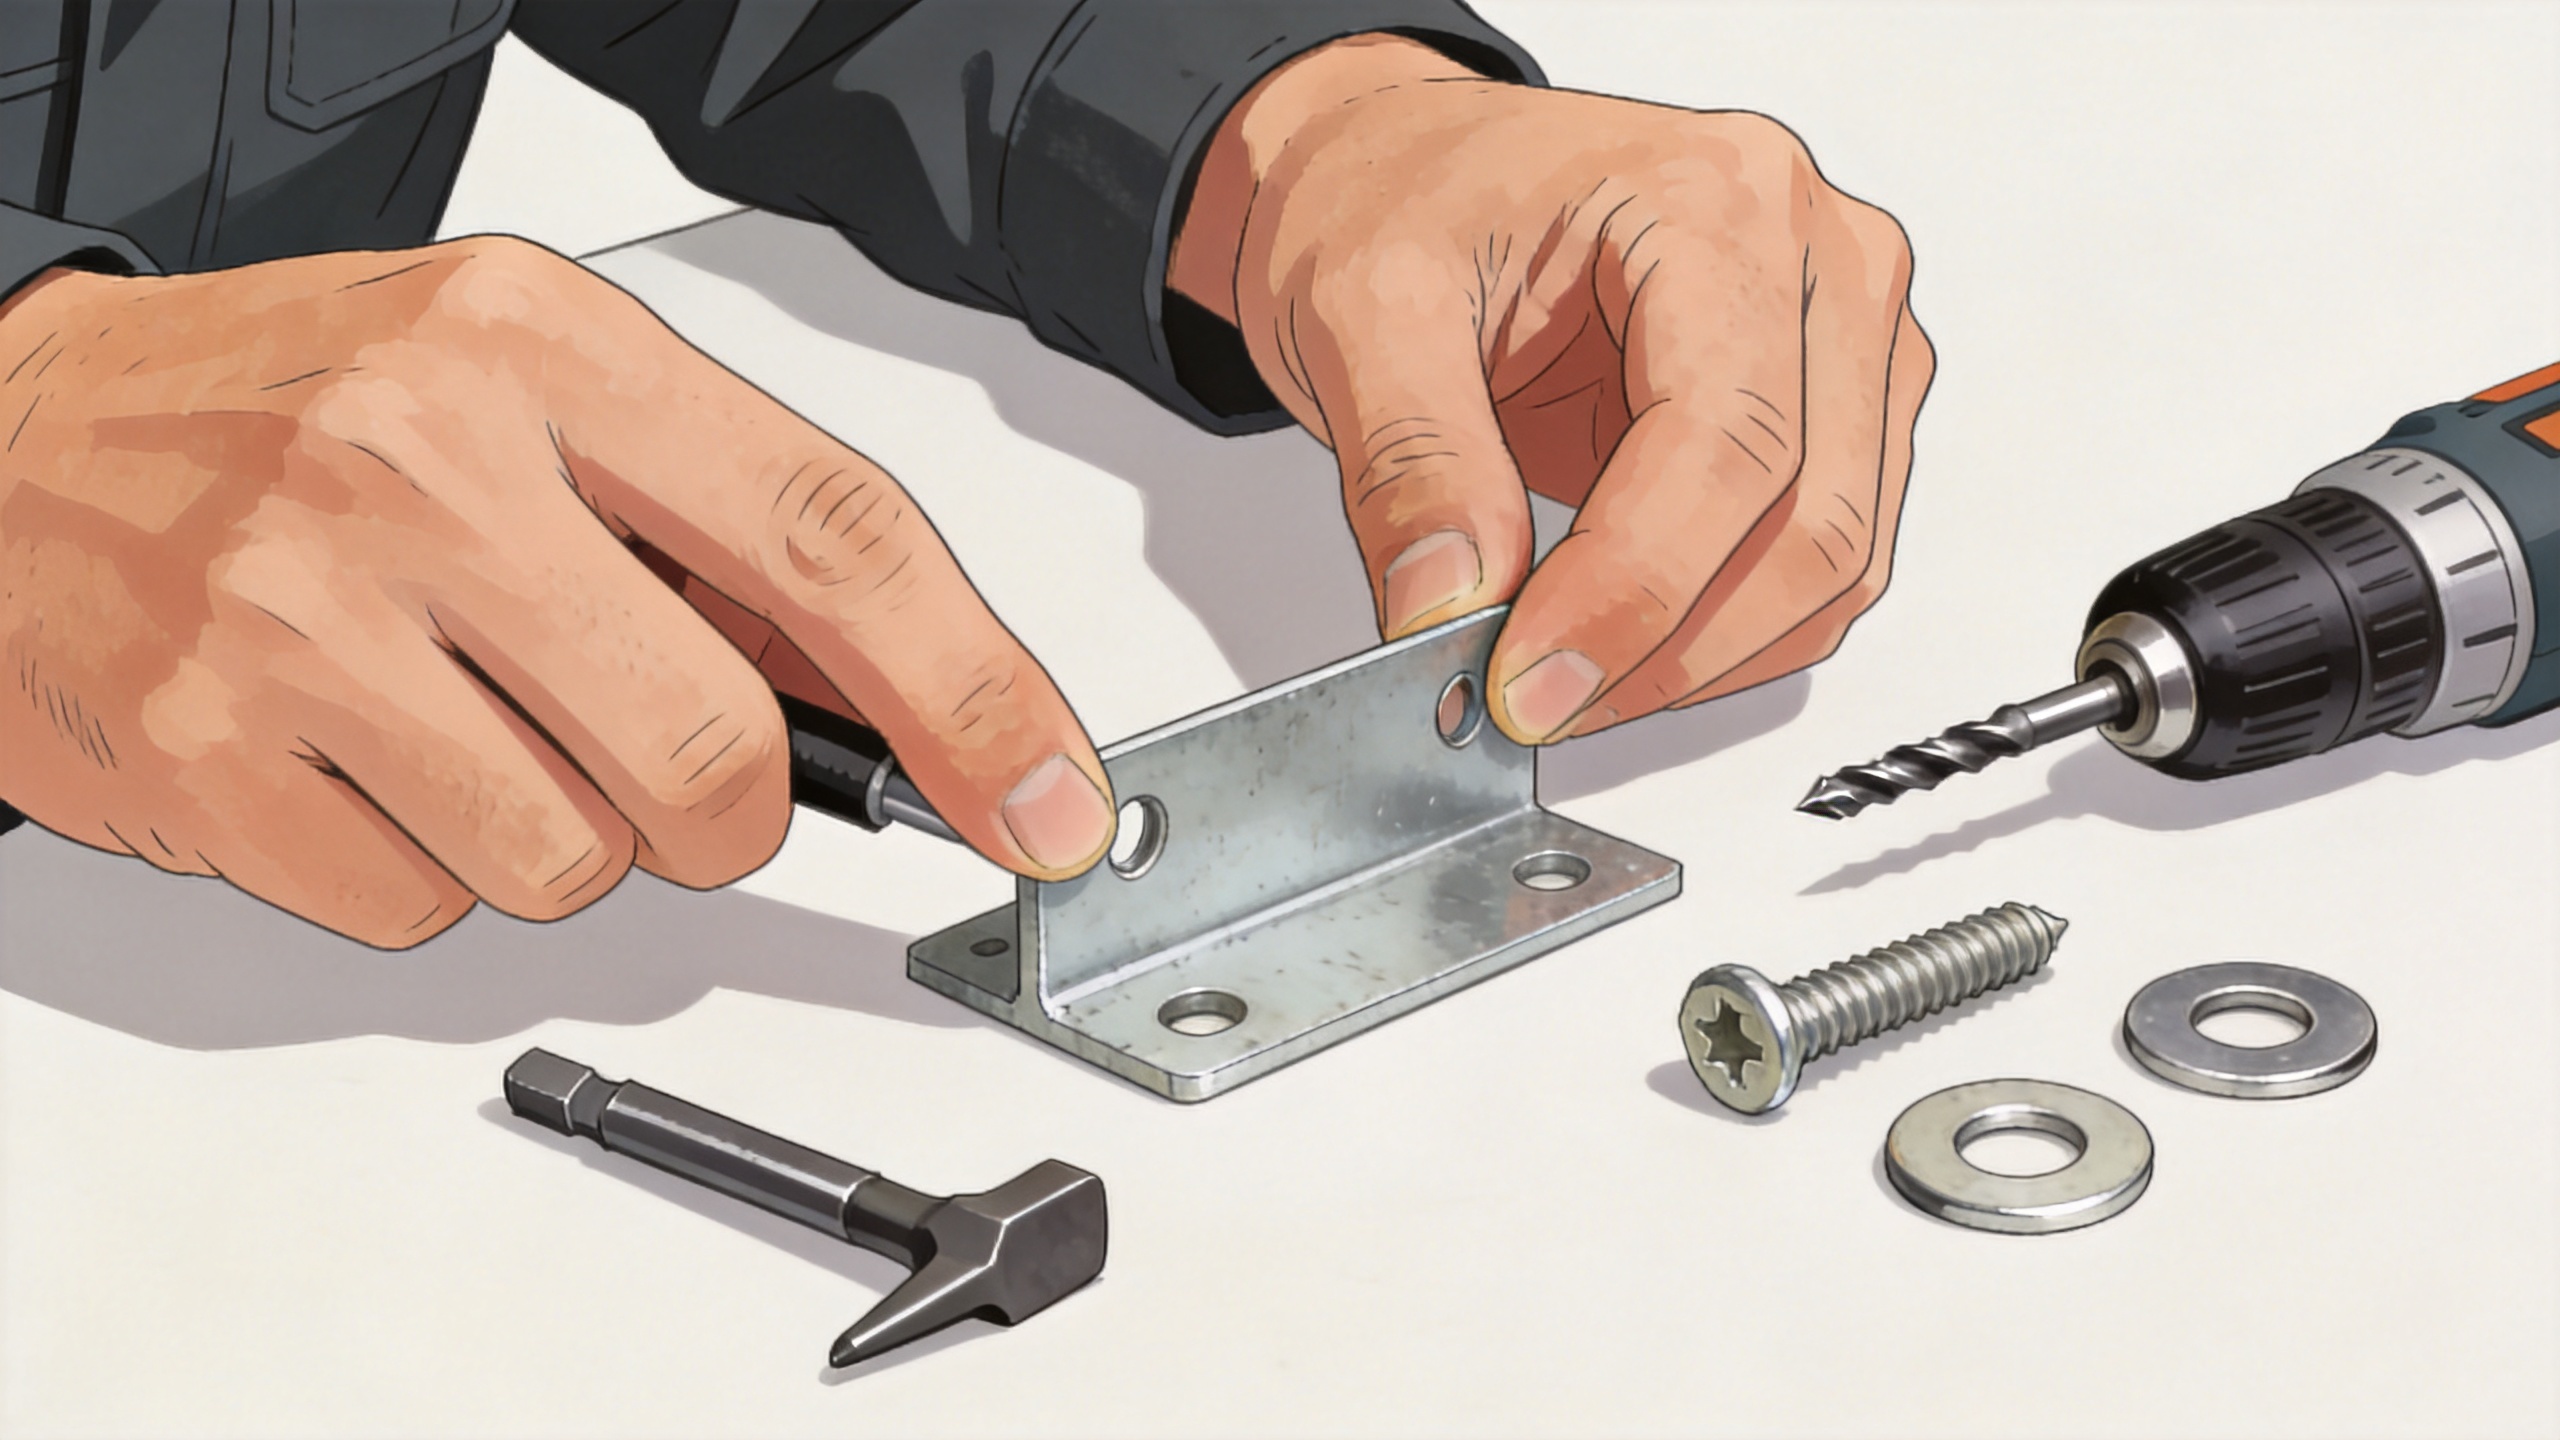
When there is enough flat material around the original opening, moving the hole a short distance is often the simplest repair. Use a center punch to keep the drill from walking, drill progressively, and deburr both sides. This option works well for a light- to moderate-duty sheet-metal screw connection when the new hole retains adequate edge distance and does not overlap the damaged hole.
Use a pilot sized for the specific self tapping screw and the sheet thickness rather than copying a generic bit size. A pilot that is too large leaves too little material for the threads to form; one that is too small can raise driving torque and distort thin sheet. Test the combination in a scrap piece of the same material when the finish or joint is critical.
Option 2: Upsize to a self tapping screw
If the original hole is only slightly enlarged and the panel still has sound material around it, a larger self tapping screw may form new threads. Choose this approach only when the larger head will clear nearby features and the revised fastener still suits the joint. Drive it squarely; an angled screw damages the new thread path and reduces clamp consistency.
This is a practical repair for removable covers, brackets, and low-load enclosures. It is less suitable for thin, highly vibratory, or safety-critical assemblies where pull-out resistance and service access must be controlled.
Option 3: Use a machine screw with a nut, backing plate, or rivet nut
A machine screw is a better choice when the connection needs repeatable service, a defined tightening method, or more dependable clamping than formed threads in thin sheet can provide. If the rear side is accessible, a nut and washer spread load over a wider area. If access is limited, a rivet nut can provide an internal thread from one side, provided the sheet thickness and grip range match the insert.
A small backing plate is useful when the original hole has become oval or is too close to an edge. It distributes load across undamaged metal around the repair. Make the plate large enough to sit on sound metal, remove burr-free edges, and use corrosion-compatible materials where moisture is present. This is not a shortcut for a panel that is cracked, severely corroded, or structurally deformed; those conditions need an engineering review or replacement part.
Option 4: Use an oversized hole with a washered through-bolt only when access allows
For a non-cosmetic assembly with access to both faces, carefully opening the hole for a machine screw, washer, and nut can be a controlled repair. The washer should bear on flat, undamaged material. A hex screw head can be convenient where a wrench has clearance, but head style should follow access and the required bearing area, not appearance alone.
Why a wood screw is not a sheet-metal repair substitute
A wood screw is designed around wood fibers and typically has a thread form and point intended for that substrate. It may appear to grip temporarily in light-gauge sheet, but it does not provide a predictable repair strategy for metal. For sheet metal, select a self tapping screw intended for metal or use a machine screw with compatible hardware. The goal is a joint with known engagement, proper bearing under the head, and a serviceable tightening method.
A practical no-weld repair sequence
- Remove the fastener and align the parts. Clamp or hold the mating part in its final position before marking the new center.
- Decide whether the old hole can remain. If it will be hidden and does not weaken the joint, it may simply be left unused. If sealing matters, use a compatible mechanical plug or sealant as part of the assembly design, not as the sole load path.
- Mark and drill deliberately. Center punch, use a properly sharpened bit, support thin sheet from behind where possible, then deburr the opening.
- Install the chosen screw square to the surface. Begin by hand or at low driver speed so the screw does not cross-thread or wander.
- Check fit and clamp. Confirm that the component sits flush, the screw head bears evenly, and the joint does not shift when lightly loaded.
- Protect exposed metal. Restore the coating or corrosion protection appropriate to the panel and service environment.
Common mistakes that weaken the repair
Do not fill an oversized structural hole with adhesive and expect the adhesive to replace mechanical engagement. Do not drive a larger screw into a cracked or paper-thin edge. Avoid stacking washers to compensate for a part that is still out of position. And do not over-tighten: in thin sheet, excessive torque can strip formed threads or dish the panel before the joint reaches useful clamp load.
If your priority is a removable, vibration-resistant joint, a machine screw with an accessible nut or properly selected insert is often easier to inspect later. If the priority is speed on sound light-gauge sheet, a self tapping screw can be appropriate. The useful repair is the one that matches the sheet condition, required load, and future service needs.
When to stop and use a different repair
Use a different repair than a no-weld screw approach when the hole lies in a structural load path, the surrounding sheet is cracked or corroded, the joint seals a pressurized or safety-related enclosure, or the repair must meet a specified drawing requirement. In those situations, changing the hole size or screw type without reviewing the assembly can create a hidden failure point. For ordinary covers and brackets, however, careful alignment, a clean pilot, and the right fastener can return the panel to service without rewelding.

