 EN


How to Remove a Broken Screw Embedded Deeply in a Metal Casting
A broken screw below the face of a metal casting is a repair problem where patience protects more value than force. The remaining screw may be rusted, thread-locked, work-hardened, or simply snapped after years of vibration. In a casting, a drifting drill or an over-tight extractor can damage the threaded bore, thin a boss, or crack the surrounding metal. The reliable approach is to assess the screw, control the drill axis, and escalate only when each lower-risk method has failed.
From a fastener-engineering viewpoint, the first objective is not to get the screw out quickly; it is to preserve the parent threads and the casting. This guide covers a practical sequence for a machine screw or hex screw broken deep in cast iron, aluminum, zinc, or similar cast metal. A wood screw and a self tapping screw behave differently in sheet material or timber, so the depth, thread form, and base material must drive the plan.
Start by identifying what the broken screw is holding
Before touching the screw, confirm whether the casting can be removed and supported on a stable bench. Clean oil, loose corrosion, and chips from the recess. Use a light and a pick to determine how far below the surface the screw sits, whether the break is flat or angled, and whether thread locker or corrosion is visible. If the screw goes into a blind hole, estimate the available depth so the drill does not bottom out against the casting.
Record the nominal diameter and pitch if known. A machine screw normally engages a tapped hole with a defined thread pitch. A self tapping screw cuts or forms its own thread, so removing it may leave a different thread condition. A hex screw may refer to the drive style or an external hex head; after the head has broken, the remaining shank still needs the same centered drilling discipline.
Choose the lowest-risk removal method first
If any part of the screw projects above the surface, try a controlled grip before drilling. Apply a suitable penetrating fluid around the thread path, allow time for it to work, then turn the screw in the loosening direction with a small back-and-forth motion. Locking pliers can work when there is enough exposed shank, but side loading a brittle casting is a reason to stop.
For a screw broken below the surface, begin with a well-defined center punch. The punch mark must be as close to the screw center as possible. An off-center mark makes the pilot drill wander into the parent threads, which turns a removal job into a thread-repair job. If the break surface is sloped, carefully create a small flat spot before making the final center mark.
Drill a centered pilot hole
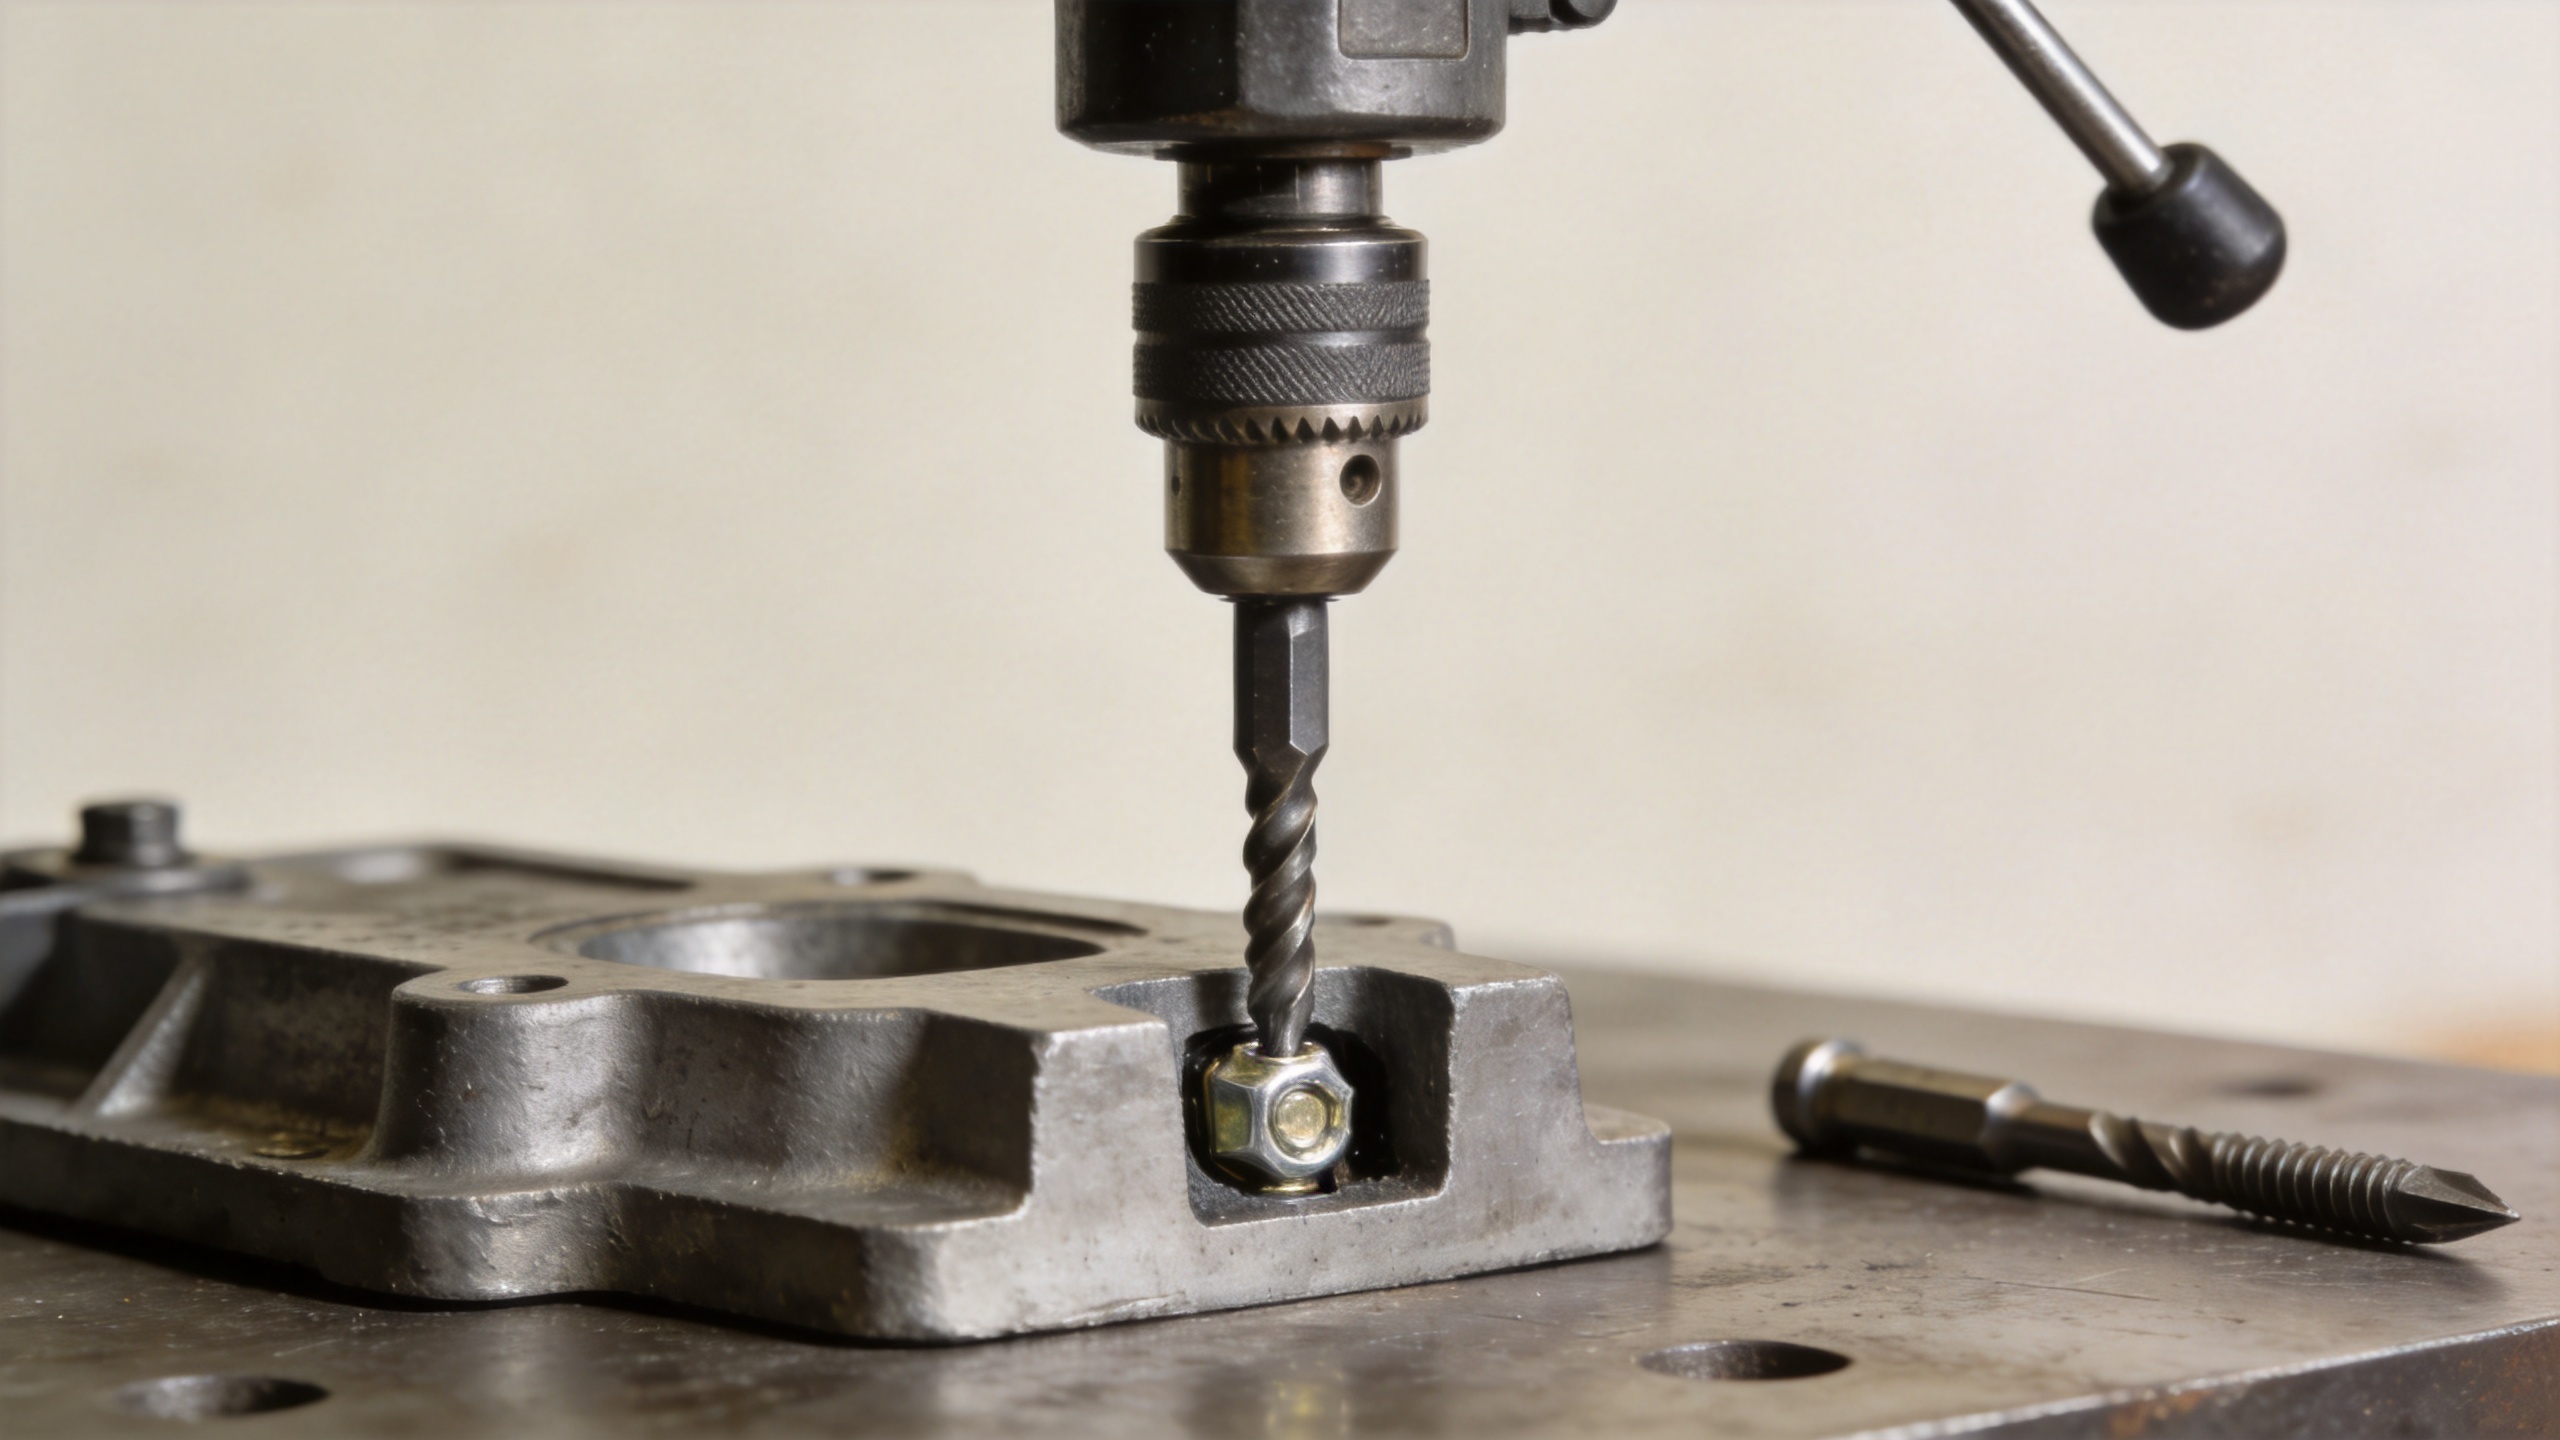
Use a rigid drill setup whenever access allows. A drill guide, fixture, or drill press helps keep the bit on the screw axis; a handheld drill requires frequent checks from more than one angle. Select a small pilot bit that suits the fastener size and casting material. Keep the tool square to the surface, use cutting fluid where appropriate, and clear chips often. Excess heat can dull the bit, seize debris in the hole, and change how the screw reacts.
A left-hand drill bit run in reverse is often a sensible next step. As it cuts into the screw, reverse rotation may encourage a loosened fragment to back out. Do not rely on that outcome. Stop periodically, remove chips, and inspect the pilot hole. If the bit begins to cut the casting more on one side than the screw, correct the alignment before increasing drill size.
Use a screw extractor with torque discipline
After a centered pilot hole is deep enough for the selected tool, use a properly sized extractor only if the screw is not moving freely from the left-hand drilling step. Tap the extractor in gently, then apply slow, straight turning force with a tap wrench. An extractor is hard but comparatively brittle. If it snaps inside the screw, conventional drilling becomes far more difficult.
Set a clear stop condition: if the extractor needs high torque, the screw has not released. Back it out rather than increasing force. Renew the penetrant, use modest heat only when the casting material and nearby seals or finishes permit it, and let the area cool before trying again. Heating aluminum castings demands special care because heat spreads quickly and local distortion is possible.
Drill out the screw without sacrificing the threads
When extraction is not working, enlarge the pilot hole in small, centered steps. The aim is to remove the screw core while leaving the outer thread shell. Avoid jumping directly to a large bit. As the core becomes thin, a pick or small punch can collapse the remaining spiral inward and unwind it from the tapped hole. This method is slower than aggressive drilling, yet it often saves the original casting threads.
For a deeply embedded screw, measure drill depth against the known thread engagement or use a depth collar. Blind holes demand extra caution: drilling into the bottom can damage the casting and pack metal chips where they are hard to remove. Keep the work area clean so you can see whether you are cutting screw material or parent metal.
Know when to move the casting to a specialist
Stop home-shop methods and seek a machine shop when the screw is very small, a hardened extractor has broken in the hole, the thread sits beside a thin wall, or the casting is rare or safety-critical. Electrical discharge machining can remove a hard fragment with limited mechanical load, while a skilled machinist may bore and restore the hole with an insert if the original threads cannot be retained. Those options cost more than a drill bit, but they can be appropriate when the casting is difficult to replace.
Inspect the hole and choose the replacement fastener
Once the screw is out, flush chips, inspect the thread form, and chase the hole only with the correct tap and adequate lubrication. Do not force a tap into damaged threads. Test-fit the replacement screw by hand for several turns before applying final torque. Select the replacement fastener for the original joint design: a machine screw for a properly tapped hole, a self tapping screw only where that thread-forming approach is intended, and a hex screw where the required access and drive geometry suit the assembly.
The useful habit is simple: center the tool, apply limited torque, and reassess at every escalation. A broken screw can be removed without sacrificing a metal casting when the process protects alignment and recognizes the point where specialist equipment is the safer choice.

