 EN

How to Fix Fastener Holes That Have Stripped in Sheet Metal Work
A stripped hole in sheet metal is rarely just a nuisance. Once a fastener turns without clamping the part, the joint can rattle, leak, shift, or leave a guard or panel loose. The right repair depends on what actually failed: the threads in a tapped hole, the grip of a self-tapping screw, a captive nut, or the surrounding sheet. From a fastener-selection engineer’s perspective, the first job is diagnosis—not immediately reaching for a larger screw.
This guide explains how to assess the damage, select a repair that matches the sheet and service load, and avoid repeating the same fastener failure on the next maintenance cycle.
Start by identifying what the fastener was holding
Remove the fastener and inspect the hole under good light. Look for torn metal, stretched edges, cracked coating, chips around the hole, or a screw that has worn down the original thread form. Then identify the joint style. A self-tapping screw in thin sheet behaves differently from a machine screw in a tapped boss, a rivet nut, or a welded nut. Treating all of them as the same stripped fastener hole can turn a repairable issue into a larger panel replacement.
Also check the load path. A light access cover may tolerate a carefully chosen oversized self-tapping fastener. A hinge, bracket, ground connection, guard, or vibration-loaded assembly may need a more durable feature. If the panel has distorted, the issue may be inadequate bearing area or cyclic movement rather than the screw alone.
Measure before choosing a repair method
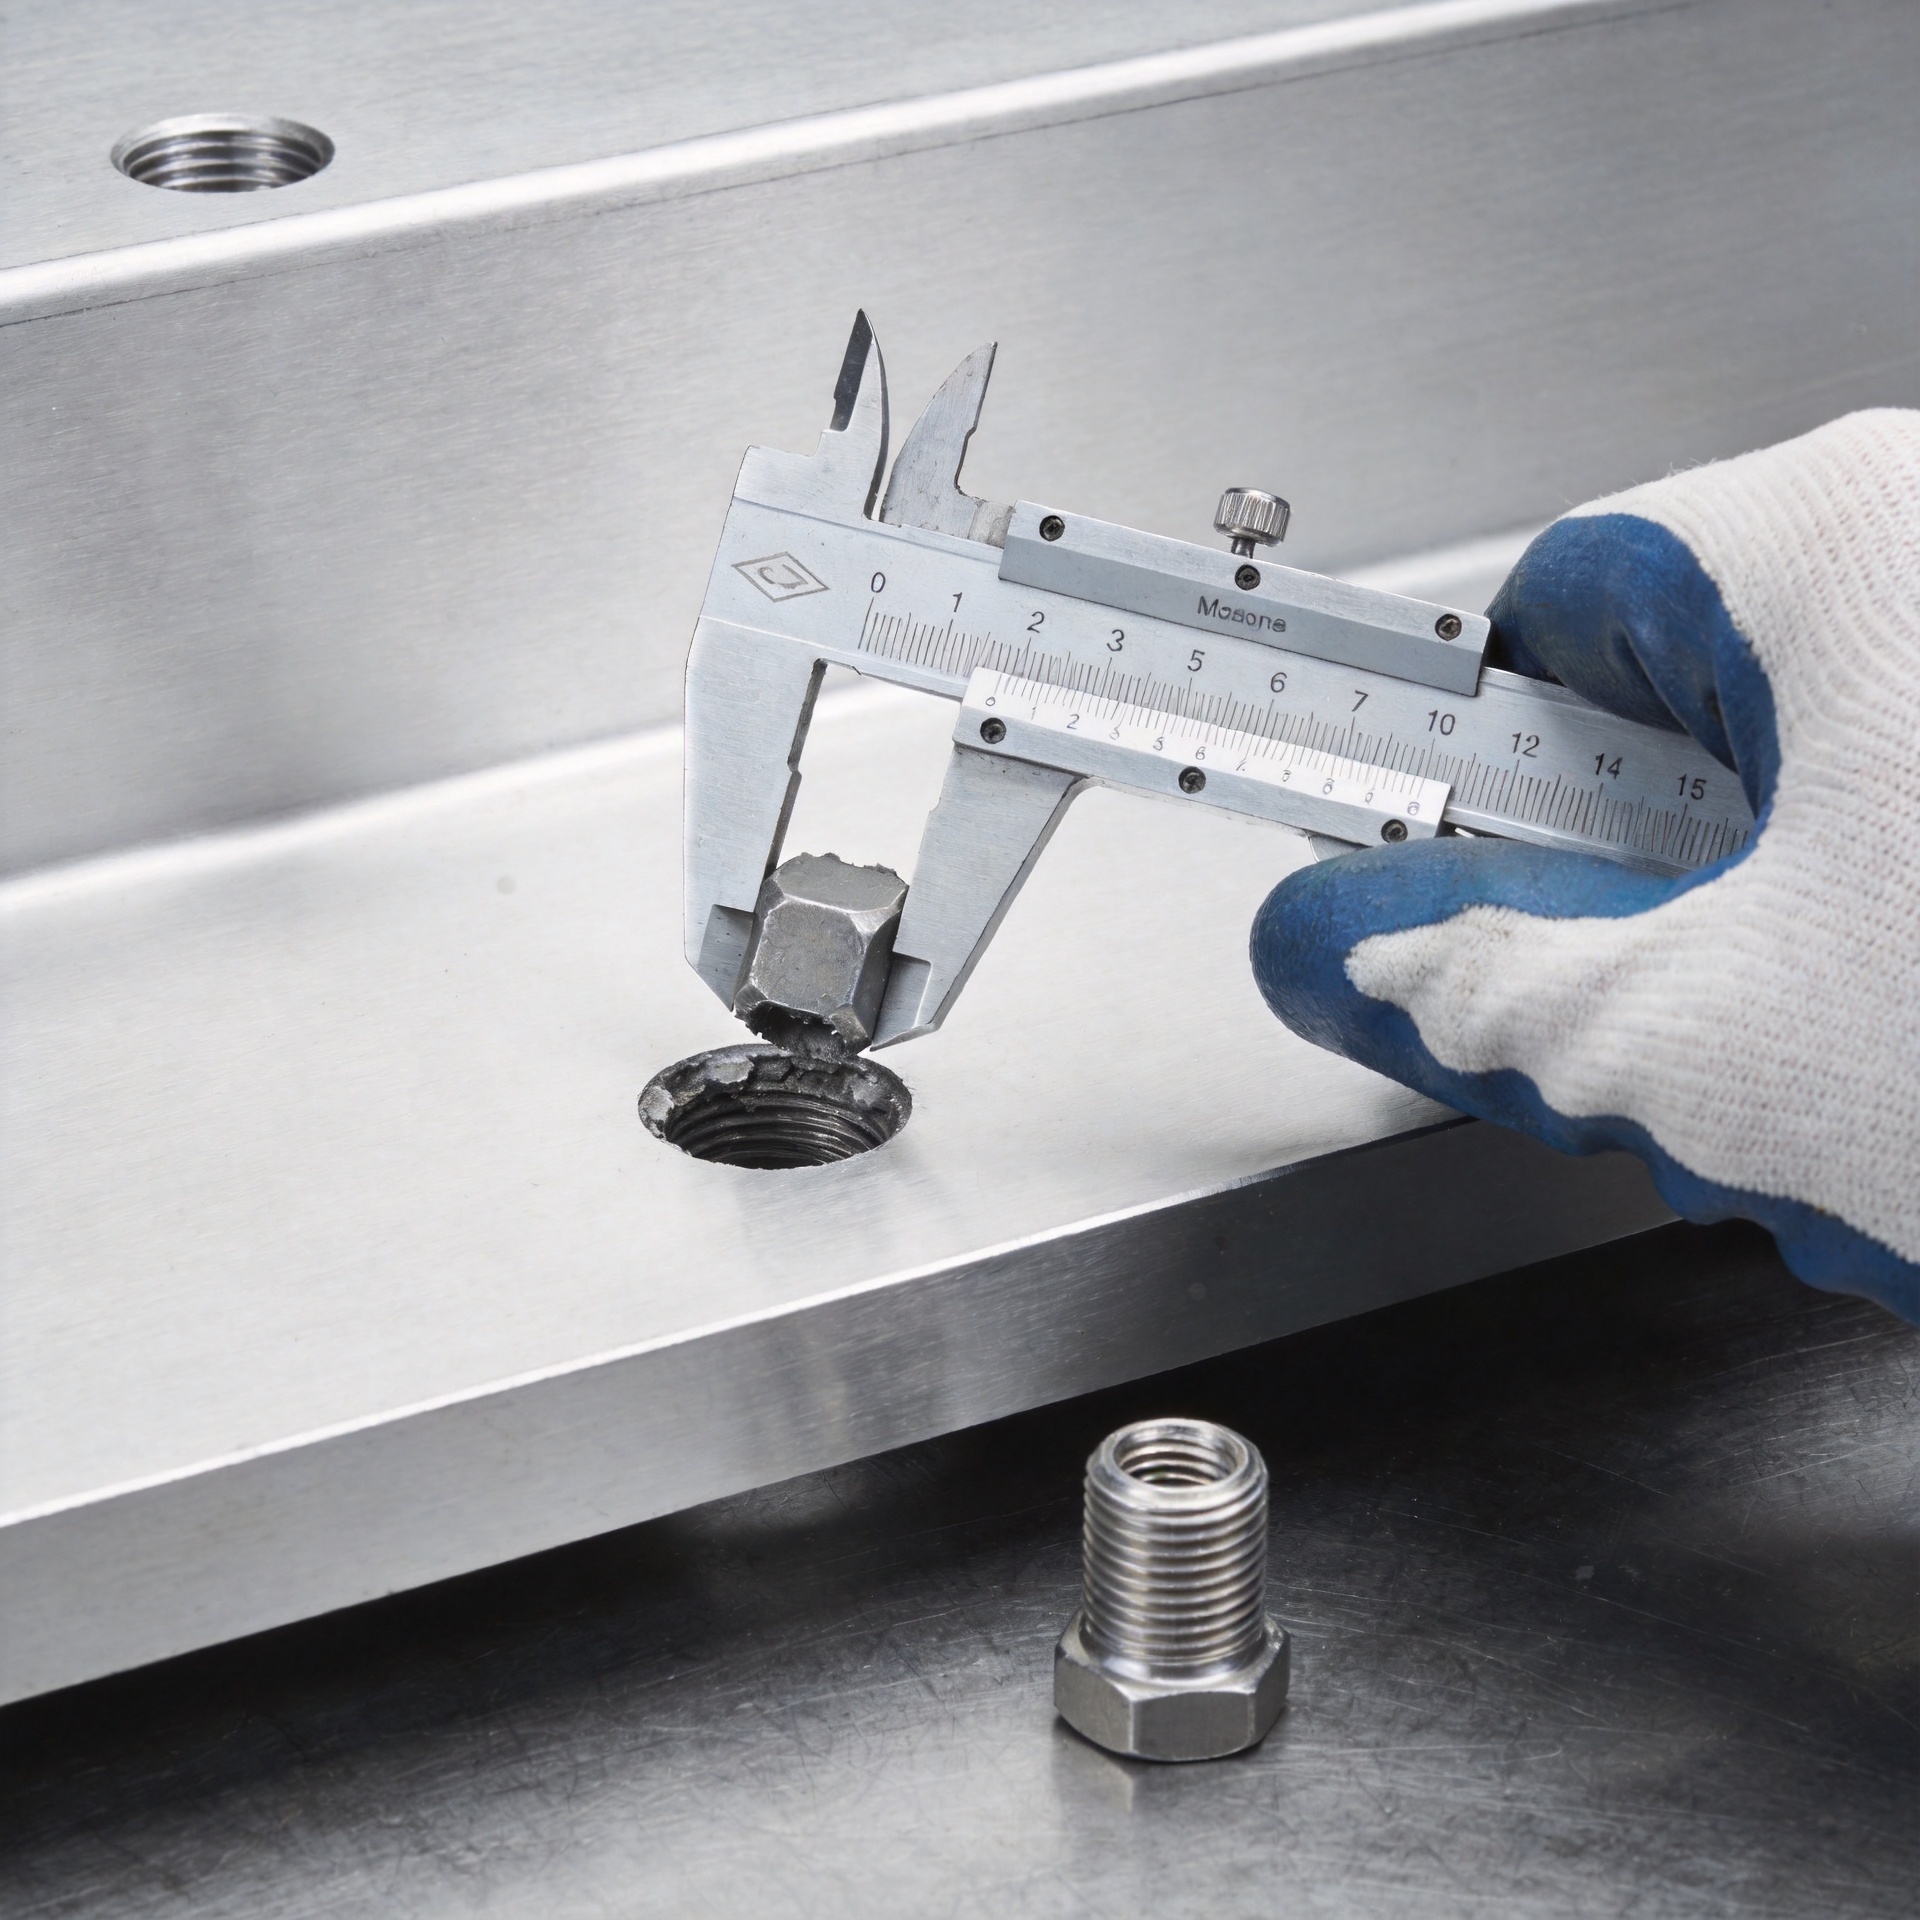
Measure the original hole, remaining sheet thickness, screw diameter, and available clearance behind the panel. Confirm whether the fastener protrudes into wiring, insulation, a fluid path, or a moving mechanism. Check whether access is available from both sides. These simple details decide whether a repair can use a nut and washer, a blind insert, a new threaded feature, or a relocated hole.
As a practical rule of thumb, thin sheet often cannot provide much thread engagement on its own. A repair that adds a load-bearing feature is usually more dependable than repeatedly forcing a larger fastener into the same damaged material. Do not assume a common screw size is suitable; the chosen diameter, pitch, head style, sheet thickness, and service load all matter.
Choose the repair route that fits the damage
1. Use an oversized self-tapping fastener only for light-duty sheet
If the original hole is slightly enlarged, the sheet is sound, and the connection carries little load, a larger-diameter self-tapping fastener can be practical. Select a type designed for the material and verify that the new head does not interfere with adjacent parts. This route is not appropriate when the hole edge is split, the panel is thin enough to flex, or frequent removal is expected. A larger fastener can further spread an already damaged hole if it is overtightened.
2. Add a threaded insert when repeated service is expected
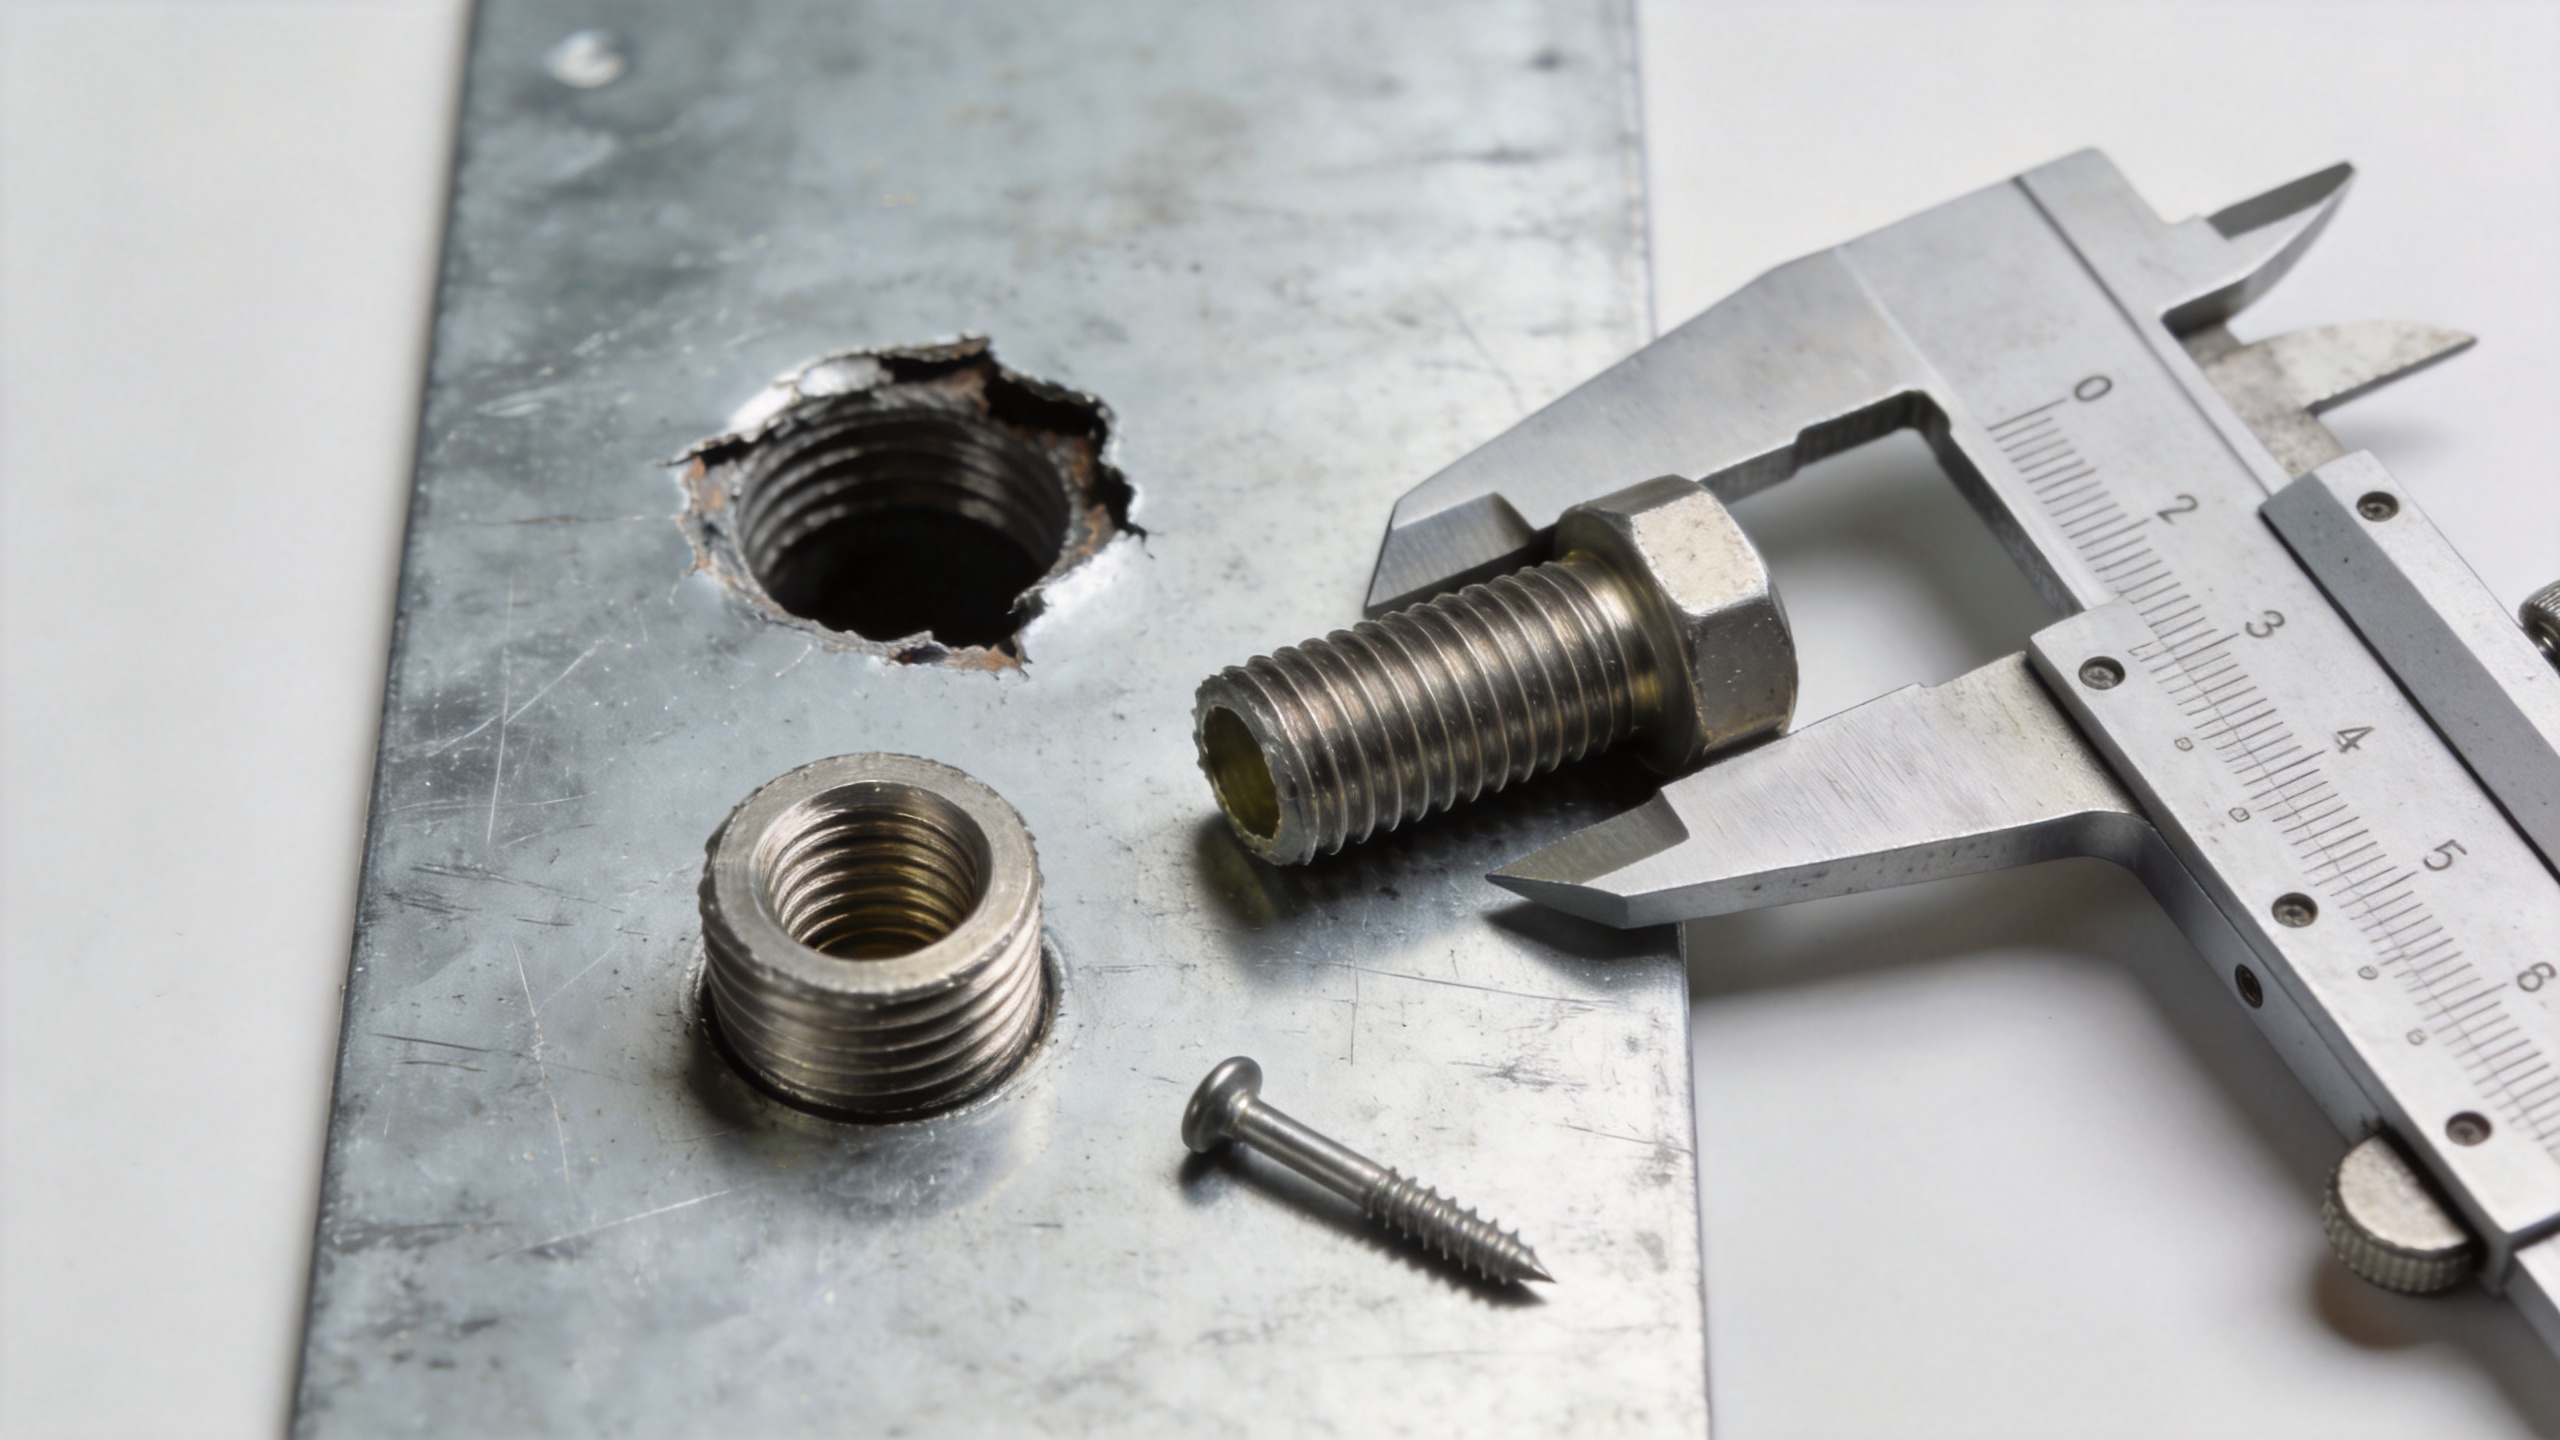
For a machine-screw joint that is opened regularly, a threaded insert can restore a defined thread rather than relying on damaged sheet. Clean and measure the hole first; the insert system may require drilling or preparing a new pilot size. Choose the insert material and thread to suit corrosion exposure and the mating fastener. A stainless fastener may suit a wet or corrosive environment, but mixed-metal compatibility and coating damage still need review.
3. Install a rivet nut or captive feature when only one side is accessible
A rivet nut, clinch nut, or similar captive feature can give a thin panel a reusable machine thread. This is often a sound repair where back-side access is limited and the joint needs more repeatable clamping than a self-tapping fastener can provide. Verify the grip range, hole preparation, panel hardness, head clearance, and pull-out or spin-out resistance for the actual application. The installation tool must set the feature squarely; a tilted insert creates a new alignment problem.
4. Through-bolt the joint when both sides are accessible
Where access permits, a bolt, nut, and appropriately sized washer can distribute load over more sheet area. This can be useful for brackets and panels, but it requires checking clearance, service access, sealing, and the risk of loosening under vibration. Use a mechanical fastener arrangement that fits the assembly drawing and maintenance practice rather than improvising a stack of hardware.
5. Relocate or replace the feature when the surrounding sheet is damaged
If the hole has cracked, become oval, or lies in a deformed section, repair the panel structure before adding another fastener. A new hole may be viable only if edge distance, alignment, and component function remain acceptable. On safety-related, pressure-retaining, electrical-bonding, or high-load joints, escalate the decision to the responsible engineer. A cosmetic-looking repair can hide a weakened load path.
Install the repaired fastener without recreating the failure
- Remove burrs and loose coating so the mating surfaces sit flat.
- Align the parts before starting the fastener; forcing alignment with the screw damages new threads.
- Engage the thread by hand where possible, then use the specified installation method.
- Tighten only until the joint is seated and the specified clamp condition is reached. More turning is not more security.
- Inspect the back side, head seating, washer contact, and panel flatness after installation.
For a threaded fastener used in vibration, review whether the assembly needs a locking feature, a defined torque procedure, or a change in joint design. For outdoor or humid service, select materials and finishes based on the full assembly environment, not only the visible screw head.
Use the failure as a maintenance signal
A stripped hole often points to a process issue: the wrong driver setting, an untrained installation sequence, a mismatched fastener, insufficient sheet thickness, or a panel that is being removed too often. Record the failed location, original fastener type, repair method, and likely cause. That record helps maintenance teams spot recurring patterns across similar equipment.
For production repairs, verify incoming threaded fastener dimensions and use a controlled installation process. When a custom fastener or a purpose-designed captive thread is needed, confirm the drawing requirements before release. The goal is not simply to make the current fastener stay in place; it is to restore a joint that can be inspected and serviced with confidence.
Final check before returning the joint to service
Before closing the job, confirm that the repaired fastener clamps the intended parts, clears nearby components, and does not distort the sheet. Cycle any moving component, check sealing where relevant, and document the repair for the next technician. With the repair method matched to the sheet condition and load, a stripped fastener hole can become a controlled maintenance correction rather than a recurring source of downtime.

