 EN

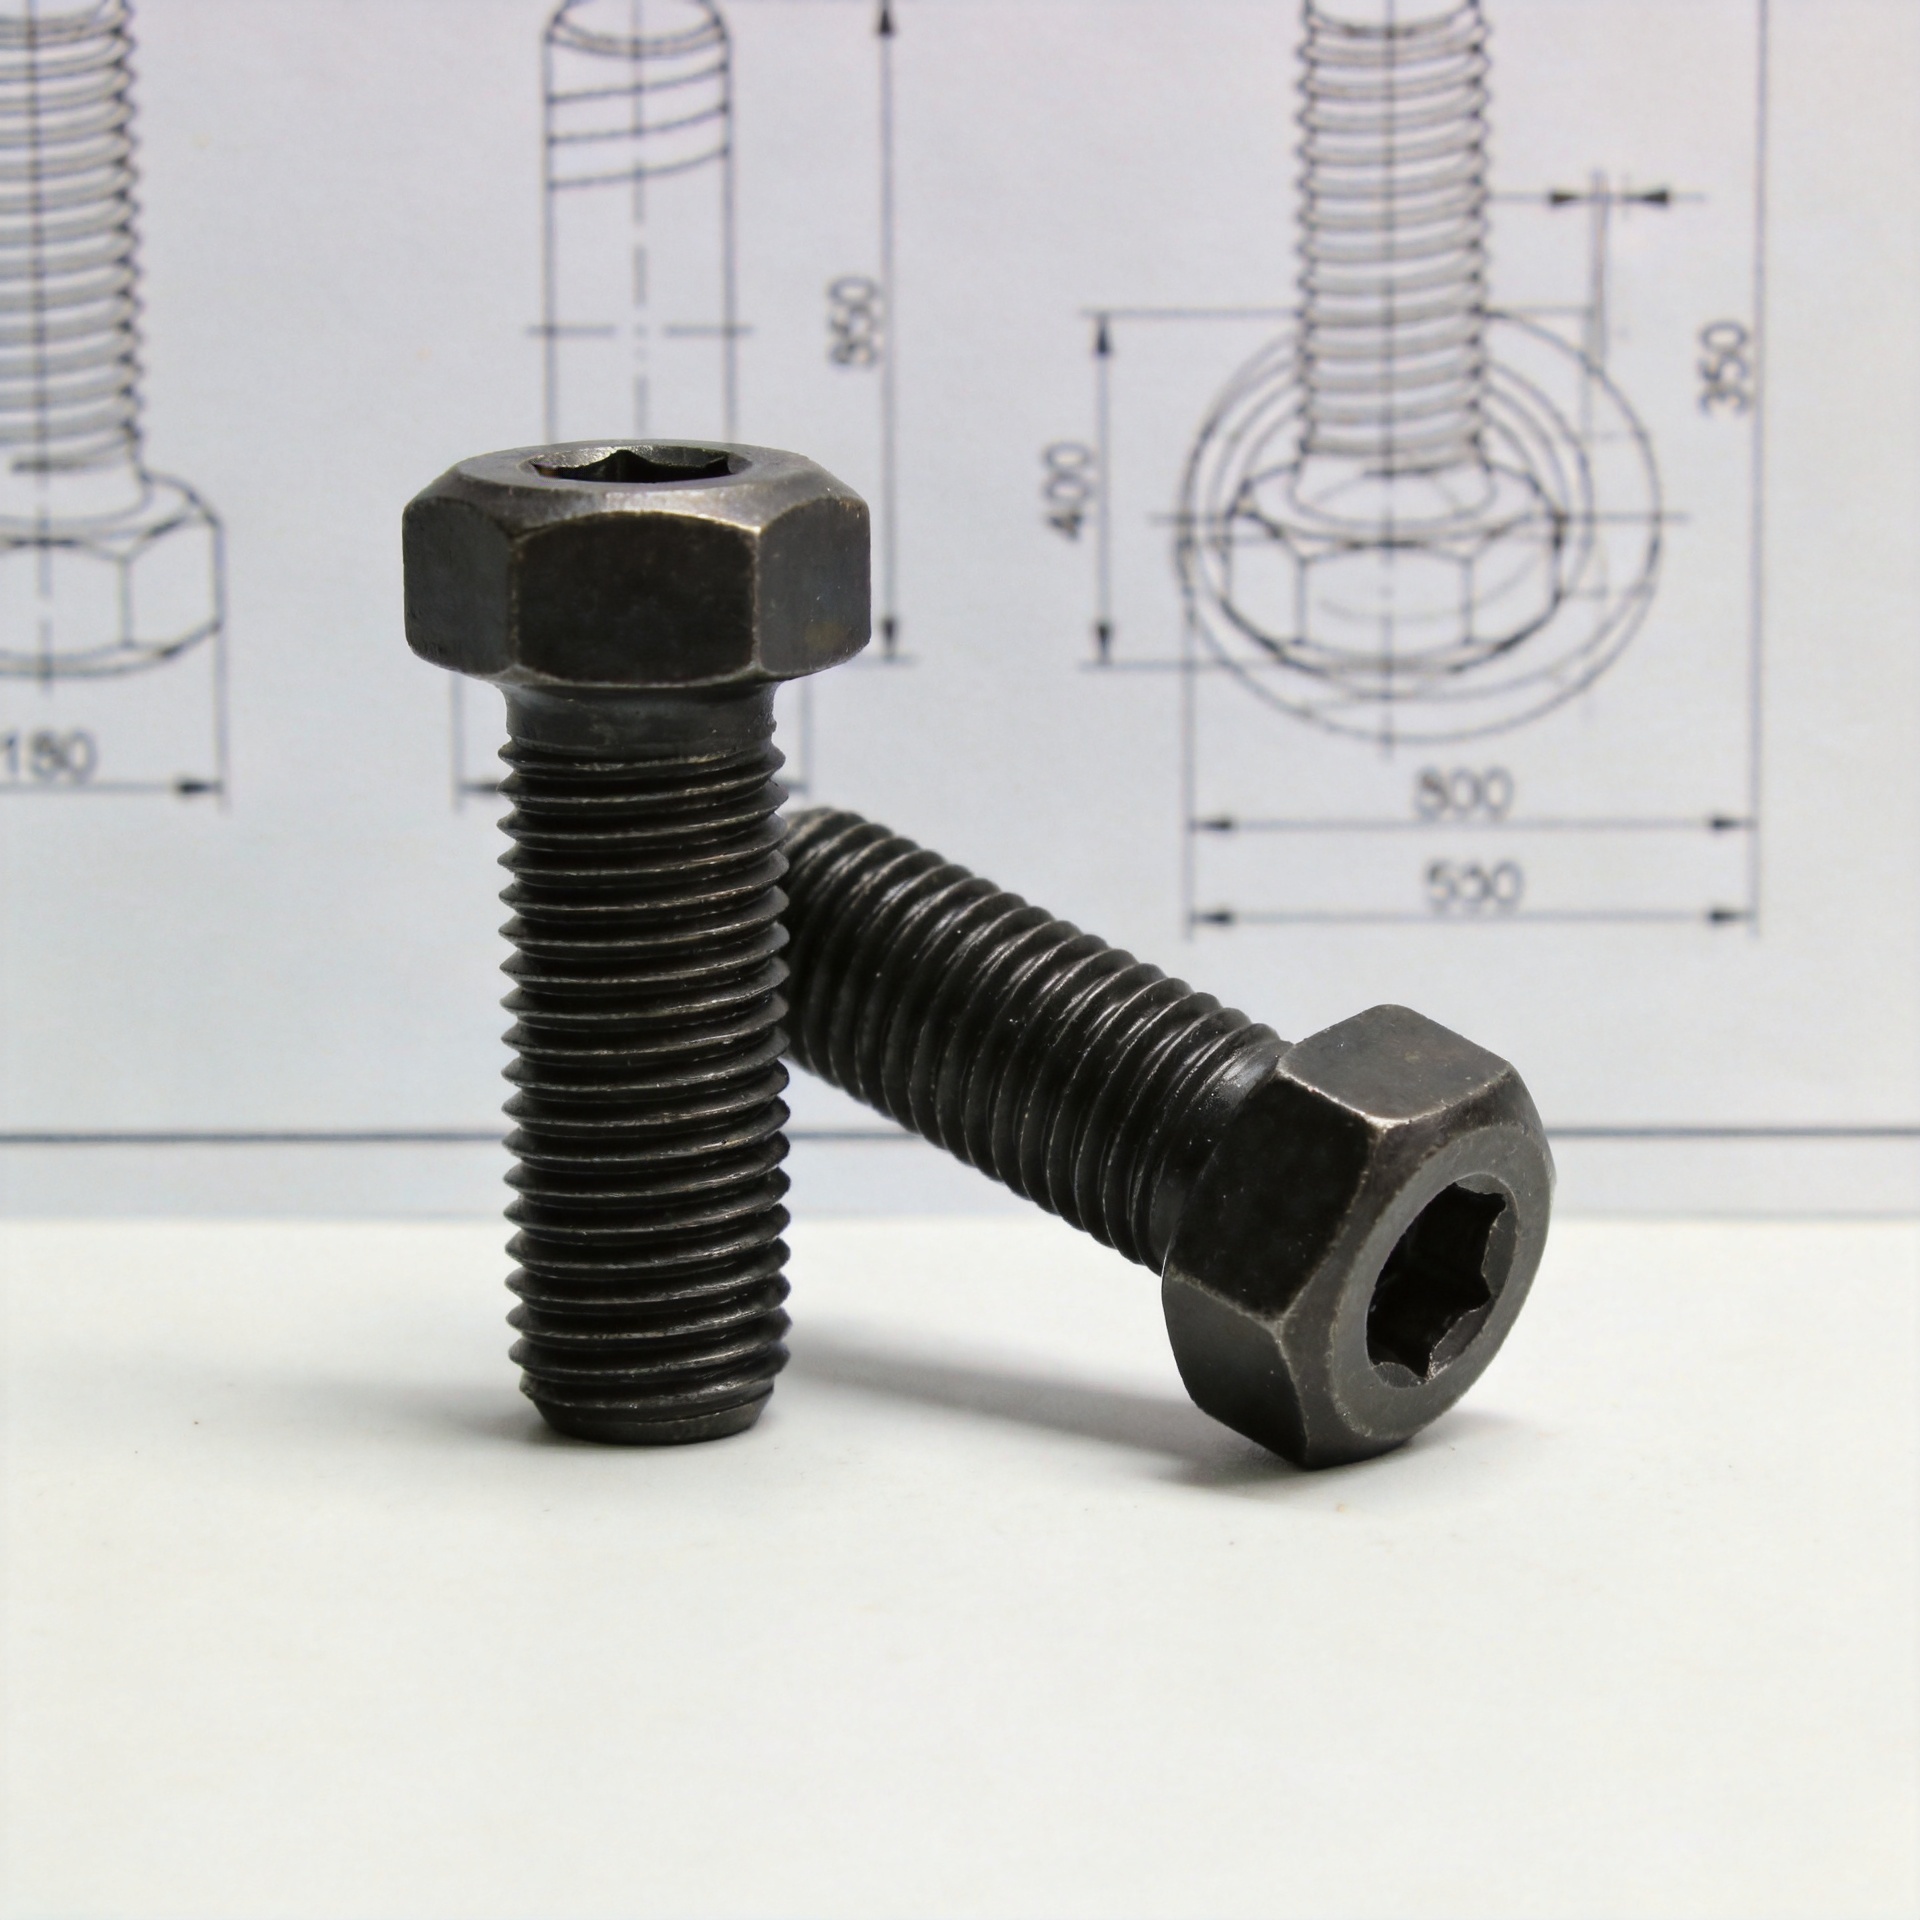
How to Select Reliable Bolts for Different Manufacturing Requirements?
Choosing a bolt for manufacturing is less about finding the highest strength label and more about matching a joint to its real working conditions. A reliable bolt must fit the load path, component materials, installation method, exposure conditions, and inspection plan. When one of those factors is missed, a seemingly acceptable bolt can loosen, corrode, damage mating threads, or complicate production.
From a fastener-selection engineer’s perspective, the practical sequence is to define the joint first, compare the bolt specification second, and confirm supply and verification requirements last. That sequence helps engineering, quality, and purchasing teams discuss the same requirements before parts reach the line.
Start With the Manufacturing Joint, Not the Catalog Page
A bolt selection decision starts with what the joint must do. Is the joint carrying a steady clamp load, repeated vibration, a shear force, a thermal cycle, or a combination of these? Is access limited on an assembly fixture? Will operators install the bolt by hand, with a controlled tool, or in an automated station? Answers to these questions narrow the appropriate bolt material, head style, thread form, and finish.
List the parts being joined and the consequences of a loose or damaged connection. A light-duty enclosure and a machine-frame connection may both use a hex-head bolt, yet their acceptance criteria can differ substantially. The first may emphasize appearance and cycle time; the second may require a documented grade, torque method, and incoming inspection. Treating them as the same application can add cost in one case and leave a gap in the other.
Match Strength to the Actual Load Case
Strength class matters because the bolt must tolerate the applied tensile and shear loads while maintaining useful clamp force. However, a higher-rated bolt is not automatically the correct answer. The mating material, thread engagement, hole quality, and tightening method can limit joint performance before the fastener reaches its nominal strength.
For each manufacturing bolt, document the expected load direction and whether it is static, cyclic, or impact-driven. Review the design drawing for diameter, length, thread pitch, and required grade. If the joint is vibration-sensitive, look beyond grade alone: the clamped parts, washer strategy, prevailing-torque feature, and installation consistency all influence whether the assembly holds its intended preload.
A useful rule is to specify the bolt as part of a joint system. The nut or tapped material, washer, coating, and torque procedure should be compatible with that system. This approach avoids a common error: selecting a strong bolt while leaving a softer mating thread or a thin sheet section to carry more load than it can support.
Choose Material and Finish for the Service Environment
Material selection should address both mechanical behavior and environmental exposure. Carbon steel, alloy steel, and stainless options each bring different trade-offs in strength, corrosion behavior, cost, and installation response. A bolt used inside a dry controlled plant may need a different finish from one exposed to washdown, condensation, salt, chemicals, or outdoor cycling.
Do not use a strength grade as a substitute for corrosion assessment. The bolt specification should identify base material, coating or passivation, and any compatibility concern with the joined materials. For example, a joint combining dissimilar metals in a wet environment deserves a deliberate review of galvanic risk and barrier options. Coating thickness can also affect thread fit, so it belongs in the same review rather than being treated as a cosmetic afterthought.
When stainless components are paired together, installation conditions deserve attention because friction and surface condition can affect tightening behavior. A trial assembly using the intended lubrication and torque method can reveal whether the selected bolt is practical for production.
Verify Thread Engagement, Length, and Head Geometry
A reliable bolt needs enough usable engagement in the nut or tapped feature to transfer load without stripping threads. Check the available engagement after accounting for coatings, washers, clearance gaps, and any unthreaded shank requirement. In a blind hole, confirm that the selected bolt will not bottom out before reaching the required clamp load.
Length selection is equally important. Too short a bolt may provide insufficient engagement; too long a part can interfere with nearby components or automation tooling. The head style should match available wrench access, bearing area, recess durability, and visual requirements. These details are easy to overlook during early bolt selection, but they often determine whether an assembly can be built repeatedly at the target cycle time.
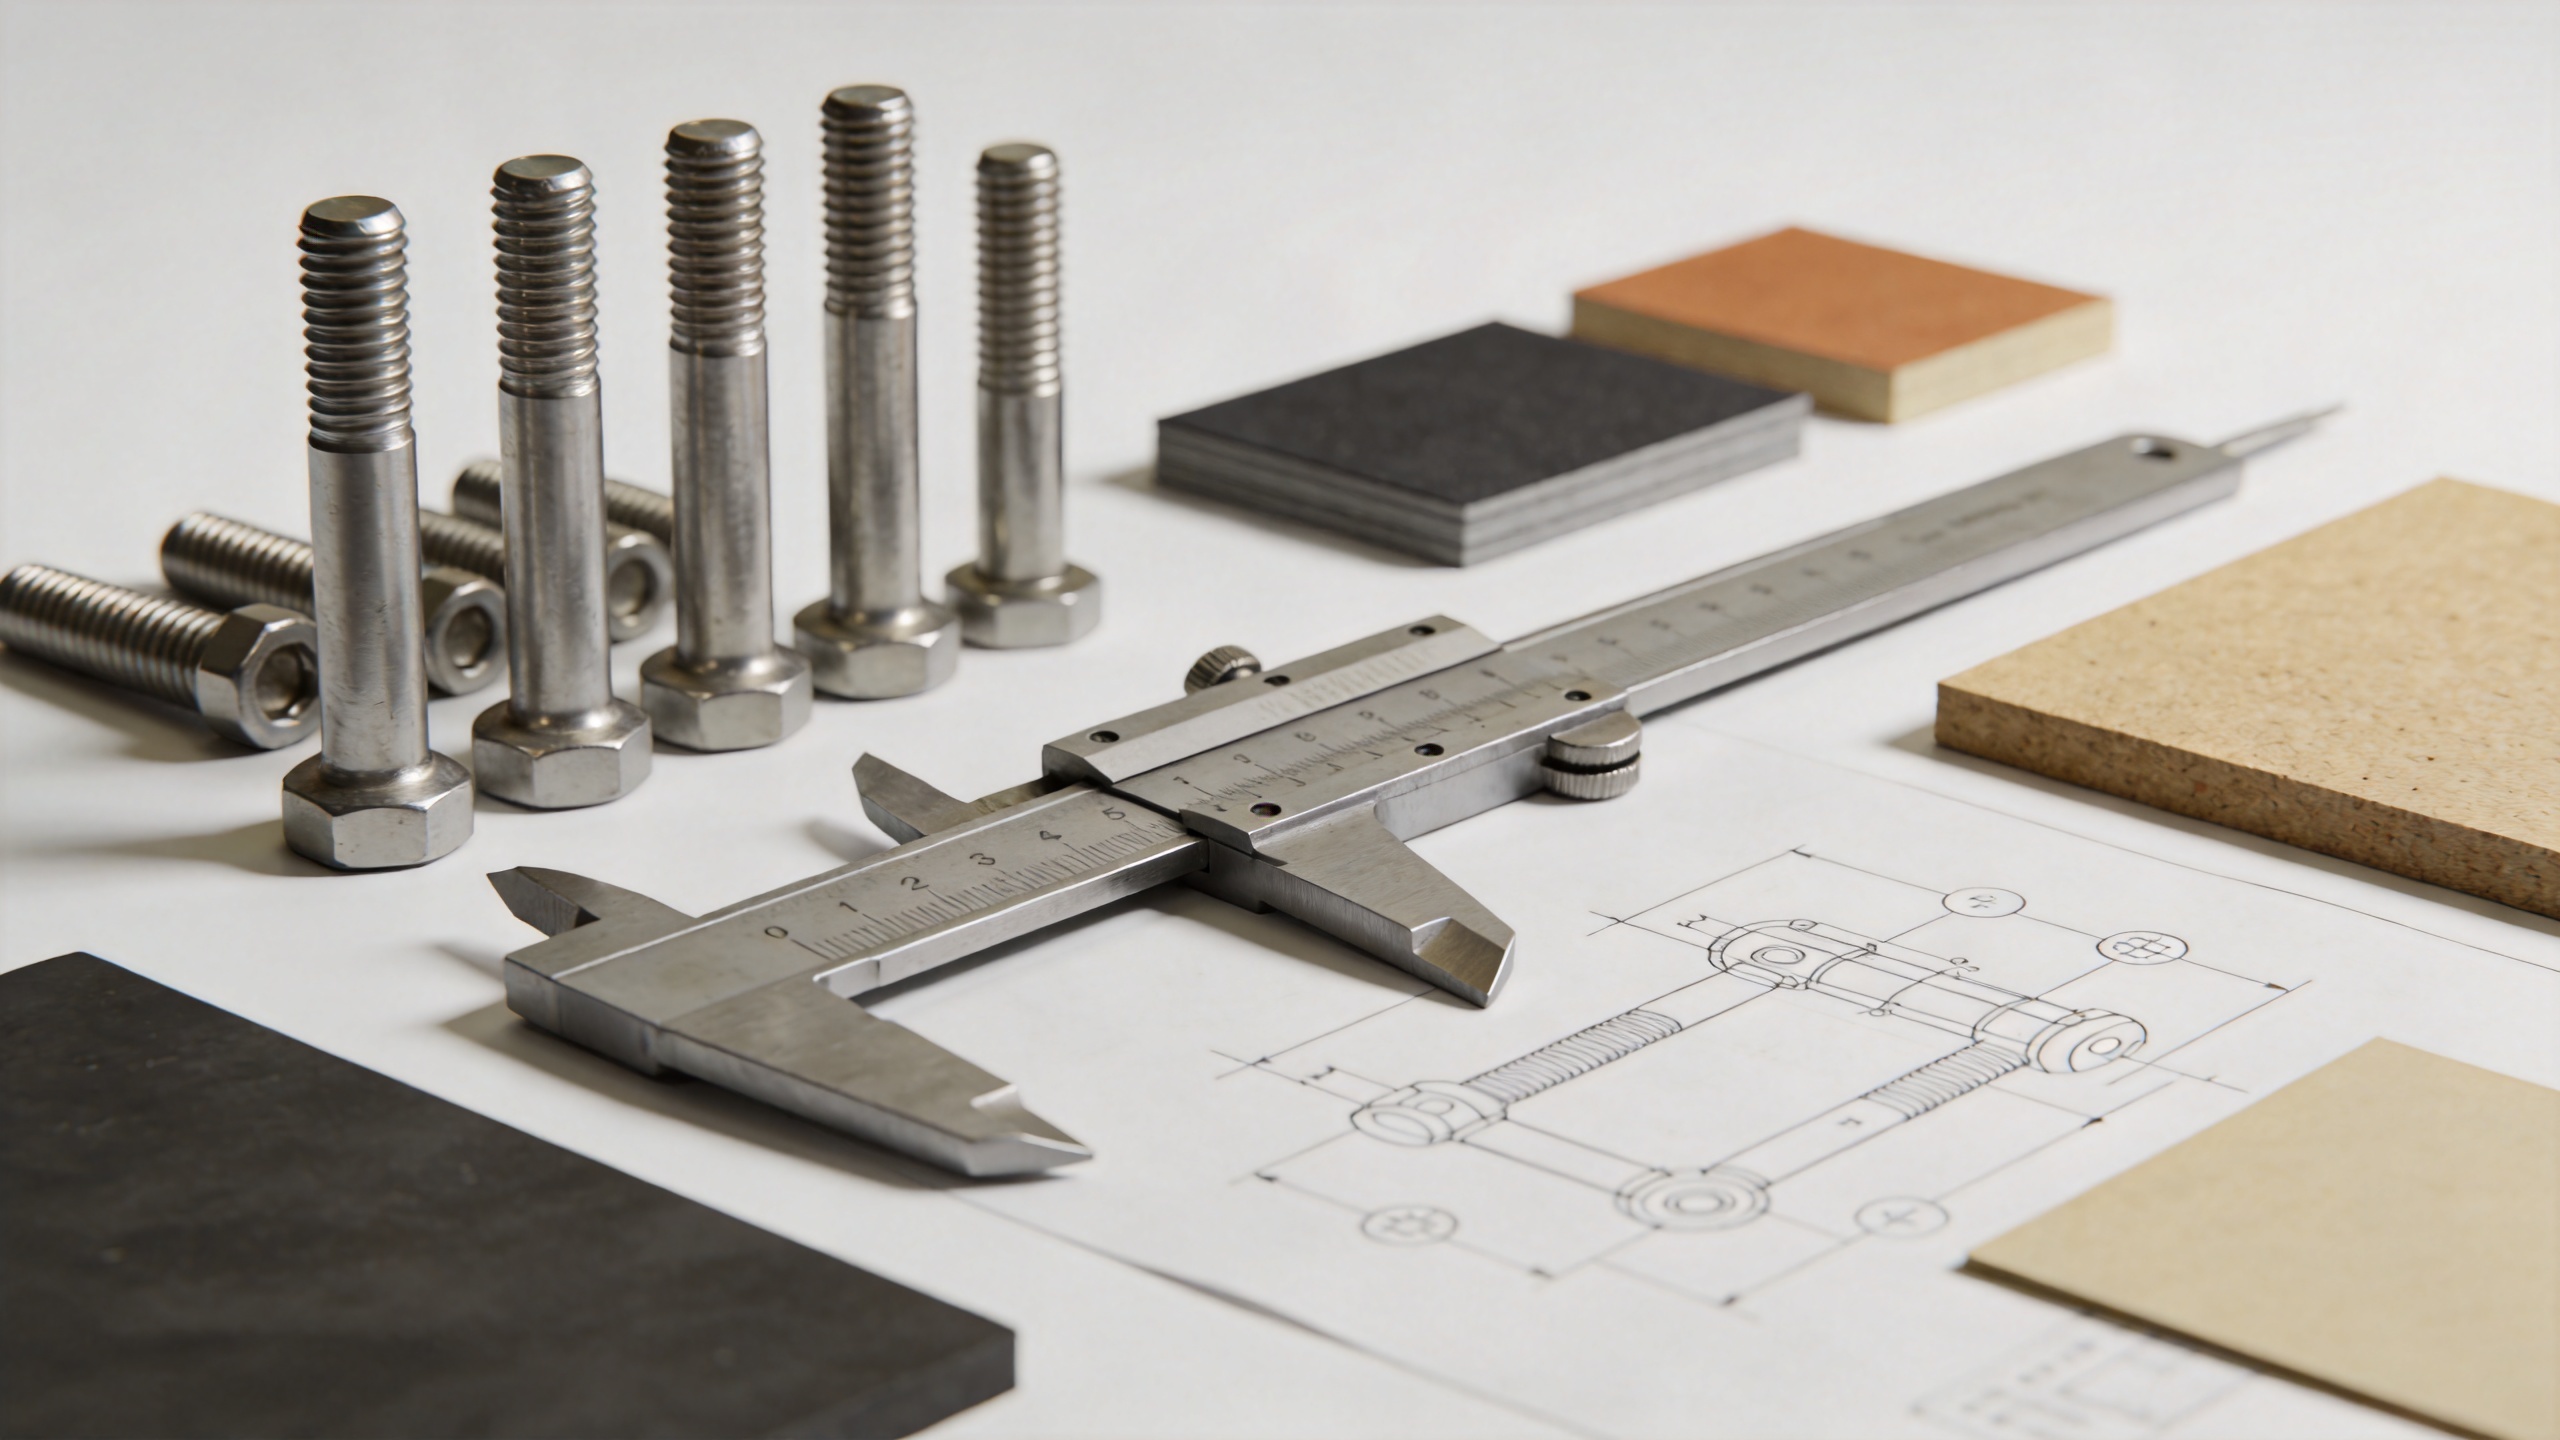
Turn the Bolt Specification Into Clear Purchasing Requirements
A useful bolt specification makes the requested part unambiguous. Include the nominal size, thread, length, material or grade, finish, head type, applicable drawing notes, packaging expectations, and any inspection documentation required by the job. For a custom or unusual manufacturing bolt, include approved samples, dimensional tolerances, and the change-control process.
Purchasing should ask suppliers how they identify lots and how they control material, dimensions, finish, and packaging. A reliable bolt program also benefits from a first-article or incoming inspection plan. The plan can confirm thread fit, length, head dimensions, coating condition, and documentation before a larger delivery moves into production. This is especially helpful when a new source or revised bolt is introduced.
Use a Short Production Validation Before Full Release
Many procurement teams initially focus on unit price, then discover that line interruptions, rework, or inconsistent installation create a larger cost. A small controlled build can test the bolt under the same tooling, torque method, and mating components used in production. Record installation observations and inspect representative joints after the relevant handling or environmental exposure.
During this validation, verify that the bolt can be fed, oriented, reached, and tightened consistently. Confirm that the chosen thread and finish do not create unexpected resistance, and that the joint retains the intended condition after the application’s expected vibration or thermal cycle. If results differ from the drawing assumption, revise the bolt selection before scale-up.
A Practical Bolt Selection Checklist
- Define the joint load, movement, vibration, temperature, and exposure conditions.
- Confirm bolt diameter, thread, length, head style, material, grade, and finish against the drawing.
- Check mating materials, available thread engagement, hole condition, and washer or nut compatibility.
- Set a tightening method that production can repeat and inspect.
- State lot traceability and incoming-inspection needs in the purchase requirement.
- Run a representative assembly trial for a new, changed, or application-critical bolt.
Make the Decision Traceable
The right bolt is the one whose documented properties and installation method fit the joint’s real demands. Start with the application, compare material and grade in context, verify geometry and engagement, then qualify the supply and assembly process. This framework gives manufacturing teams a clearer way to select a reliable bolt without relying on a single label, a generic catalog description, or price alone.
For production programs with changing materials or operating environments, revisit the bolt specification whenever the joint, coating, tool, or validation requirement changes. A traceable review keeps the bolt decision aligned with the actual manufacturing requirement.

