 EN


Understanding Screw Thread Anatomy and Why It Matters in Practice
A screw is easy to overlook until a joint strips, binds, loosens, or damages the material around it. The head may be the visible feature, but the thread is what turns rotation into holding force. Understanding the basic anatomy of a screw makes it easier to read a drawing, compare two parts that look similar, and choose a fastening method that fits the material and service conditions.
From a fastener-selection perspective, the useful starting point is not simply “Which screw is strongest?” It is: what material is being joined, what thread will mate with it, and what load, vibration, corrosion, and maintenance conditions will the joint see? A thread that works well in pre-tapped steel may be a poor choice for soft wood, thin sheet, or a repeated-service assembly.
The Thread Profile: Five Features Worth Recognizing
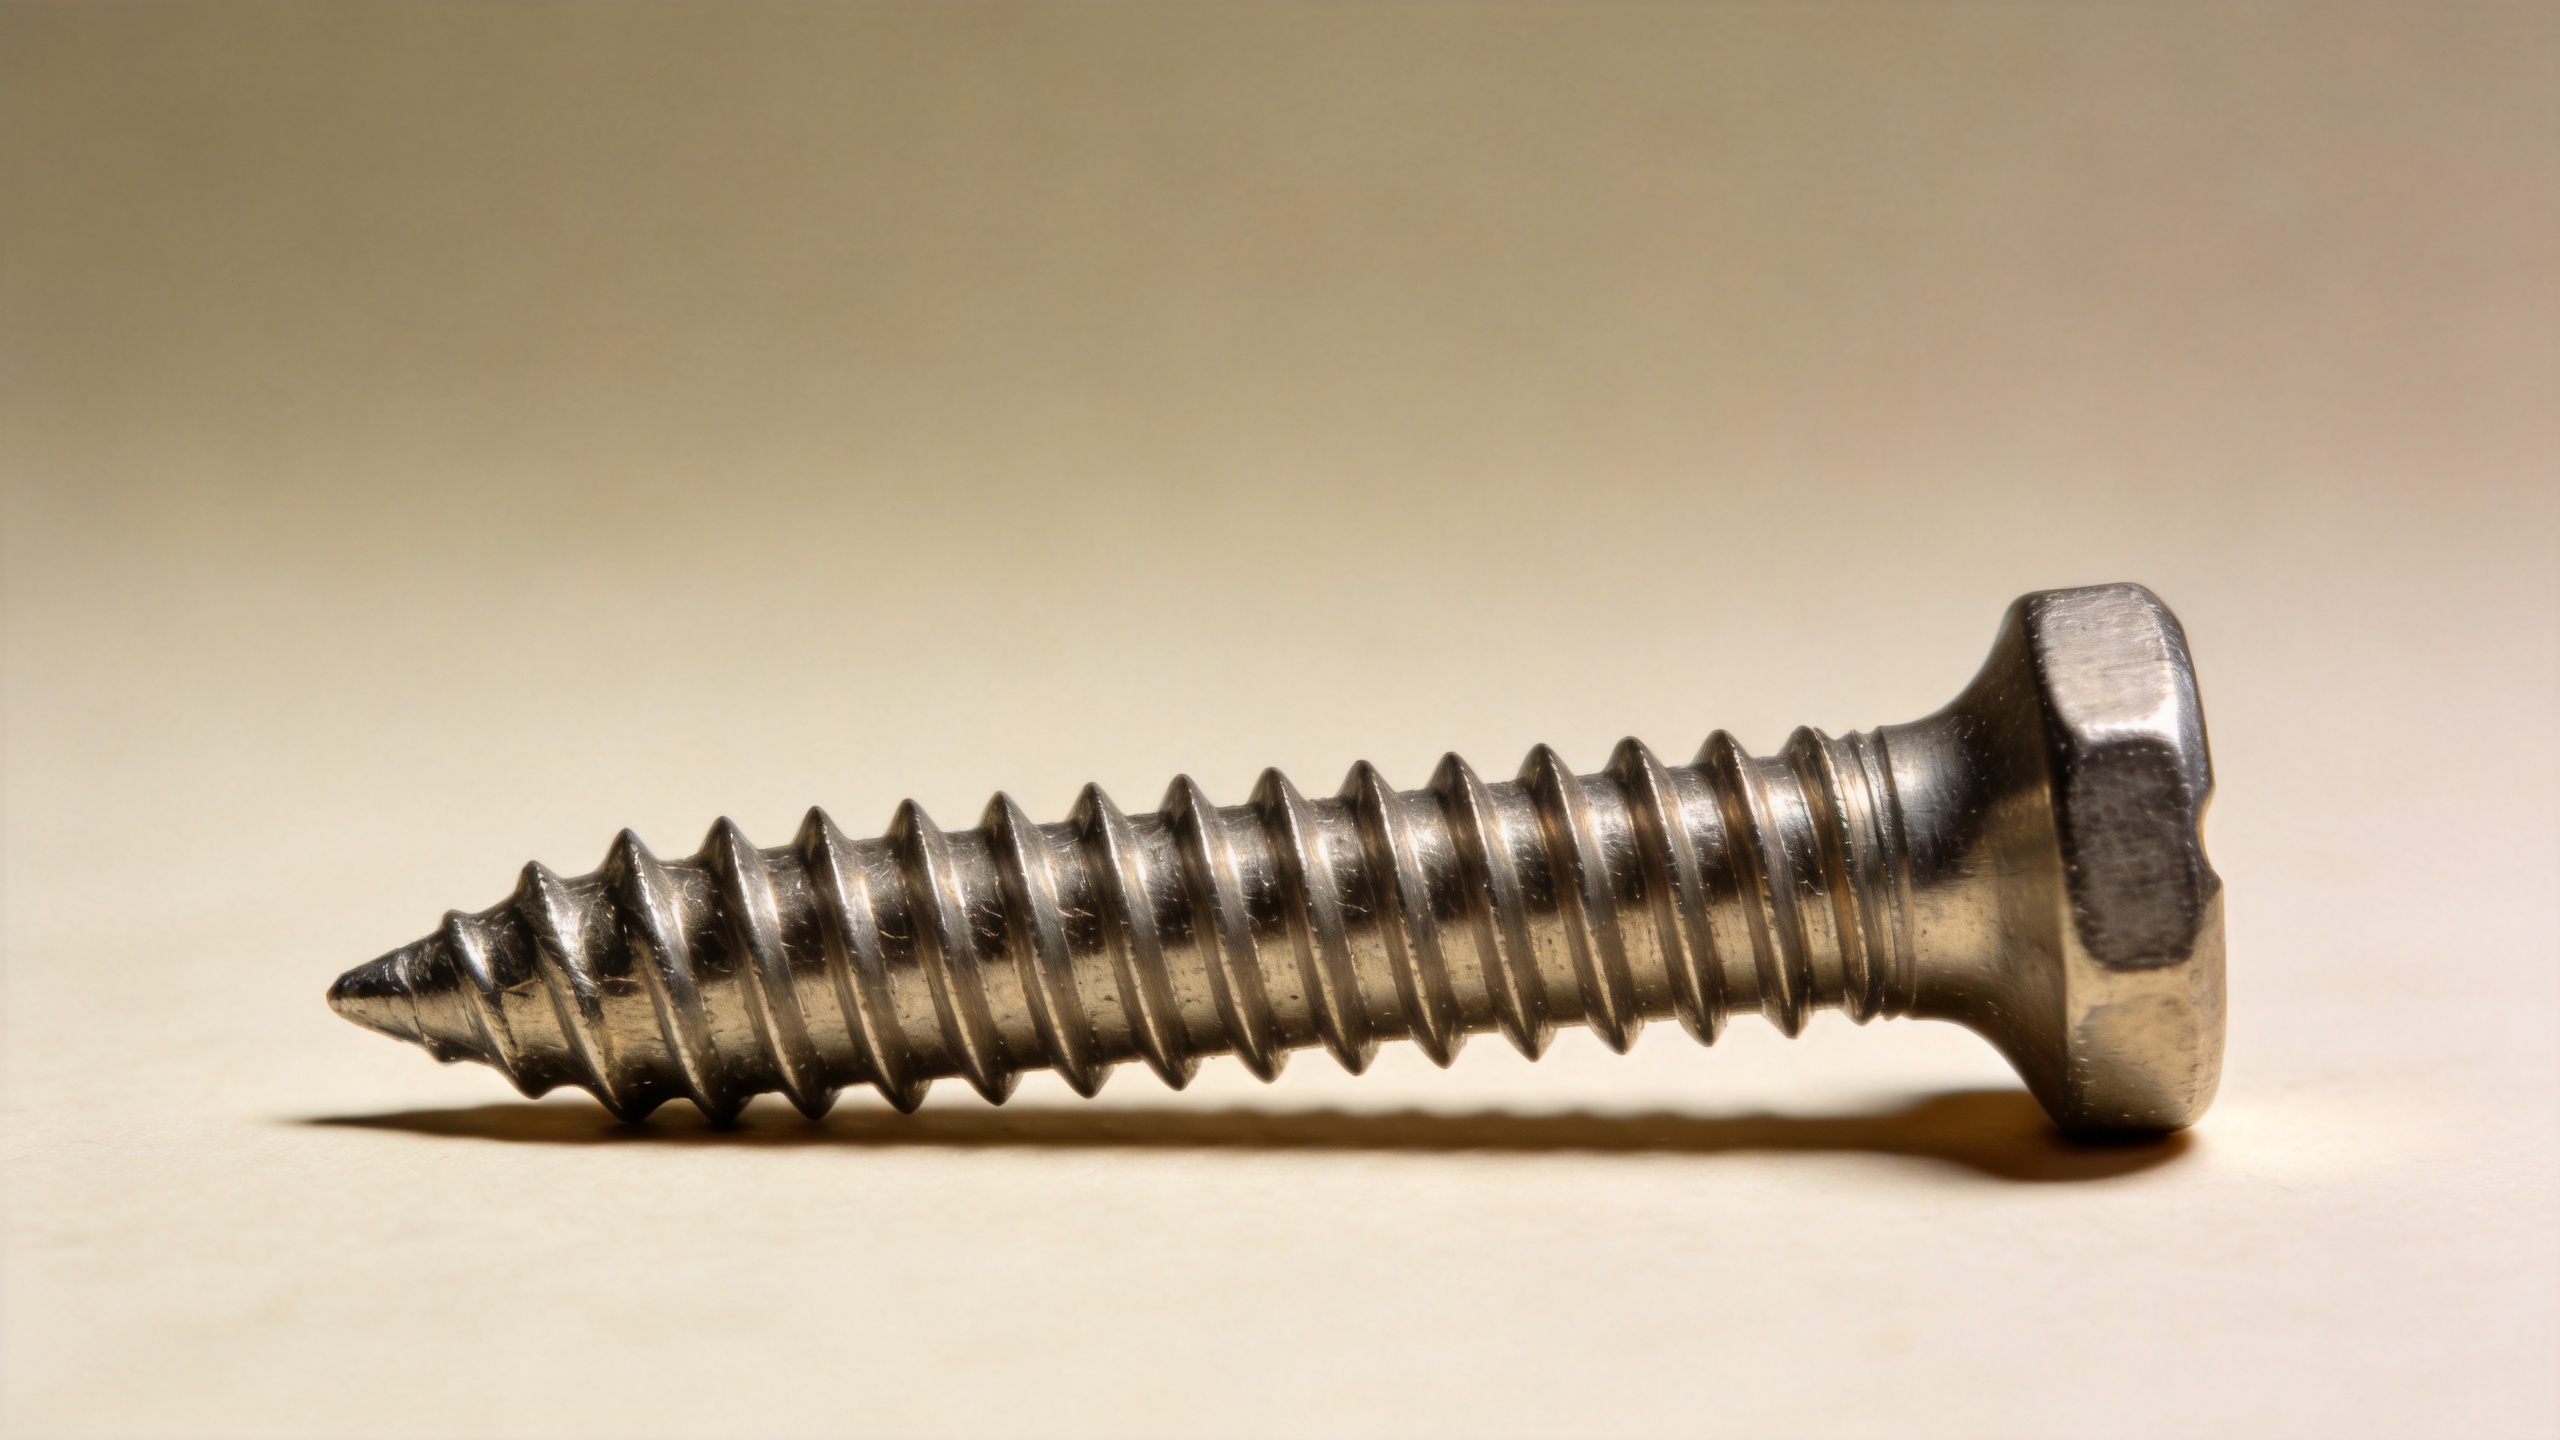
Imagine looking at a screw from the side and enlarging one turn of the helical ridge. That cross-section is the thread profile. Its geometry controls how the screw enters a material, contacts a mating thread, and resists pullout or loosening.
- Crest: the high point of the external thread. On a worn or damaged screw, flattened or nicked crests can make starting and engagement less predictable.
- Root: the low point in the groove between adjacent threads. The root shape contributes to the profile depth and affects how much material remains at the base of the thread.
- Flanks: the angled sides joining each crest to its neighboring root. In a mated joint, the flanks are the surfaces that carry much of the contact.
- Thread angle: the angle between the two flanks. It is part of the thread form, so two fasteners with a similar outside diameter can still be incompatible.
- Thread depth: the distance from crest to root. Deeper-looking threads may be useful in some materials, but depth alone does not determine whether a screw is right for the job.
These labels are practical, not academic. If a joint feels rough before it seats, inspect the first few crests and flanks rather than adding more torque. Forcing a damaged thread can mark the mating part and make later inspection harder.
Diameter, Pitch, and Lead: The Dimensions That Define Fit
A screw is often described by a nominal size, but that single number is not a full thread specification. Three diameter ideas are especially useful. The major diameter is the outside diameter across the crests of an external thread. The minor diameter is measured near the roots. The pitch diameter is an effective diameter associated with where the opposing flanks meet. In practice, matching the apparent outside diameter alone does not confirm that two threaded parts will assemble correctly.
Pitch is the axial distance from one thread to the next corresponding point. Metric threads are commonly described by pitch distance, while inch-based threads are often described by threads per inch. They describe the same spacing in different ways. A finer pitch places more thread turns along a given length; a coarser pitch spaces them farther apart. Neither is universally preferable. The correct choice depends on the material, required engagement, manufacturing standard, and use conditions.
Do not confuse pitch with lead. Lead is the axial distance a screw advances in one full turn. For a typical single-start screw, pitch and lead are equal. With multiple starts, the lead is greater than the pitch. That distinction matters in mechanisms designed for quick linear travel, even though many everyday fastening screws are single-start.
Why the Same-Looking Screw Can Behave Differently
Thread geometry has to work with the material receiving it. A wood screw is intended to form and hold in wood fibers. Its point and thread form are selected around penetration and pullout behavior in a material that varies by species, density, moisture, and grain direction. Pilot-hole guidance should therefore follow the actual screw, wood condition, and manufacturer recommendations rather than a generic rule copied from another job.
A machine screw is usually used with a preformed internal thread, a nut, or another prepared mating feature. Here, pitch, diameter, thread form, and fit must agree. Cross-threading usually happens at the start, when the screw is misaligned or the parts have incompatible threads. Start it by hand where access allows; if it will not turn smoothly for the first turns, stop and verify the specification instead of driving through resistance.
A self tapping screw creates or forms its mating thread as it is installed. That can simplify assembly in sheet material or suitable plastics, but it does not remove the need to control hole size, material thickness, and driving torque. If the substrate is too thin, too hard, or unsupported, the joint may not achieve the engagement the application needs. This is a good example of why the word “self tapping” describes a function, not a universal solution.
Head Style Still Affects the Threaded Joint
Thread anatomy does not work in isolation. The head determines how the clamp load is introduced and whether the part can sit flush, stand proud, or accept a tool in a restricted space. A hex screw, for example, is often selected where external wrenching access and higher installation torque are appropriate. That does not tell you its pitch, material, coating, or thread class. Treat head style as one selection variable alongside the thread specification.
Washer use, joint stack thickness, and the length of unthreaded shank can matter as well. A screw that bottoms out before the faces clamp is not fixed by additional torque. Likewise, a thread that engages too little material can fail even when the head appears tight. When reviewing a drawing or sample, check the intended grip length and the available thread engagement before deciding on a size.
A Field Checklist Before You Install or Source a Screw
- Identify the base material and whether it has a prepared internal thread.
- Confirm the nominal diameter, pitch or threads-per-inch, and the required thread form from the drawing or mating part.
- Check the point and thread style against the intended material: wood, pre-tapped metal, sheet, or plastic may need different approaches.
- Confirm head style, drive access, seating requirement, and usable grip length.
- Consider vibration, corrosion exposure, load direction, and whether the joint will be removed and reassembled.
- For production purchasing, ask for dimensional and material documentation that matches the stated application rather than relying on a photo or a nominal size alone.
Make Thread Anatomy a Practical Habit
The most useful habit is to treat a screw thread as a mating geometry, not a decorative spiral. Crest, root, flank, pitch, lead, and the working diameters explain why a fastener enters smoothly, binds, carries load, or damages the mating component. They also give engineering, quality, and purchasing teams a shared vocabulary when a sample does not match a drawing.
If the application involves unusual loads, safety-critical service, or an unfamiliar thread standard, confirm the requirement with the relevant drawing, standard, and technical review before installation. For ordinary work, a few careful checks at the beginning are usually faster than recovering from a stripped or mismatched screw later.

