 EN

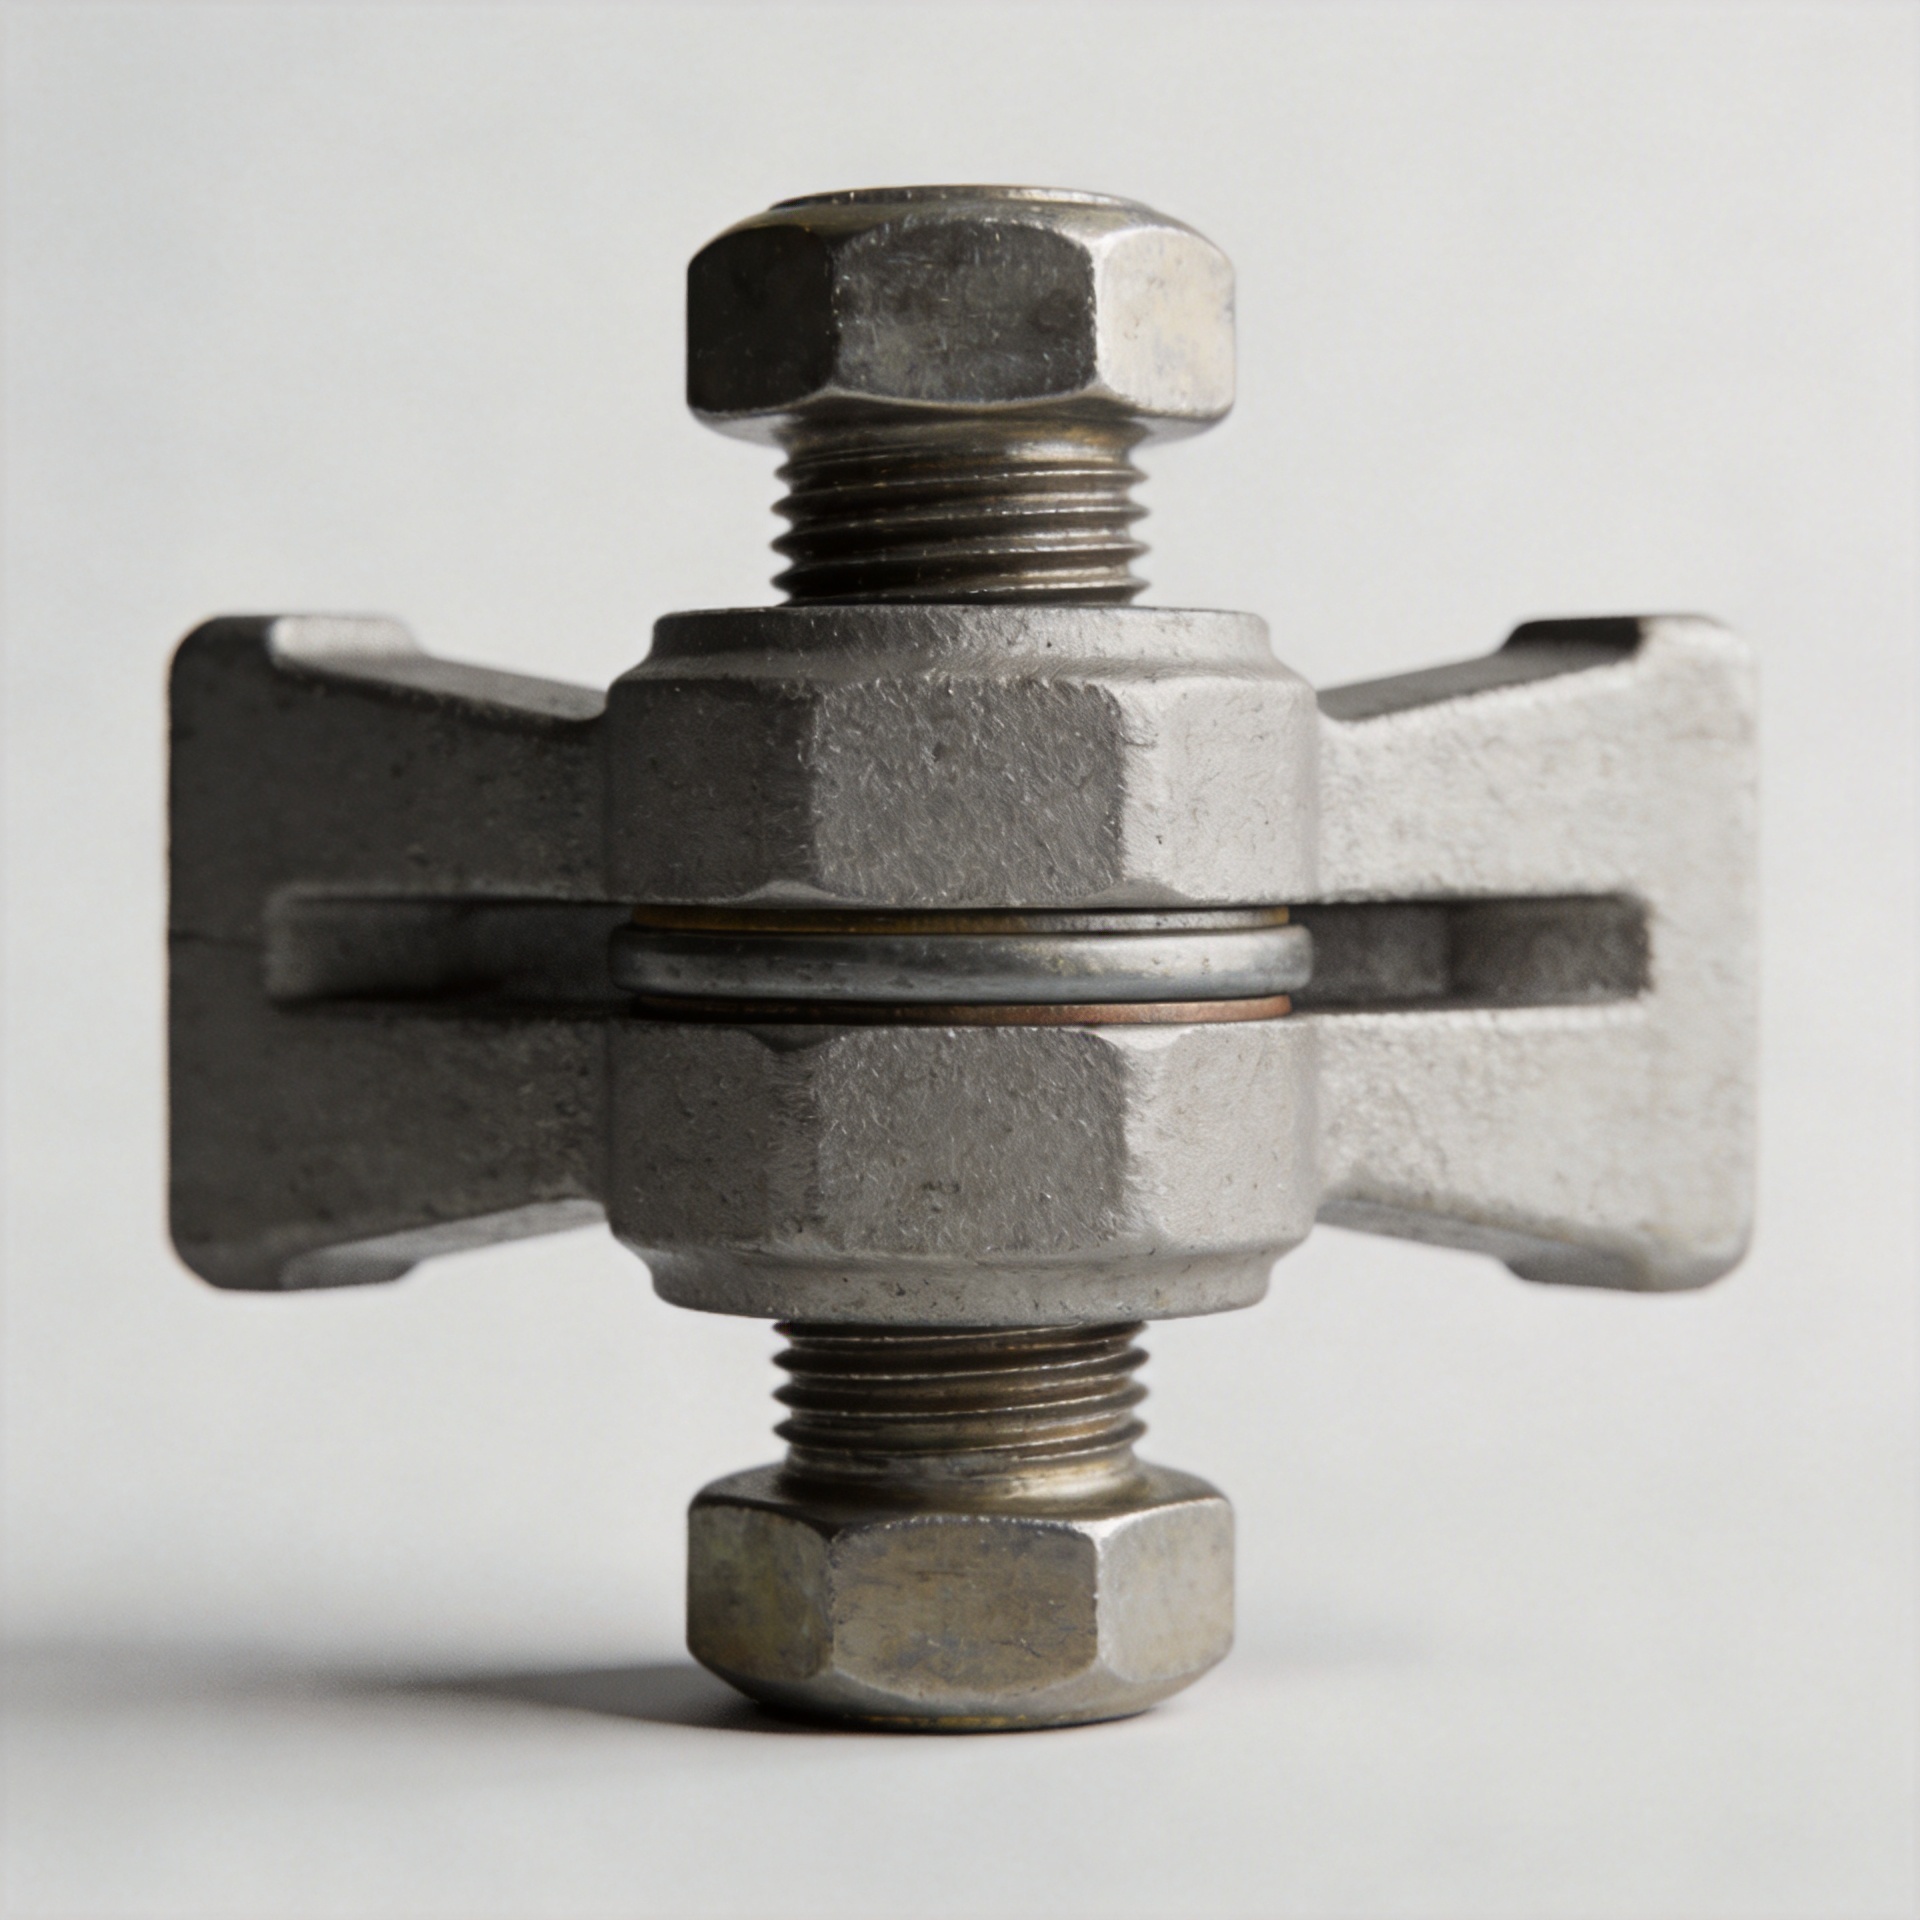
Why Fasteners Loosen in High Vibration Environments and Fixes That Work
A fastener that looks secure after installation can still lose clamp load in service. Motors, pumps, conveyors, mobile equipment, and rotating assemblies create repeated motion that works against the friction holding a joint together. What matters is not merely whether the bolt, nut, or screw was tightened. The complete joint must retain preload when its parts move.
From a fastener-selection engineer’s perspective, a vibration issue should start with the load path and the joint surfaces. A high-strength threaded fastener can be appropriate, yet strength alone does not stop loosening. When transverse movement makes the clamped components slip, small relative motions can reduce friction at the threads and bearing face. The nut or bolt may then rotate in the loosening direction, while clamp force falls cycle by cycle.
What vibration does to a fastener joint
A properly tightened mechanical fastener stretches slightly and compresses the parts it joins. That preload creates friction between the joint faces. As long as external movement stays below the available frictional resistance, the parts tend to move together and the joint remains stable.
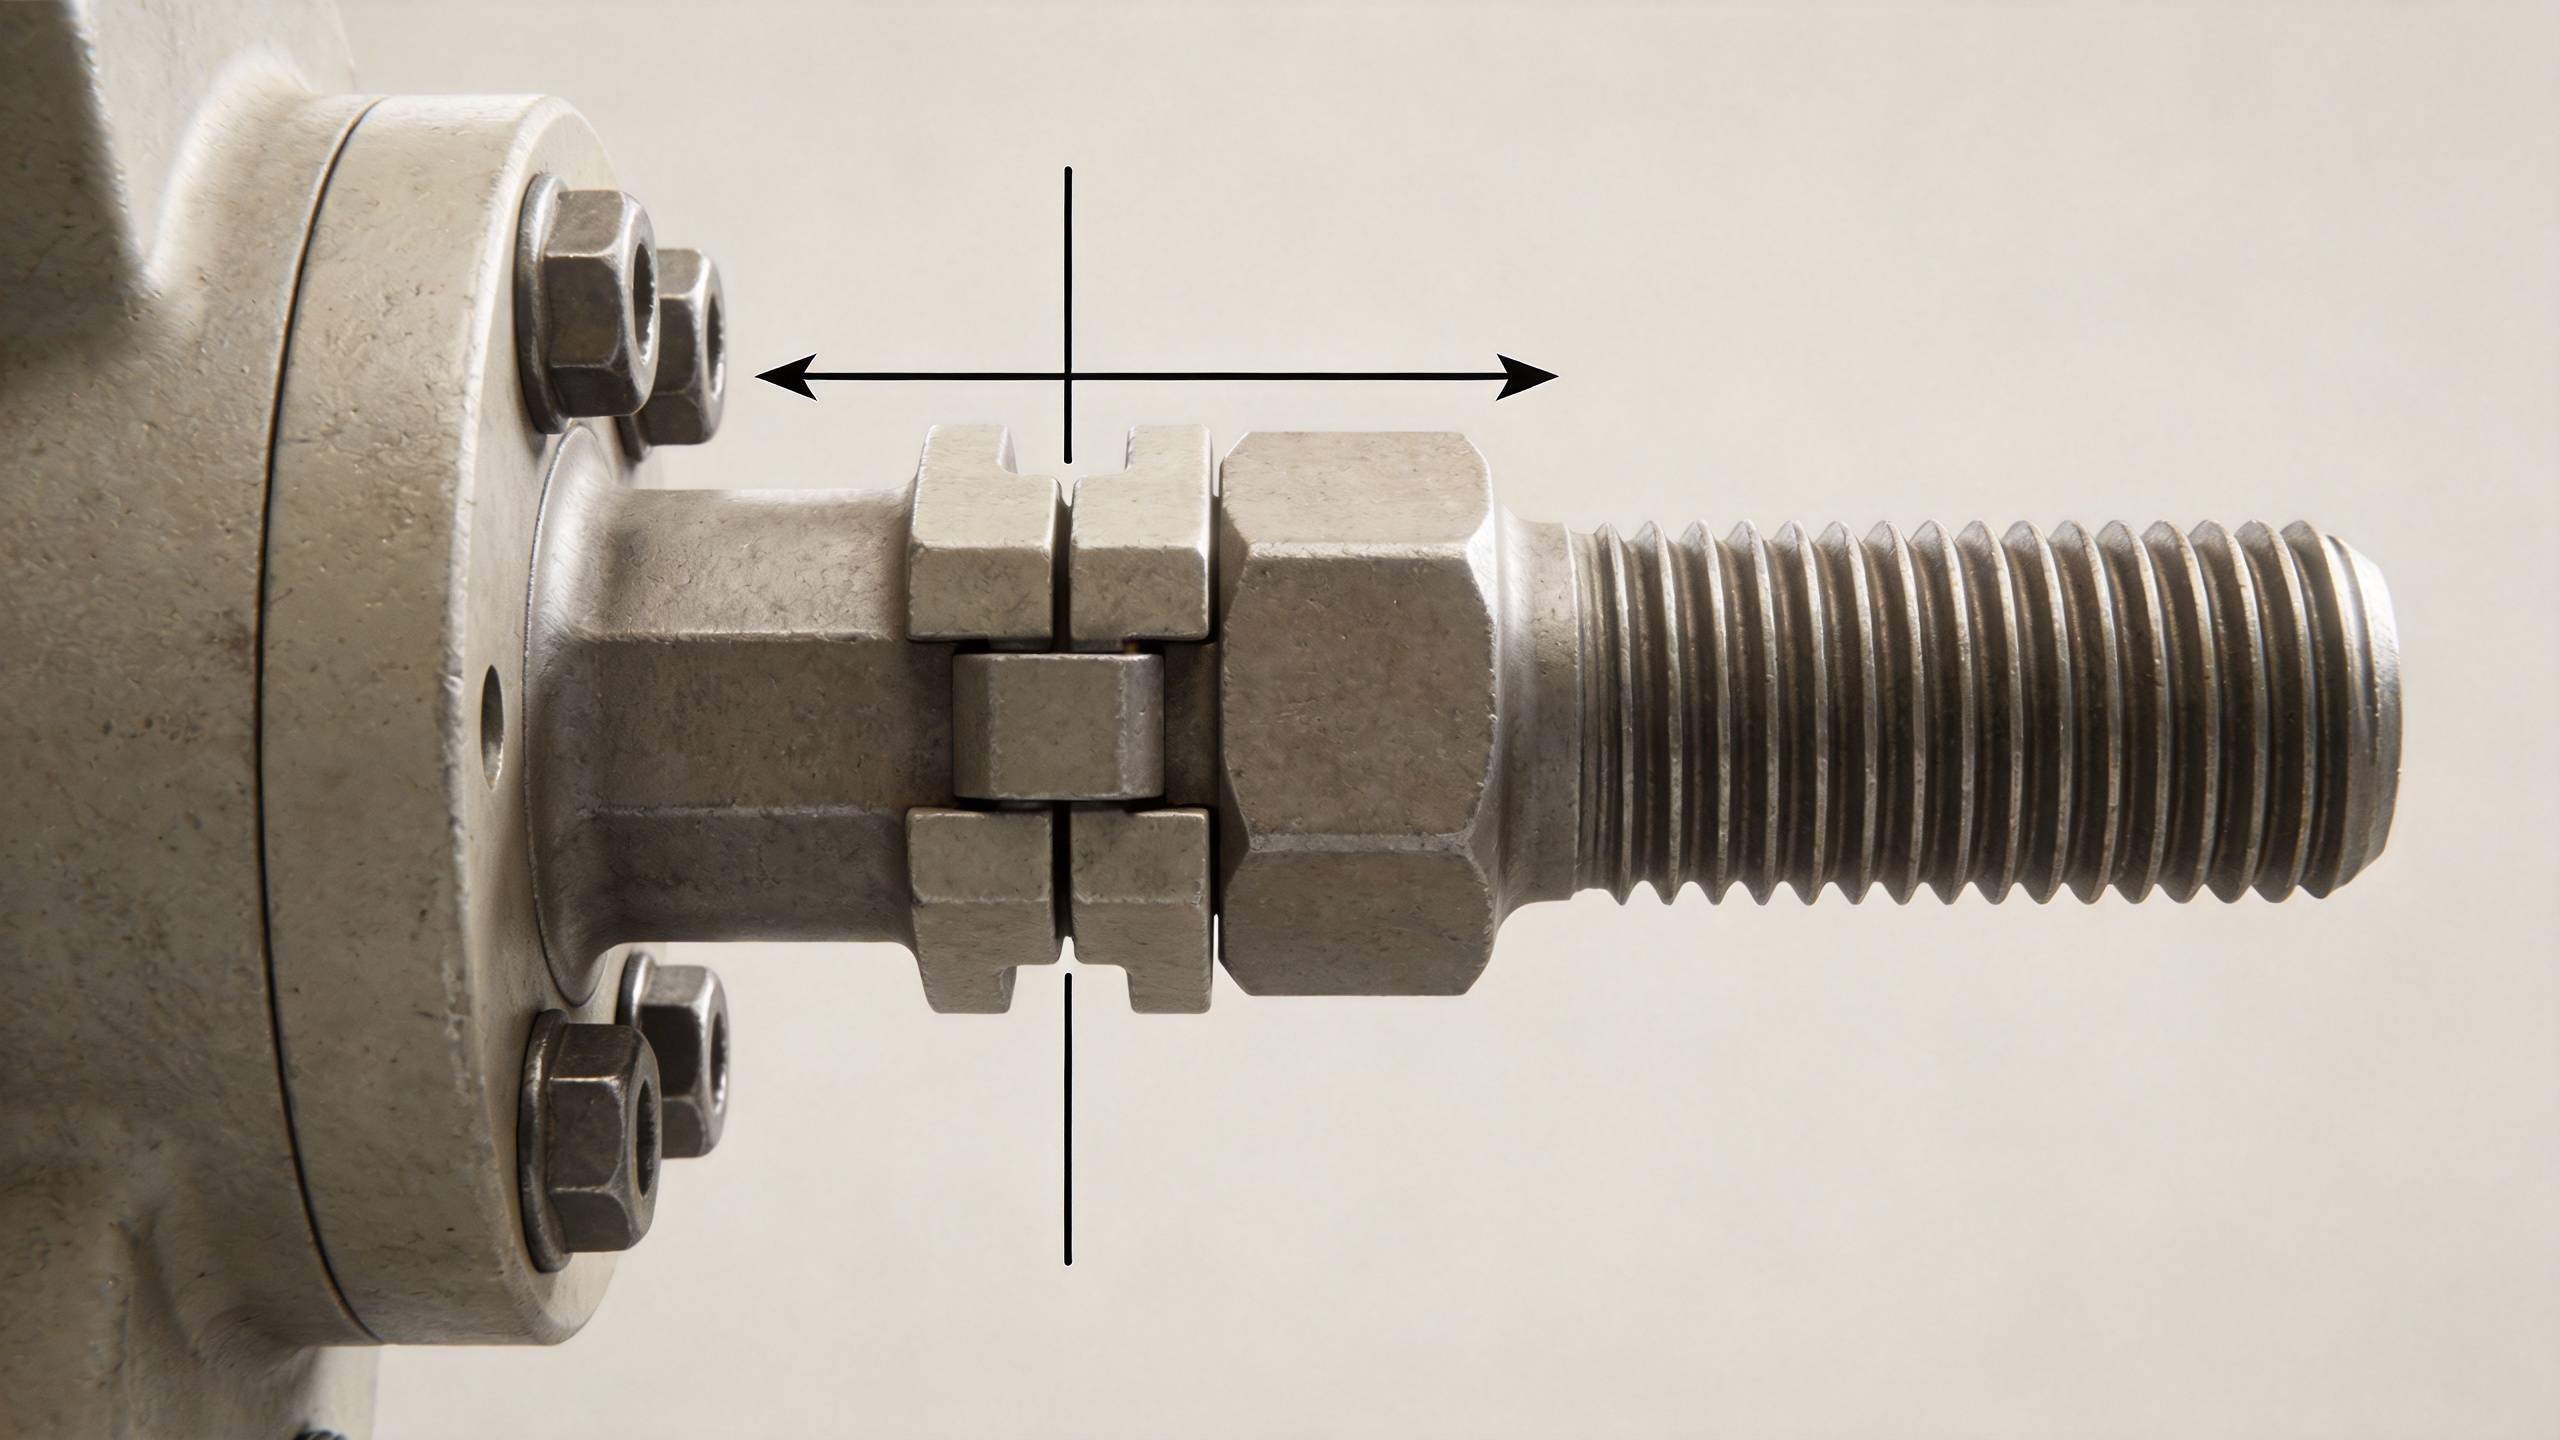
High vibration changes that condition. Side-to-side, or transverse, motion is particularly important because it can force microscopic slip between the clamped parts. Once slip begins, the threads and under-head or nut-bearing surface can move in tiny increments. Those increments can turn into rotational self-loosening. This is why a joint may pass a static torque check yet lose tension on an operating machine.
It is tempting to solve every problem by specifying a stronger fastener. That is not necessarily the right answer. In a vibration-duty joint, preload, joint stiffness, surface condition, grip length, assembly consistency, and the locking method all affect reliability. A stainless fastener also needs the right mating material, lubrication practice, and torque procedure; corrosion resistance does not substitute for a sound anti-loosening design.
Common reasons fasteners lose preload
Insufficient or inconsistent installation preload
Under-tightening leaves too little clamp force to resist service movement. Over-tightening can damage threads, yield the bolt, crush softer joint materials, or produce misleading torque readings. Torque is an indirect way to control tension because thread and bearing-face friction consume much of the applied input. For critical assemblies, use a documented installation method and verify the process on the real joint rather than relying on a generic torque value.
Joint settling after assembly
Paint, plating, burrs, rough contact faces, soft gaskets, washers, and embedded surface asperities can settle after the first load cycles. That settling shortens the effective clamped stack and reduces bolt stretch. A threaded fastener may not visibly back out at first; it can simply lose enough clamp load for later vibration to start the loosening process.
Transverse slip and joint separation
When shear load repeatedly overcomes contact-surface friction, the members slide. If the joint also separates during a load cycle, preload drops more rapidly and fatigue demand on the bolt rises. The remedy may be a larger bearing area, a revised joint geometry, closer shear transfer, or a change in the number and placement of fasteners—not merely a different nut.
Thread engagement or stack-up problems
Short engagement, misaligned holes, a poor grip-length choice, or a stack with very soft layers can make the connection more sensitive to relaxation. Check that the fastener clamps the intended components rather than running threads through the primary shear plane when a plain shank is needed. Also inspect washers, spacers, and coatings as a system; a single compressible layer can change the preload budget.
Fixes that work when they match the failure mode
1. Establish repeatable preload first
Start by defining the required clamp load from the joint’s service loads and materials. Then select an installation method that is repeatable for the production environment: controlled torque with known friction, torque-angle, direct-tension indication, or another validated process. Record tool settings, lubrication condition, seating sequence, and inspection criteria. If the same joint is assembled in several locations, confirm that operators and tools can produce comparable results.
2. Design the joint to resist slip
The most effective locking device cannot fully compensate for a joint that is allowed to slide. Improve the clamped contact surface where practical: use sufficient preload, remove avoidable burrs or unstable coatings, increase contact stiffness, and direct shear through suitable features where the design permits. For a vibration-prone mechanical fastener joint, ask whether the bolt is being asked to carry repeated transverse shear that the joint contact surface should carry instead.
3. Choose a locking approach for the actual environment
Locking methods are tools, not interchangeable insurance policies. Prevailing-torque nuts add resistance to rotation, but their performance depends on reuse limits, temperature, and material compatibility. Wedge-locking washer pairs can be useful where their geometry and hardness suit the joint. Threadlocking compounds can fill clearance and add resistance, but surface preparation, setting conditions, service temperature, and maintenance requirements matter. Safety wire, tab washers, and positive-locking features may be considered where inspection access and the application justify them.
For a stainless fastener, confirm compatibility before selecting a thread treatment or a locking nut. Stainless-on-stainless assemblies can gall, and a process intended to improve retention can create installation variability if friction is not controlled.
4. Validate with representative vibration testing
Bench checks are useful, but high-vibration joints should be evaluated with representative clamp materials, finishes, preload, load direction, and service temperature. Transverse-vibration testing, often discussed in connection with the Junker method, helps compare how a joint retains clamp load under cyclic lateral movement. A result from another assembly is only a reference. Test whether the selected fastener system maintains tension in your own stack-up.
A practical troubleshooting sequence
- Inspect the joint before retightening. Look for fretting marks, flattened coatings, broken washers, elongated holes, corrosion, or evidence of joint movement.
- Identify the motion direction. Determine whether the assembly sees transverse vibration, axial cycling, thermal movement, impact, or a combination.
- Check the assembly process. Review actual torque or tension records, tool calibration, lubrication, seating sequence, and reuse of locking components.
- Review the clamped stack. Assess grip length, engagement, material stiffness, surface finish, washers, spacers, and any soft or settling layers.
- Apply one justified change at a time. Change preload control, joint geometry, locking method, or component specification based on the identified cause, then test the revised assembly.
Fastener selection checklist for vibration duty
Use this checklist before changing a single component. First, define the vibration direction, amplitude, temperature range, and maintenance access. Next, select the fastener size and grade from the required clamp load and joint geometry, not from a generic torque table. Confirm that each threaded fastener has adequate engagement and that the grip length clamps the intended stack. A mechanical fastener installed through a soft or settling layer needs a different review from one clamping two rigid steel members.
Then review material pairing. A stainless fastener can suit a corrosive setting, but its installation friction and galling tendency must be addressed in the work instruction. Where a nonstandard stack-up, access restriction, or load path drives the design, a custom fastener may be justified only after the whole joint has been evaluated. In every case, verify the chosen fastener system on representative parts. The right threaded fastener and the right locking method are effective only when the assembly process produces the intended preload.
For maintenance teams, the inspection record should identify the fastener location, tightening method, locking feature, observed movement, and replacement history. That record makes it easier to distinguish a one-time installation error from a repeated joint-design issue. Treat a loose mechanical fastener as evidence to inspect the clamped system, not just an item to retighten. If replacement is required, match the specified fastener configuration and validate any change in washer, coating, lubricant, or nut type.
When to involve an engineer
Escalate the review when a loose fastener affects guarding, lifting, pressure containment, structural integrity, rotating equipment, or safety-critical access. Recurrent loosening after a locking-product change is another signal that the root cause is joint slip, preload loss, or an overlooked service condition. In those cases, document the failure pattern and evaluate the entire bolted joint rather than treating the visible nut or screw as the only problem.
Key takeaway
Fasteners loosen in high-vibration environments because the joint loses the clamp force that keeps its parts from moving relative to one another. The durable fix is usually a combination of controlled preload, a slip-resistant joint design, an appropriate locking method, and representative verification. Begin with the joint’s motion and stack-up, then select the fastener solution that fits those conditions.

