 EN

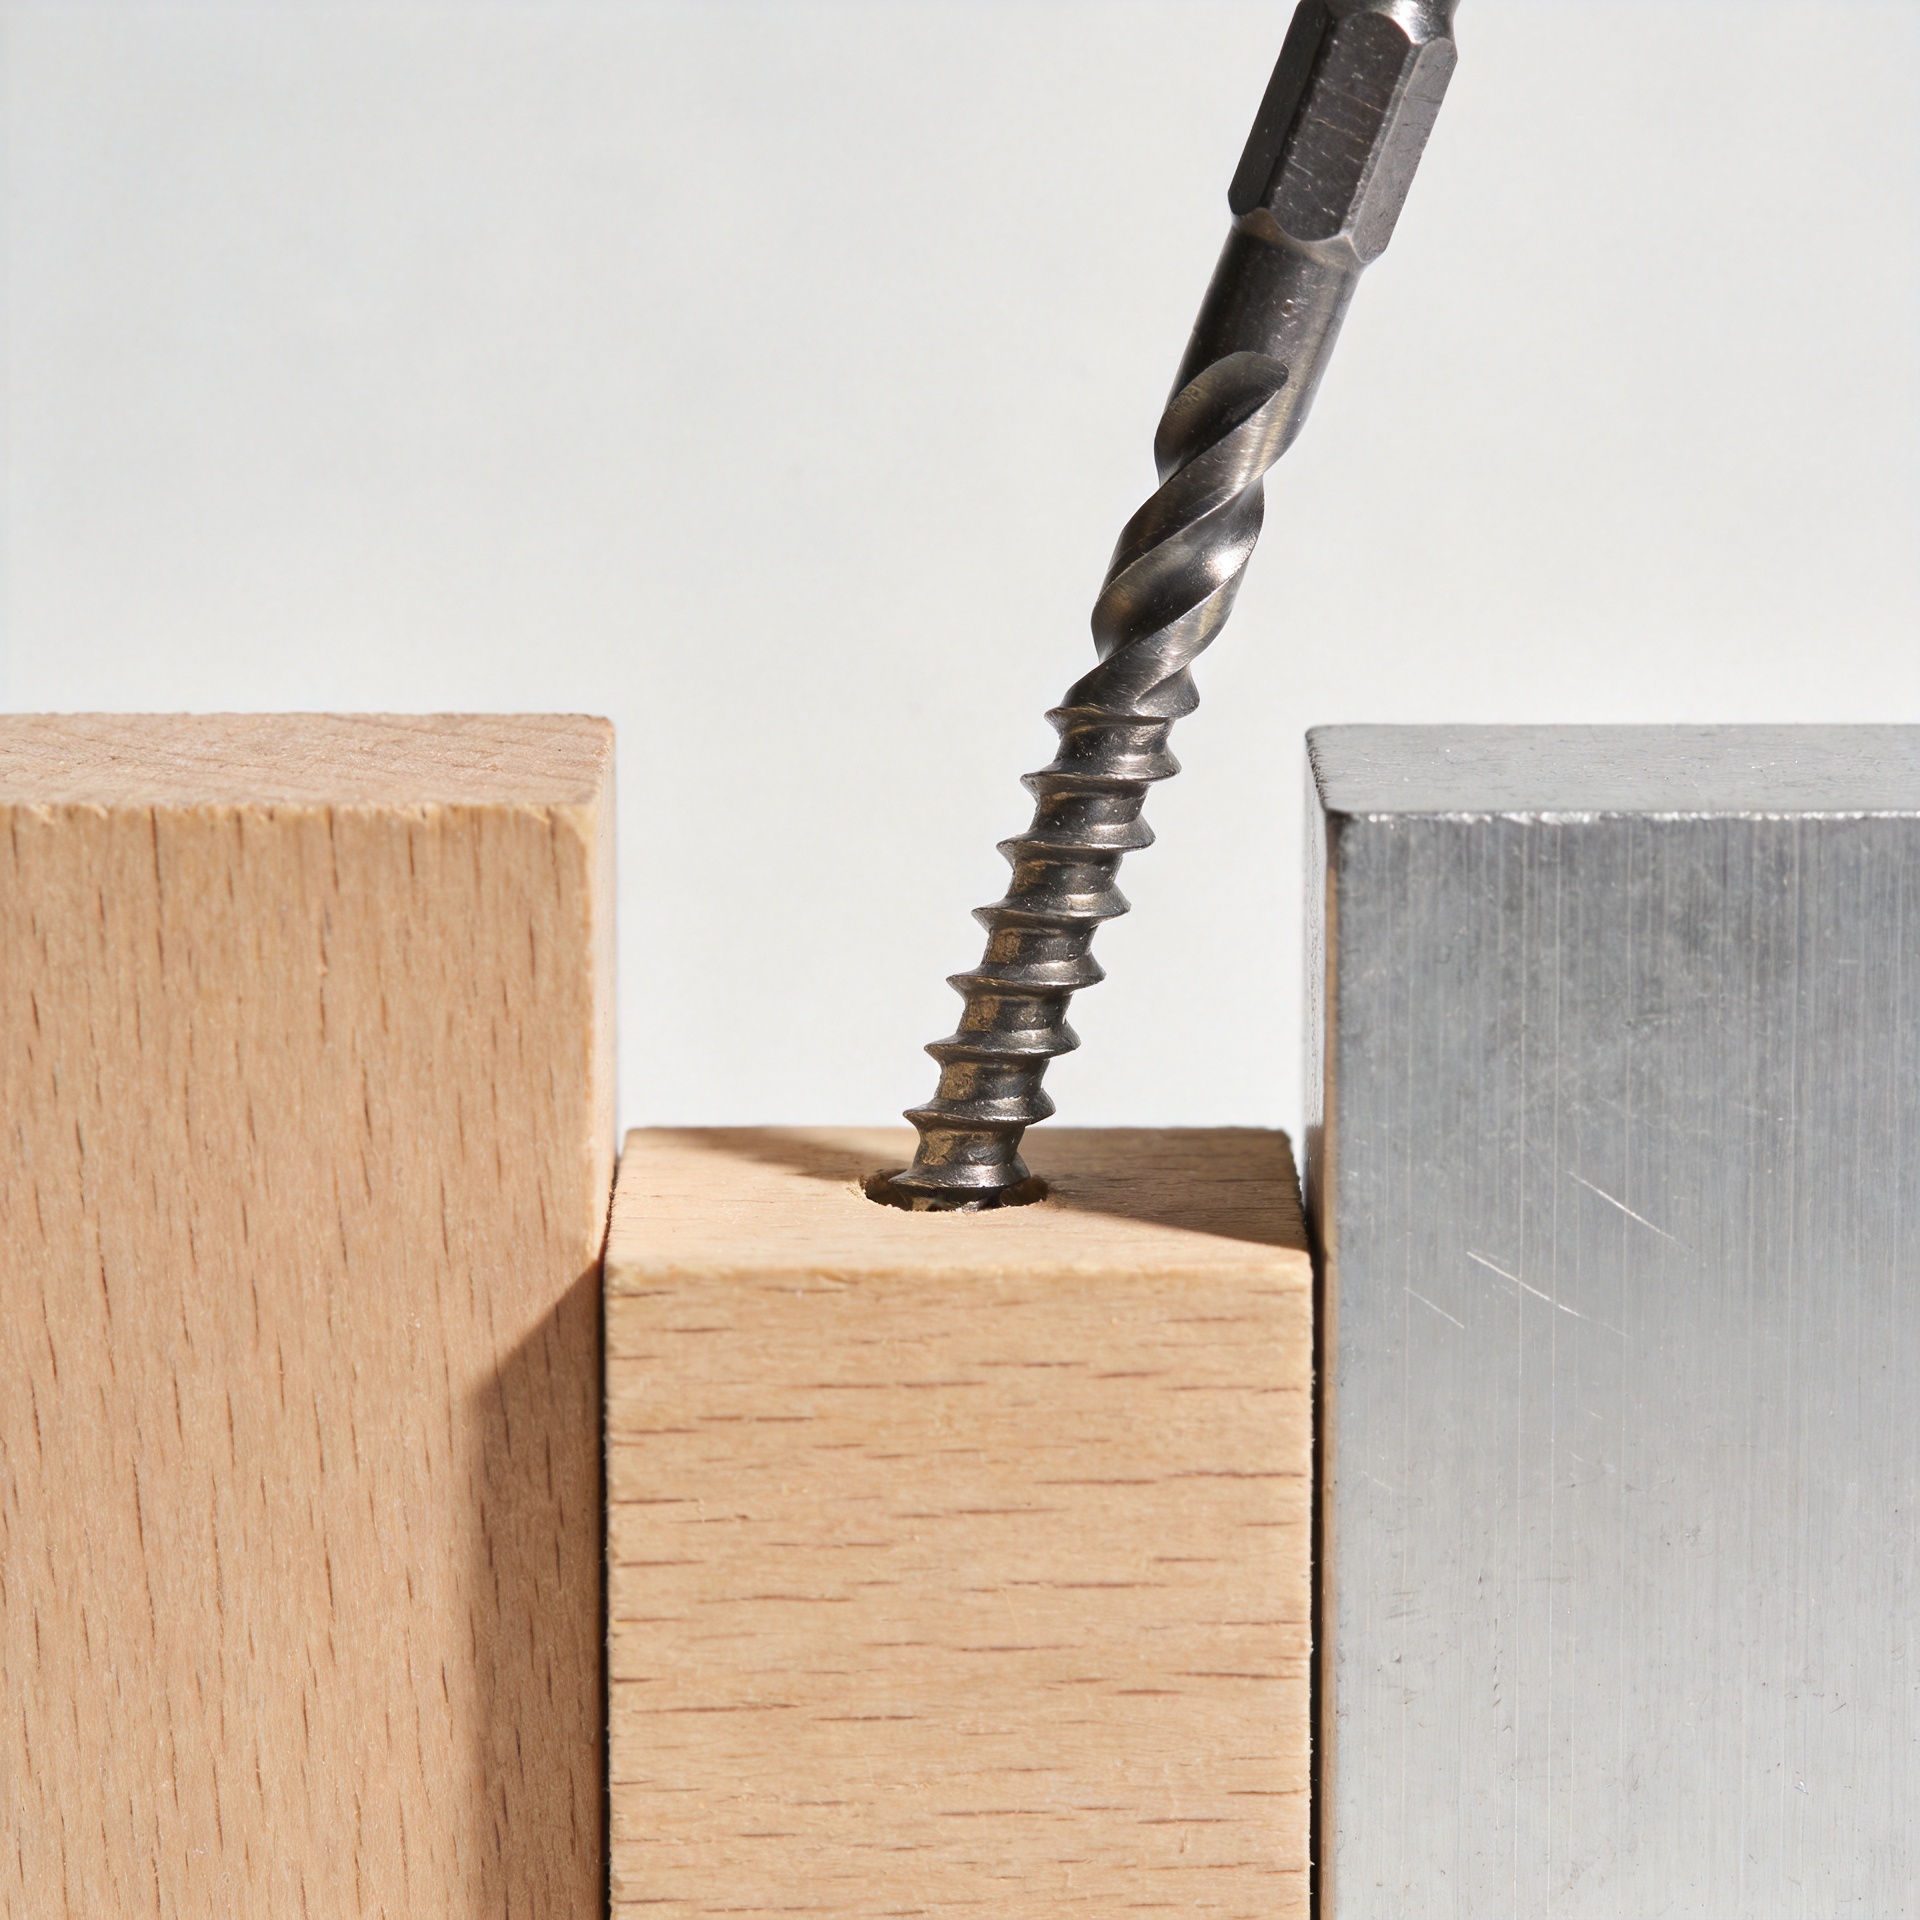
Why Screw Length and Pilot Hole Diameter Must Match in Real Builds
A screw can look correct on a drawing and still create trouble at the bench. A long fastener can bottom out before it clamps two parts. A short one may not develop enough engagement in the receiving material. A pilot hole that is too tight can split timber, distort a thin section, or demand more driving torque than the head can take. One that is too large can leave the threads with too little material to grip. In real builds, length and pilot-hole diameter are a single installation decision, not two separate numbers.
From a fastener-selection perspective, start with the joint rather than the box label. Identify the materials, total thickness, desired clamping action, accessible depth, load direction, and whether the hole is a pilot hole, a clearance hole, or a tapped hole. That short review prevents many avoidable screw issues.
Length is about usable engagement, not the overall number on the fastener
When choosing a screw, separate the portion passing through the first part from the portion that must hold in the second. The first part often needs a clearance hole so the head can pull it tightly against the receiving material. The second part needs enough thread engagement for its material and loading condition. If threads bite both pieces when the design needs clamping, the joint can feel tight while a small gap remains between the parts.
For a wood screw, the usable length is affected by the thickness of the top member, the depth available in the receiving piece, grain direction, and whether the tip runs into a void or breaks through. A screw that is simply longer is not automatically a stronger choice. If the point exits a visible surface, reaches a service cavity, or bottoms in a blind hole, additional length adds a new problem instead of useful holding.
With a machine screw, length must also match the tapped depth, nut thickness, washer stack, and any unthreaded shoulder. In a blind tapped hole, a machine screw can contact the hole bottom before the joint is clamped. The torque rises, but the parts are not actually secured. Check thread depth and leave reasonable allowance for the point, tap geometry, chips, and coating variation rather than treating every drilled depth as usable thread depth.
What the pilot hole actually controls
The pilot hole gives a threaded screw a path while preserving enough material for the threads to form or engage. For wood, a practical starting principle is to relate the pilot diameter to the root diameter of the screw, then adjust for species, moisture, thread form, and the risk of splitting. Dense hardwood usually needs more relief than softwood. The final drill size should come from the fastener maker’s table or a trial in representative material when the joint matters.
Do not confuse that pilot hole with a clearance hole. A clearance hole is intentionally large enough for the shank to pass through without gripping the first part. A pilot hole is in the receiving material and supports controlled thread engagement. For a machine screw entering a tapped metal hole, the relevant drilled diameter is the tap-drill size for the selected thread, not a wood-style pilot-hole rule.
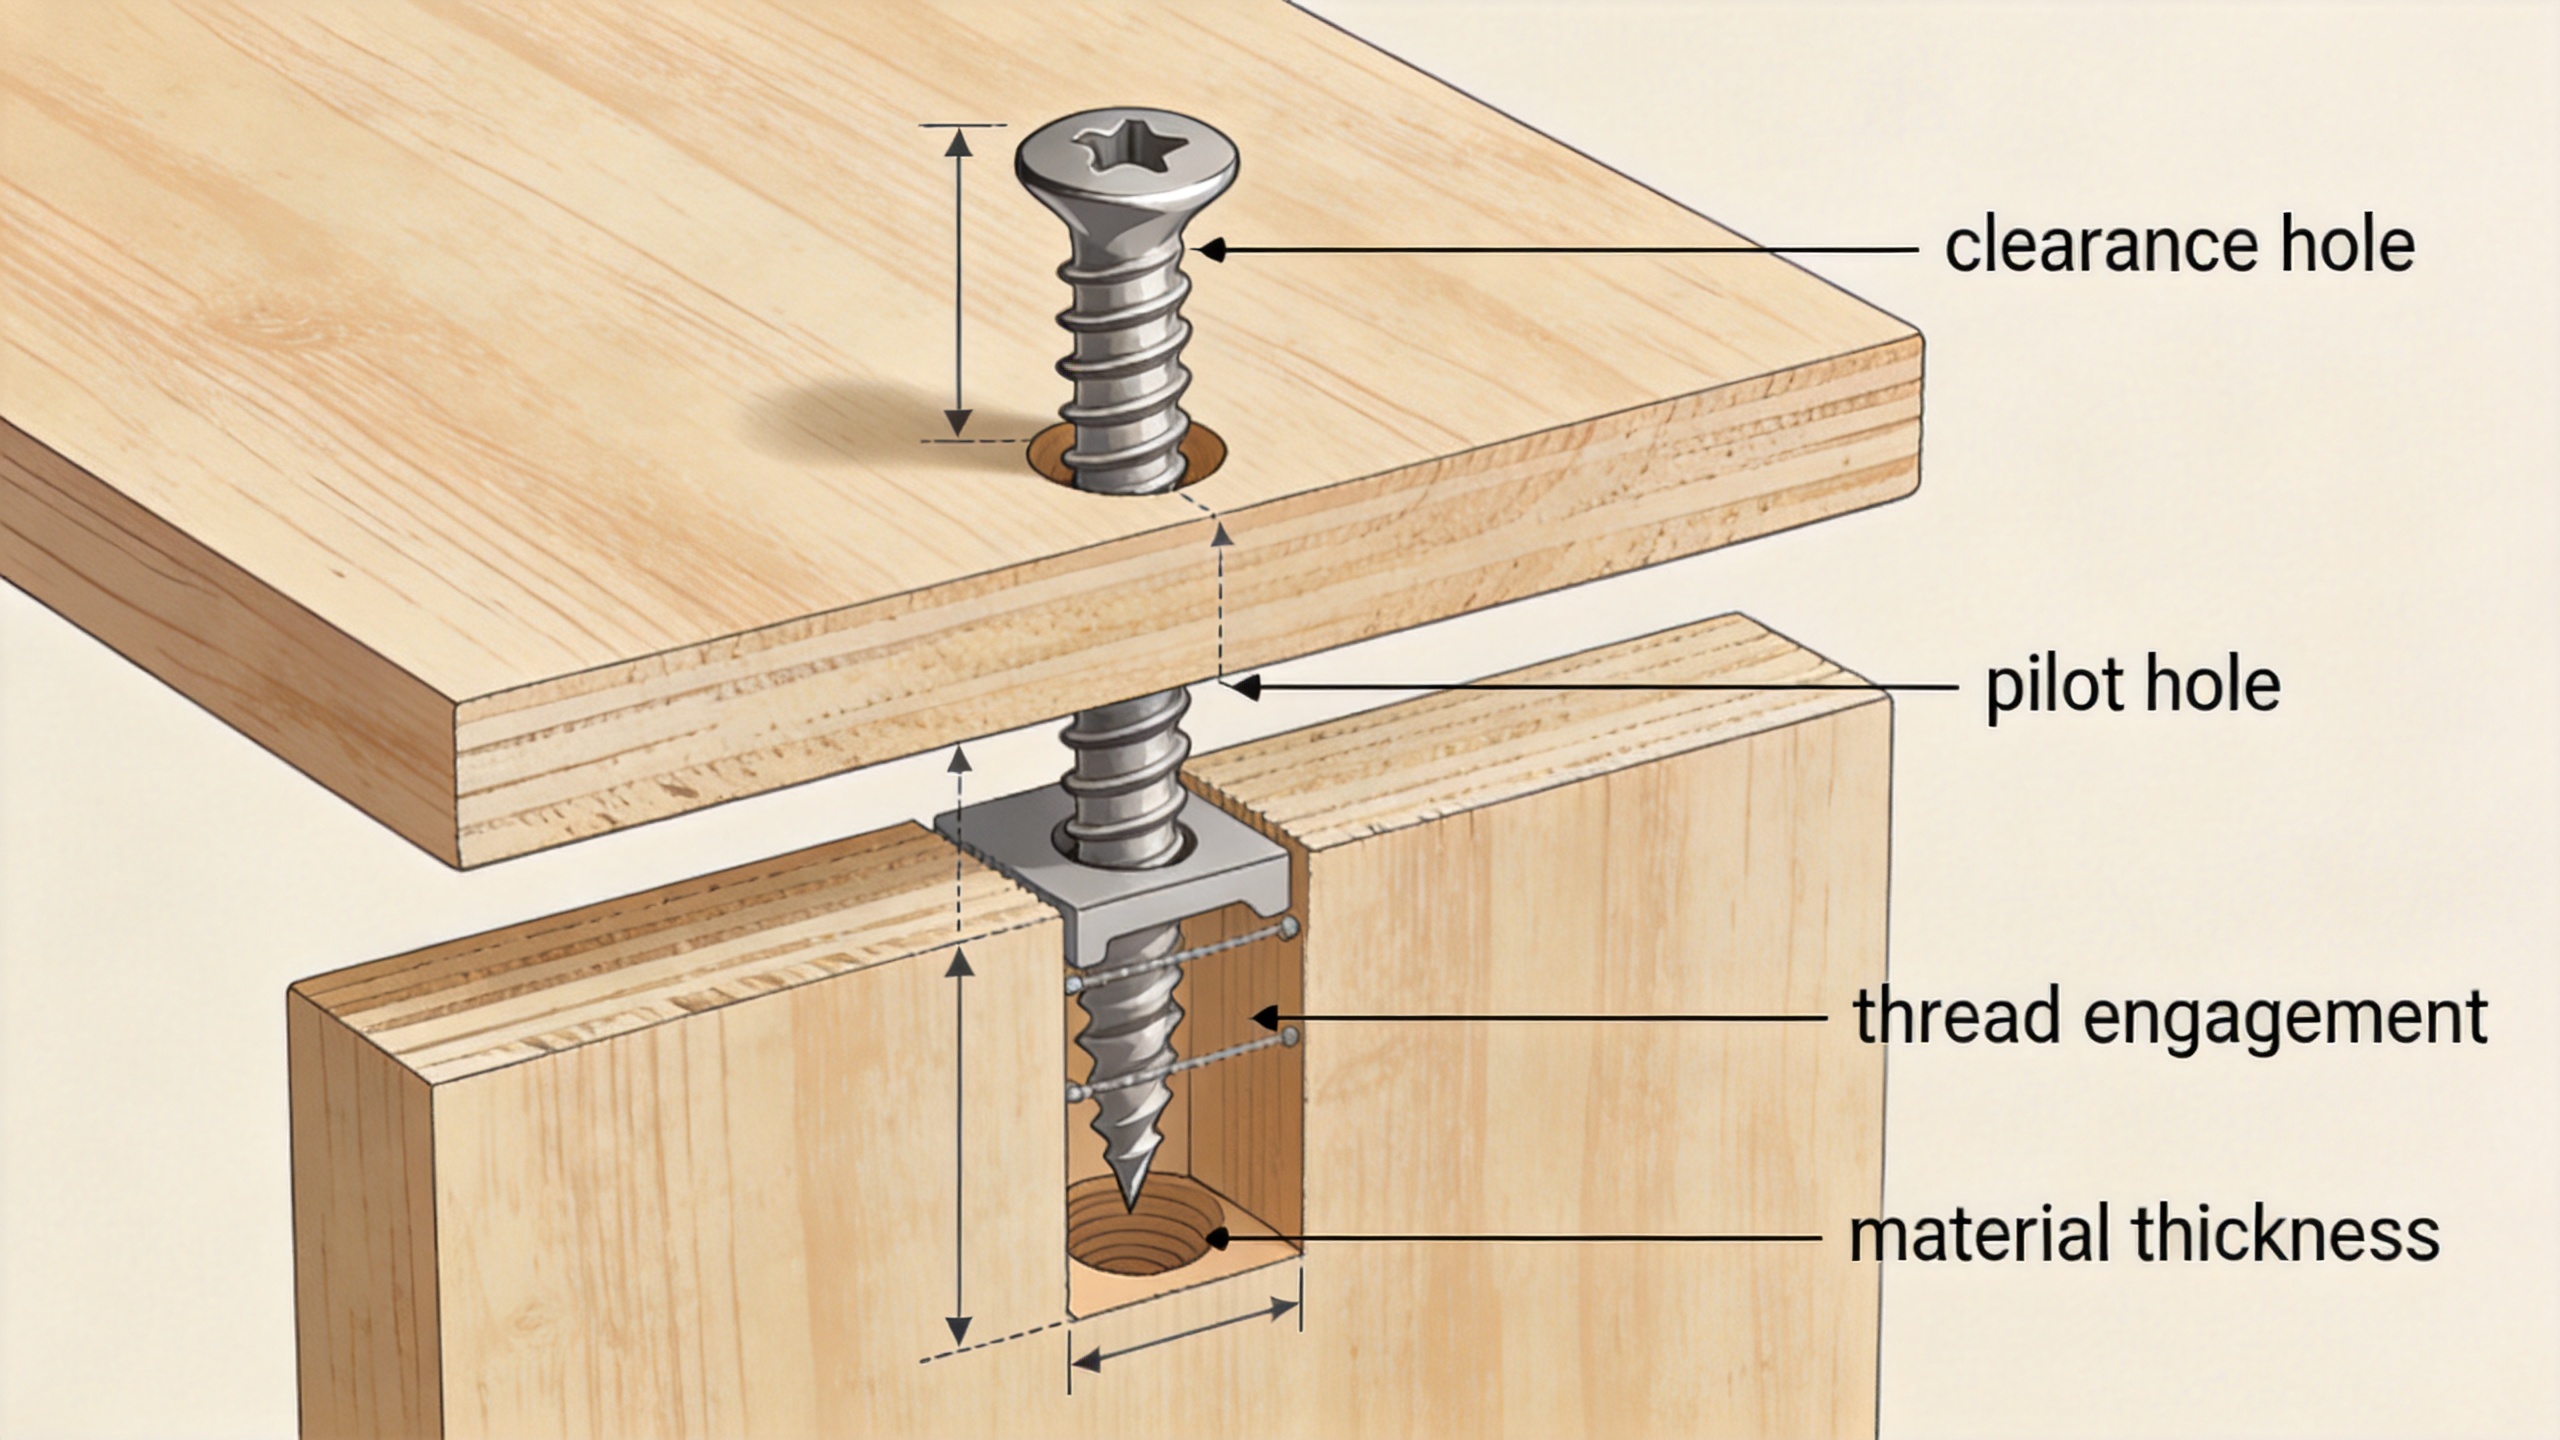
Why the two dimensions must be planned together
Imagine a wood screw that is long enough to reach deep into a hardwood rail but is driven into an undersized pilot hole. The threads may have plenty of theoretical engagement, yet the installation load becomes excessive and the timber can split before the intended holding value is reached. Now enlarge the pilot hole too far. Driving becomes easier, but the same screw has less thread purchase. The length did not change; the usable connection did.
The reverse happens with a short screw. Even with a carefully sized pilot hole, there may not be enough embedded thread length to resist the load or repeated movement. This is why pilot-hole selection cannot rescue an unsuitable screw length. Treat the pair as a geometry check: available depth, required engagement, root diameter, outside thread diameter, and material behavior all need to agree.
Different screw types create different decisions
Wood screw
A wood screw relies on the surrounding fibers. Use a pilot-hole approach that respects the wood species and the risk of splitting near an edge or end grain. Pre-drilling is especially useful in dense wood, close to edges, and when using a larger diameter screw. If the fastener must pull two timber pieces together, provide clearance in the first piece where appropriate and pilot guidance in the receiving piece.
Self tapping screw
A self tapping screw forms or cuts its mating path in sheet material, plastics, or other suitable substrates. The correct pre-hole, if specified, is tightly linked to material thickness, hardness, thread-forming design, and coating. A hole that is too small can raise drive torque or damage the formed threads; one that is too large can reduce retention. Follow the manufacturer’s recommendation and validate in the actual material stack, especially when sheet thickness varies.
Machine screw
A machine screw normally works with a nut or a prepared internal thread. Confirm pitch, thread class, tapping method, and usable engagement depth. The screw length must accommodate the clamped stack without bottoming, while the tapped feature must be deep enough for the selected length. A washer can change the stack height enough to matter in a shallow blind hole.
Hex screw
A hex screw often appears in structural or serviceable assemblies where wrench access, washer selection, and preload matter. Its length must account for the complete stack and the required nut or tapped-hole engagement. The hole through an unthreaded member is usually a clearance feature, while the receiving nut or tapped member provides the threads. Do not apply a wood pilot-hole assumption to this type of joint.
A bench-side sequence for making the match
- Define the joint: record every layer, its thickness, and which piece must supply the threads.
- Select the screw family: decide whether the application needs a wood screw, self tapping screw, machine screw, or hex screw based on material and joint design.
- Calculate usable depth: subtract clearance layers, washers, blind-hole allowance, and any area where thread engagement is not wanted.
- Set the hole function: mark each hole as clearance, pilot, or tapped. A drawing that labels only a diameter leaves too much room for installation error.
- Choose the drill from verified guidance: use the fastener supplier’s data for the selected material and test an offcut or sample part when splitting, stripping, or torque sensitivity is a concern.
- Trial the assembly: inspect clamp-up, drive torque, visible breakout, alignment, and whether the screw turns after the joint has seated.
Common symptoms and what they suggest
| What you see | Likely geometry question | Useful next check |
|---|---|---|
| Head seats but parts remain loose | Screw may be bottoming or threads may grip both members | Check usable depth and consider clearance in the first member |
| Wood splits during driving | Pilot hole may be too small for the material and screw diameter | Confirm root-diameter guidance and edge distance |
| Screw turns with little resistance | Hole may be too large or engagement too short | Measure pilot diameter and embedded thread length |
| Drive torque rises sharply in sheet material | Pre-hole may not suit the self tapping screw or thickness | Review the product data and trial a controlled sample |
Make the drawing and purchase specification work together
For repeat work, specify more than a nominal screw size. Include the fastener type, diameter, pitch where relevant, length, head style, material, finish, receiving material, hole function, and required drill or tap data. A parts list that says only “screw” shifts too many decisions to the installer. For production teams, a simple setup sheet and first-piece check can catch a wrong drill before it becomes a batch-level issue.
The practical lesson is straightforward: select the screw for the joint’s usable depth, then select the hole for that screw and material. When those choices are made together, installation becomes more predictable, clamp-up is easier to verify, and the finished assembly is less likely to rely on luck.

