EN

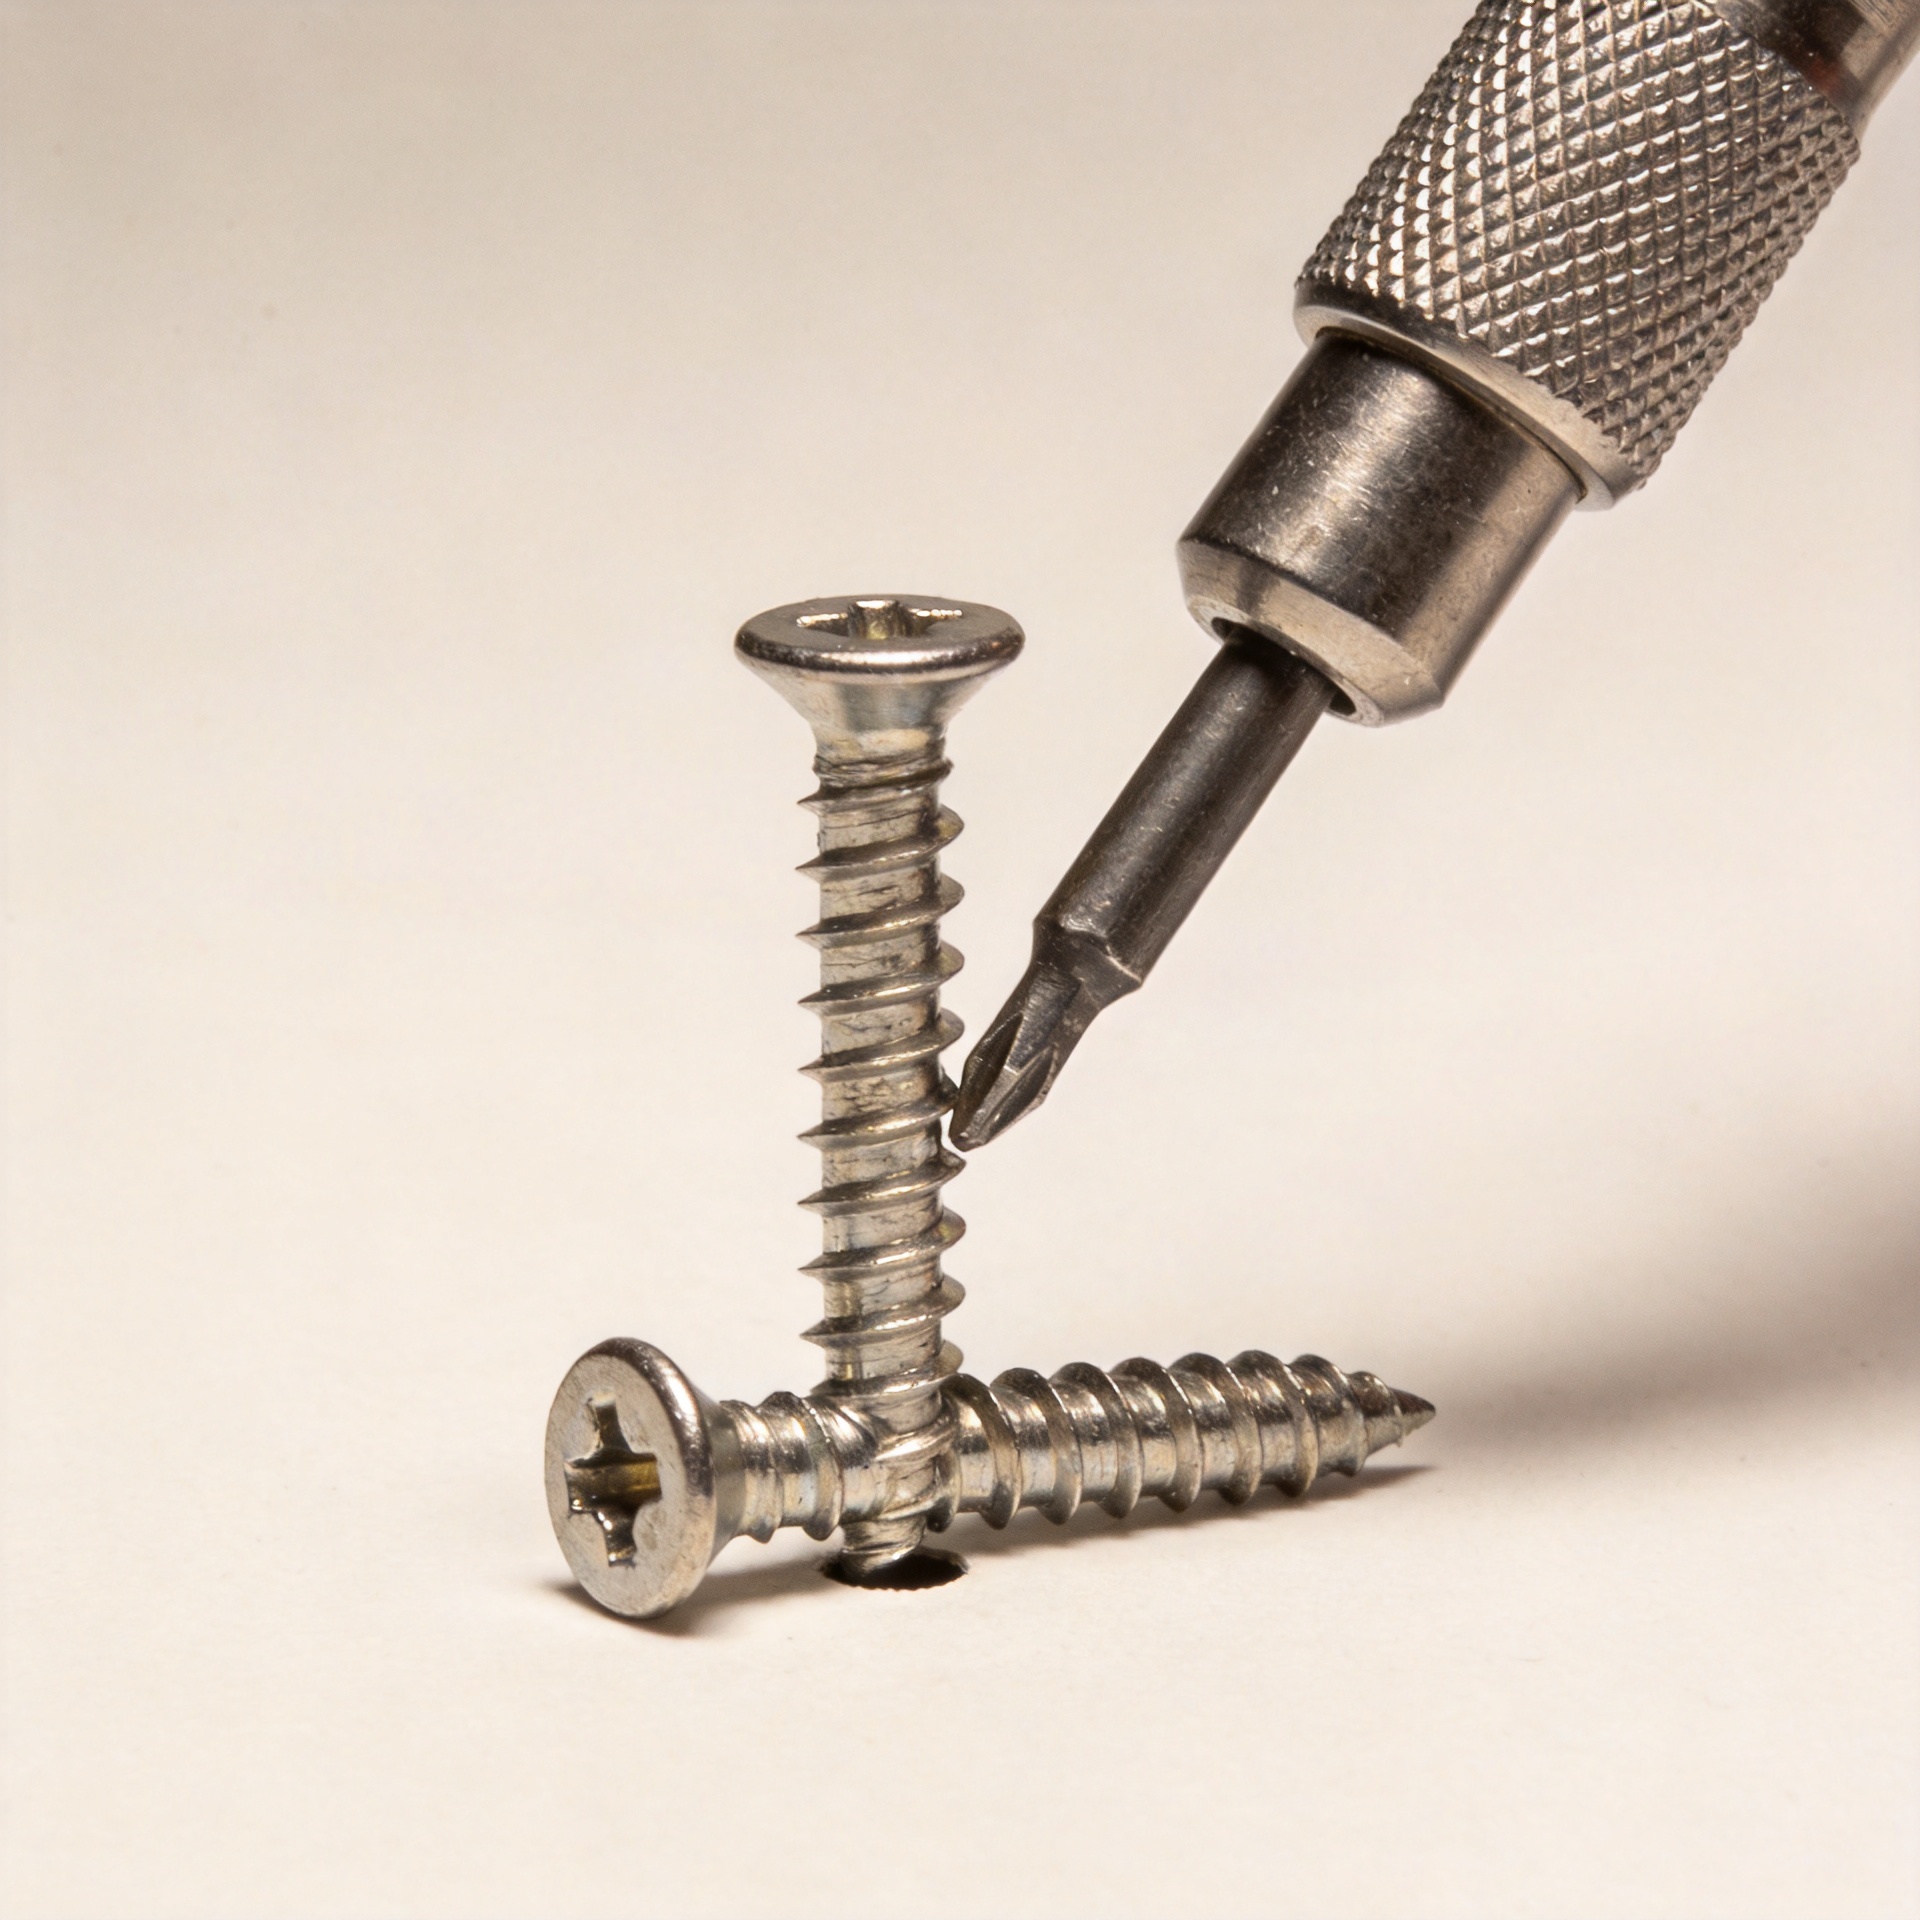
Why Screws Snap During Installation: A Pattern-Based Troubleshooting Guide
When a screw breaks during installation, the failure usually has a repeatable cause. On a busy assembly line or at a jobsite, repeated breakage usually points to a mismatch among the screw, the base material, the hole, and the driving method. Adding force or ordering a harder fastener without diagnosis often repeats the failure. It is to isolate where resistance rises and correct that condition before another fastener goes in.
From a fastening troubleshooting perspective, begin with the broken part and the workpiece. A clean fracture near the head often suggests excessive driving torque or side loading. A fracture farther down the shank can point to a poor pilot hole, a hard spot in the material, or a screw type that is being asked to form threads beyond its intended range. The pattern matters more than a single failure.
Read the break before changing the screw
Keep several failed pieces from the same installation run. Look for where each screw fractured, whether the thread is packed with material, and whether the head recess shows cam-out. If failures occur at the same depth, stop and inspect the hole depth, alignment, and the material at that depth. If they occur only at final seating, reduce clutch setting and check whether the head is being forced below the surface.
The fastener is often blamed first, although the installation setup may be responsible. Yet a sound screw can fracture when a driver is tilted, a bit does not fit tightly, or an operator continues after the joint is seated. A torque-adjustable tool is useful because it lets the installer reach snug contact without repeatedly loading the shank after the joint has closed. Tool speed, bit condition, and operator angle all deserve the same check.
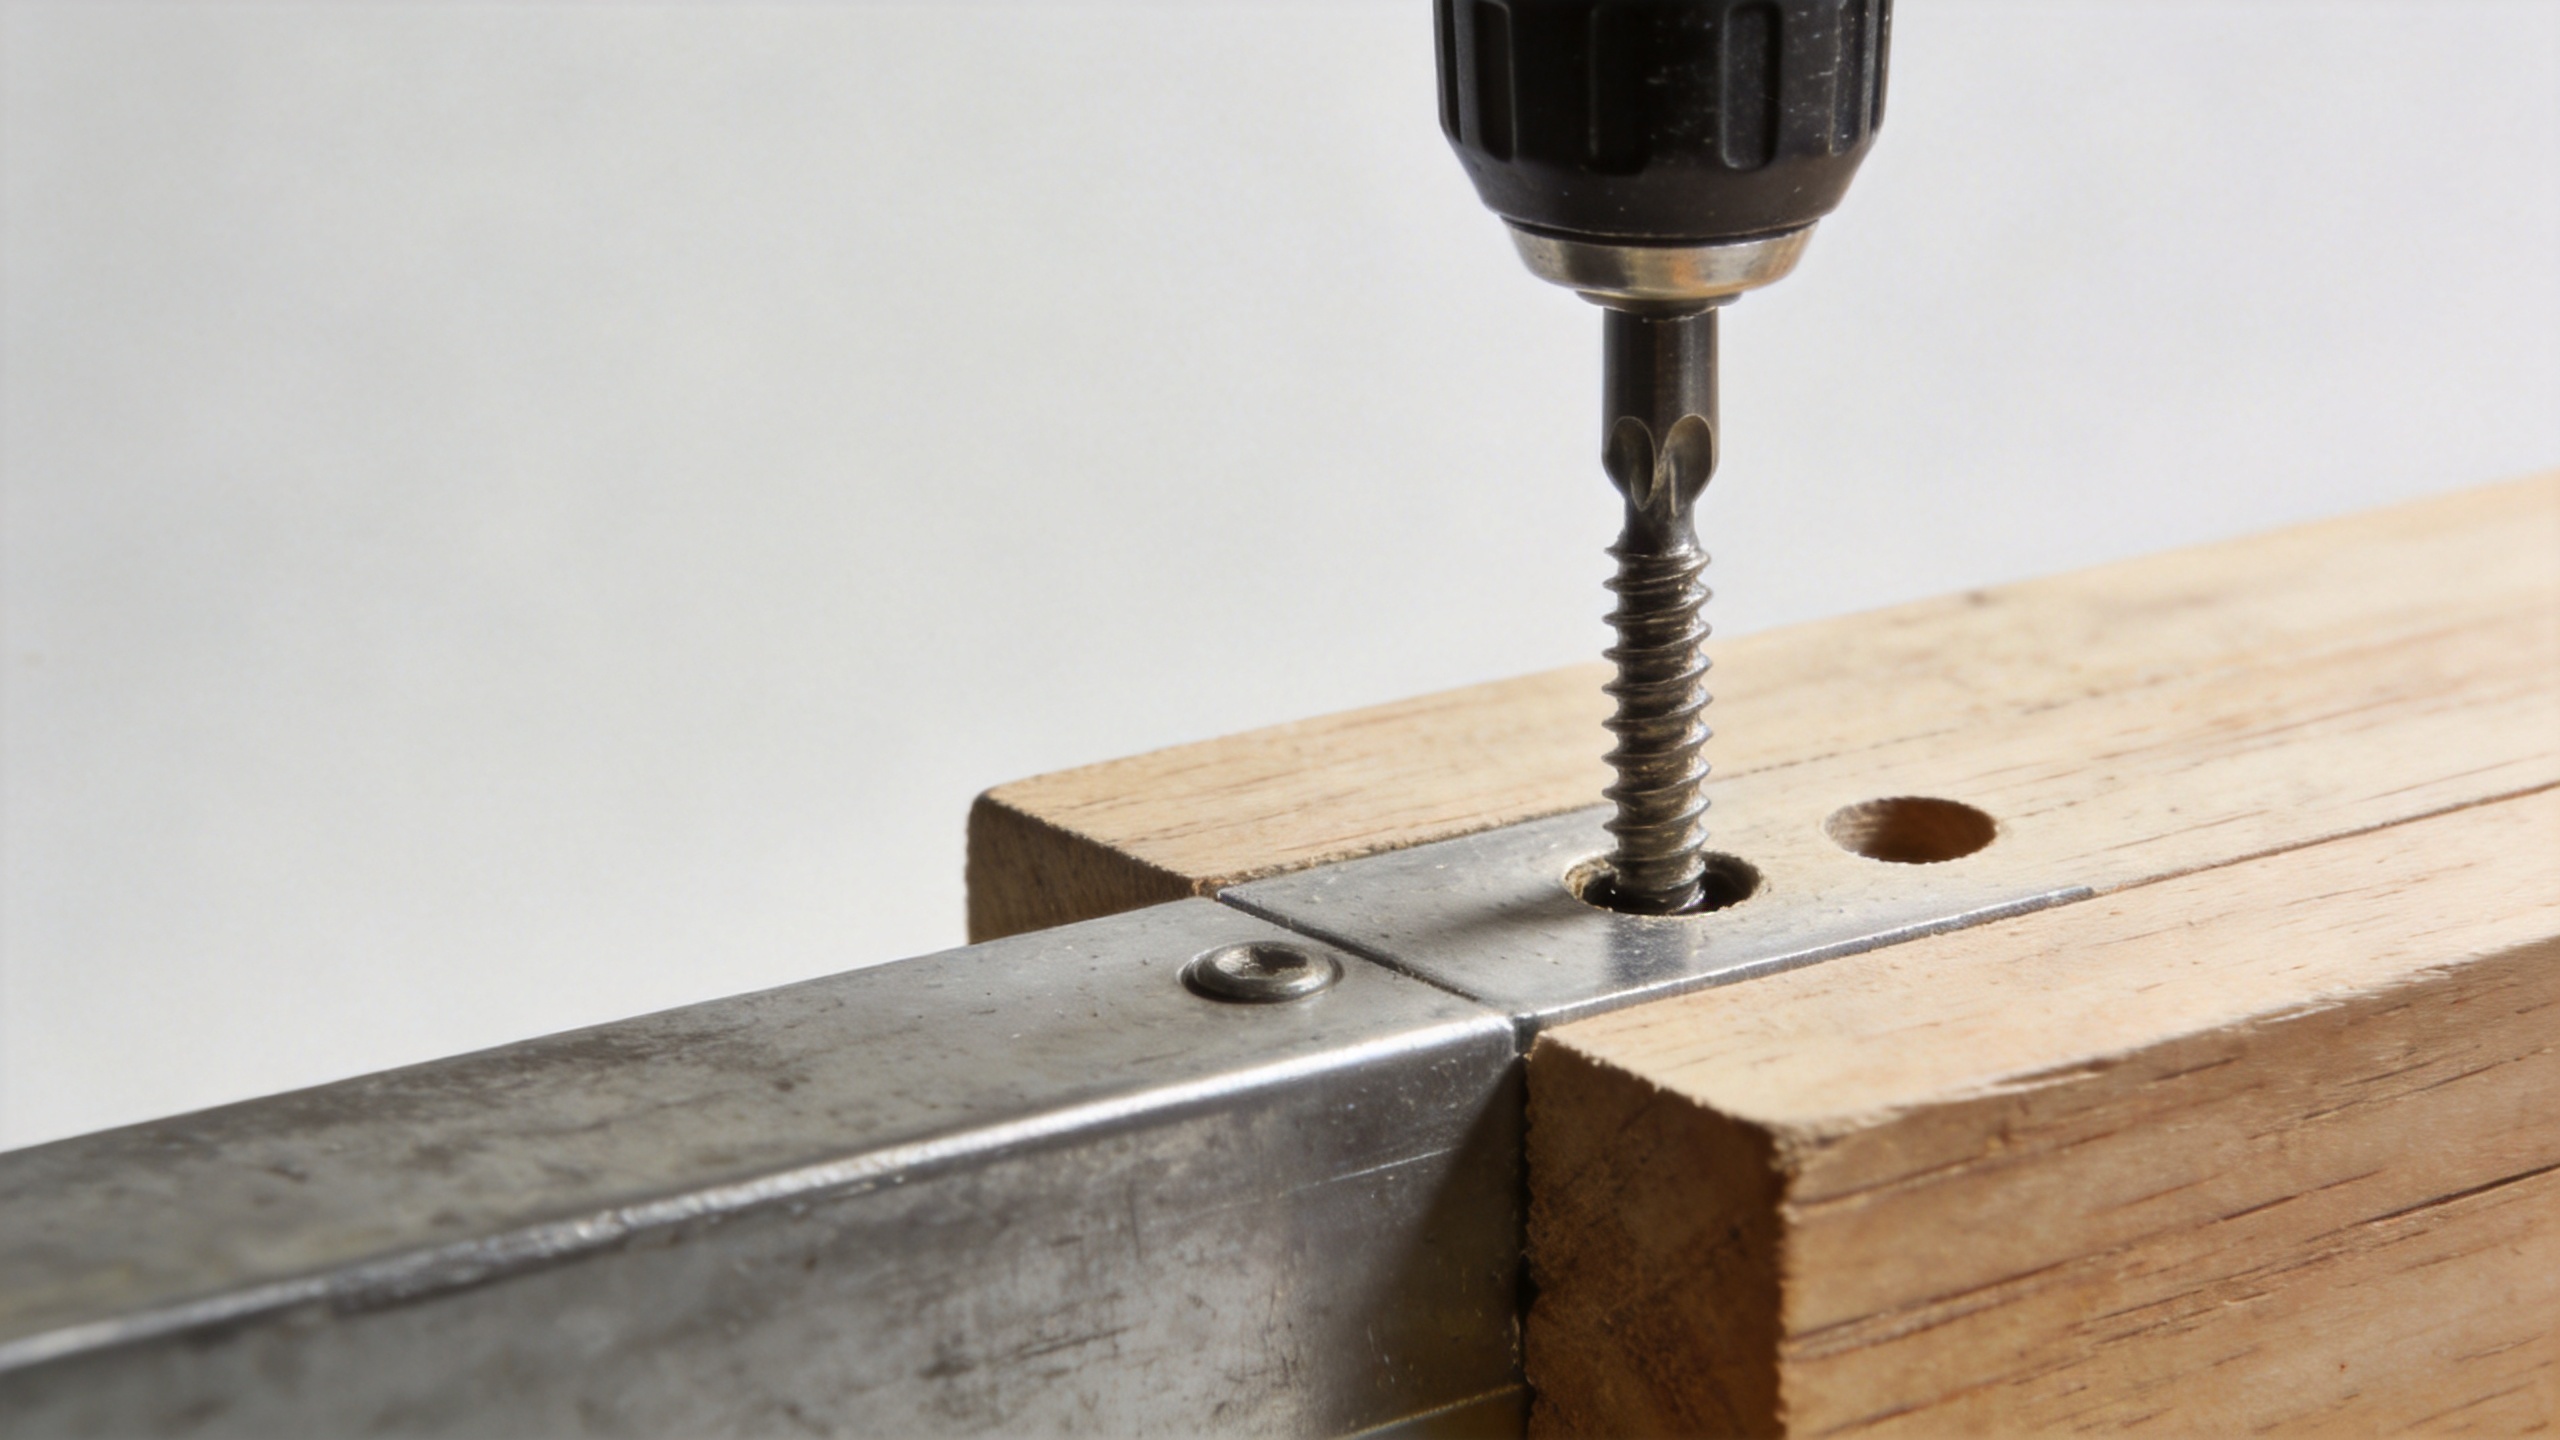
Five conditions that create a recurring failure pattern
1. Torque exceeds the installation window
Every screw has a practical installation window between the torque needed to form or engage threads and the torque at which the fastener, head recess, or workpiece begins to suffer damage. The window changes with diameter, coating, material hardness, thread form, washer use, and substrate. A clutch that is suitable for one panel thickness may be too aggressive for the next one.
Set the tool with trial installations in representative material, then verify seating by inspection rather than by relying on sound alone. For a hex screw, make sure the socket or nut driver is fully engaged and not worn. For recessed heads, replace bits that wobble or ride high. A slipping driver transfers uneven load into the screw and can turn a routine seating operation into torsion plus side bending.
2. The pilot hole is missing, undersized, or poorly aligned
In dense wood, thick sheet, hard plastic, or layered materials, an undersized pilot hole can raise driving resistance sharply. The screw must displace or cut more material, and torque climbs before the head reaches the surface. A hole that starts square but wanders can add bending load as well. Check drill diameter, depth, perpendicularity, and debris removal as one system.
A wood screw often benefits from a pilot hole in hardwood or near an edge, while the correct size depends on thread geometry and timber condition. Do not apply one drill-size rule to every wood screw. Make sample joints with the intended lot, then document the drill, depth stop, and tool setting that produce clean engagement without splitting or excessive resistance.
3. The fastener type does not match the material or joint
A machine screw is intended to engage a prepared threaded hole or a mating nut; it is not a substitute for a thread-forming fastener in a solid substrate. A self tapping screw can form threads in suitable materials, but its performance still depends on material thickness, hardness, and the pilot-hole guidance for that design. The same nominal diameter does not make these choices interchangeable.
Review the drawing and the joint stack before changing grades. Confirm the thread family, point style, head style, required engagement length, and whether the connection needs a clearance hole in the upper layer. For thin metal, thread stripping can appear before the screw breaks; for dense materials, excessive forming torque can arrive first. Those are different problems and call for different corrections.
4. Misalignment adds bending to torsion
A screw is commonly evaluated for torque, but installation also introduces bending when the tool approaches at an angle or components are not clamped together. That combined loading is especially damaging to smaller diameters. Guide fixtures, a square driver approach, and stable workholding reduce the chance that the fastener is used to pull misaligned parts into position.
Watch for parts that gap before driving and then snap together as the screw tightens. The fastener may be drawing components together while also overcoming friction and forming threads. Correct the fixture, hole position, or assembly sequence so the screw clamps a properly located joint rather than correcting the joint geometry.
5. Material condition or lot variation changes resistance
A sudden shift in breakage can follow a change in base material, coating, heat treatment, drill wear, or supplier lot. Corrosion, plating buildup, burrs, and trapped chips can all change the torque needed to install a screw. Record the lot number, material batch, tool, bit, operator station, and failure location. That small record turns a vague complaint into evidence for a focused review.
A practical check sequence before restarting production
- Quarantine the failed pieces and label the station, date, and material batch.
- Compare the broken screw with an unused sample for head damage, finish, thread form, and visible defects.
- Inspect the driver bit or socket, clutch setting, runout, and approach angle.
- Measure pilot-hole diameter and depth where the application calls for one; remove chips and inspect for burrs.
- Build a short trial matrix using the actual workpiece: one controlled change at a time, such as tool torque or hole size.
- Document the accepted setup and make it available at the station before releasing production.
The sequence is intentionally controlled. Changing the screw, tool, hole, and operator technique at the same time may hide the true cause. One change per trial creates a record that purchasing, quality, and installation teams can use when the issue returns.
Choose the right follow-up action
If a machine screw breaks while entering a tapped hole, inspect thread quality, contamination, cross-threading, and engagement length before selecting a different fastener. If a wood screw fails in hardwood, validate pilot-hole practice and driving torque. If a self tapping screw fails in sheet or plastic, confirm that the point and thread form fit the material and thickness, then run a controlled trial using the supplier’s installation guidance. If a hex screw fails at seating, inspect the socket engagement and whether a washer, sealing element, or uneven stack is changing the required torque.
For recurring or safety-sensitive joints, involve the fastener supplier with the broken samples, joint drawing, material description, torque observations, and installation photos. A supplier can help compare grade, material, surface finish, thread form, and inspection criteria, but the final setup still needs validation in the actual joint. Qingdao Jeekuu Hardware Products Co., Ltd. can support specification discussions and inspection-point alignment for buyers sourcing industrial fasteners.
Make screw breakage a controlled installation variable
Repeated screw snapping is a useful signal: something in the joint is concentrating load before the assembly is complete. Treat the event as a process finding, not just a replacement-part request. When the team checks the fastener type, pilot hole, driver condition, alignment, material lot, and seating method in order, it can reduce wasted parts and create a more repeatable installation process.
The aim is not a generic torque value or a one-size drill rule. It is a documented setup that fits the specific screw and workpiece, then a routine check that keeps that setup stable as materials, operators, or production lots change.