EN

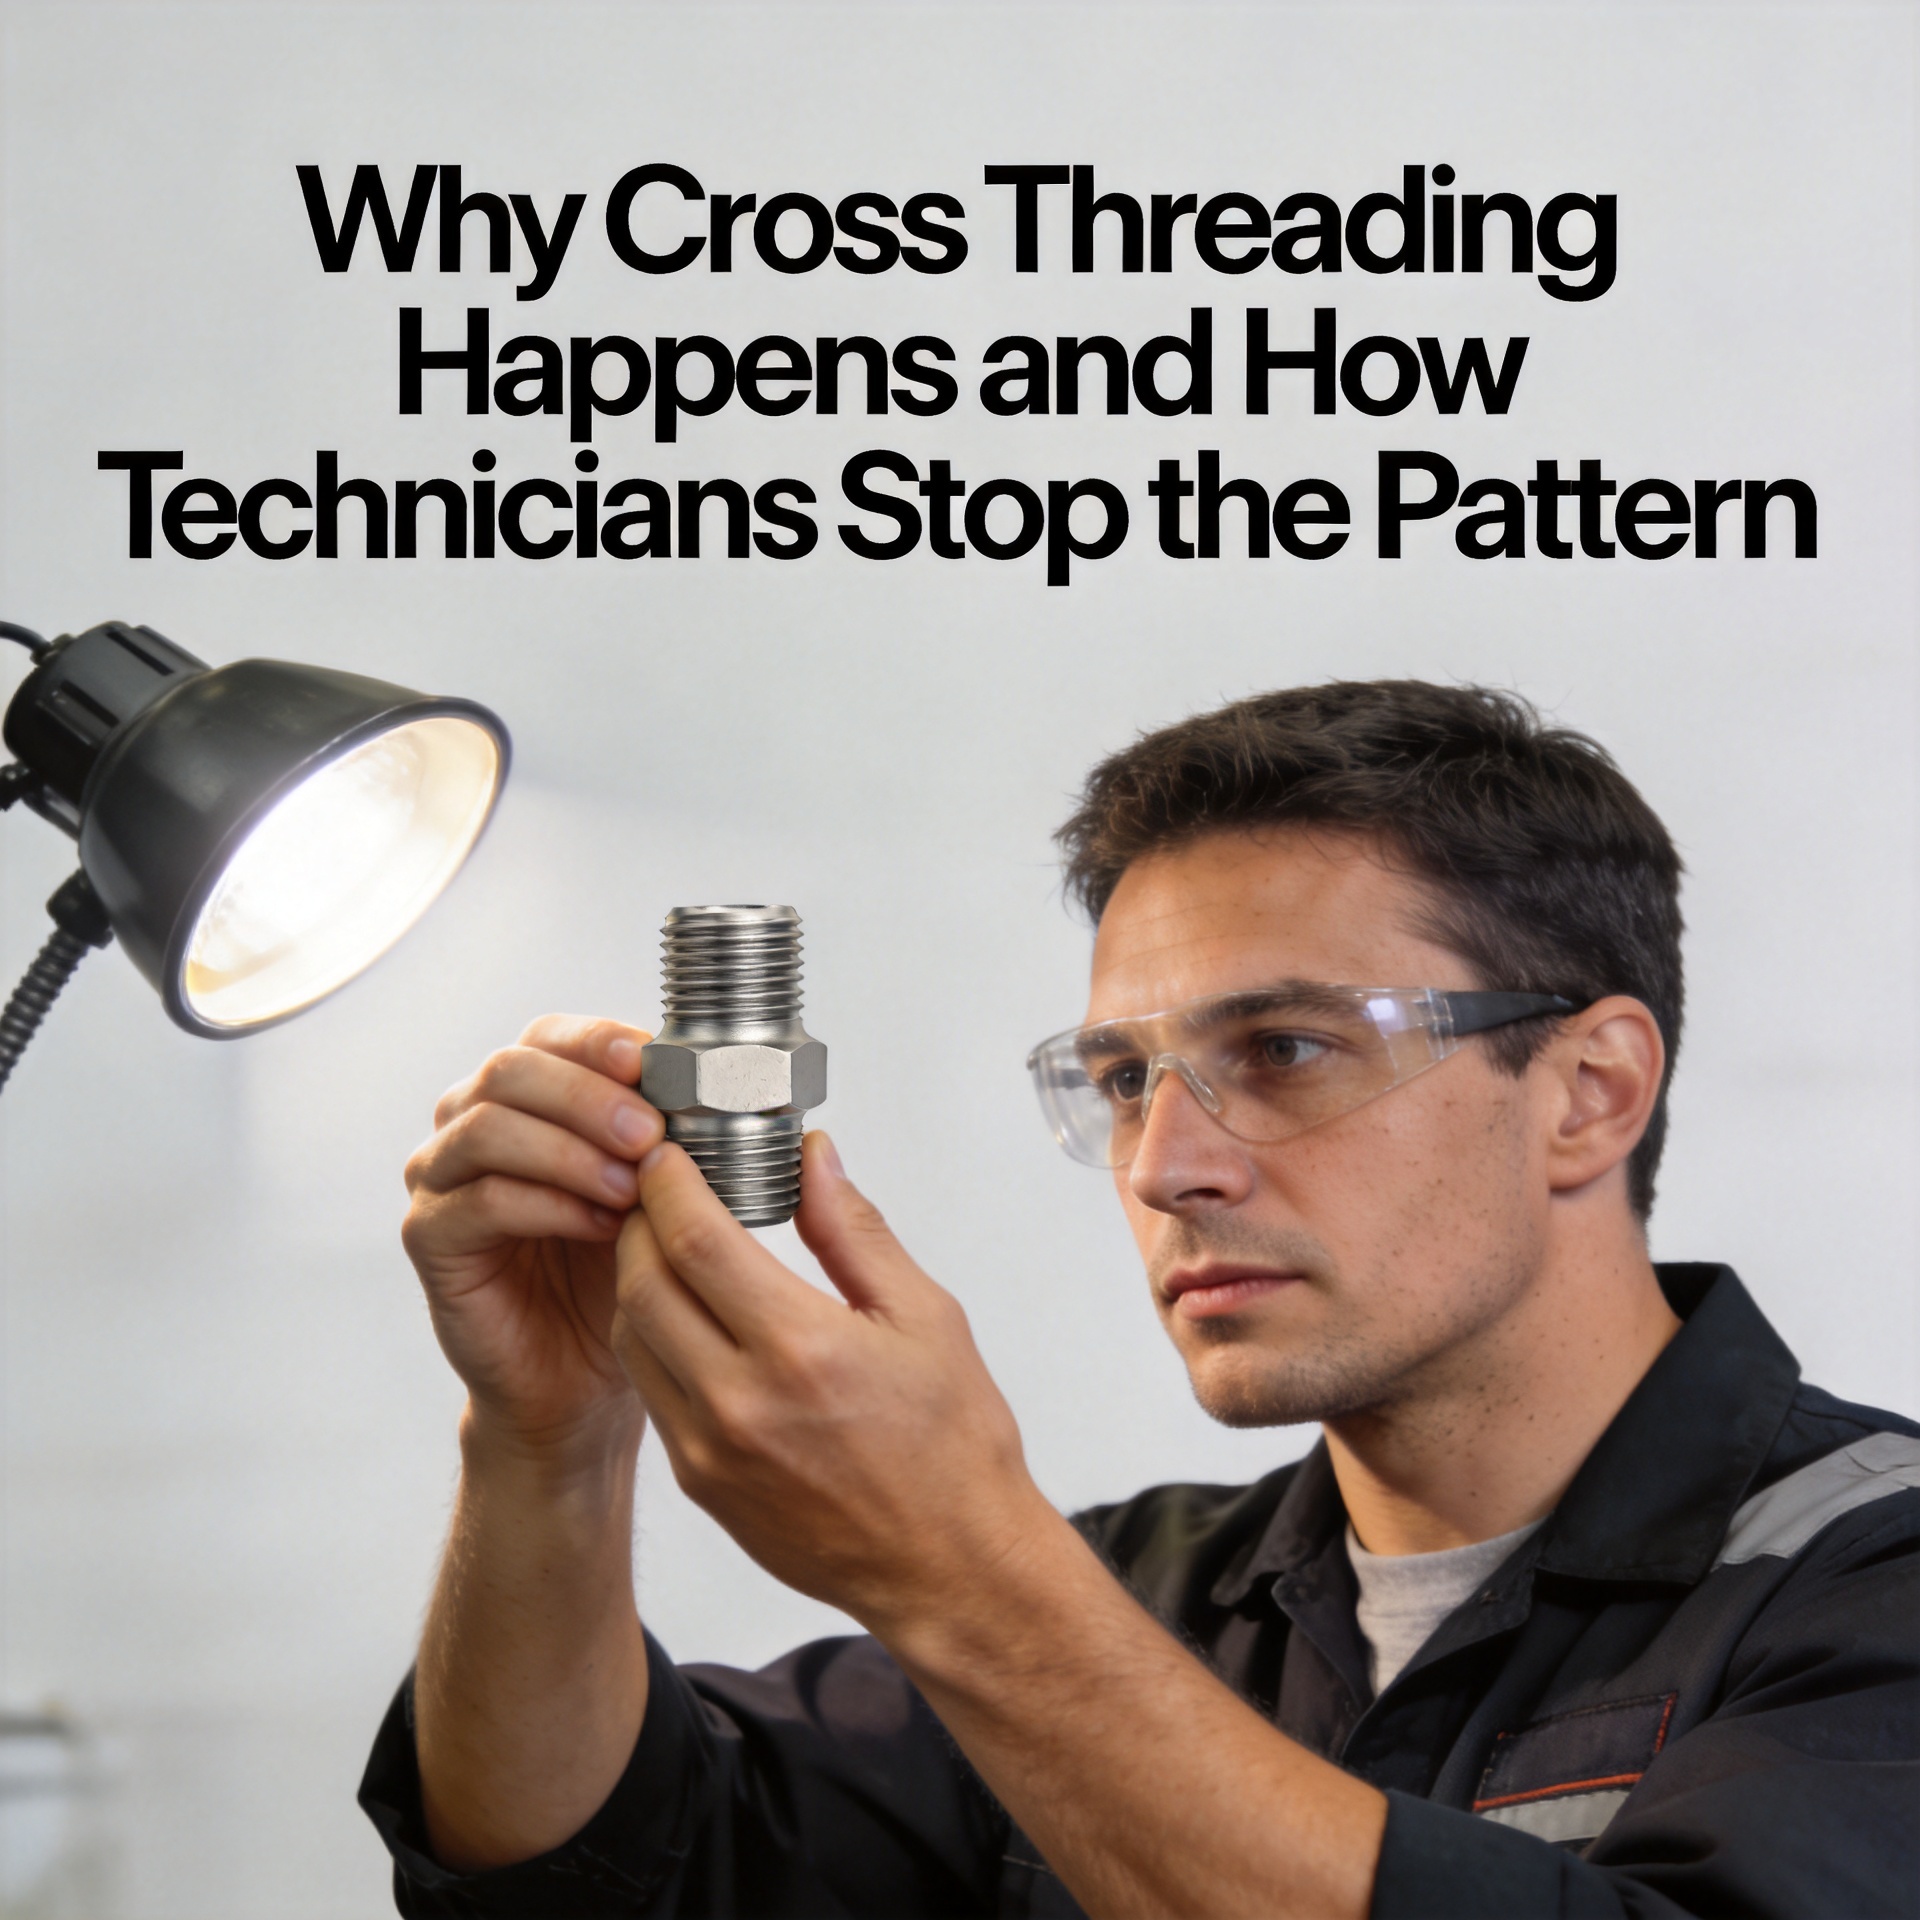
Why Cross Threading Happens and How Technicians Stop the Pattern
A cross-threaded fastener can turn a routine assembly operation into a rework event. The damage often begins before the part has made a full turn: the male thread meets the receiving thread at an angle, the first turns do not share the same lead, and applied force starts to cut or flatten the thread crests. A technician may first notice a gritty feel, unusual resistance, or a fastener that appears to enter but will not seat normally.
As an engineer focused on fastener selection and assembly fit, I treat this as a system issue rather than a simple operator mistake. The threaded fastener, mating thread, access angle, fixture, tool behavior, and inspection rule all affect whether the start is clean. The useful response is to recognize the pattern early, stop driving, and find the condition that made misalignment likely.
What Cross Threading Does to a Fastener Joint
Cross threading occurs when a threaded fastener engages a hole, nut, insert, or other female thread on the wrong path. Instead of following the existing helical groove, the fastener rides across it. This can displace material on one or both parts. The joint may seem tight at first, yet the torque can be caused by damaged contact rather than proper clamp load.
That distinction matters in maintenance and production work. A fastener that reaches a torque value after damaged engagement may still have distorted threads, reduced repeatability, or a difficult removal process later. In a serviceable assembly, forcing the part through can also damage the receiving component, which may be more costly to replace than the fastener itself.
Why the Pattern Starts
Misalignment at the first thread
Poor starting alignment is a common cause. If the threaded fastener is not square to the receiving thread, the first crest can land on top of the mating crest instead of entering the root. Limited sightlines, deep counterbores, awkward reach, and flexible parts make this more likely. A mechanical fastener does not correct its own angle just because a powered driver is applied.
Damaged, dirty, or poorly prepared thread starts
Burrs, corrosion residue, paint buildup, chips, or a nicked first thread can remove the lead-in that normally guides a fastener. The same problem appears when a part has been removed repeatedly and the opening threads are already worn. Before blaming installation technique, look at both thread starts under good light. A clean-looking shaft does not prove that the first engaged thread is sound.
Mismatch between the parts
A similar diameter is not enough for a threaded fastener to mate correctly. Pitch, thread form, handedness, coating buildup, and nominal size all need to correspond. Mixed bins and look-alike components are especially troublesome when teams work quickly. A custom fastener may need an equally specific receiving feature; substituting a visually similar part can create resistance that resembles cross threading.
Tooling that applies torque before engagement is confirmed
Impact tools, poorly supported drivers, worn sockets, and long extensions can turn a small alignment error into damage in seconds. The issue is not that powered installation is inherently wrong. It is that torque arrives before the technician has confirmed that the threaded fastener has found its natural path. High production pace can make this worse when the process rewards speed but has no clear stop signal for early bind.
How Technicians Stop the Pattern at the Workstation
The most reliable habit is to separate engagement from tightening. First, place the fastener squarely to the hole or mating part. Then start it by hand, or with a controlled low-speed method suitable for the operation, until it has engaged smoothly. A technician should feel consistent travel rather than a sudden rough spot at the opening.
- Verify the parts. Check the size, pitch, thread direction, finish condition, and intended location before starting the fastener.
- Set the angle. Keep the threaded fastener perpendicular to the opening wherever the joint design permits. Support the workpiece or fixture if movement changes the angle.
- Use initial turns as a check. Start with light, controlled rotation. If the part does not enter smoothly, do not add leverage or driver speed.
- Back out at the first abnormal bind. Remove the fastener, inspect the lead threads and hole, clear debris, and realign. Repeating the same forced attempt usually enlarges the damaged area.
- Apply final torque only after clean engagement. Once the fastener turns normally through the initial engagement, use the approved tool and torque process for the assembly.
There is a practical trade-off here. When a line is behind schedule, it is tempting to push through a resisting part. But a short inspection at the beginning is often less disruptive than extracting a damaged threaded fastener, repairing a tapped feature, or sorting a completed assembly. For a critical joint, use the documented work instruction and the applicable engineering requirements rather than relying on feel alone.
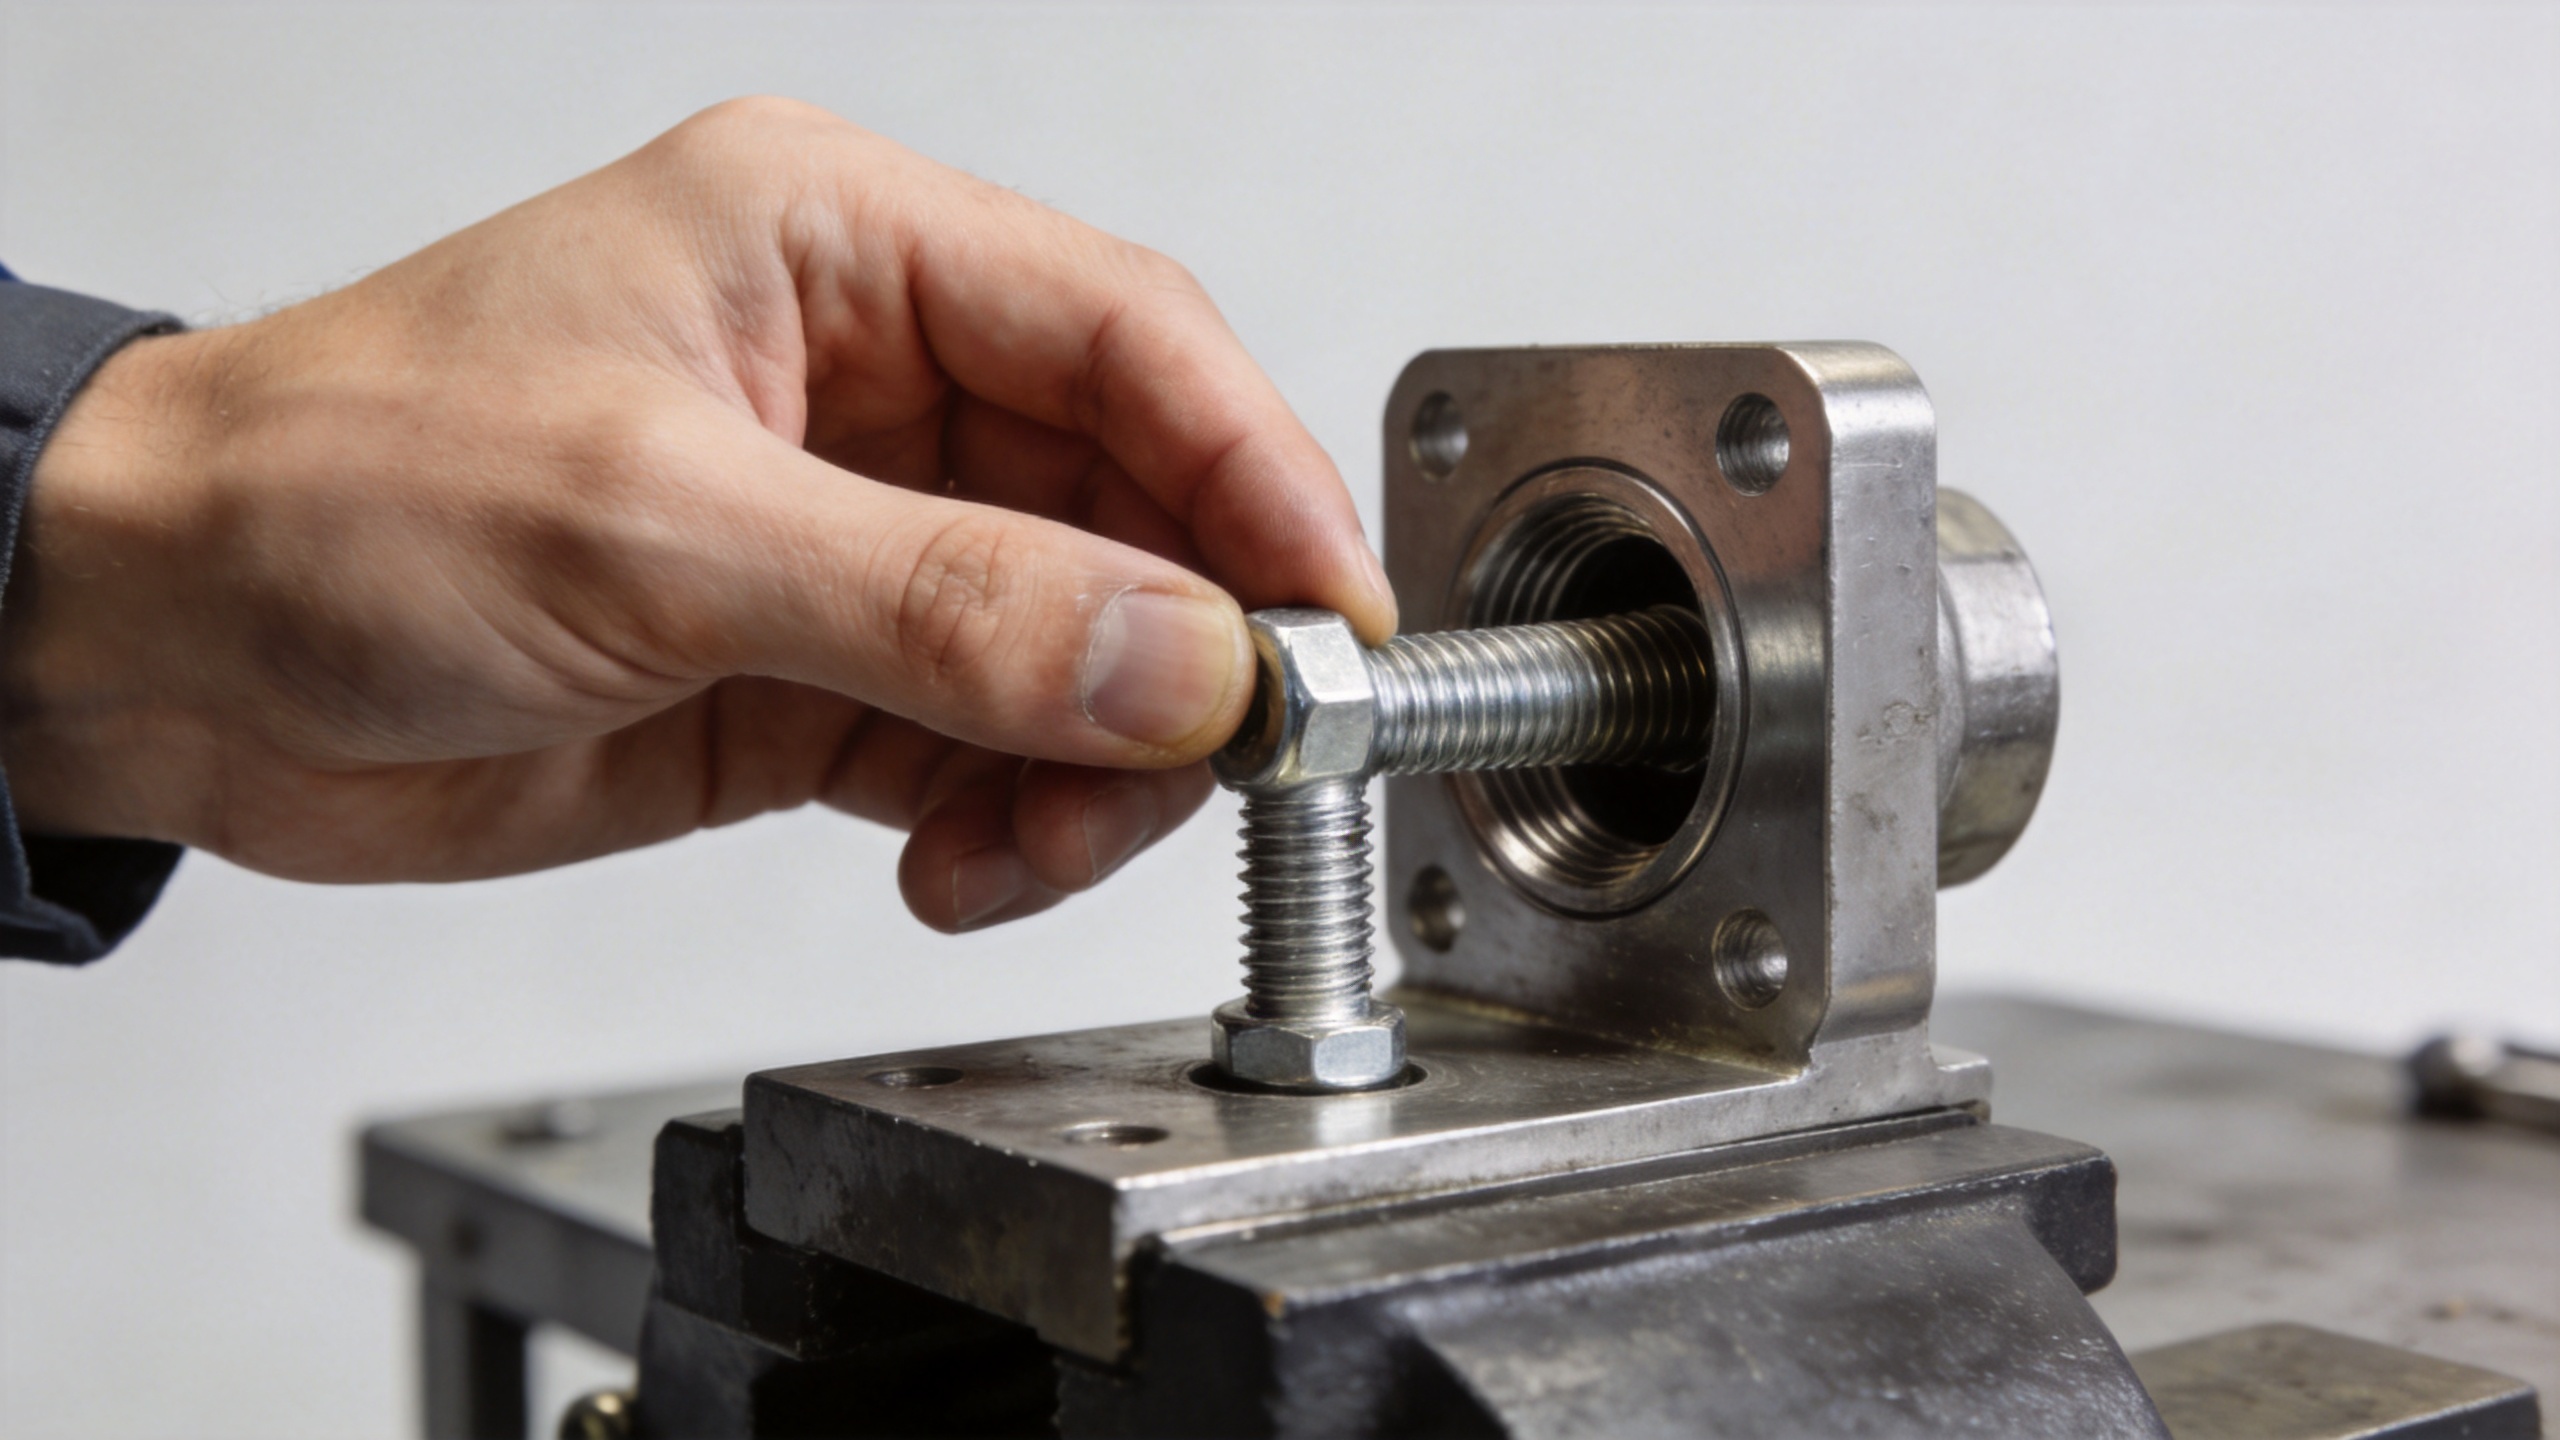
How to Diagnose a Suspected Cross-Threaded Fastener
When a fastener has already started incorrectly, do not assume that tightening it farther will make the joint stable. Remove it when removal can be performed safely, then inspect the first engaged threads on both parts. Look for flattened crests, displaced metal, bright scuffing, torn coating, or a thread path that begins off-center.
A light thread-cleaning operation may be appropriate when the damage is minor and the approved repair method permits it. More severe deformation may call for replacing the fastener, restoring the receiving thread using the specified repair process, or replacing the component. The decision should reflect the joint’s function, material, access for verification, and maintenance requirements. A stainless fastener deserves the same careful compatibility check as any other threaded part; material choice does not compensate for an incorrect start.
Build Cross-Thread Control into the Process
Individual skill matters, but recurring failures usually point to a process condition. Review whether the correct fastener is easy to identify, whether the driver has adequate support, whether the joint can be approached squarely, and whether parts arrive free of debris or damaged starting threads. In automated or semi-automated stations, monitor abnormal torque-angle behavior and make the response clear: pause, inspect, and segregate suspect parts for review.
It also helps to specify what “good engagement” looks like in a work instruction. Pictures of acceptable thread starts, a defined hand-start requirement where practical, and a rule against forcing a bind can make the expectation repeatable across shifts. For a custom fastener or a fine-pitch application, a trial fit with the actual mating component can expose tolerance or coating issues before volume assembly begins.
A Short Technician Checklist
- Confirm the threaded fastener and receiving thread are the intended pair.
- Inspect the starting threads for contamination, burrs, or visible damage.
- Align the fastener squarely before applying tool torque.
- Use the first turns to confirm smooth engagement.
- Stop at early bind; remove, inspect, and correct the cause.
- Record recurring locations or batches so the underlying process can be addressed.
Conclusion
Cross threading is rarely mysterious once the first few turns are observed closely. It usually reflects an alignment issue, a compromised thread start, a mismatched part, or tooling that applies torque too early. By treating initial engagement as a separate verification step, technicians can stop the pattern before a fastener joint becomes a repair problem. The goal is not merely to make the fastener go in; it is to establish clean, repeatable thread engagement before final tightening.